Aspecten
 Download (111 MB)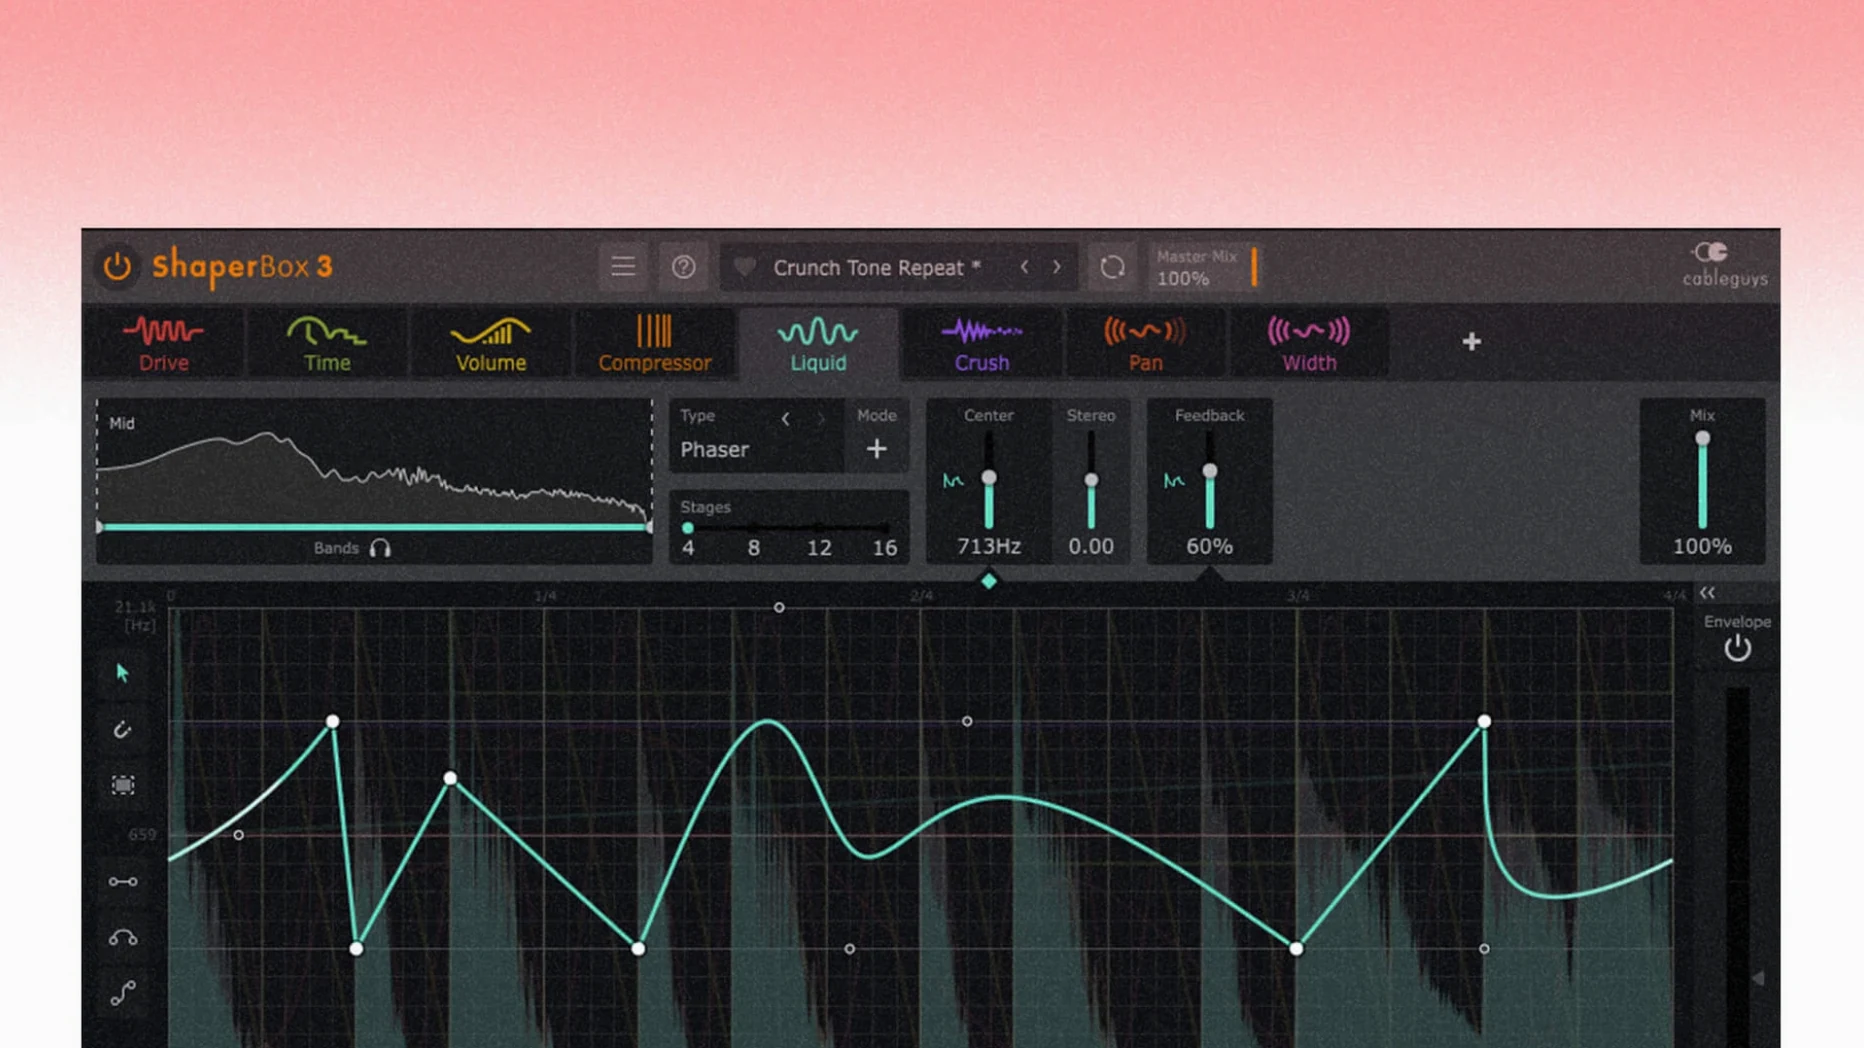
What does ShaperBox solve in a static mix?
It brings rhythmic movement to sounds that feel flat or lifeless. Instead of stacking separate effects, you apply precise, beat-synced modulation to volume, filtering, time, panning or pitch from one window.
How does the sidechain visual display help?
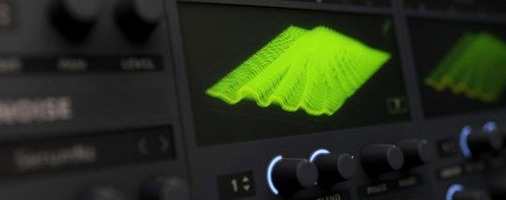
The display shows the incoming trigger signal as a waveform overlay against your modulation shape. You see exactly where the ducking lands relative to the beat, which removes the guesswork when tightening a kick and bass relationship.
How does multiband processing change the sound?
Low, mid and high bands can each receive a completely different effect shape. You might compress the low end in time with a kick while leaving the highs airy and untouched, or shift the stereo width of the mids on every off-beat.
What does the preset browser offer?
Six hundred presets are sorted by instrument and effect type, giving you a quick starting point. Browsing them is a practical way to learn how the Shaper modules interact before you build your own patterns from scratch.
Drawing a 1/16-note gated pad from a held chord
Start with a sustained vocal pad or a held chord on a synth track. Insert ShaperBox as the first insert on the channel. Open an empty instance and load VolumeShaper as the active module. Set the grid to 1/16 notes and draw a rhythmic staircase: a full-amplitude block on the first sixteenth, a dip to half level on the second, silence on the third and fourth, then repeat with variations on the off-beats. The result is an immediate, tight tremolo that follows your drawn curve precisely.
Next, add a second band via the multiband crossover at around 800 Hz. Assign a softer, lazier shape to the high band — perhaps sustained blocks that overlap two sixteenths — so the upper harmonics bloom while the low-mids stay percussive. Enable FilterShaper Core on the high band only, drawing a slow low-pass sweep that opens across two bars. This makes the gated high frequencies breathe in a way that feels organic rather than mechanical.
Now engage Audio Trigger and route a muted kick drum to the sidechain input. Set the trigger to restart the LFO on each hit. The gate pattern resets precisely with the downbeat, locking the vocal chop to the groove even if the DAW’s playback starts mid-bar. Finally, blend in a touch of LiquidShaper at 15% mix on the full signal, choosing a gentle flanger with a slow rate that moves independently of the beat-synced gating. The finished sound is a tight, evolving rhythmic texture that would take a chain of five separate plugins to approximate.
Drawing curves vs. triggering steps vs. multiband ducking
Three tools often sit in the same conversation: Xfer Records LFOTool, Soundtoys Tremolator and Devious Machines Duck. Each approaches rhythmic modulation differently.
ShaperBox vs LFOTool. LFOTool is a single-purpose volume-shaper with a clean, focused interface. Drawing a curve and assigning it to filter cutoff or panning is quick, but you need multiple instances for multiband work or combining effects. ShaperBox layers up to nine Shaper modules in one window, each with independent multiband routing, which suits complex chains more comfortably. LFOTool’s envelope-following sidechain works well, though the visual feedback on trigger timing is less detailed than ShaperBox’s waveform overlay.
ShaperBox vs Tremolator. Tremolator excels at emulating vintage tremolo and rhythmic panning with a characterful, analogue-modelled tone. Its groove and feel controls give it a looser, more musical swing. ShaperBox is tighter and more surgical — its grid snaps to exact divisions and the multiband crossover lets you treat only part of the spectrum. If you want a Rhodes to warble like a 1960s amp, Tremolator supplies the vibe. If you need a bassline to duck on every kick with a custom shape that affects only the low band, ShaperBox is the more direct tool.
ShaperBox vs Duck. Duck is a dedicated sidechain-ducking plugin, and it does that one thing extremely well with a smart lookahead system and transparent curves. For pure, clean volume ducking it is hard to beat. ShaperBox covers that same ground with VolumeShaper and adds filtering, time-stretching, panning and pitch effects that Duck does not attempt. A producer who only needs sidechain compression can get a simpler workflow from Duck; one who wants to explore rhythmic filtering and stereo movement alongside ducking will find ShaperBox more versatile.
Freeing up low-mid space with a 5-minute multiband duck
Consider a mix engineer finishing a pop track at 11 p.m. The chorus feels static — the synth bass and the main pad are fighting for the same low-mid space, and the eighth-note hi-hat pattern sounds rigid. The client has asked for the mix by morning. There is not time to automate volume, EQ and panning separately across three tracks.
She drops ShaperBox onto the bass channel. VolumeShaper ducks the low band in a 1/4-note pattern that mirrors the kick, while the mid band stays unaffected. On the pad track, FilterShaper Core opens a band-pass filter in sync with the snare hits, clearing a pocket for the vocal without thinning the pad when it swells in the verse. PanShaper nudges the hi-hats slightly left and right on alternating sixteenths, just enough to widen the stereo image without the hats sounding gimmicky. Twenty minutes of drawing curves and the chorus breathes, the low end is tidy, and the track feels wider and more alive. The engineer prints the stems and goes home before midnight.
Setting a sensible default Audio Trigger threshold
A few adjustments make ShaperBox feel more personal from the first session. Open the global trigger settings and set the default Audio Trigger threshold to a sensible level for your typical input — many presets ship with a threshold too low for quiet sources, causing erratic retriggering. If you work mostly with MIDI-triggered patterns, switch the default trigger source to MIDI and assign a note you rarely play, so accidental keyboard hits do not restart the LFO.
In the multiband crossover, change the default filter slope from 12 dB/octave to 24 dB/octave if you want stricter band separation for bass treatment. The steeper slope prevents midrange leakage into the low band, which matters when applying heavy compression or gating to sub frequencies. Save this as your default preset via the plugin’s wrapper menu so every new instance starts with your preferred crossover.
For TimeShaper, reduce the default grain size from the middle value to the smallest setting if you plan to use it on transient material like drums or plucks. The smaller grains produce tighter, less smeared results on percussive sources. Reserve larger grain sizes for pads and sustained textures where the blur is desirable. Finally, enable Anti-Click Trigger Smoothing in VolumeShaper’s advanced panel if you hear tiny pops when the LFO retriggers mid-waveform — this is off by default but resolves a common edge case.
Unfreezing a region when the sidechain starves
Silent input causes no visible triggering. If the Audio Trigger seems unresponsive, check that the source track is actually sending signal before the plugin. In Logic Pro, a frozen or bypassed region upstream can starve the sidechain. Unfreeze or route a live signal. The version 3.6.1 fix for silent-input artifacts helps, but a genuinely silent input still produces no trigger events — feed the plugin something to work with.
Cursor disappears in Logic Pro after dragging a control. This was a known issue fixed in 3.6.1. If you encounter it on an older build, toggling the plugin window closed and open again usually brings the cursor back. Updating to the current version removes the problem entirely.
VolumeShaper oscilloscope looks wrong with MIDI triggering. When MIDI or Audio Trigger is active and Anti-Click Smoothing is on, the oscilloscope drawing can lag or misrepresent the waveform shape. This is a visual quirk, not an audio fault — the rendered audio follows the drawn curve correctly. Toggling the smoothing off while editing the shape gives a cleaner visual readout, then re-enable it before playback.
Presets sound different on your material than in the demo. Many factory presets rely on a specific input level and spectral balance. If a rhythmic gate preset barely moves, try boosting the input gain into ShaperBox or adjusting the threshold of the Audio Trigger. Drum presets often assume a sharp transient at the input; a soft pad will not trigger them the same way. When setting up a ShaperBox Mac crack or a ShaperBox torrent, check your gain staging first — the behaviour is a matter of input level, not the build.
DAW reports a missing plugin after installation. On Apple Silicon machines, confirm the DAW is running natively and not under Rosetta if you installed the ARM version. Some hosts need a rescan of Audio Units before a freshly installed ShaperBox 3 Mac torrent build appears. In Ableton Live, hold the Option key and click “Rescan Plug-ins” in the preferences; in Logic Pro, quit and reopen — it rescans automatically. If you used a ShaperBox 2 crack previously, remove every trace of the older component file before installing 3.6.1 to avoid version conflicts.