Aspecten
 Download (3.2 GB)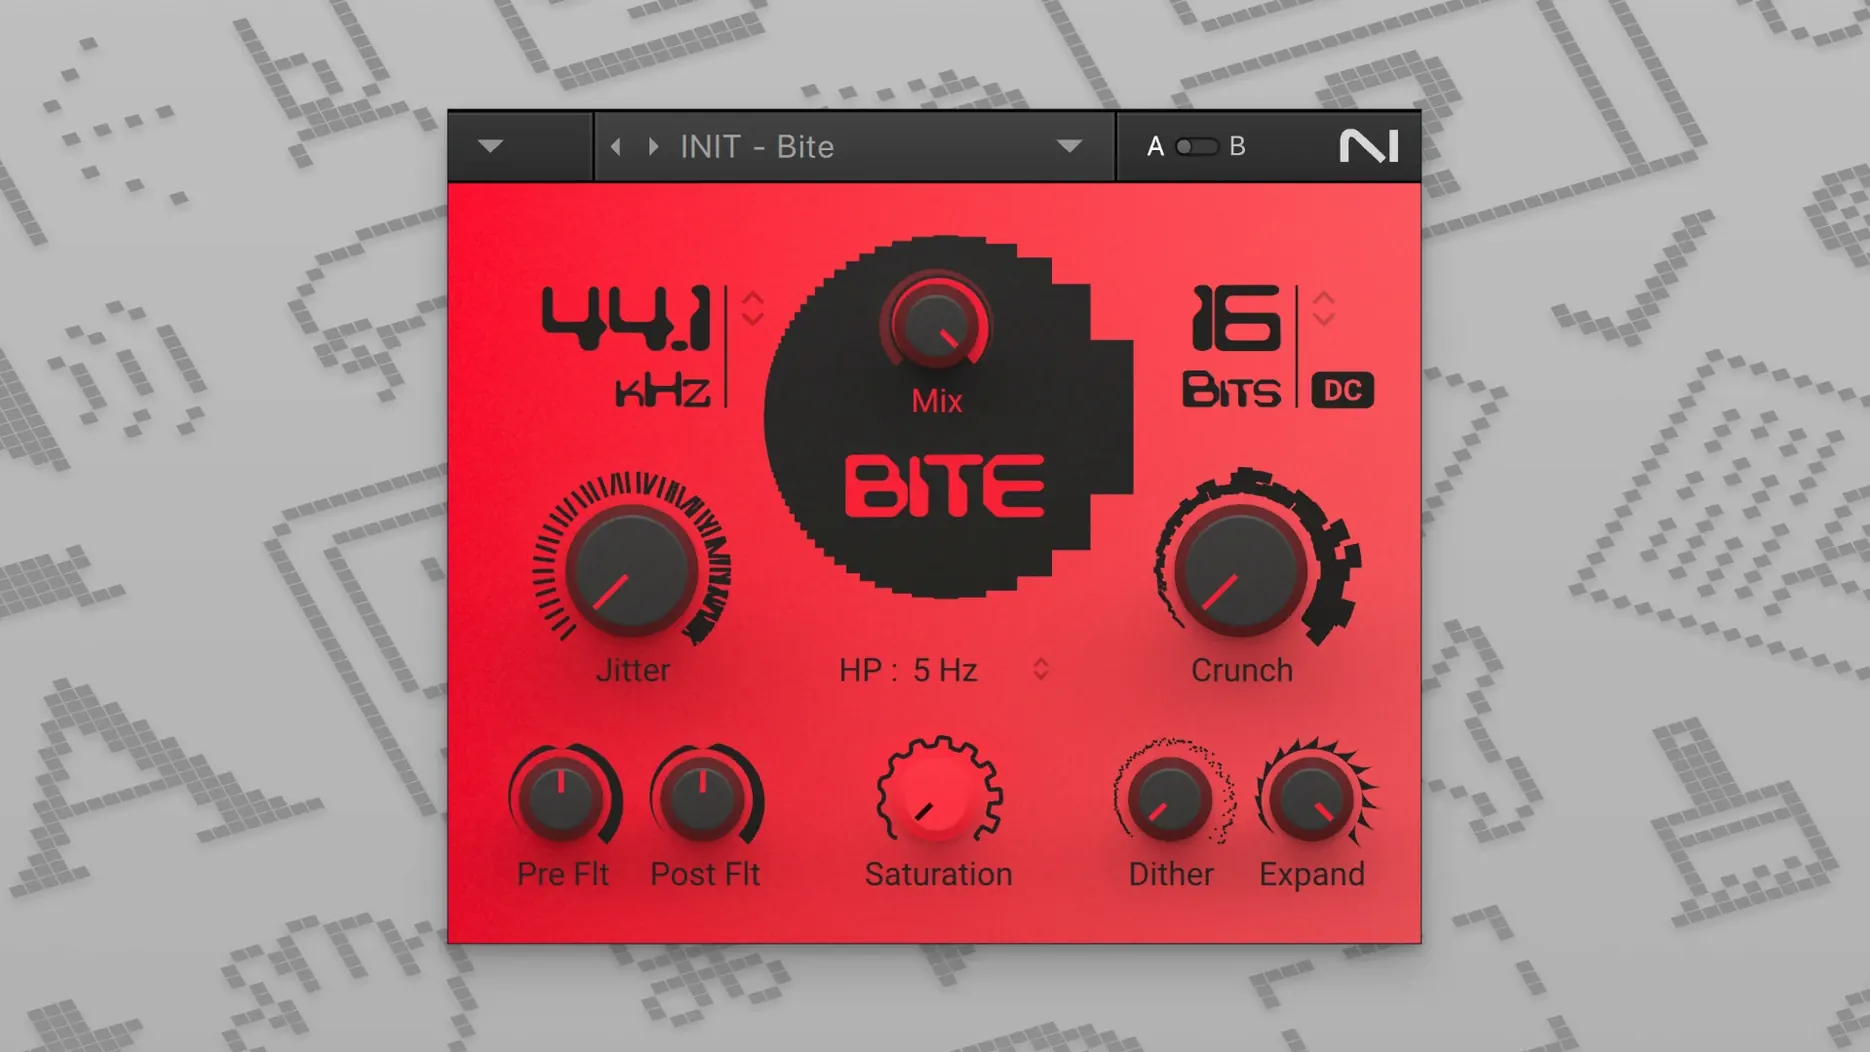
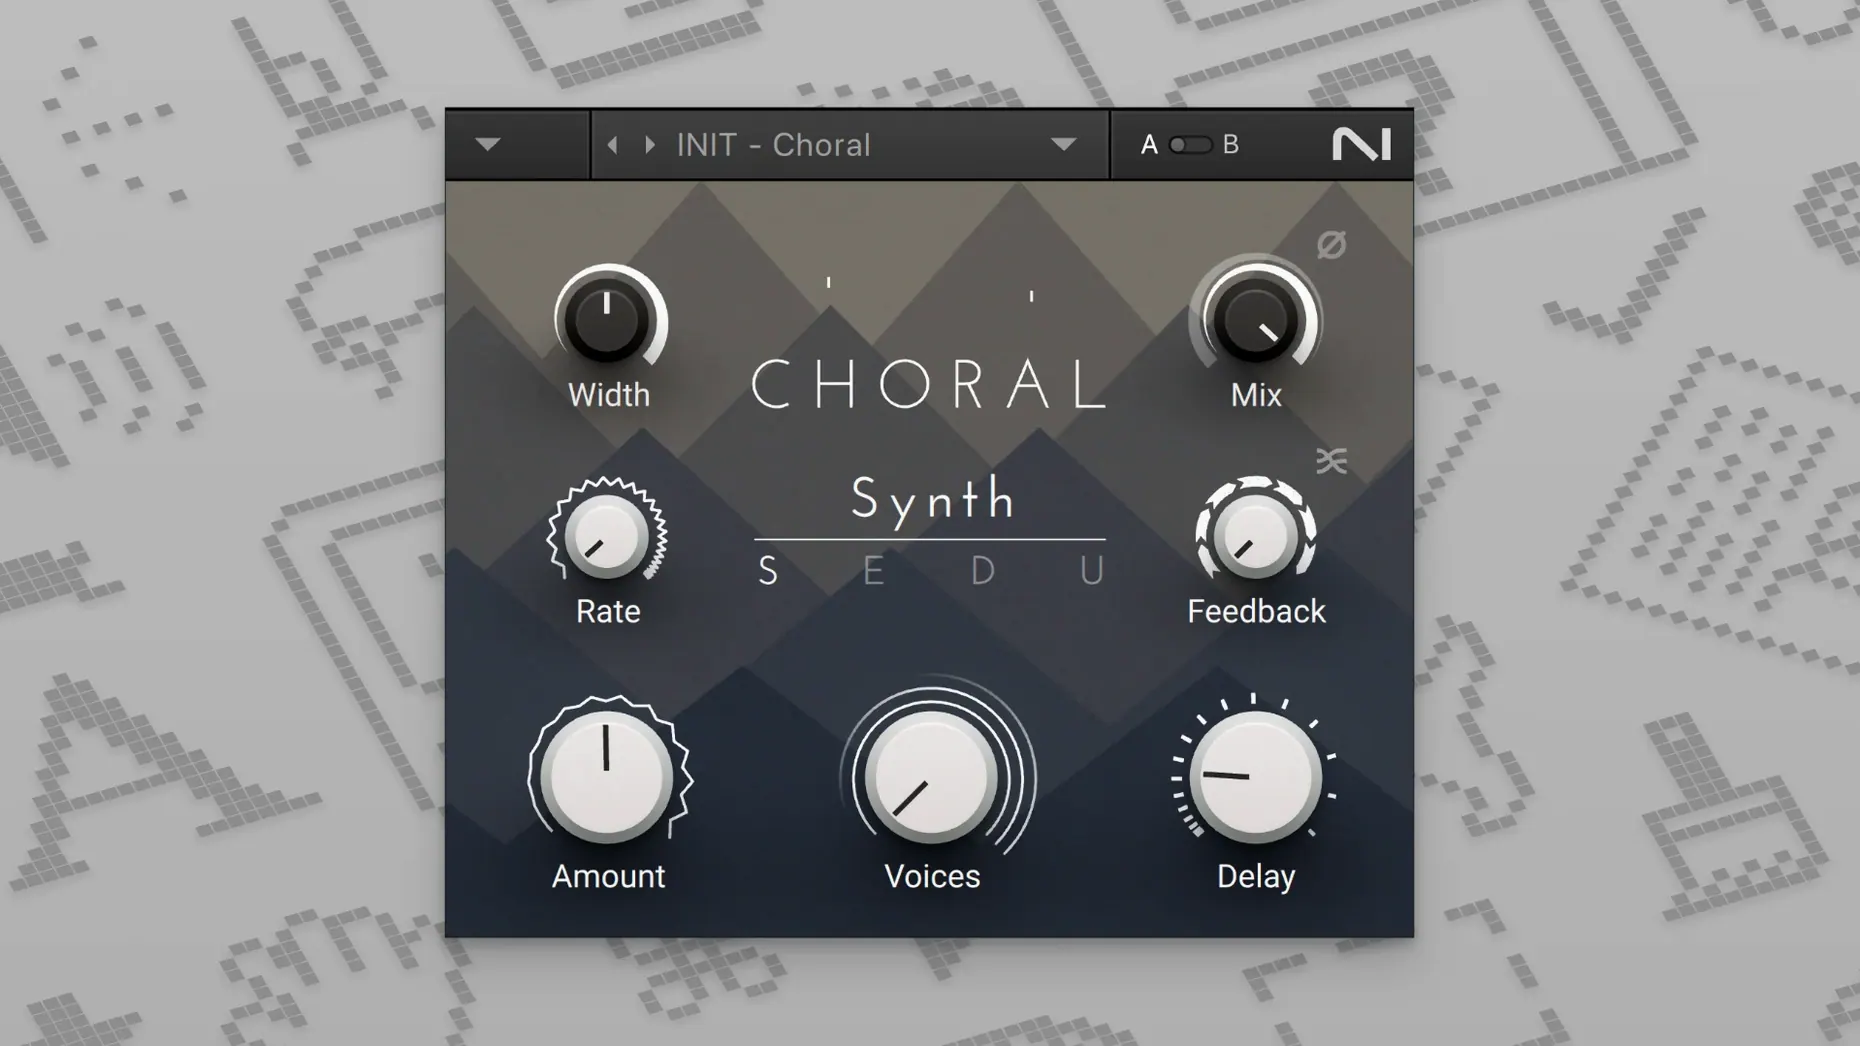
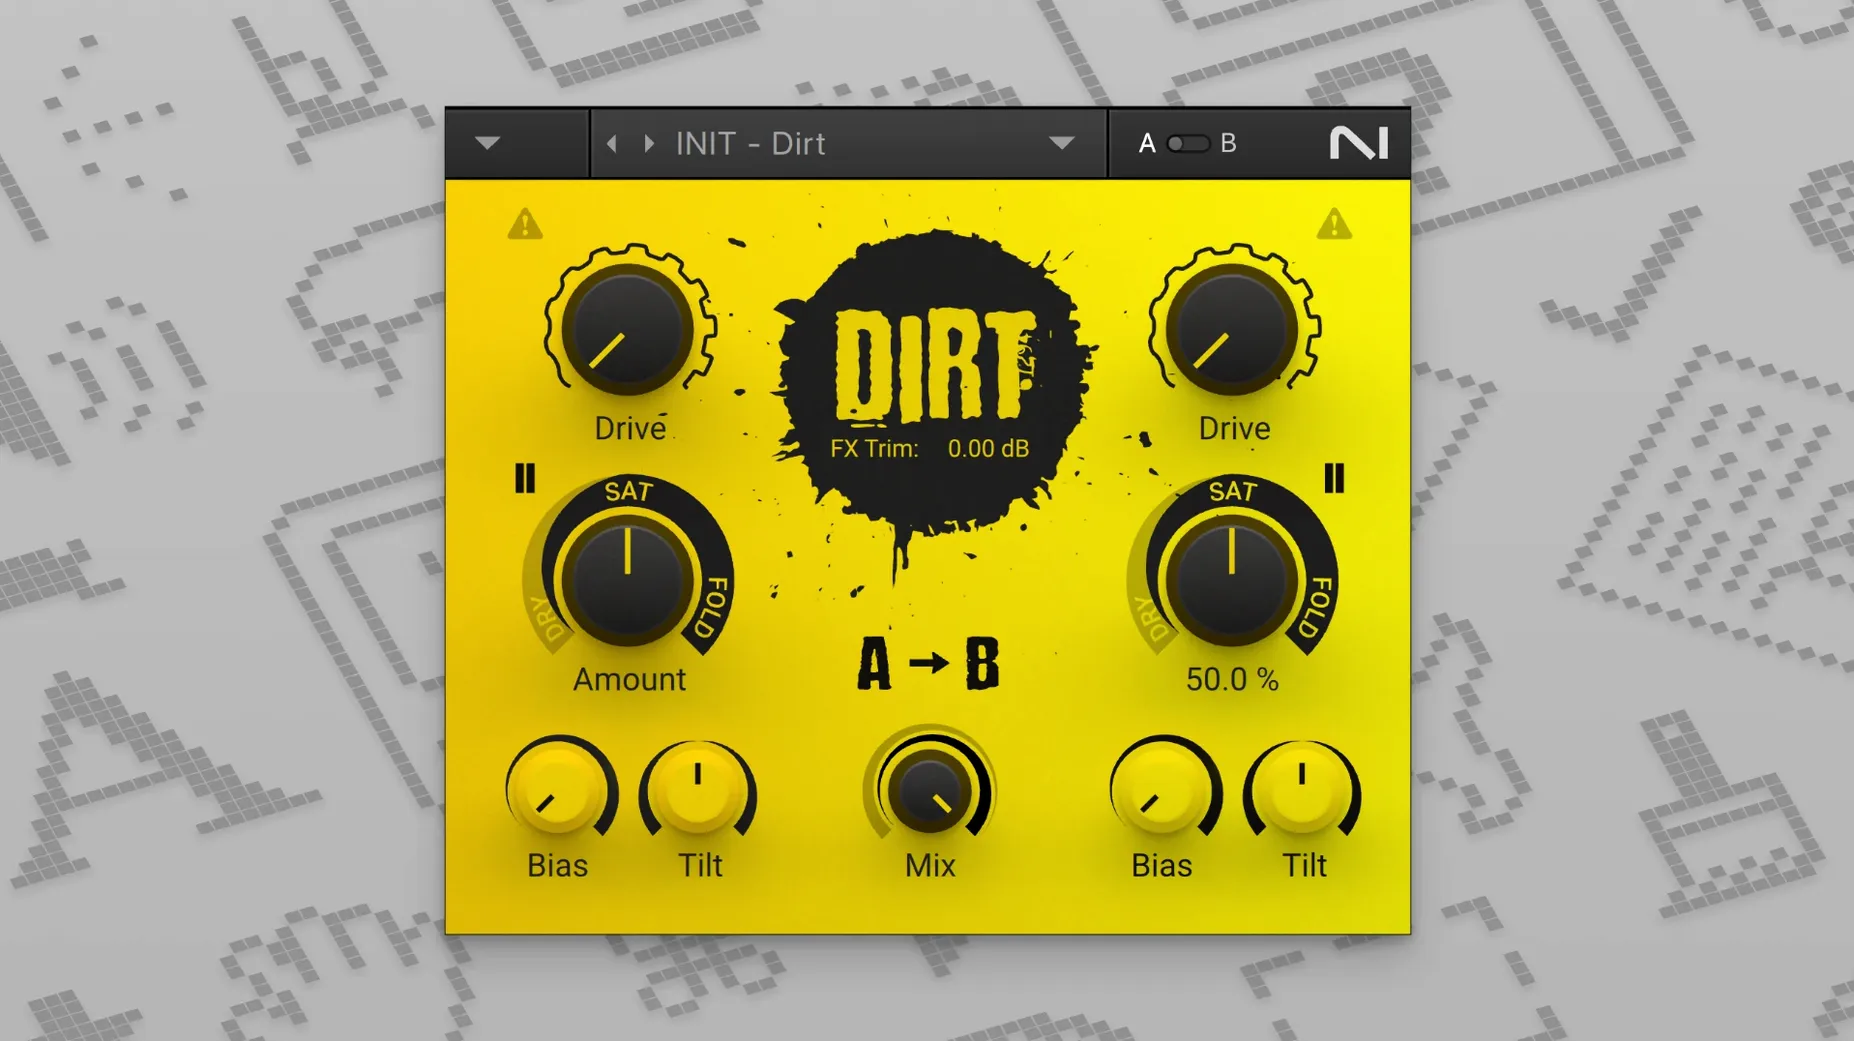
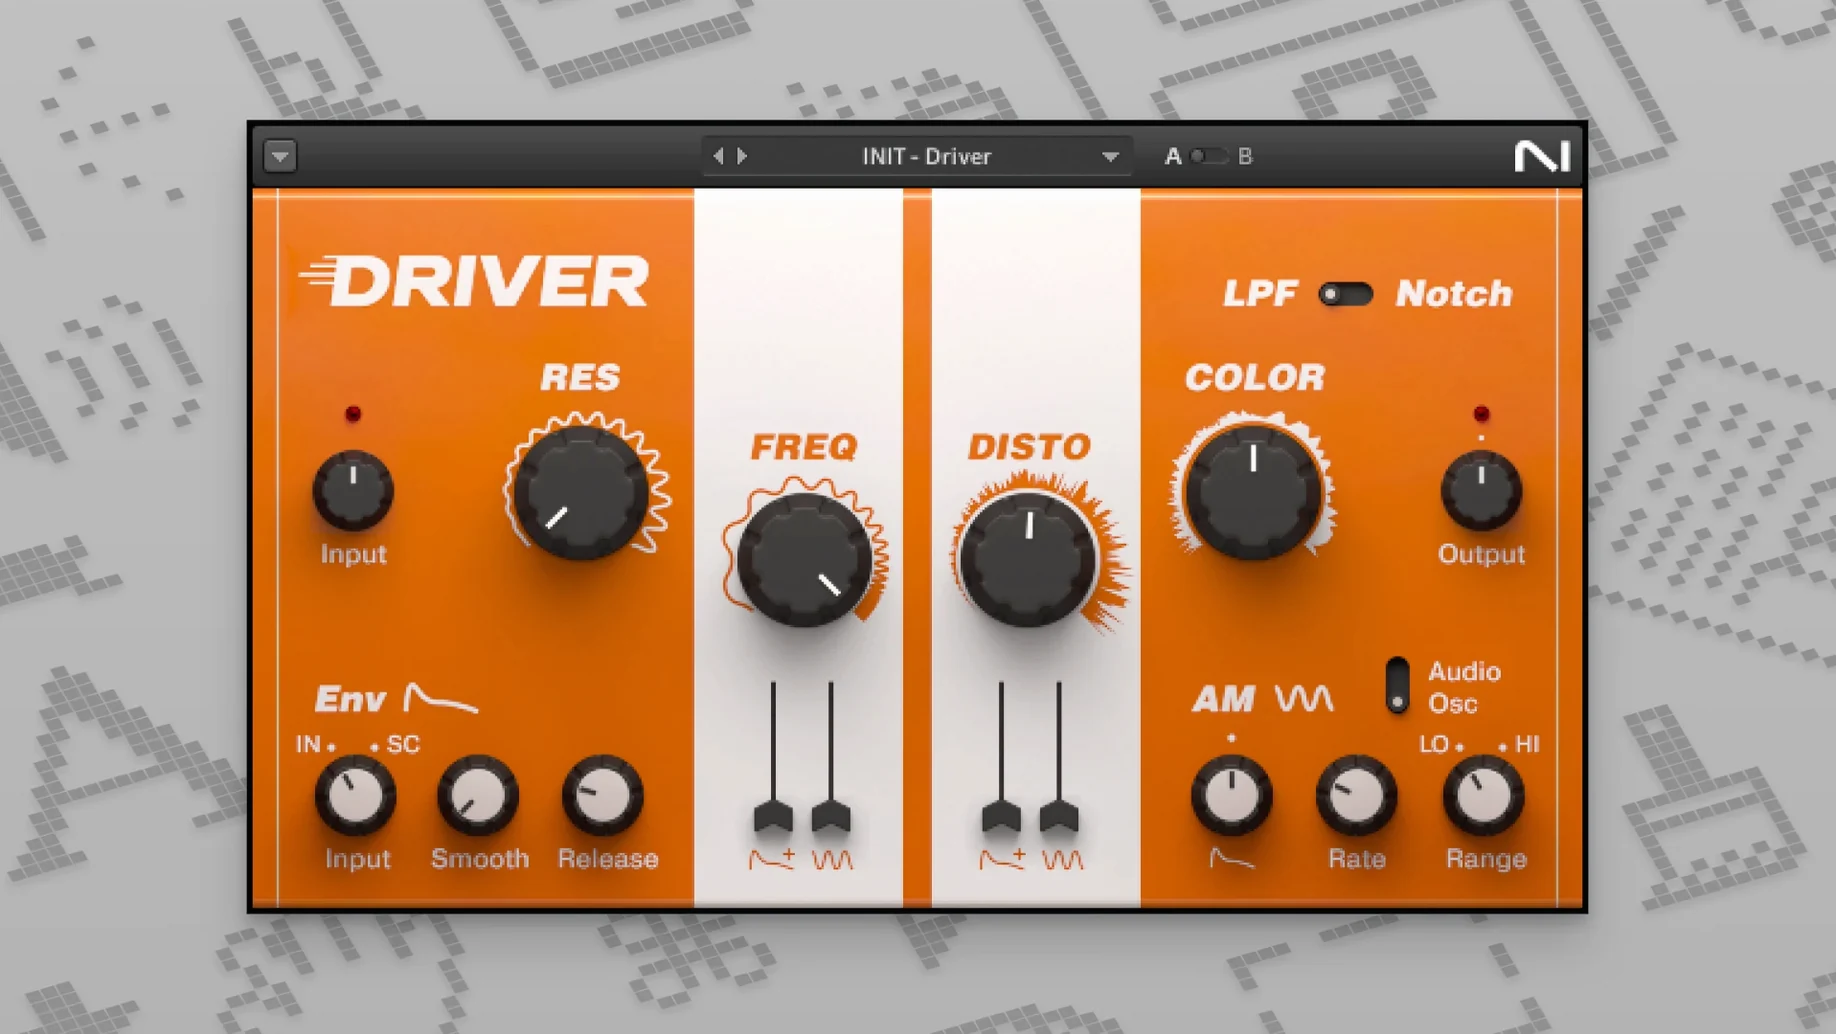
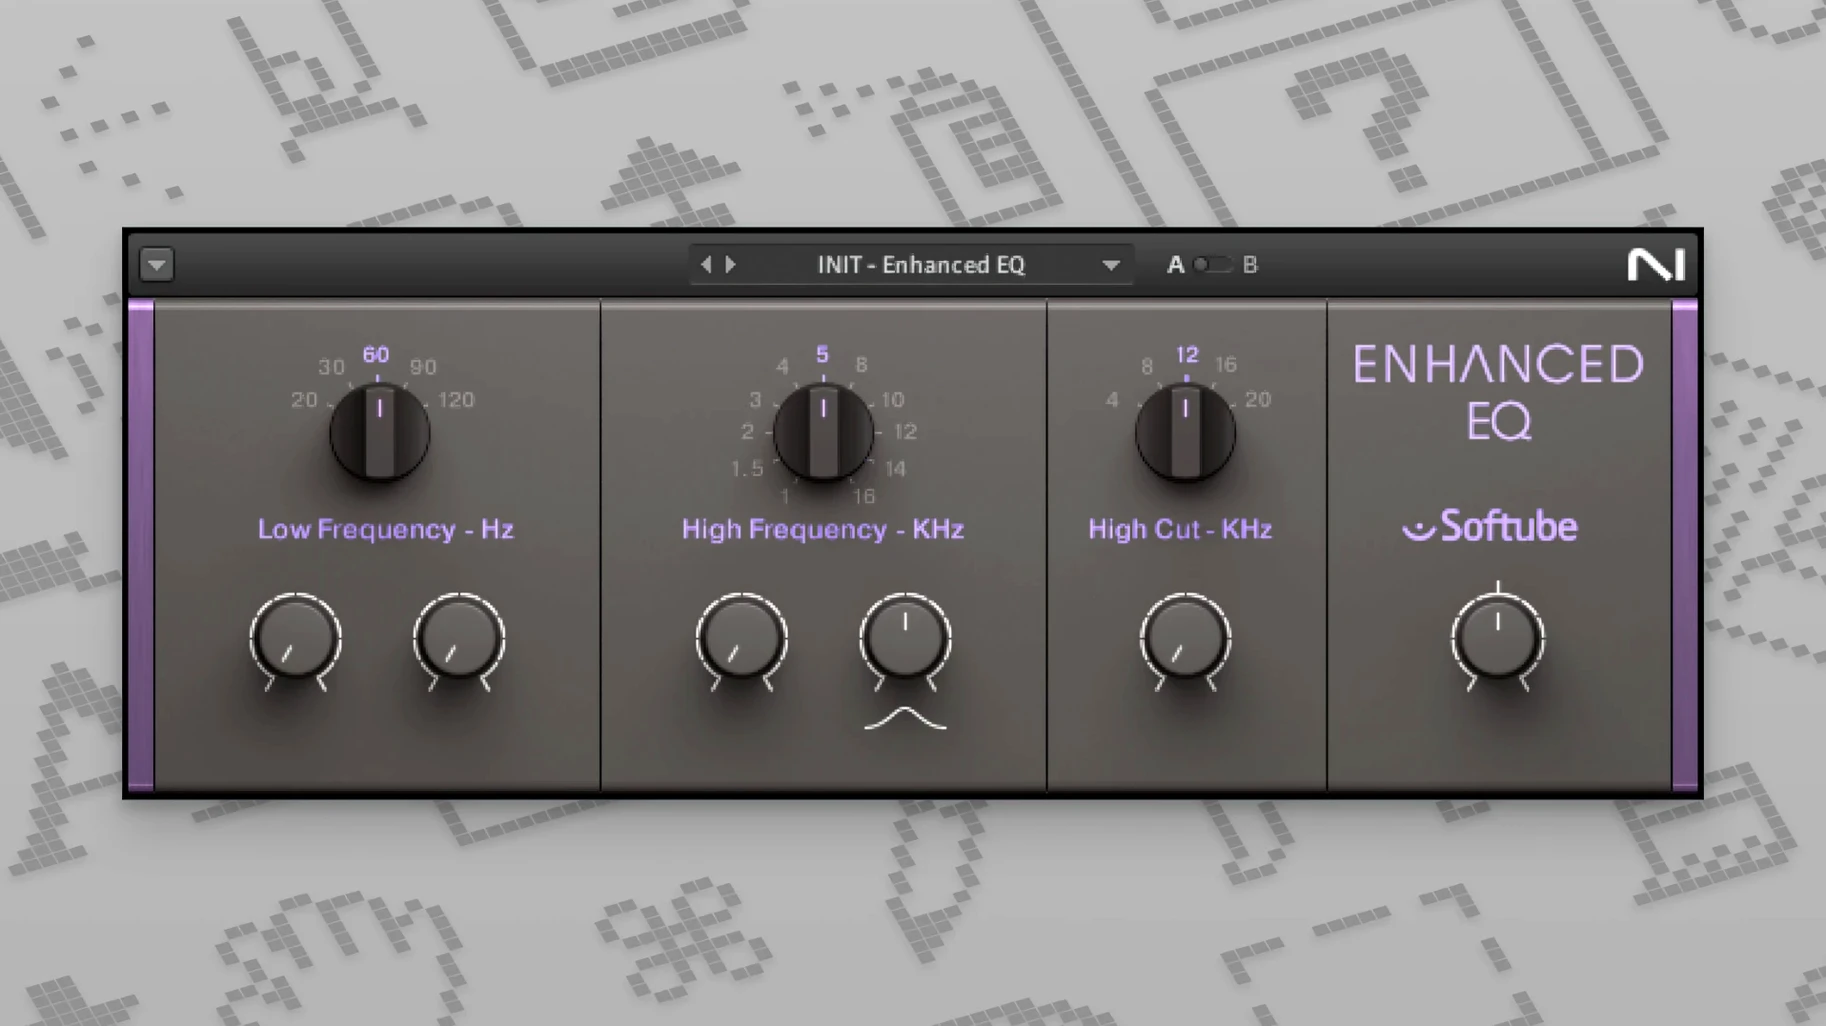
The Komplete FX Bundle sits alongside a producer's existing instruments, offering the processing that turns a dry synthesiser line into something with weight and dimension. Each suite brings a specific character, accessible through a consistent set of controls.
How does the PREMIUM TUBE SERIES alter a signal?
The Passive EQ offers broad, musical curves via stepped frequency knobs, while the Vari Comp applies glue with a fixed threshold and a continuously variable ratio. The Enhancer adds harmonic presence through a simple drive and air circuit, rather than surgical EQ.
What textures come out of CRUSH PACK?
Bite turns a clean signal into something jagged with a single drive knob and a tone control that tilts the distortion character. Dirt layers noise and sampling-rate reduction, giving a rhythm part a lo-fi crust that sits at the edge of the mix.
What does MOD PACK do to a static sound?
Flair combines two flangers and a chorus into one unit, where the width knob spreads the modulation across the stereo field. Phasis keeps things moving with a spread control that shifts the phaser notches further apart, creating a sense of rotation without a complex routing matrix.
Reset any knob instantly with a right-click
Right-clicking any knob in the Komplete FX Bundle resets it to its default value. This works across every plug-in in the collection, from the vintage compressor models to the more experimental tools in Crush Pack. Holding Shift while dragging a knob switches to fine-adjust mode, giving you roughly ten times the precision for delicate moves like nudging a reverb pre-delay or tightening a compressor release by a few milliseconds.
A less obvious shortcut involves the A/B comparison system. Click the A/B button near the top of the interface once to snapshot your current settings. Make your changes, then click again to flip between the two states. What many people overlook is that you can copy the snapshot from slot A to slot B by holding Option and clicking the B button. That lets you audition small tweaks against a baseline without manually matching every parameter.
The input and output meters across the Solid Mix Series share a hidden behaviour: double-clicking the meter scale toggles between peak and RMS metering. For quick gain-staging checks, this removes the need to insert a separate measurement plug-in. In the Enhanced EQ, the frequency analyser can be frozen with a right-click on the display, capturing the current spectrum so you can compare it while adjusting a different section of your arrangement.
Maschine and Komplete Kontrol owners get the tightest integration
The bundle serves three groups particularly well. First, the producer who already owns a set of software instruments and wants processing that gels with them sonically. Someone running a Maschine or Komplete Kontrol setup benefits from the tight integration, but the plug-ins also load in any DAW that hosts VST3 or AU formats. The consistent control layout across the collection means less time translating unfamiliar interfaces.
Second, the mix engineer working on a MacBook who needs reliable channel-strip building blocks without carrying hardware. The Solid Mix Series covers EQ, bus compression and channel dynamics in a footprint light enough to run multiple instances on an older Intel machine. The VC 2A and VC 76 deliver two distinct flavours of compression that suit vocal and drum duties respectively, with controls simple enough to dial in during a tracking session.
Third, the sound designer chasing textures that sit outside conventional clean processing. Bite and Dirt turn polite input into something with grit, while Phasis and Flair do modulation that sounds more like a hardware pedalboard than a sterile DAW insert. Loading Raum after a percussive loop and automating the freeze function yields long, evolving beds that work well for cinematic underscore. Users who enjoy taking a native instruments komplete torrent and digging through the less-publicised tools often find the Crush Pack the most rewarding part of the download.
Plug-ins missing from your DAW after scanning
A frequent issue after installation involves the plug-ins not appearing in a DAW scan. This usually happens when the installer places the component and VST3 files in a custom directory that the host is not checking. The fix is straightforward: confirm that the .component files sit in /Library/Audio/Plug-Ins/Components and the .vst3 files in /Library/Audio/Plug-Ins/VST3. For users on Apple Silicon running a DAW under Rosetta, the VST3 versions may not show up unless the host launches natively or explicitly scans the correct architecture path.
Another snag relates to the patch step described in the install notes. If the patch installer is run before the plug-ins themselves are in place, the authorisation check will fail silently and the plug-ins may open in demo mode with periodic audio dropouts. The correct order is: install the plug-ins first, then run the NI KOMPLETE FX bundle 2026.1 patch installer. Restarting the DAW after both steps complete resolves most activation issues.
Latency in the CRUSH PACK modules catches some users off guard. Bite and Dirt introduce a small amount of processing delay, which most DAWs compensate for automatically. If you hear a phasing or flamming sound when using them on a parallel bus, check that your host's plug-in delay compensation is active on auxiliary channels. In Logic Pro, the setting lives under Preferences > Audio > General > Compensation. In Ableton Live, it is enabled by default but can be toggled per track in the track delay section.
Some users report that Raum's freeze function causes a CPU spike on older Intel Macs when engaged for more than a few seconds. Reducing the buffer size in your audio interface settings can paradoxically increase the load, so try setting it to 512 or 1024 samples when working with long reverb tails. Freezing or bouncing the track with Raum printed to audio lets you keep the effect without the real-time processing cost.
Switch the analyser to Post to see what your EQ moves actually do
Open the Enhanced EQ and switch the analyser mode from 'Pre' to 'Post' in the settings menu. The default pre-EQ view shows you the incoming signal, but the post-EQ view reveals what your adjustments are actually doing to the spectrum. For corrective work, this change turns the analyser into a confirmation tool rather than just a diagnostic display.
In the VC 160 compressor, the default attack and release settings are calibrated for general bus work. For drum groups, pull the attack back to roughly 10 o'clock and the release to 2 o'clock. The compressor grabs transients more aggressively and lets go faster, which tightens a kit without sucking the life out of the room mics. Save this as a user preset so it becomes your starting point for drum bus processing.
Replika XT ships with the diffusion section bypassed. Enable it at a low mix level, around 15-20%, and set the diffusion size to match the tempo of your project. The repeats blur slightly without losing rhythmic definition, giving a tape-echo character that plain digital delays lack. This one change transforms the plug-in from a clean delay into something more atmospheric.
For anyone who acquired the bundle via a komplete torrent and wants to keep the plug-in list tidy, the Native Instruments preference pane lets you hide individual effects from the DAW plug-in menu. If you never use the guitar-oriented stompbox-style effects, unchecking them declutters your browser and speeds up the session-loading process.
Run the same drum loop through VC 2A, VC 76 and Solid Dynamics back to back
Spend an hour loading a single drum loop into ten tracks and processing each one with a different compressor from the bundle. Put the VC 2A on one, the VC 76 on another, Solid Dynamics on a third. Listen to how each handles the same transient material at matched gain reduction levels. Note which compressor gives you the punch you prefer and which one softens the attack in a way that suits gentler material. This exercise builds a mental map of the bundle's dynamics character faster than reading spec sheets.
Create a template project with the effects you reach for most often already inserted on empty auxiliary tracks. A reverb bus with Raum set to a medium hall, a delay bus with Replika XT at a dotted eighth note, and a parallel compression bus with the Solid Bus Comp ready to blend. Having these routings set up from the start of a new session removes repetitive setup work and keeps the creative momentum going.
When working with the MOD PACK, try automating the wet/dry mix rather than the depth or rate controls. A slow sweep from 30% to 70% wet on Flair over eight bars introduces chorus without the seasick pitch wobble that comes from modulating the LFO speed directly. The effect feels more like a widening of the stereo image than a modulation effect drawing attention to itself.
Finally, resist the urge to use every new tool on every project. Pick two or three effects from the bundle and use them exclusively for a week. A producer who spends five days processing everything through the PREMIUM TUBE SERIES develops instincts for the Passive EQ's curves and the Vari Comp's threshold behaviour. Those instincts matter more in a mix than having twenty options and knowing none of them deeply. Users who got the collection through a komplete ultimate crack often skim the surface; the ones who commit to a few modules get the sound that makes the download worthwhile.