Aspecten
 Download (641 MB)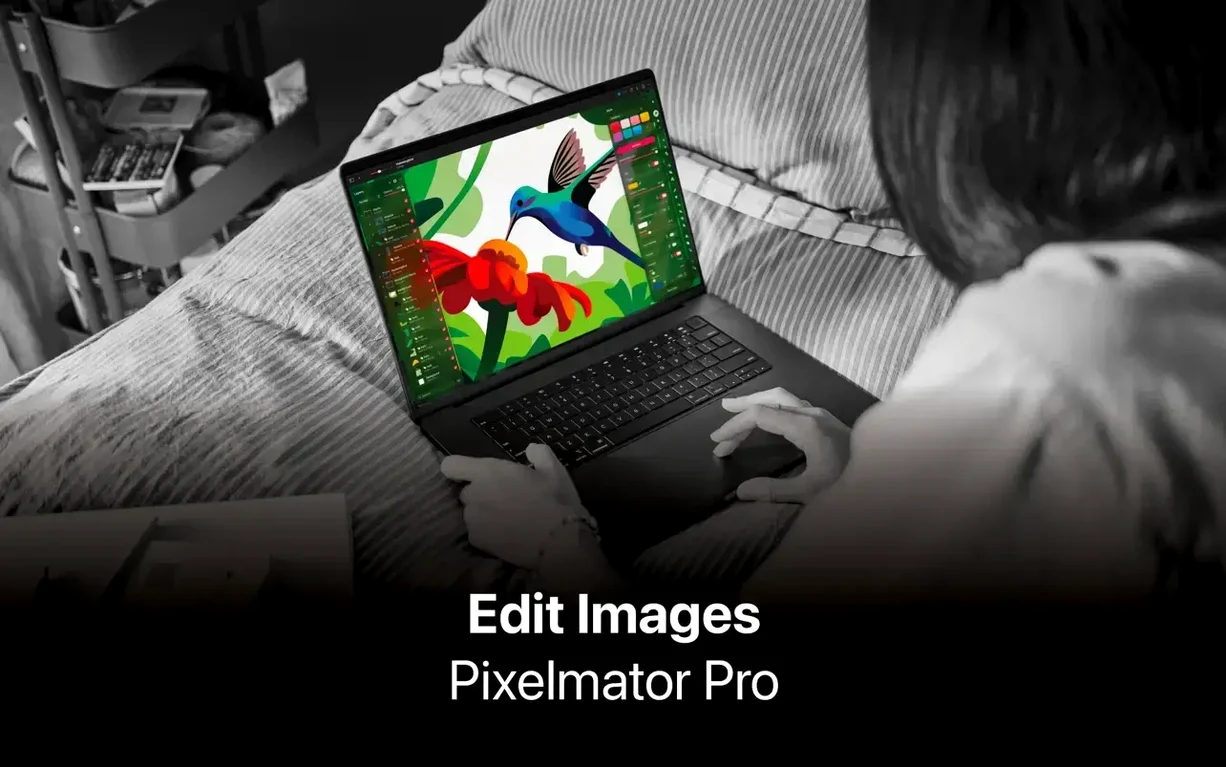
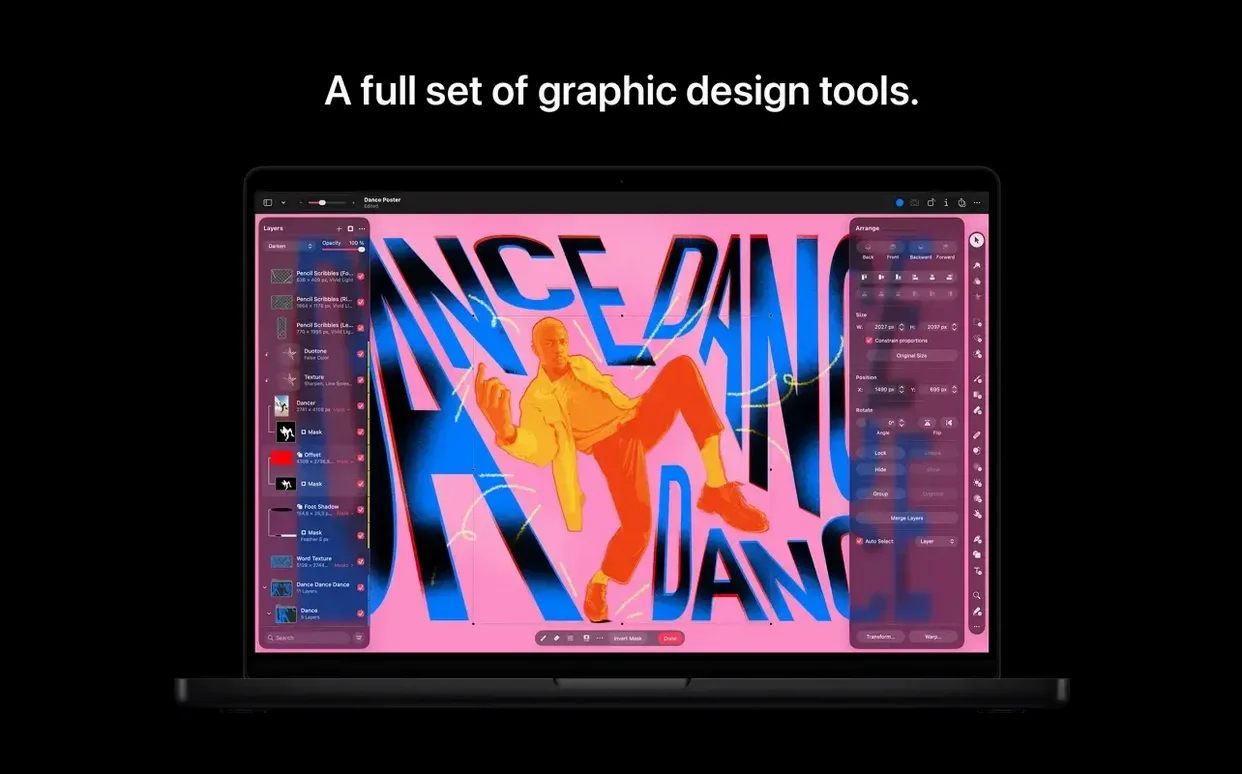
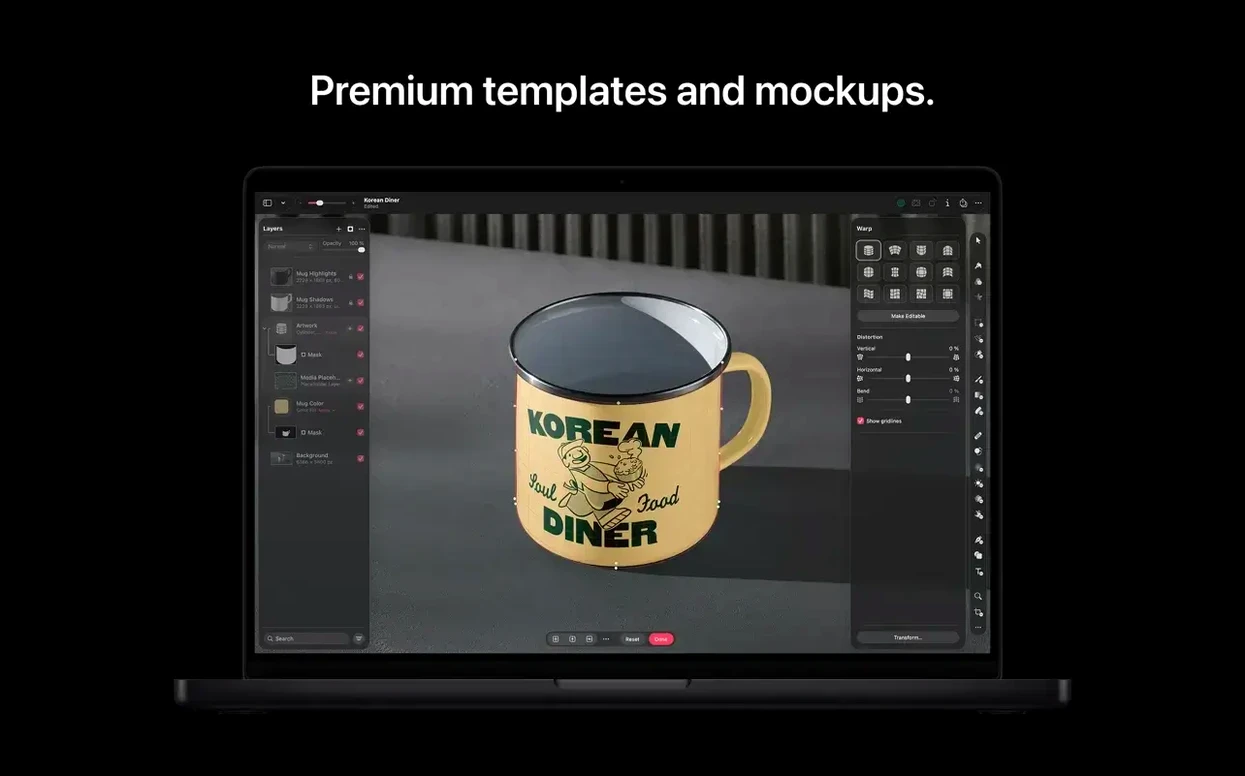
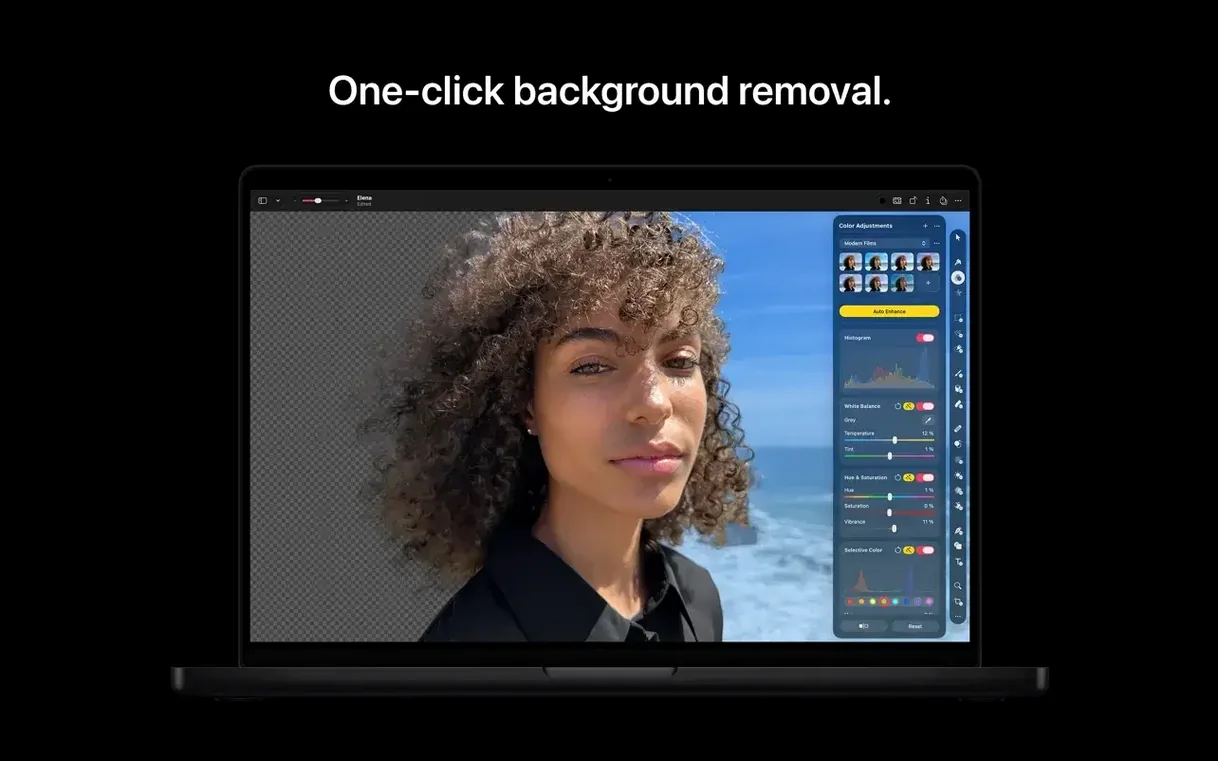
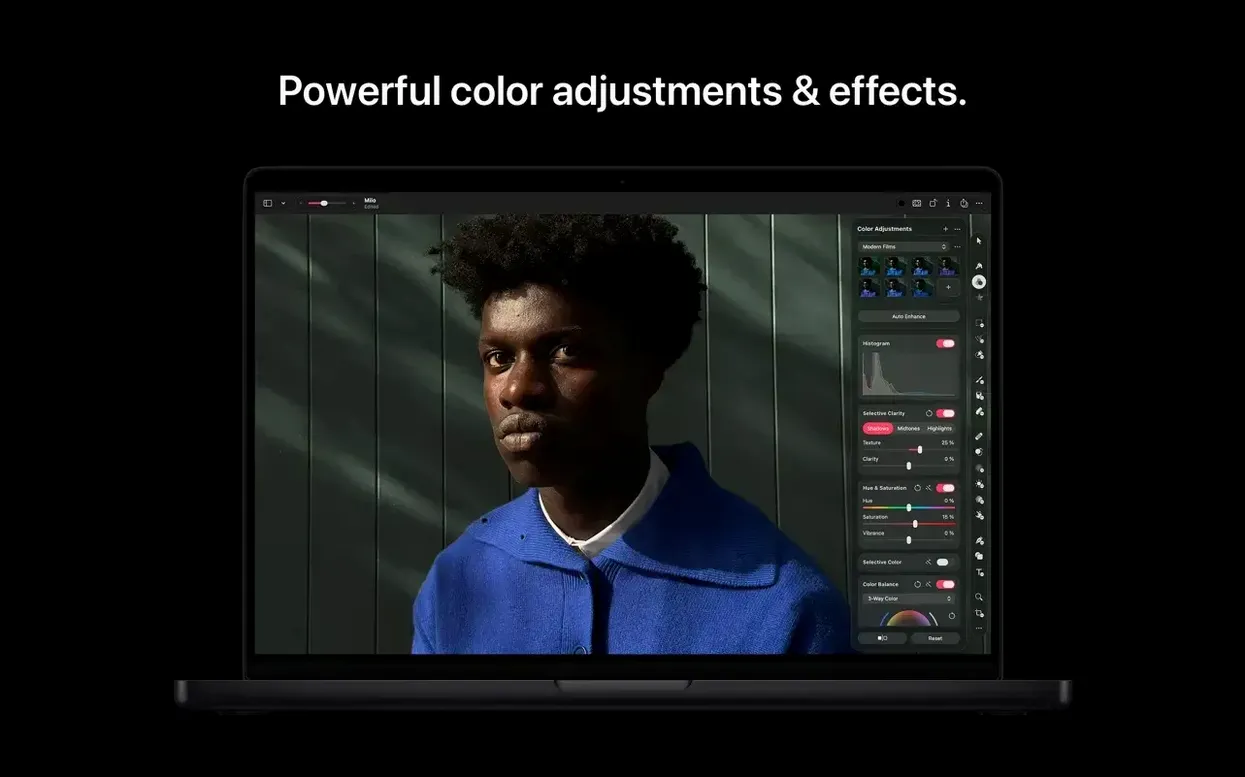
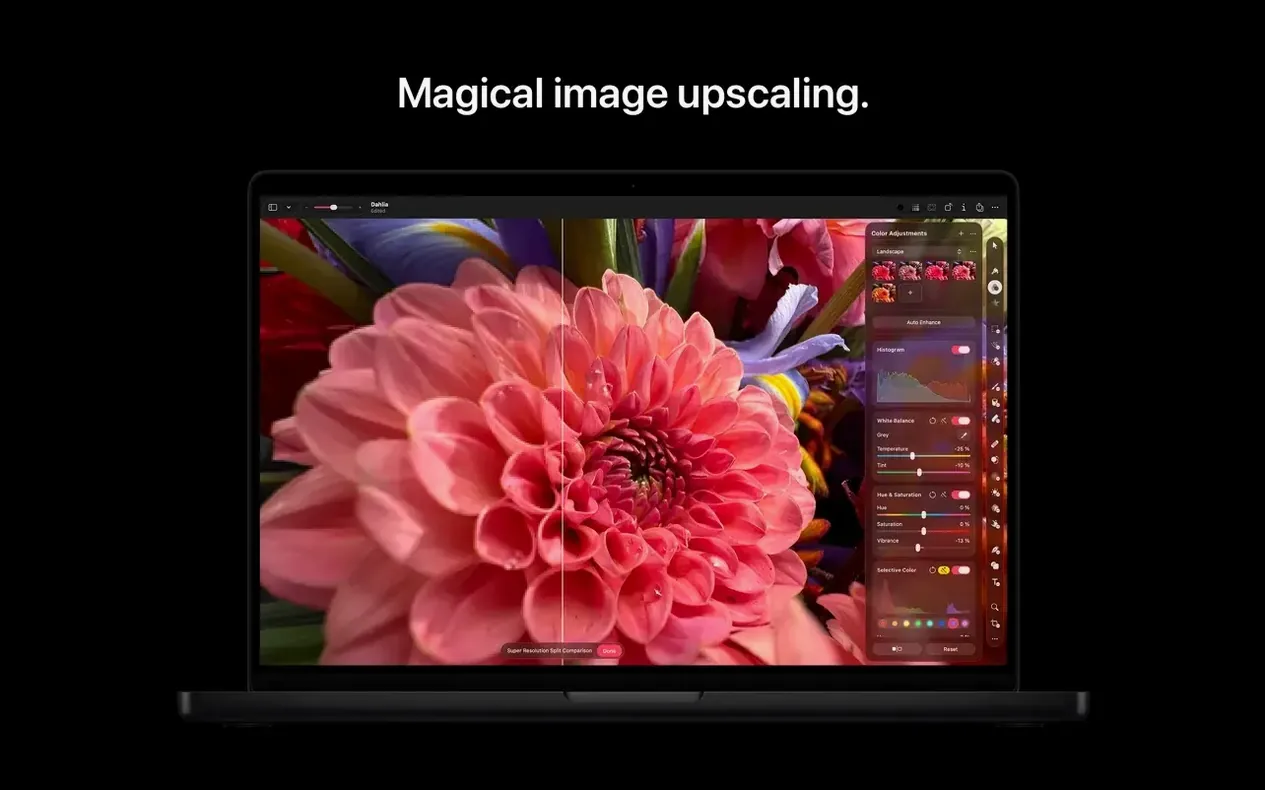
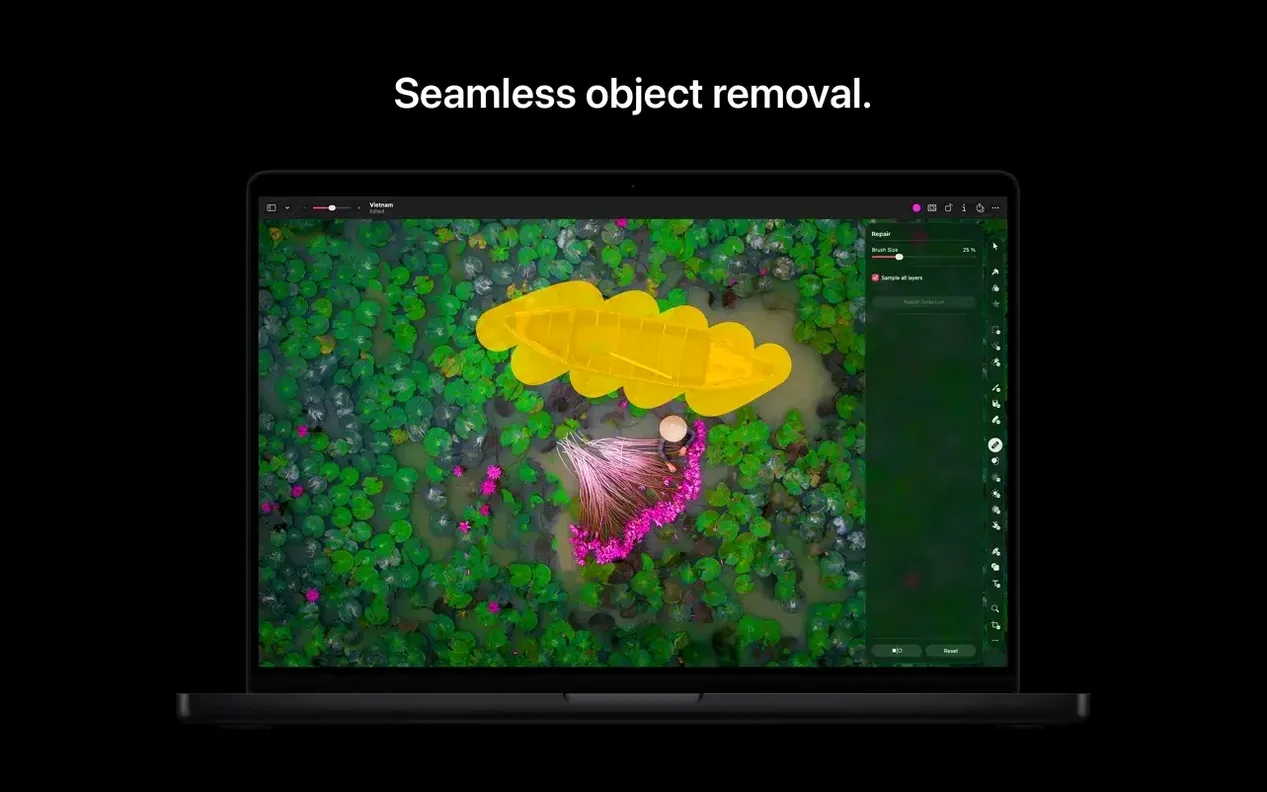
The current version of Pixelmator Pro requires macOS 26 or later, and Apple lists the app exclusively for Macs with Apple silicon. If you are still on an Intel machine running an older system, the latest feature set will not be available to you. An earlier version that supported macOS 10.13 High Sierra exists, but it lacks the tools found in the 4.3 release.
What the app includes
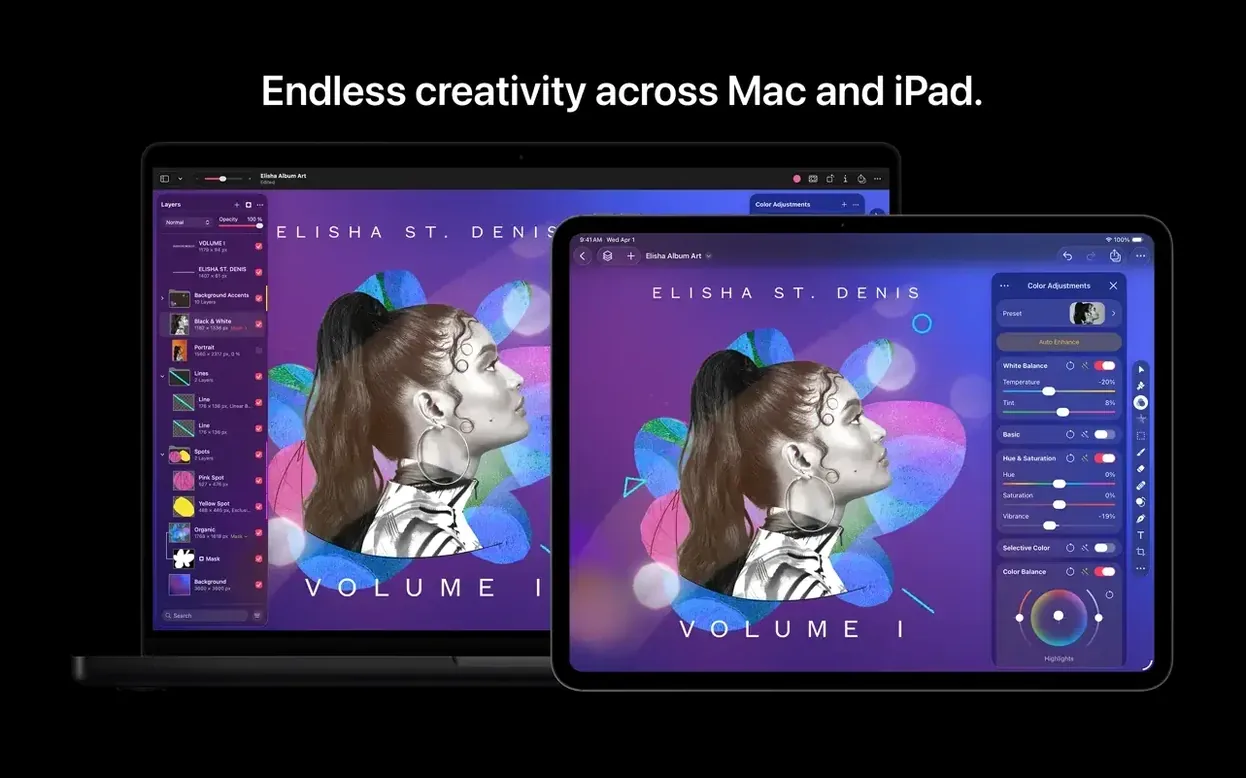
- A modern single-window interface that keeps tools and controls visible without floating palettes.
- Direct RAW image editing, so you can adjust exposure and colour before converting the file.
- The ability to open and edit layered Photoshop files, preserving blend modes and layer groups.
- Integration with the Photos app for launching the editor and saving edits back to the library.
- Sharing options to Photos, Mail and AirDrop directly from the file menu.
Accessibility and language coverage
Version 4.3 brings enhanced support for Switch Control and VoiceOver, making the interface more navigable without a pointer. The app speaks eleven interface languages: Russian, English, German, Spanish, Italian, Traditional Chinese, Simplified Chinese, Korean, Portuguese, French and Japanese.
RAW editing and colour grading in one seamless workflow
Photographers who shoot RAW and want to stay inside a single app for colour grading, retouching and export find the workflow tightly integrated. The ability to open a RAW file, adjust white balance and shadow recovery with the Core ML-powered enhancement, then remove a dust spot or stray object without launching a separate tool, removes friction that exists in multi-app setups.
Illustrators and designers who work with layered compositions get a lot from the non-destructive editing engine. You can place vector shapes alongside pixel layers, apply effects that remain editable, and open client-supplied PSD files without conversion artefacts. The SVG support means a logo mocked up in Pixelmator Pro can travel to a vector app or a web project later.
People who produce social media visuals or marketing materials in short cycles appreciate the single-window layout. There is no panel hunting. The tools you need sit in a strip on the right, and the controls for the active tool appear immediately. If you batch-process a folder of product shots through Automator, you save the kind of time that adds up across a working week.
Accessibility-minded users now have more ground to stand on. The improved VoiceOver and Switch Control support in version 4.3 means someone navigating by keyboard or assistive device can reach more of the editing tools than before. That group includes professionals who rely on macOS accessibility frameworks as part of their daily setup.
What carries over from a Photoshop habit
Does this replace a Photoshop habit entirely? For many people, yes, but it depends on which Photoshop features you rely on. Pixelmator Pro opens and writes layered PSD files, handles blend modes, and covers retouching, compositing and colour correction. It does not run Photoshop plug-ins, so if your workflow depends on third-party filters or panels that only speak the Adobe extension format, you will still need access to Photoshop for those tasks.
Will it run on an Intel Mac? Apple lists the current version as requiring Apple silicon and macOS 26 or later. Older versions of the app supported Intel hardware and even macOS 10.13 High Sierra, but those builds predate the tools in 4.3. If your machine is Intel-based, you can look for a pixelmator pro download that matches an earlier release, though you will miss Content Hub, Generate Image and the vector shape generation.
How does it handle RAW files compared to a dedicated RAW converter? The app reads RAW data directly and lets you adjust exposure, contrast, highlight recovery and white balance before the image becomes a standard raster layer. It is not a full digital asset manager with cataloguing features, but for a single-image editing session the results are clean. Photographers who batch-process hundreds of frames may prefer a dedicated tool, then bring selects into Pixelmator Pro for finishing.
Is there a way to try the latest features without buying? Some users search for a pixelmator pro torrent or a pixelmator pro crack to test the tools before committing. Those routes let you explore the full feature set, though you'll want to verify version accuracy and file integrity yourself. The app itself is straightforward to install once you have a working copy, and the disk image mounting and drag-to-Applications process takes under a minute.
Opening a RAW file straight from the Finder
Imagine a photographer who has just returned from a morning shoot with a card full of RAW files. She mounts the card, browses the folder in Finder, and opens one frame directly in Pixelmator Pro. The app presents the RAW development controls in the right-hand strip. She pulls the exposure up a third of a stop, warms the white balance slightly, and recovers highlight detail in the clouds. One click commits the adjustments and the image becomes a working layer.
Next she notices a small sensor spot in the sky. She selects the retouching tool, sets the brush size with a quick swipe on the trackpad, and paints over the spot. The tool samples nearby texture and blends it in. She zooms back out and the area looks clean.
She wants to lighten the foreground without affecting the sky. She adds an empty layer, sets the blending mode to Overlay, and paints with a soft white brush at low opacity. The mask stays editable. She can revisit it later if the print looks too bright.
Now she adds a text overlay for a promotional post. The type tool snaps to a grid she enabled earlier. She picks a font, sets the size, and nudges the text block with the arrow keys until it sits balanced against the composition. The text remains a separate layer, so she can change the wording or font next week without rebuilding the file.
She exports a full-resolution TIFF for the client and a JPEG for social media, then saves the layered document. The whole session happened in one window, without switching applications or managing floating palettes.
A searchable asset library inside the app
The Content Hub added in 4.3 changes how you insert supporting elements. Instead of dragging photos, graphics, shapes and illustrations from Finder or a browser, you open a panel inside the app that gives you a searchable library of assets. This speeds up tasks like placing a stock-style background texture or a common icon shape, because you stay inside the editing environment.
Generate Image introduces text-to-image creation directly on the canvas. You type a description, and the app produces an image layer you can composite, mask or adjust like any other. The same feature set includes Generate from Image, where you supply an existing layer and a text instruction to transform areas of it. A designer might take a rough sketch, describe the finish they want, and get a rendered version without leaving the layer stack.
Custom vector shape generation from text descriptions means you can describe a shape in words and receive an editable vector path. This is useful for icon drafts, placeholder graphics and geometric elements that would otherwise require manual pen-tool work. The result lands as a vector layer, so you can tweak anchor points later.
Sampling colours from anywhere on the screen
Several details in the interface are easy to overlook on a first pass. The colour picker, for example, can sample from anywhere on the screen, not just inside the canvas. Hold the shortcut and drag outside the window to grab a colour from a reference image open in Preview or a web page in Safari. This removes the step of importing a reference just to match a palette.
When you use the repositioning tool to reshape an object or an area, holding the Option key lets you duplicate the selection as you drag. This turns a simple contour adjustment into a quick way to clone and reposition an element in one motion, which is handy for product photography layouts where you want slight variations of the same item.
Layer thumbnails in the layers list support drag and drop between documents. If you have two projects open, you can pull a layer from one canvas onto the other without exporting and re-importing. The layer arrives with its blend mode and opacity intact.
The batch processing feature, accessible through Automator actions, covers more than simple format conversion. You can build a workflow that applies a specific colour profile, resizes to a target width, and adds a watermark layer, then run it on a folder of images while you step away. Setting this up once and saving it as an Automator application means the next time you need it, you drop the folder onto the app icon and the machine does the rest.
For those who found their way here via a pixelmator torrent search, the installation is straightforward once you have a working disk image: mount it, drag the app into Applications, and launch from Launchpad. The app weighs in as native for Apple silicon, so there is no Rosetta translation layer slowing down heavy filters or large canvas operations.