Aspecten
 Download (662 MB)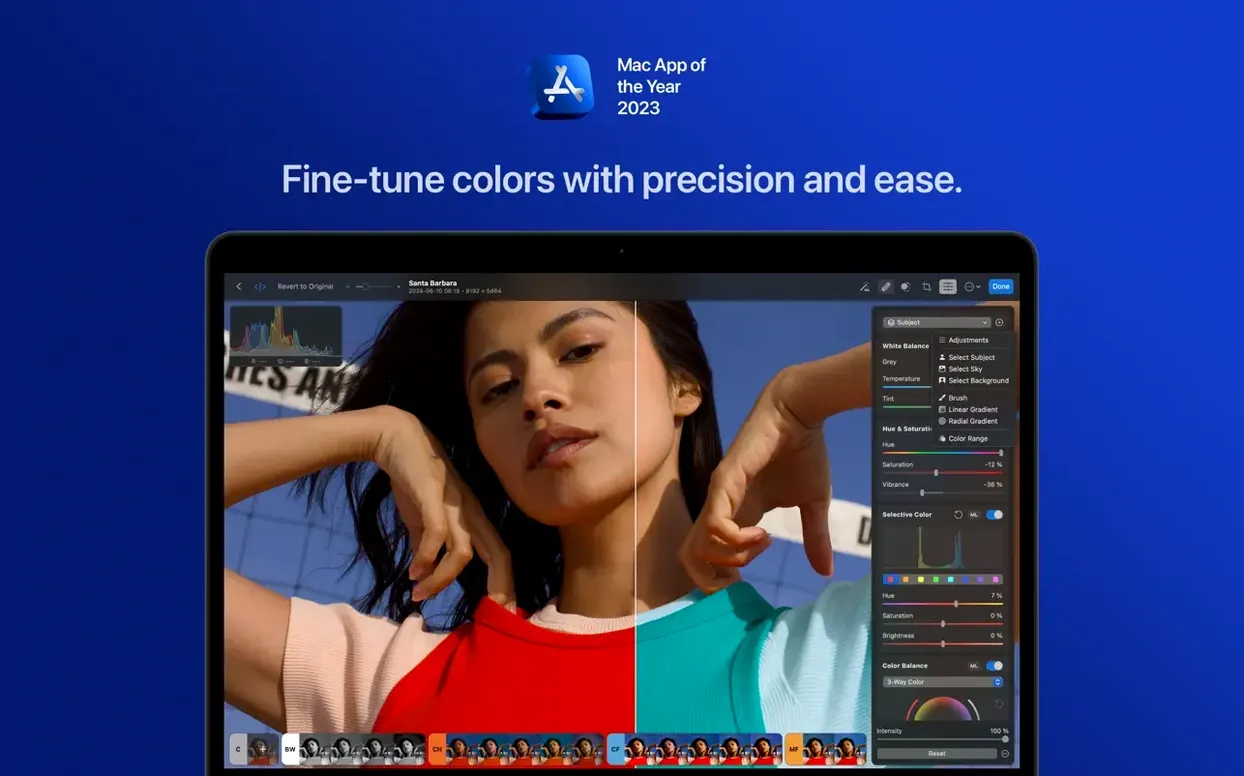
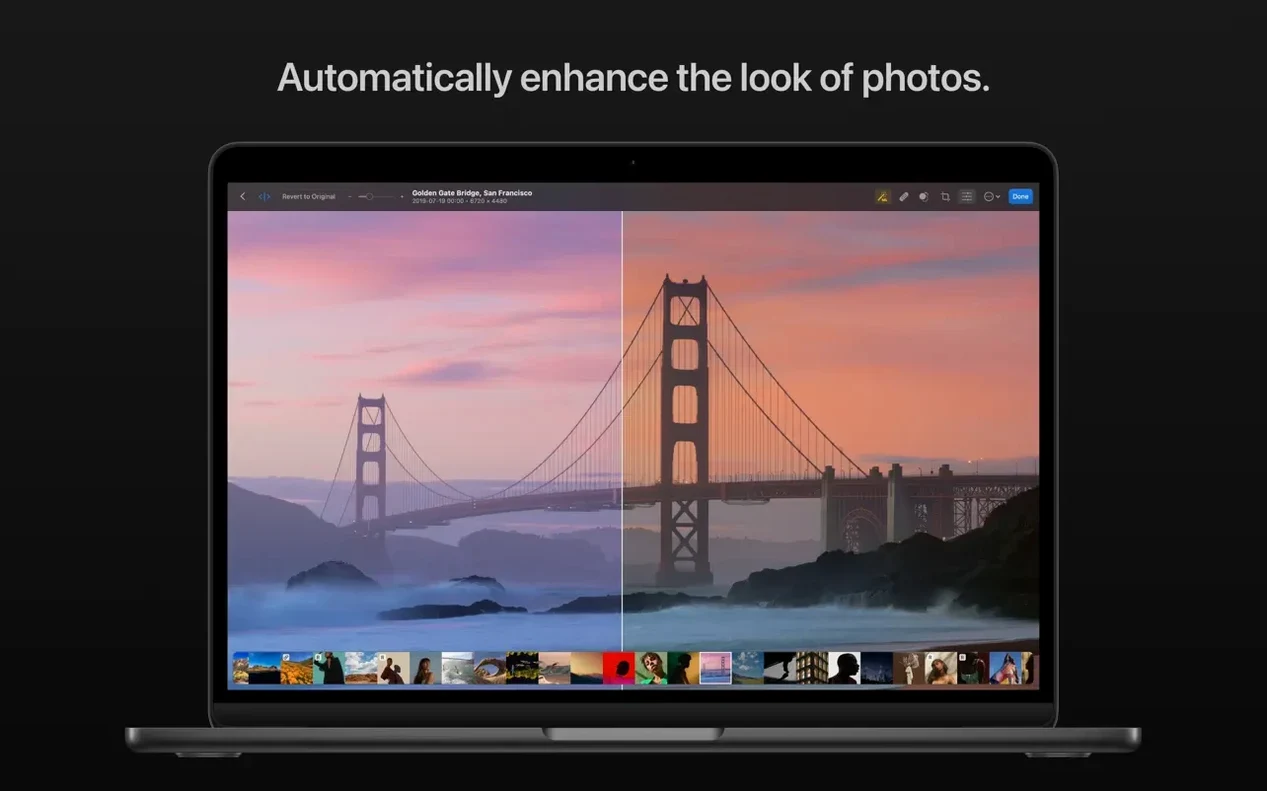
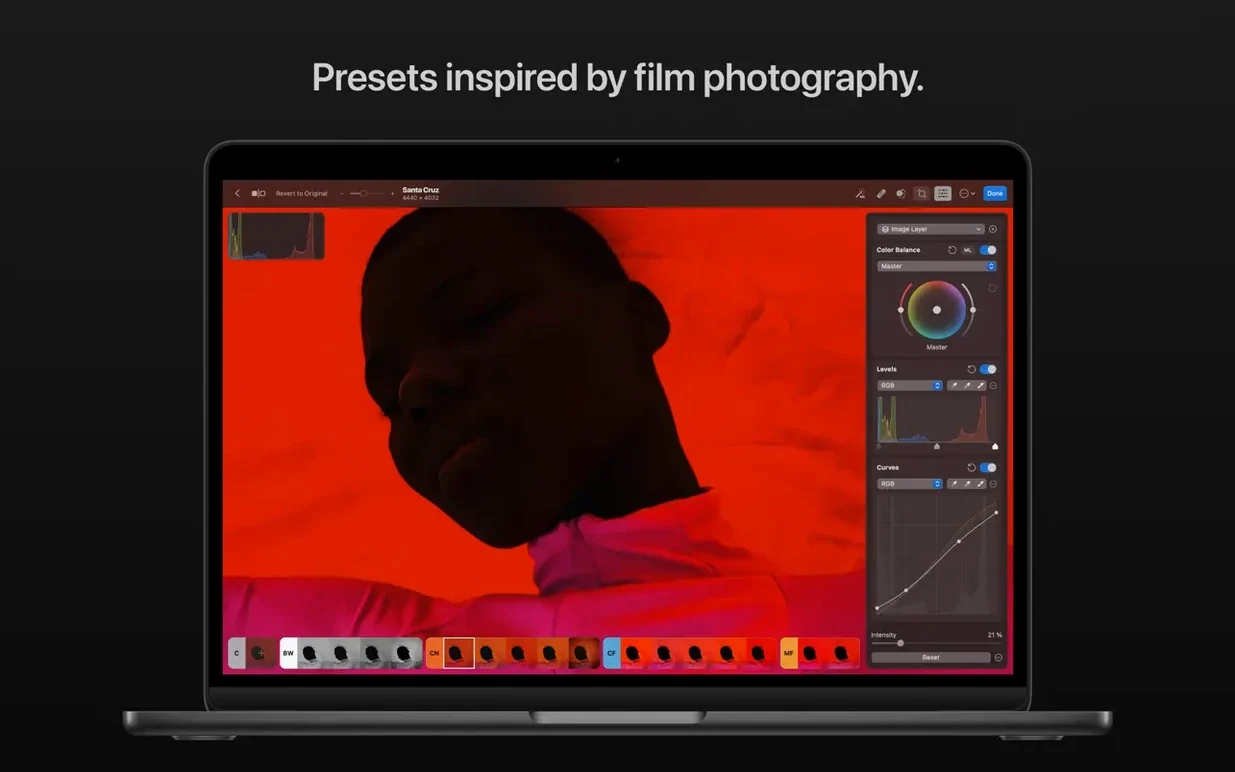
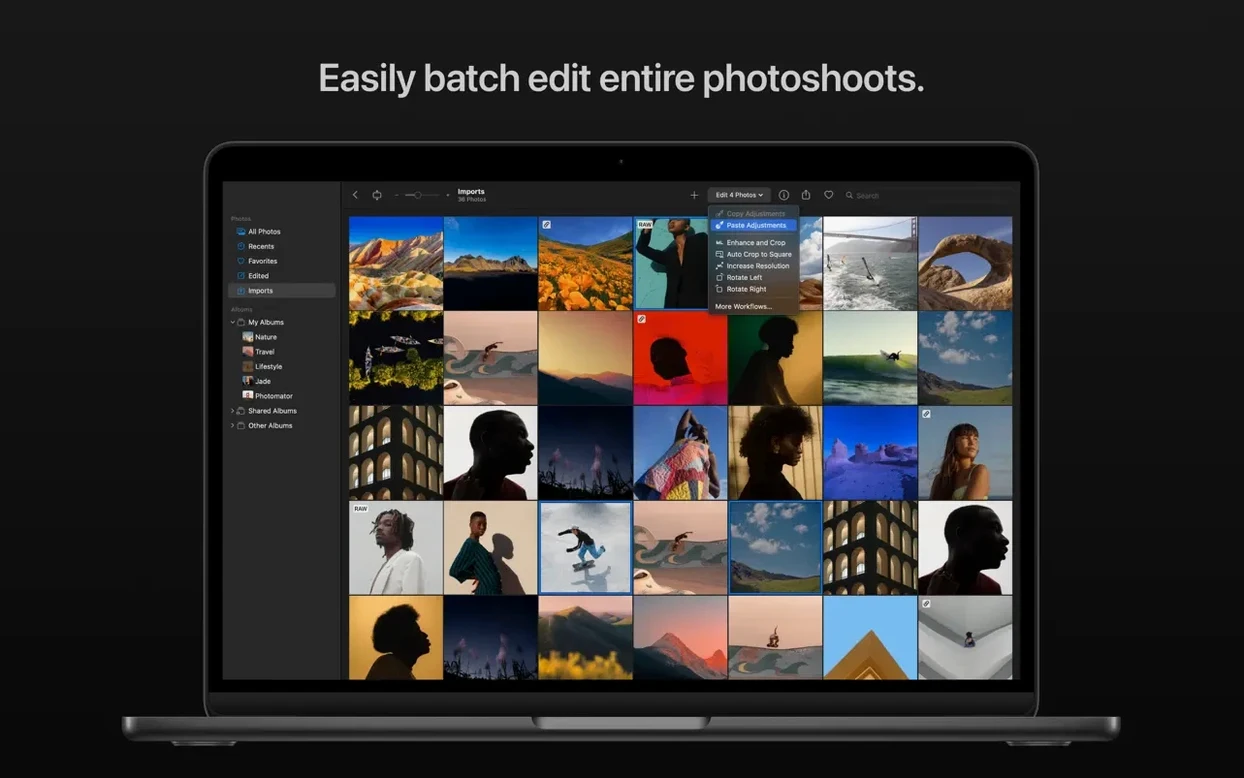
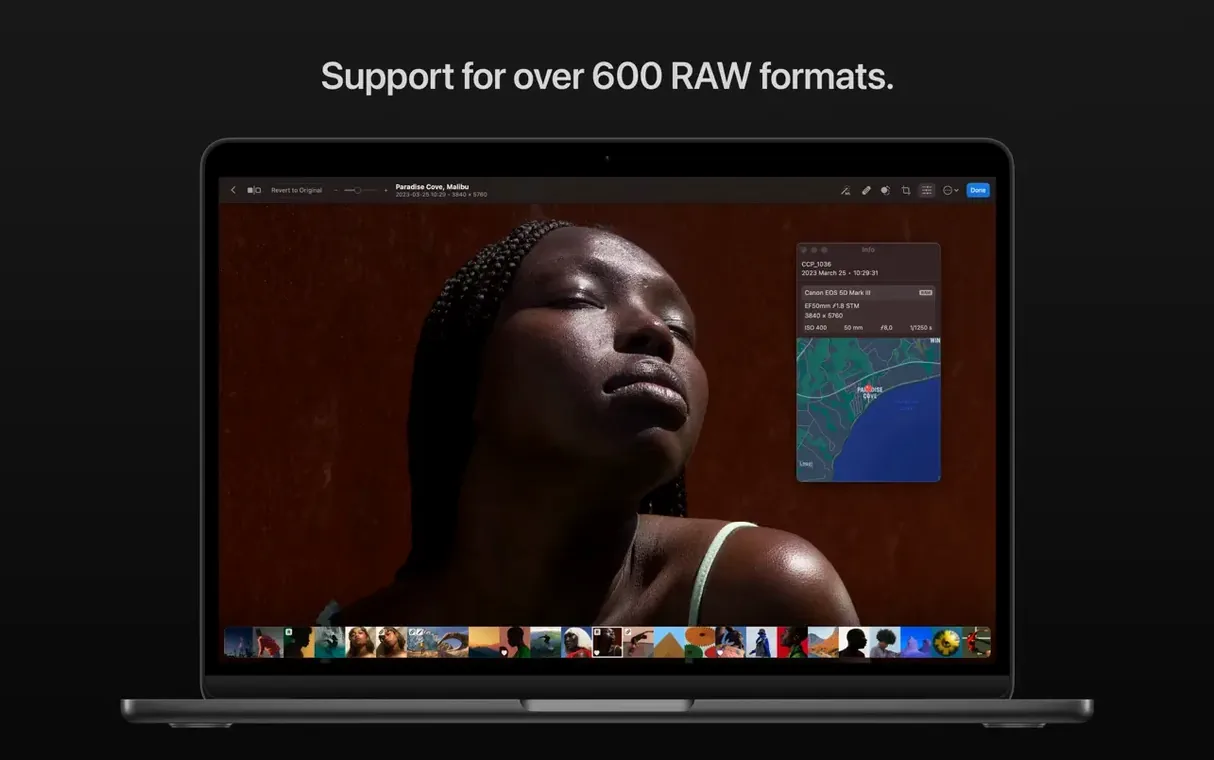
The current version, 3.4.15, is a maintenance and compatibility update. It adds RAW support for several recent camera bodies, including the Sony Alpha ILCE-7M5, FUJIFILM GFX 100S II, and Nikon Z5II, alongside the usual bug fixes and performance improvements.
macOS 13, Metal, and native Apple Silicon support
Photomator requires macOS 13 or later. It runs natively on both Intel and Apple Silicon Macs, using Metal, Core ML, and Core Image to handle processing.
What camera formats does it support?
It handles over 650 RAW formats, from common types like Apple ProRAW and compressed Fujifilm files to newer high-efficiency formats from Nikon and Panasonic. The latest update specifically adds support for high-resolution mode RAW images from the Panasonic LUMIX DC-S1RM2.
AI denoise, object repair, upscaler—all Core ML-driven
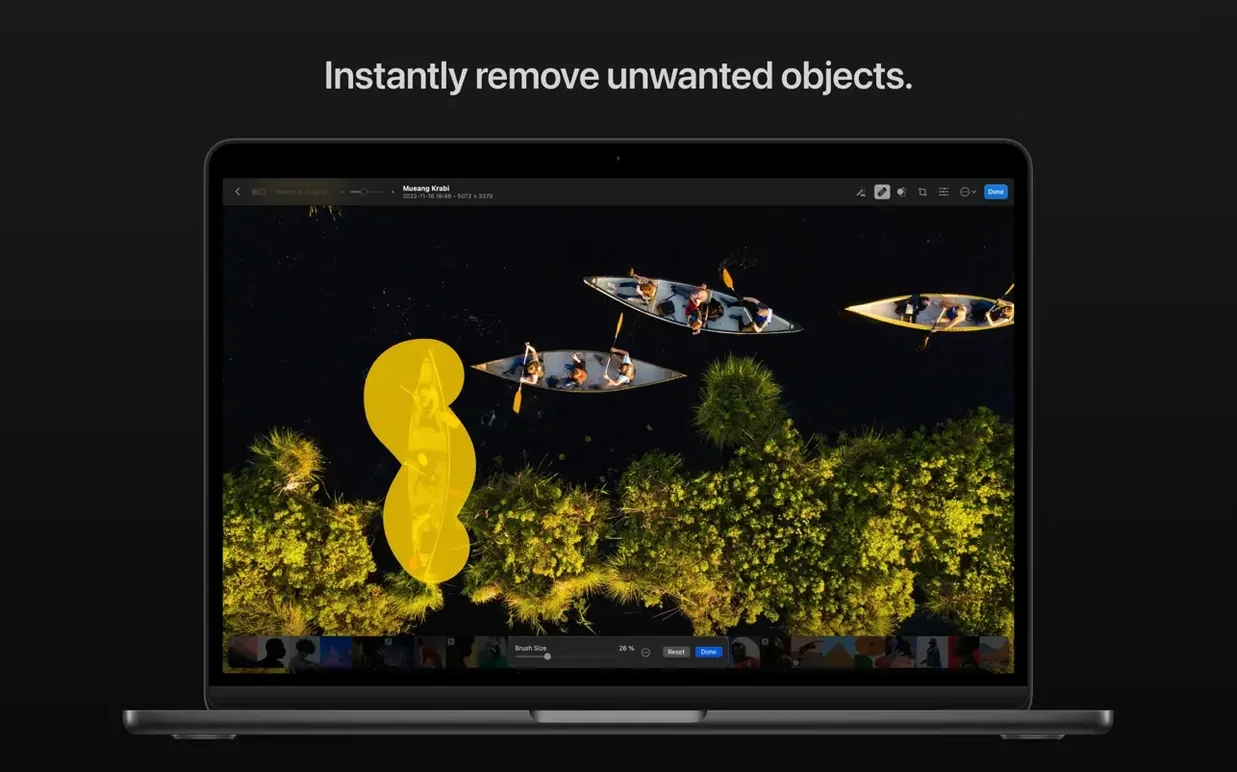
Photomator is a full photo editor built around Apple technologies. AI-assisted adjustments sit alongside manual tools, including a Core ML-based denoise feature, a repair tool for removing objects, and an image upscaler. Edits can be synced with the Photos app and iCloud Drive, copied between photos, or applied across batches.
How Photomator compares with similar Mac editors
Photomator occupies a particular spot on the Mac editing landscape. It is not a Lightroom replacement in the organisational sense, nor is it a plug-in host like Affinity Photo. Understanding where it fits helps avoid wrong expectations.
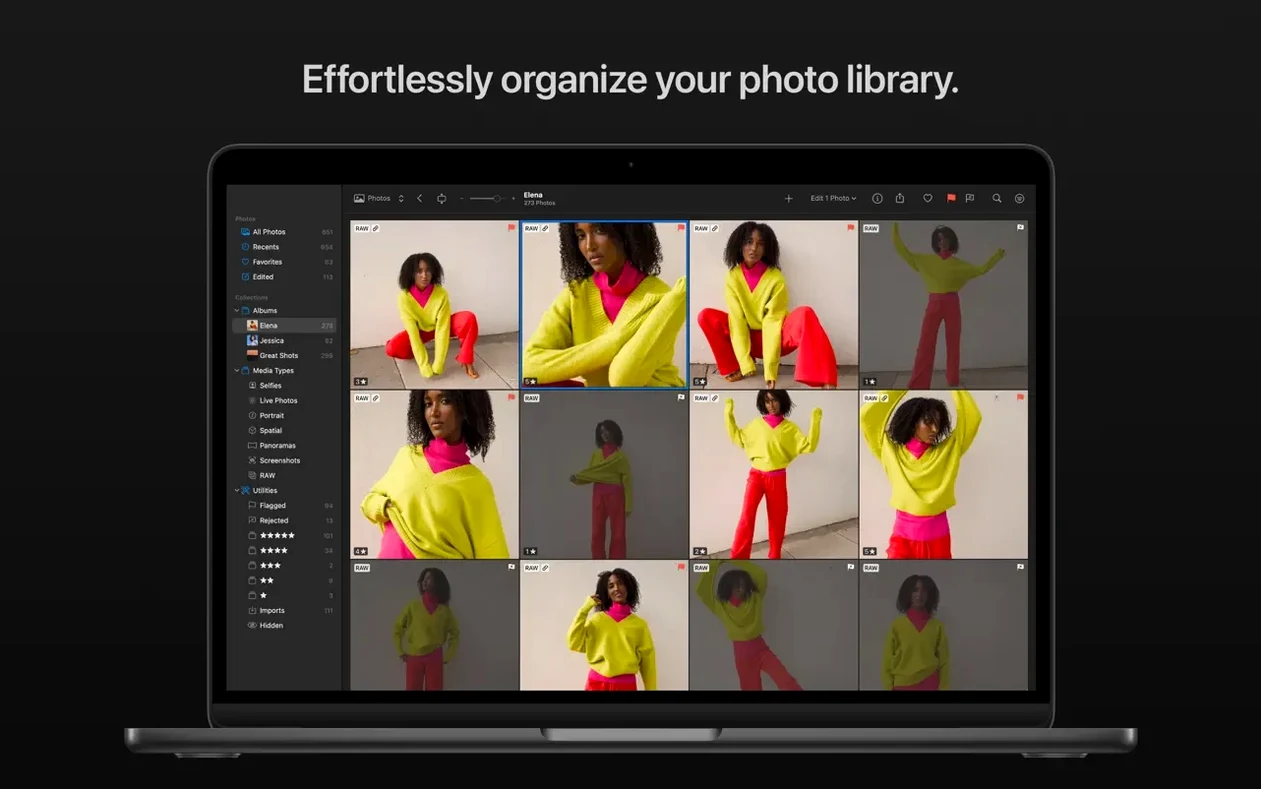
Against Adobe Lightroom Classic, the difference is mostly structural. Lightroom is a library first and an editor second. Photomator has no catalogue, no keywording, no rating system — it leans on the Photos app or the Finder for organisation. That makes Lightroom stronger for high-volume workflows where culling and metadata matter. Photomator answers with speed: adjustments apply instantly, the interface never feels database-heavy, and batch editing works directly on folders without importing. Someone managing ten thousand wedding photos will miss Lightroom's cataloguing. Someone editing fifty landscape shots from a hike will probably prefer the directness.
Pixelmator Pro comes from the same developer and shares the same Apple-technology foundation — Metal, Core ML, Core Image. The overlap in colour tools and ML-based selections can confuse people browsing both pages. The distinction is that Pixelmator Pro is a layer-based image editor with illustration and design features. Photomator strips out layers, vector tools, and the general-purpose canvas model in favour of a pure photography workflow. If you regularly composite images or add text overlays, Pixelmator Pro is the right tool. If you spend your time adjusting exposure, white balance, and colour grading on RAW files, Photomator's focused toolset gets you there with fewer clicks.
Affinity Photo sits at the opposite end: deep, layer-heavy, full of professional print features, and considerably less immediate for quick photo adjustments. Affinity Photo rewards people who want to build complex edits from scratch. Photomator rewards people who want to open a RAW file, apply a preset or AI selection, tweak a few sliders, and export. The learning curve on Affinity is steep; Photomator's is shallow by design.
A fair summary is that Photomator competes most directly with the editing half of Lightroom, while leaning on the operating system for everything else. That is a conscious trade-off, not an oversight.
How Photomator fits with other apps and macOS features
Photomator is not designed to work alone. The developer assumes you already use Photos or the Finder for storage, and the app weaves into those systems rather than building its own silo.
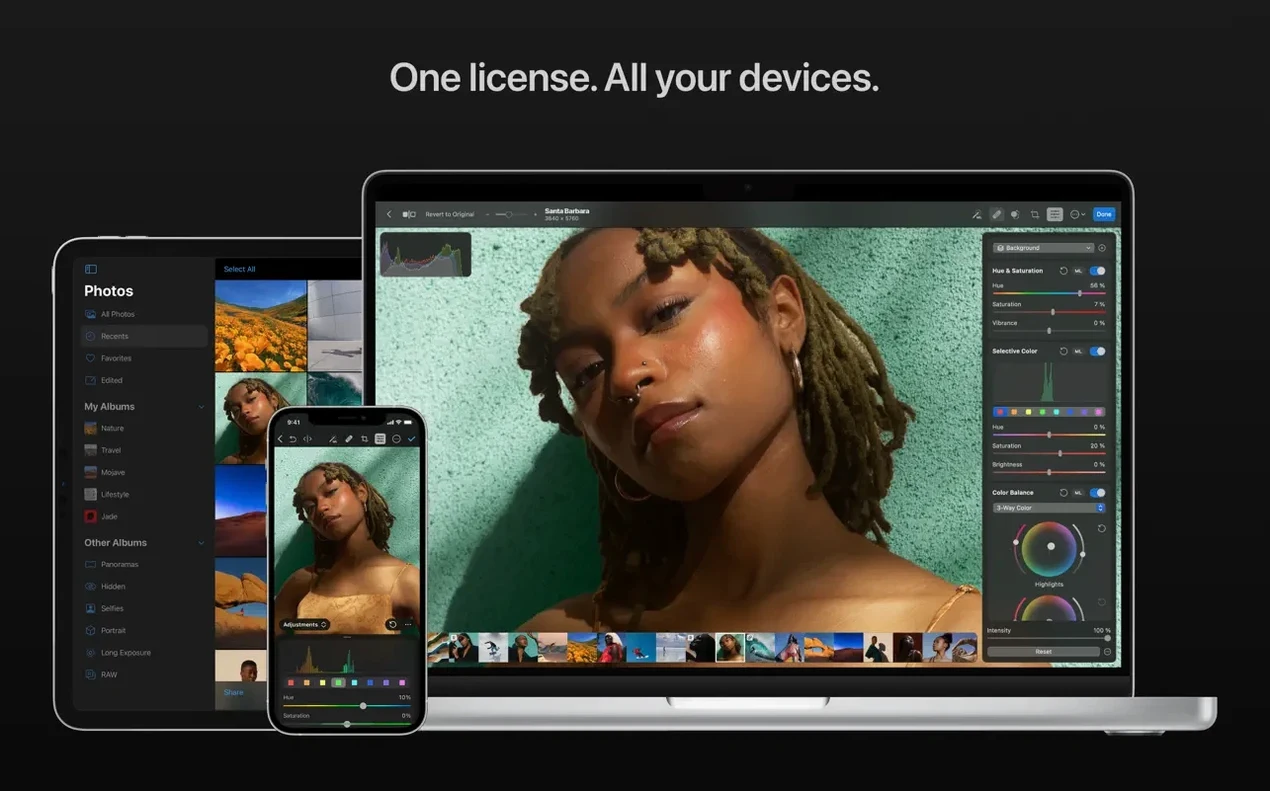
The tightest integration is with the Photos app. Edits made in Photomator can sync back to the Photos library, which means images remain visible across iCloud on other Macs, iPads, and iPhones. If you use an iPhone to capture ProRAW shots, those files appear in Photos, open directly in Photomator, and the edited result stays in the same library. The round-trip works without exporting and re-importing. Photomator iOS exists for people who want to start or continue edits on an iPad or iPhone, and the editing data transfers through iCloud alongside the image.
Finder-based workflows work differently but equally well. Open a folder of RAW files from a memory card, edit directly from that location, and save adjustments as sidecar files or export to a new folder. No import step, no library to maintain. This pairs naturally with apps that watch folders, like image resizers or uploaders.
For people who use Apple Shortcuts, Photomator exposes actions that automate repetitive steps — applying a preset to a folder, converting formats, or resizing images. The actions are straightforward but useful when combined with folder watchers or calendar triggers. A common setup: Shortcuts watches a folder, Photomator applies a specific preset, and the result lands in a shared iCloud folder for someone else to review.
The app also works alongside Quick Look and Preview in the Finder. Edited images display correctly in Quick Look, and the metadata stays intact when you open files in other Mac apps that respect the same colour profiles and embedded adjustments.
Edits land on the wrong non-destructive layer
Photomator's surface is calm and uncluttered, which makes some people underestimate what is happening under the hood. A few patterns show up repeatedly in early use.
Applying edits to the wrong layer of the workflow. Photomator edits are non-destructive, but the order of operations still matters. A beginner will often apply denoise after sharpening, then wonder why the sharpening brought noise back. The correct sequence is denoise first, then sharpening, then local adjustments. The app does not enforce this, because different images sometimes need different approaches, but the default behaviour of the sliders assumes you work from the top of the adjustment list downward.
Ignoring the repair tool's sampling behaviour. The clone and repair tools work well, but they sample from a fixed area by default. Someone new to the app will click on a dust spot, see a good result, then brush along a telephone wire and watch the source area drag along with the brush, copying unintended content. Holding the Option key to set a new sample point before each stroke avoids this, but the manual does not shout about it.
Batch editing without checking individual images. The batch feature copies adjustments wholesale. Applying a preset designed for overcast light to a folder that also contains sunny shots produces odd results. Checking a few images from the batch before committing saves time later. The "copy edits" function is safer for mixed folders because you can paste selectively.
Assuming the upscaler works like a dedicated resizer. The upscale feature uses machine learning and produces good results for moderate enlargements, but it is not a replacement for specialist tools like Topaz Gigapixel. Beginners sometimes upscale a small crop to poster size and are disappointed. The feature works best when you need a 1.5× or 2× increase on an already-clean image.
Sony ILCE-7M5 and GFX 100S II camera compatibility
The jump to version 3.4.15 was modest in scope, focused on camera compatibility. For everyday use, the practical effect is narrow but meaningful for people with specific gear. Owners of the Sony Alpha ILCE-7M5, FUJIFILM GFX 100S II, or FUJIFILM GFX 100RF can now open their compressed RAW files without converting to DNG first. Nikon Z5II and Z50II users gain access to the high-efficiency RAW formats that save card space without sacrificing editing latitude. Panasonic LUMIX DC-S1RM2 photographers working in High Resolution mode can bring those large files directly into the editor.
Earlier updates in the 3.4 cycle strengthened the batch editing reliability and improved memory handling on Apple Silicon when processing large RAW folders. The denoise algorithm also received refinements — not a new model, but better handling of edge detail in high-ISO shots. These changes accumulate quietly across versions, and the daily experience on 3.4.15 feels snappier than on 3.3, especially when scrubbing through a series of edits on an M-series Mac.
Bug fixes in this release addressed a crash that occurred when rapidly switching between the repair tool and the crop tool, and a display glitch where colour adjustments sometimes previewed incorrectly on wide-gamut displays. Neither was dramatic, but both removed small friction points from extended editing sessions.
iCloud sync stalls create duplicate images
No app is frictionless, and Photomator has its share of recurring trouble spots. Most have straightforward fixes once you know where to look.
Syncing with Photos stalls or produces duplicate images. This tends to happen when iCloud Photo Library is still uploading changes from another device. Pausing iCloud syncing in Photos preferences, waiting a few minutes, then resuming usually clears the queue. If duplicates appear, checking whether both the original and the edited version are visible in "Recently Added" often reveals that one is a pending upload rather than a true duplicate — deleting the pending one resolves it.
RAW files from a newly supported camera still do not open. Apple's RAW support updates separately from Photomator. If a camera is listed as supported in the Photomator release notes but won't open, the macOS system-level RAW update may not have installed yet. Checking Software Update for a pending "Digital Camera RAW Compatibility" update fixes this.
Denoise produces smeared textures on fur or fabric. The Core ML denoise model is generally good but sometimes over-smooths fine repeating patterns. Turning the denoise slider down to around 60–70% and adding a small amount of grain back with the grain tool preserves the perceived sharpness without reintroducing obvious noise.
The repair tool leaves a faint outline. This often occurs on gradients — skies, studio backdrops, smooth walls. Switching from the default "Normal" source mode to "Edge Aware" in the repair tool options usually produces a cleaner blend. If that still shows a seam, sampling an area closer to the repair site with a softer brush edge almost always sorts it.
Colours look different after exporting. Photomator uses the display's colour profile for preview by default. If the export profile differs from the display profile, colours shift. Setting the proofing profile to match the intended export profile — sRGB for web, Display P3 for Apple devices — before making final colour adjustments prevents the mismatch. The soft-proof option sits in the View menu and is easy to overlook.