Aspecten
 Download (1.1 GB)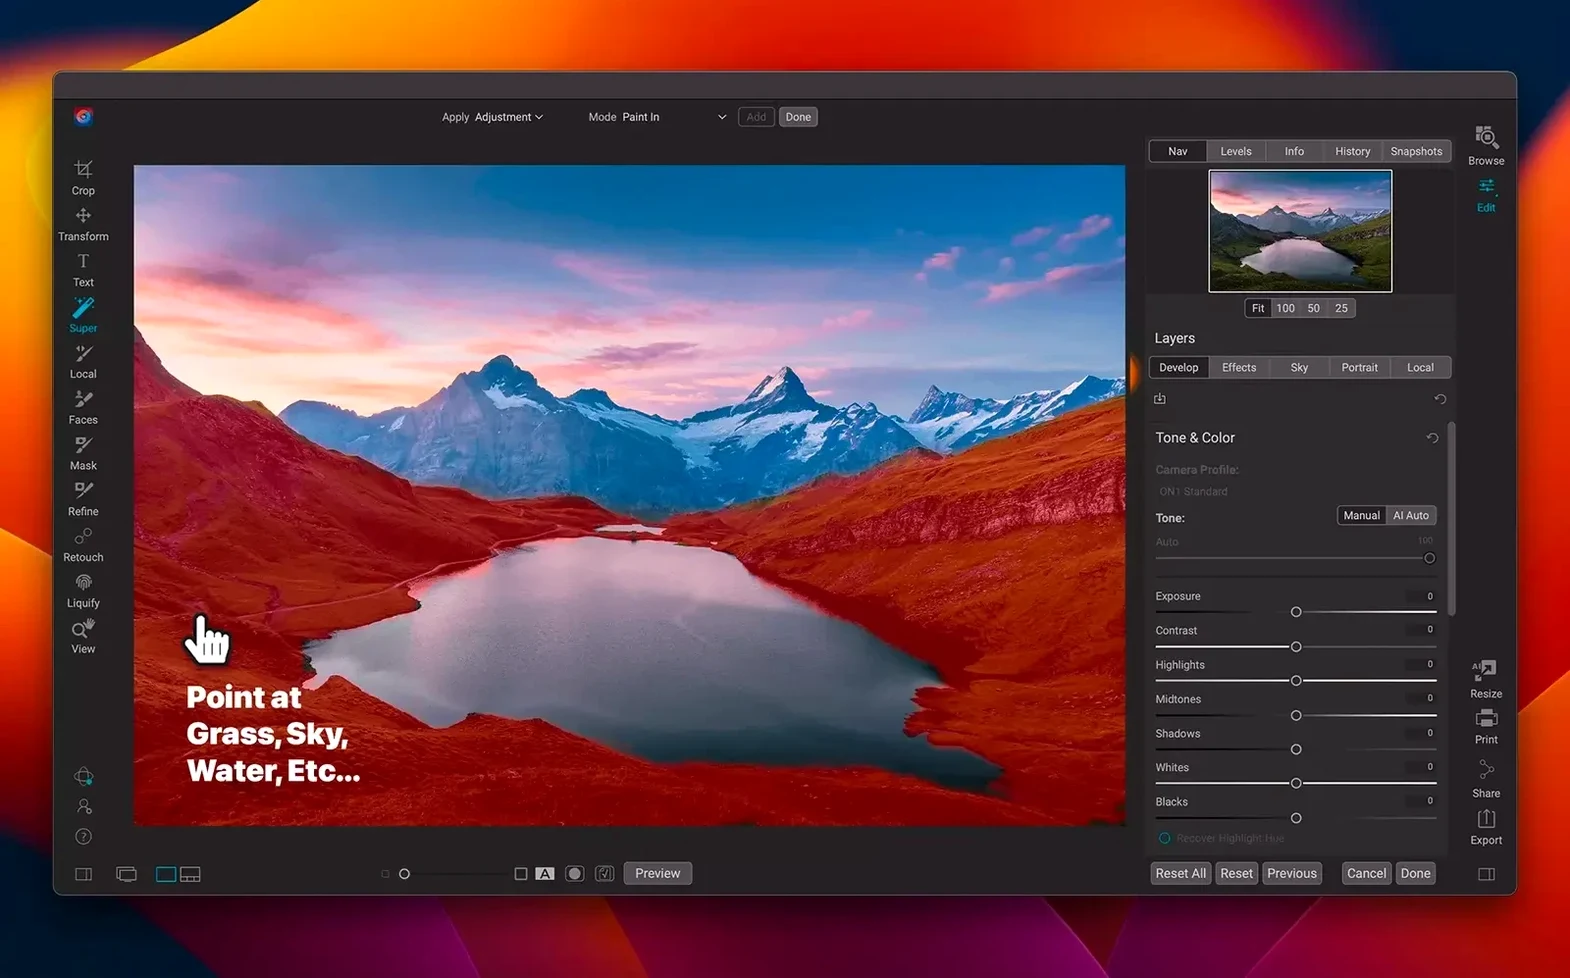
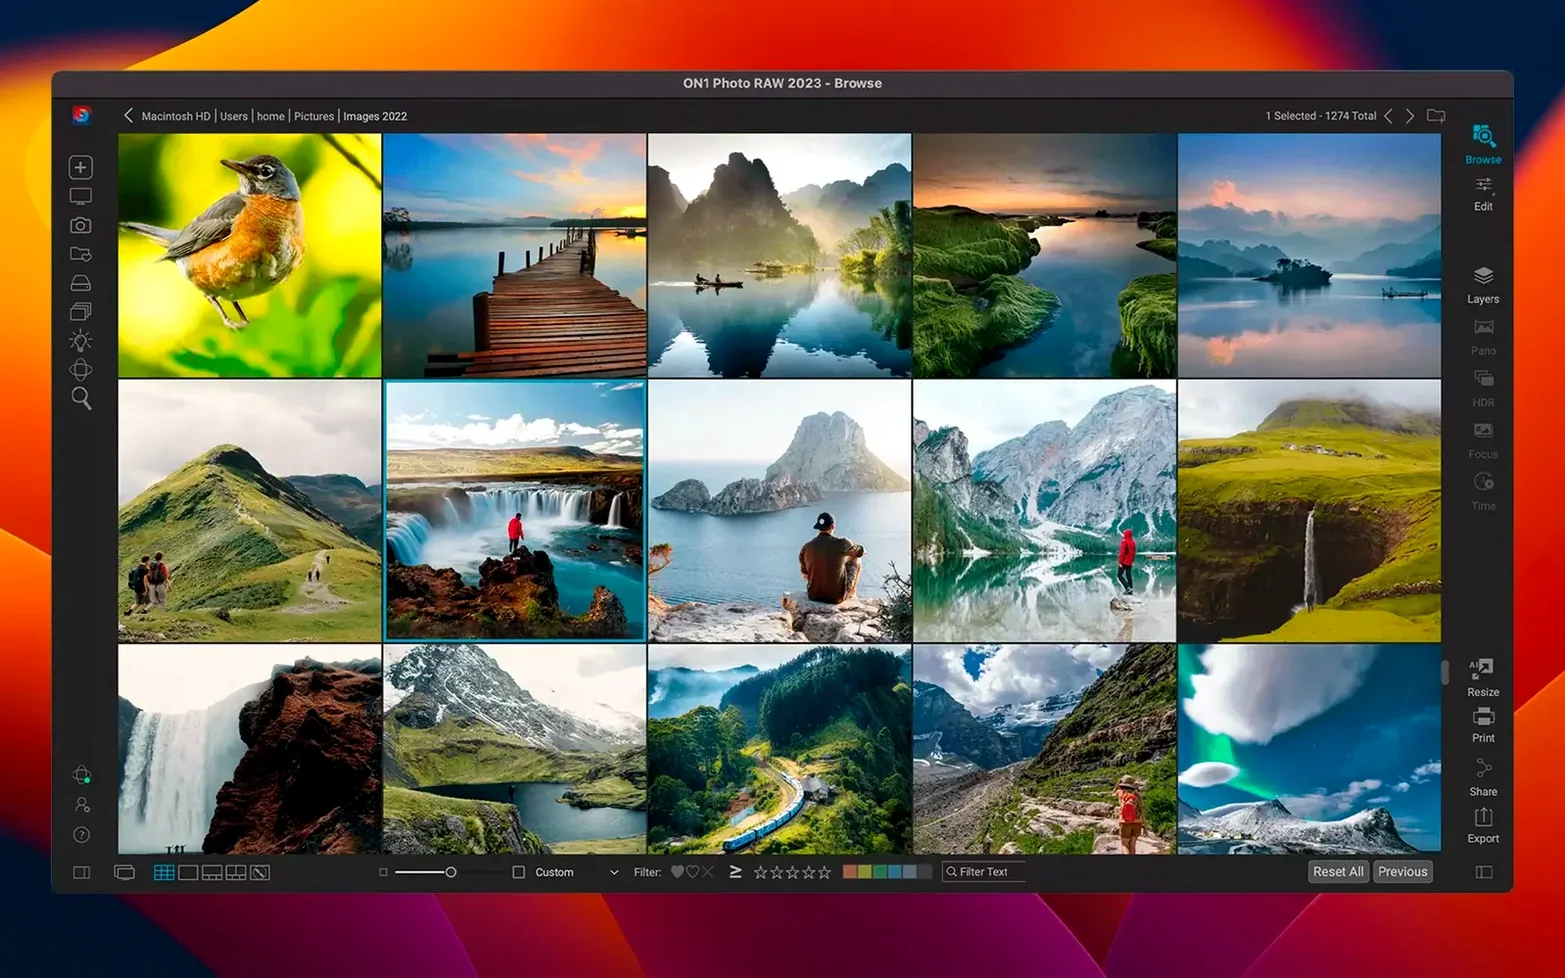
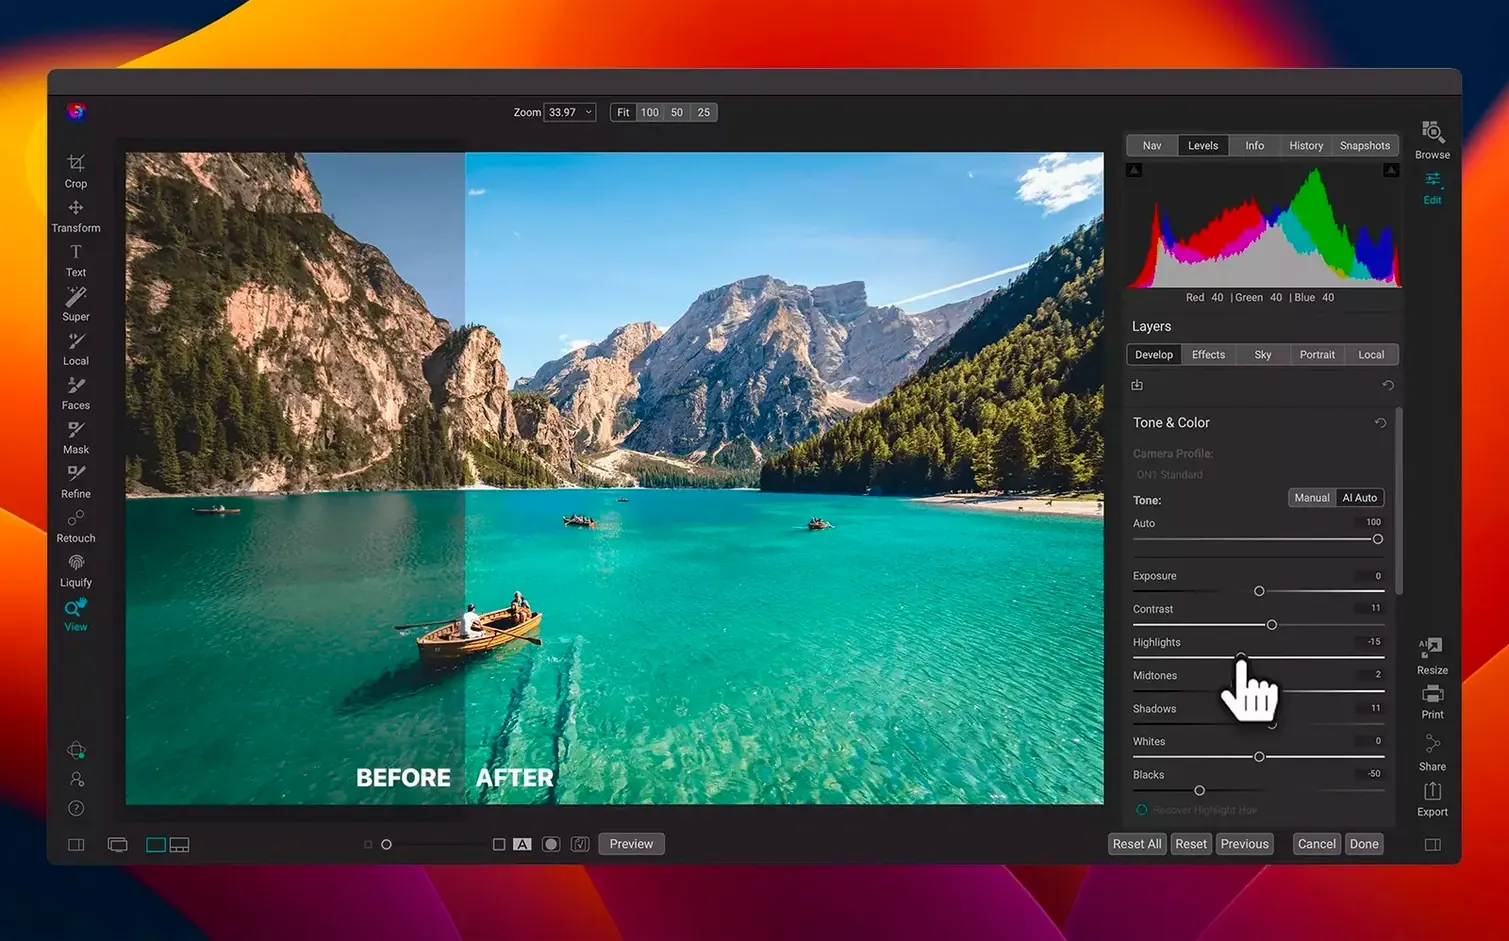
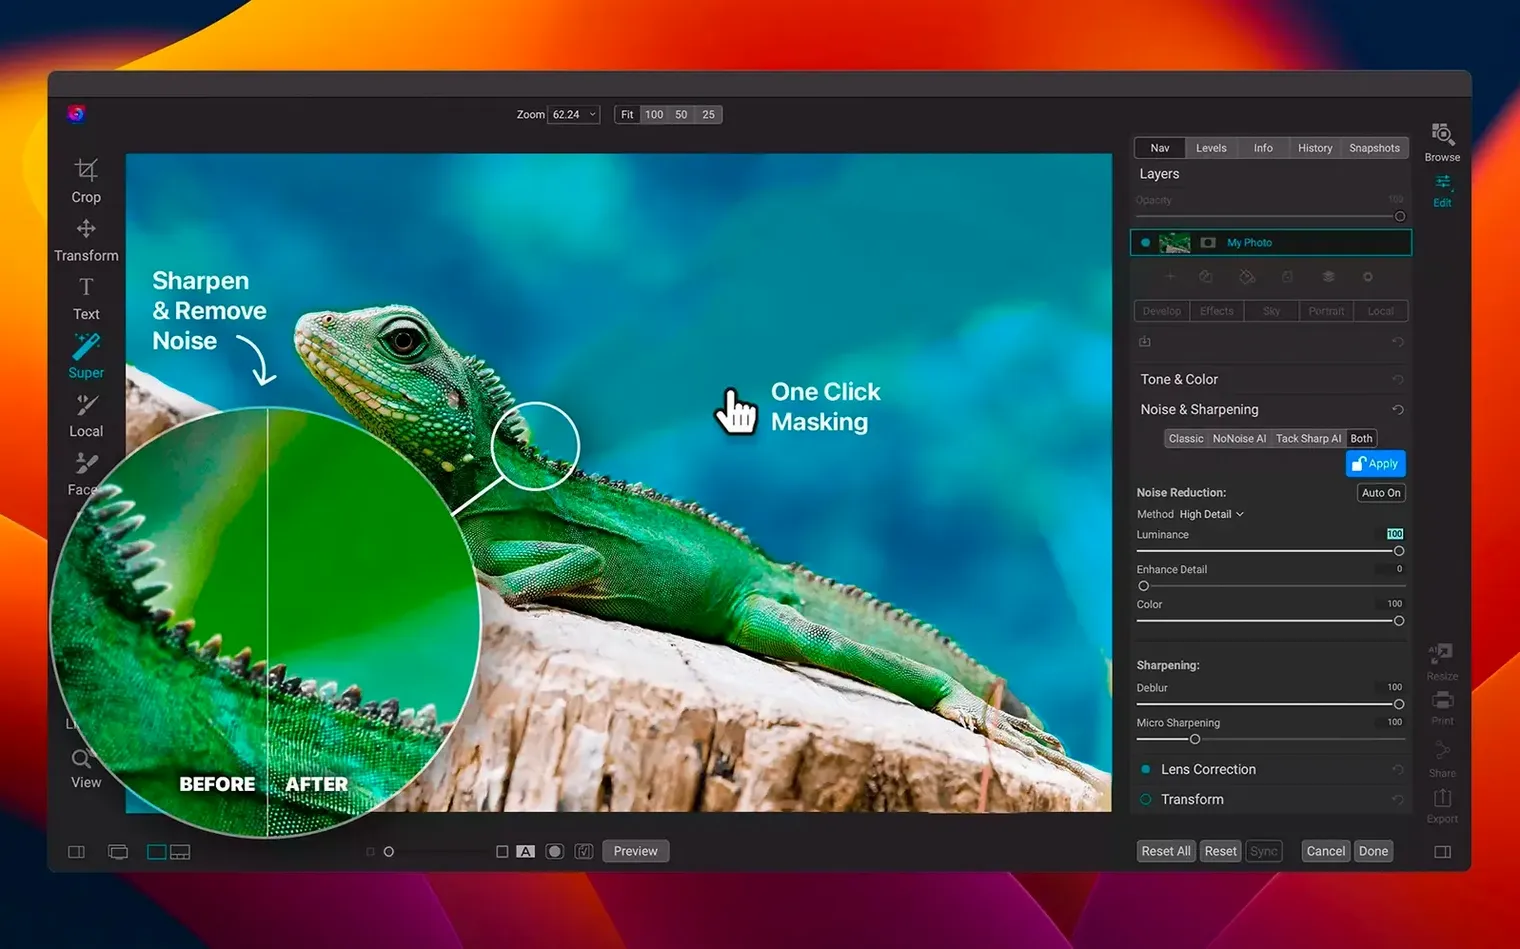
Version 2026.5.2 ships with updated lens profiles for 27 cameras and a rewritten filter engine that renders previews in roughly half the time of the previous release. The app remains a standalone, local photo workspace that combines browsing, RAW development, layered editing and effects in a single window.
Processing a landscape from RAW to finished edit
A tree-lined canal shot on a hazy morning makes a useful test case. The image opens in Browse, where star ratings and colour labels help to isolate the best frame from two dozen near-identical exposures. Switching to Develop, the lens profile corrects barrel distortion automatically based on EXIF data. The haze needs a gentle contrast curve and a nudge to the dehaze slider in the Effects panel. A graduated filter brings back detail in the overcast sky without touching the water. The edit is non-destructive and stored in a sidecar file.
Adding depth with a layered effect
With the base adjustments done, the file moves into the layered editor. A local adjustment layer masks the canal banks and lifts the greens slightly. ON1’s Dynamic Contrast filter, applied selectively, gives the tree bark some bite. Two more layers handle subtle sharpening and a warming photo filter that shifts the colour temperature without flattening the midtones. The whole stack stays live, so the RAW processing underneath can be reworked later. Export options cover Photoshop PSD, TIFF and standard JPEG sizes, all written directly to the local drive.
Building a portrait preset from scratch
A common first task after installing a RAW editor is setting up a repeatable starting point. In ON1 Photo RAW, a portrait preset can cover skin smoothing, eye sharpening and a gentle vignette in one click. Begin with a well-exposed headshot in the Develop module. Adjust exposure and white balance to taste, then open Effects and add a Dynamic Contrast filter set to around 15% opacity — enough to define jawlines and hair without making pores look harsh. Stack a second filter for Noise Reduction, masked loosely over the background with a radial gradient. The vignette comes last, pulled inward just enough to darken the edges without the subject noticing. Once the look feels right, save the combination as a preset from the Presets pane and tick the checkboxes that include the mask positions. The next time a similar portrait opens, applying the preset sets the stack in place, leaving only minor tweaks for skin tone and crop. For portraits shot under consistent studio lighting, the preset knocks a fifteen-minute edit down to a quick review and export, which matters when a session runs to several hundred frames.
The Lightroom, Capture One and Luminar features ON1 borrows—and ignores
Three applications tend to occupy the same conversation as ON1 Photo RAW: Adobe Lightroom Classic, Capture One Pro and Luminar Neo. Each shares the ambition of combining organisation and RAW processing, though the emphasis differs.
Lightroom Classic has the most mature catalogue system and the widest ecosystem of tutorials, plug-ins and tethered-shooting profiles. Its editing tools are polished but split between modules, which means switching from Library to Develop interrupts the flow. ON1 Photo RAW keeps browsing and editing in one window and avoids a mandatory catalogue import — folders on disk are browsed directly, which can feel lighter when working across multiple drives.
Capture One Pro delivers the most granular colour control and is the default choice for tethered studio work, especially with Phase One or Fuji cameras. Its layer-based local adjustments are powerful, but the interface expects a certain fluency. ON1’s layered editor is simpler, and the built-in effects library makes quick stylistic adjustments accessible without building masks from scratch. The trade-off is that Capture One’s colour editor still handles subtle skin-tone shifts with more precision.
Luminar Neo leans heavily into one-click AI tools — sky replacement, face retouching, relighting. It is fast for a single dramatic edit but less comfortable for culling, keywording and managing a large library. ON1 sits between the two poles: not as specialised as Capture One for colour, not as automated as Luminar for instant fixes, but more unified as a daily driver that can cull, develop, retouch and print without leaving its window. Photographers who value that single-window consistency often drift toward ON1 after finding the module switching in Lightroom or the library limitations in Luminar a little too frequent.
Change the scratch disk before you edit a single file
The installer leaves a large application bundle and a folder of sample presets. Three habits help avoid friction early on.
Set the scratch disk location in Preferences before editing a single file. ON1 Photo RAW writes swap files during layered edits, and leaving the default location on a small system drive can fill it quickly. Pointing it to an external SSD keeps the main drive clean and improves responsiveness with large TIFFs.
Take ten minutes to adjust the Browse panel layout. The default thumbnail size and metadata view are sensible, but the sidecar filmstrip and folder tree can be hidden to reclaim screen space on a MacBook display. Custom workspaces save per module, so setting up a minimal Browse view and an expanded Edit view early prevents rearranging panels every session.
Cache building happens during idle time. On first launch, the app scans the selected folder and generates previews. For a library of several thousand RAW files, it is better to let the scan complete overnight rather than editing during the process. The CPU and GPU load can make sliders lag, which is easy to misread as sluggish application performance. Once the cache is built, browsing is fluid even on Apple Silicon Macs with 16 GB of memory.
One final note on RAW defaults: ON1 applies a base tone curve that sometimes lifts shadows more aggressively than expected. Switching the default from “ON1 Standard” to “Camera Flat” in the Develop preferences gives a more neutral starting point for photographers who prefer to build contrast from zero rather than dial it back.
Filter thumbnails now appear without the half-second lag
The 2026.5.2 update is not a feature release, but the filter engine rewrite touches almost every editing session. Previously, opening the Effects panel and scrolling through filter categories came with a half-second delay per thumbnail; the new version renders the previews fast enough that the panel feels responsive. For photographers who audition several filter looks on a single image, the cumulative time saved in a session is noticeable — perhaps three or four seconds per edit, which adds up during a long cull-and-edit pass.
The lens profile additions cover newer mirrorless glass from Sony, Canon and Nikon, as well as several Fujifilm GFX medium-format lenses. Distortion and vignette corrections now apply automatically where previous versions fell back to manual sliders. One practical result is cleaner architectural frames shot on wide zooms: the automatic correction for a Sony 16–35mm f/2.8 GM II lens, for instance, removes complex barrel distortion without needing a profile download or manual tweak.
More quietly, the update tightened a few memory handling routines in the layered editor. Switching between Develop and Edit with five or more adjustment layers previously caused a brief beachball on Intel machines; that pause is shorter now, and on Apple Silicon it is effectively gone. For anyone working with composite edits that stack local adjustments, grain overlays and sharpening layers, the improvement keeps the creative rhythm uninterrupted. Day-to-day use feels a notch snappier, not in a way that screams for attention, but in the small ways that turn an afternoon of editing from a stop-start exercise into something closer to continuous flow.