Aspecten
 Download (3.8 GB)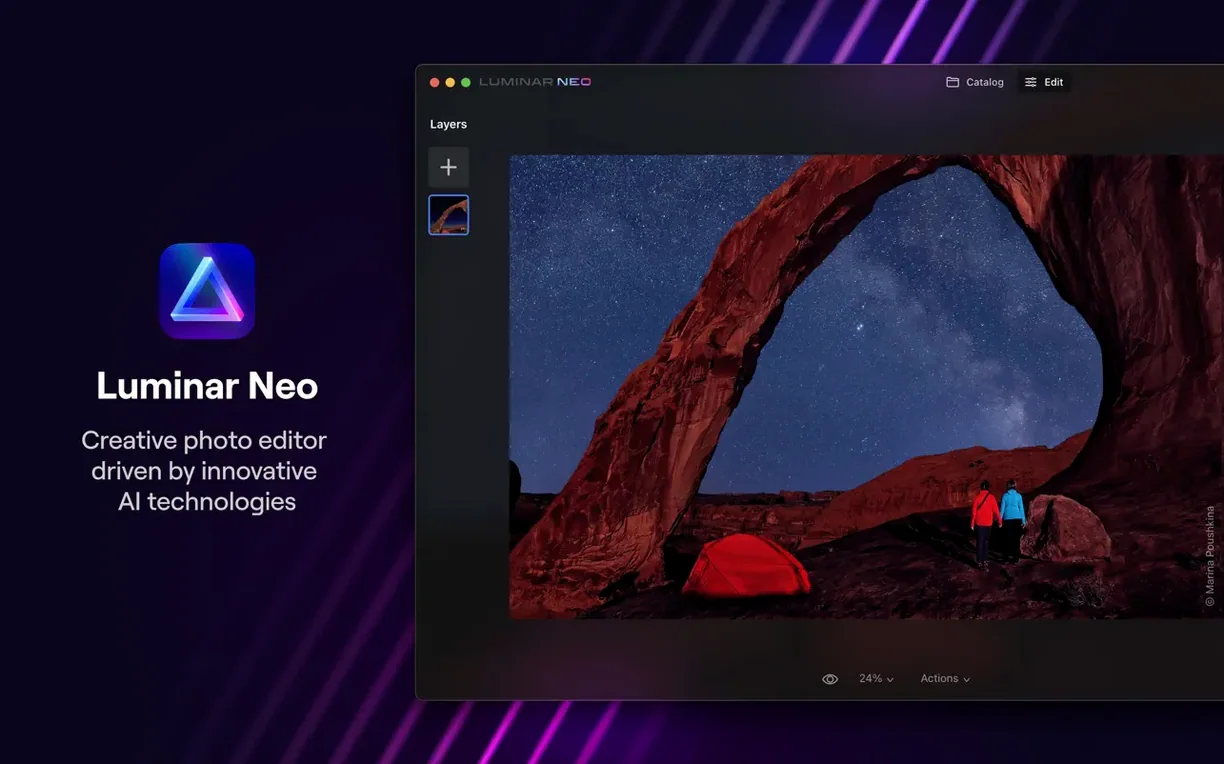
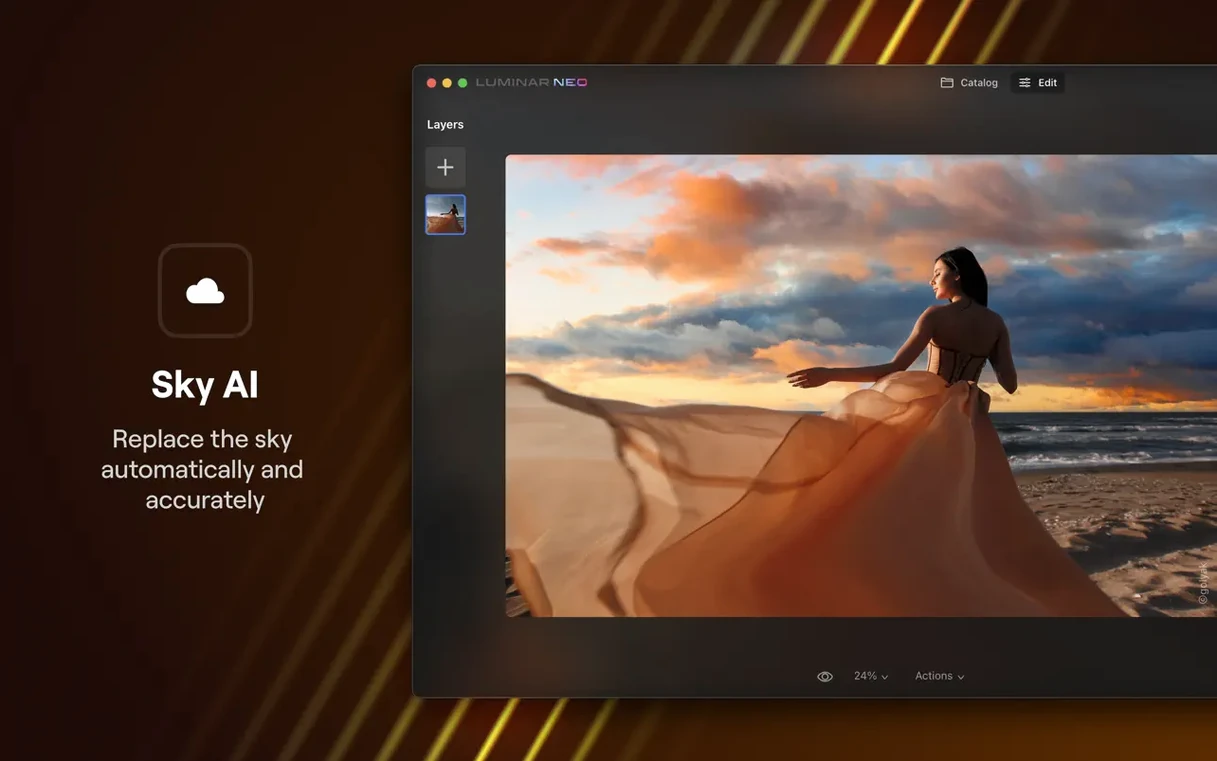
When a photo looks flat but you cannot pinpoint why, manual sliders turn into guesswork. Luminar Neo approaches this differently. It bundles a set of AI-driven tools that analyse an image and suggest concrete adjustments, which makes it a practical starting point for people who want results without studying tone curves first.
One-click AI fixes and relighting after the shot
- Trying the AI Assistant in the Presets or Edit tab to get a single-click starting point for exposure, colour and detail.
- Using the relighting tools to adjust light direction and depth in a scene after the shot has been taken.
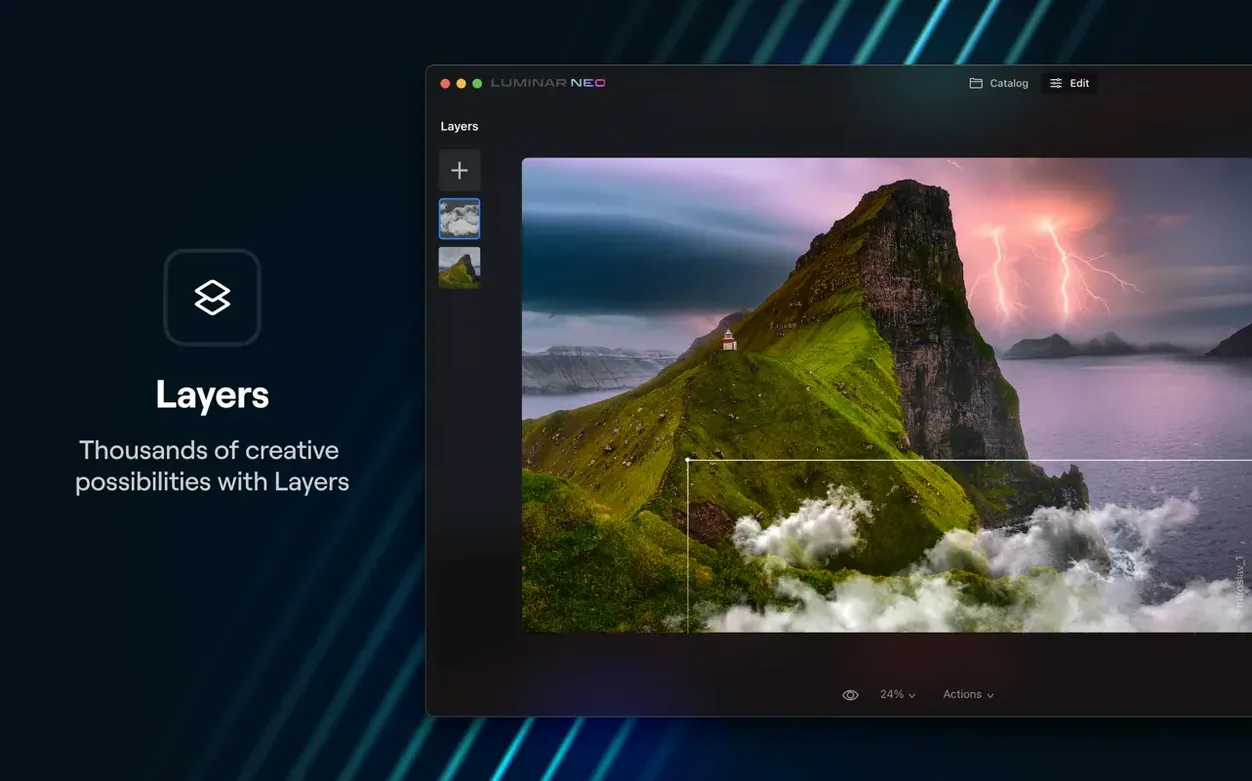
- Working with image layers to combine exposures or blend elements without leaving the app.
macOS 12 today, Ventura required soon
- The current version runs on macOS 12.0 Monterey, but the next release will require macOS 13 Ventura as the minimum supported system.
- Skylum lists 8 GB RAM as the minimum and recommends 16 GB RAM for smoother performance.
Disable auto-enhance before your first import
Out of the box, Luminar Neo makes a few assumptions about how you want to work. Three adjustments early on save friction later.
Turn off Auto-enhance on import. The AI Assistant is useful when you ask for it, less so when it applies itself to every image you open. The toggle sits in Preferences under the General tab. Disabling it means a raw file opens as it came from the camera, leaving you to decide when the analysis should run.
Next, check the colour profile handling. By default, Neo may map a wide-gamut display to sRGB for the preview, which can make saturated reds look clipped. Under the View menu, enable Use Display Colour Profile if your monitor covers P3 or Adobe RGB—this brings the working view closer to what you will see in an exported file.
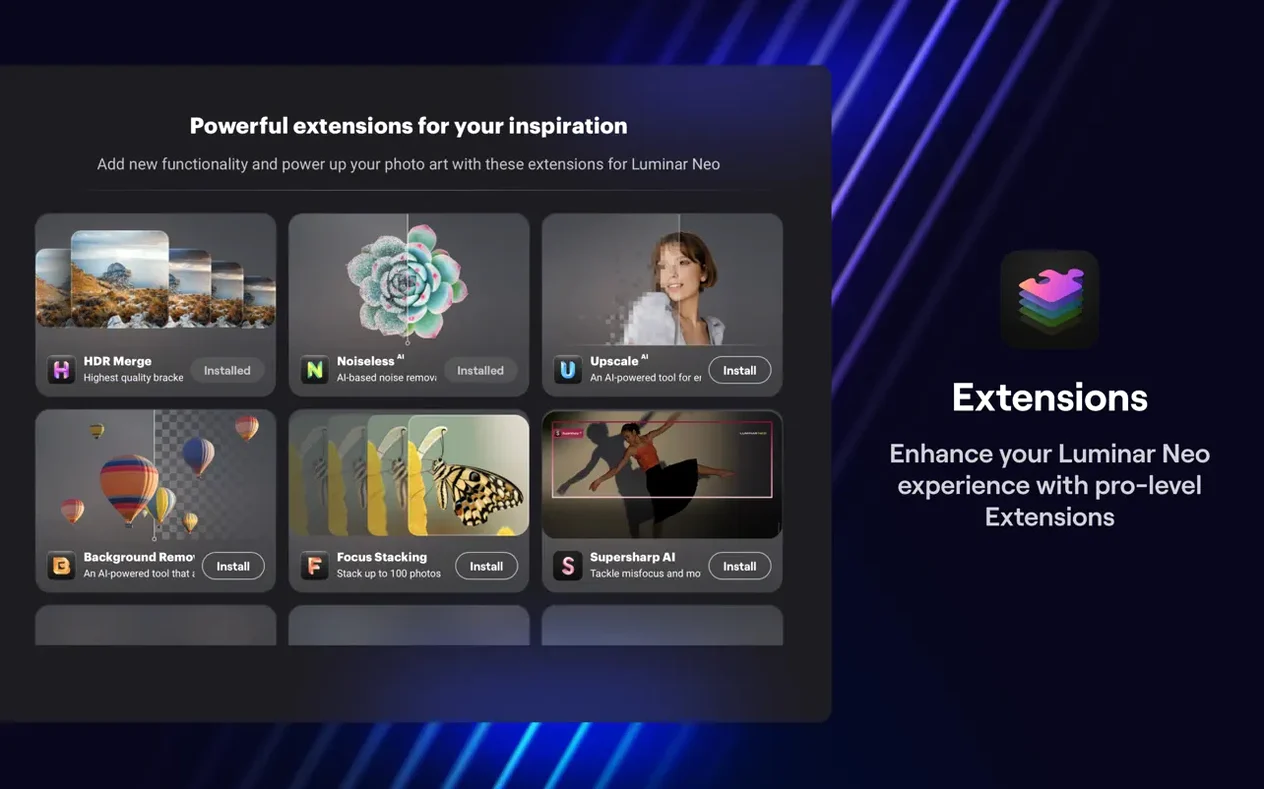
Finally, set the external editor file format to 16-bit TIFF. The preference lives under the Extensions tab and matters whenever you send a layered composition to another application. An 8-bit JPEG pass-off discards tonal information the moment it leaves Neo, and the difference shows most clearly in skies and skin gradients.
Portrait and event shooters with batches to turn around
Not every Mac user needs what Luminar Neo offers. Three groups tend to fit better than others.
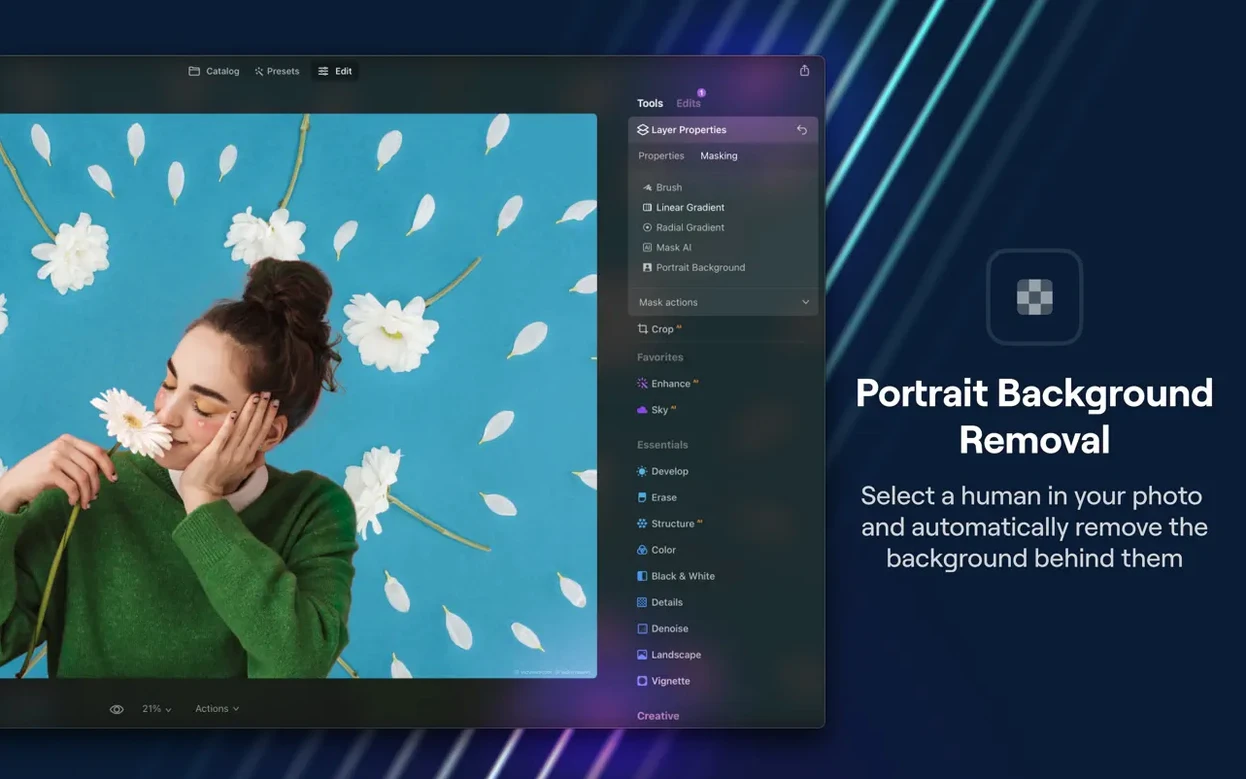
Event and portrait photographers who deliver dozens of images per session benefit from the AI skin and background tools. A single portrait can have its face mapped, blemishes softened, and background replaced without leaving the Edit tab. The time saving is not in the editing itself—it is in not having to round-trip through a separate retouching application for every frame.
Landscape shooters working with single exposures often discover the relighting and atmosphere tools earlier than others. The ability to reposition apparent sunlight and add haze or fog after the fact gives a raw file a second life. A flat midday scene can gain depth without the halos that aggressive clarity sliders produce.
Graphic artists who also photograph get value from the layers engine. Dropping a texture over a photo, blending it with a mask, and then running an AI sky replacement on the composite is a workflow that would normally span two applications. Having it inside one window keeps the visual feedback immediate.
People who already have a disciplined Lightroom catalogue or a full Capture One session may not find a reason to switch. Luminar Neo works best as a companion editor for targeted creative work rather than a cataloguing hub.
Dial back the Accent AI slider from full strength
The most common misstep is applying AI tools at full strength and leaving them there. The Accent AI slider, for instance, can push an image into oversaturated territory when set above 70. A better habit: apply the suggestion, then back the intensity off by a third and compare. The preview toggle is there for exactly that reason.
Another mistake involves layering adjustments without checking the mask quality. The background replacement tool analyses scene depth, but it can leave a fuzzy edge around hair or foliage. Beginners often accept the first result instead of using the Refine Mask brush to clean up transitions. A minute spent painting the edge makes the composite believable.
Some users bring a raw file into Neo, edit it, and export a JPEG straight away—then wonder why the image looks softer than expected. The export dialog defaults to a quality setting that prioritises file size. Setting JPEG quality to 95 or higher, or exporting to a 16-bit TIFF for further work, preserves the detail the AI tools recovered.
Finally, beginners sometimes treat the AI Assistant in the Presets tab as a one-click finish button. It is a recommendation engine, not a finaliser. A preset suggested for a backlit portrait may also boost saturation in a way that suits landscapes but not skin. The Edit tab reveals exactly which sliders the assistant moved, and nudging them afterward is part of the normal workflow.
Runs on Intel, but Apple Silicon speeds up masking
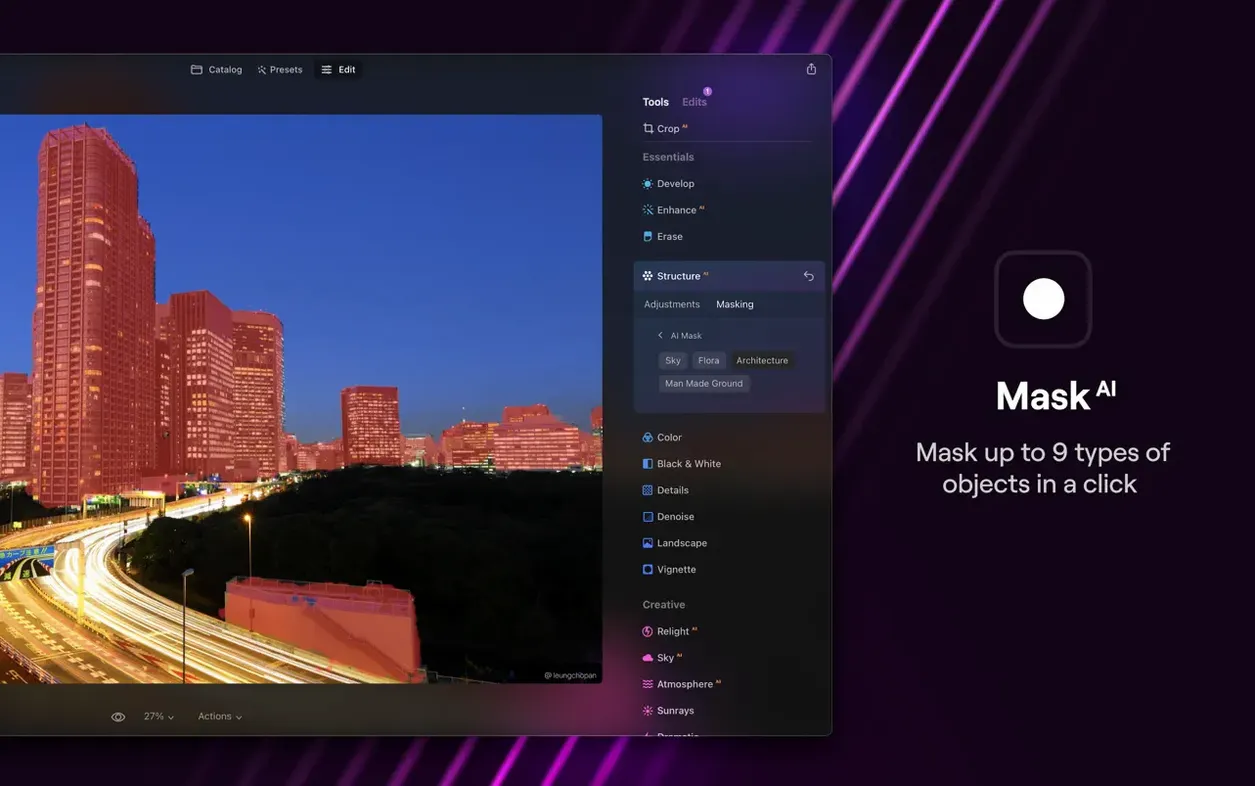
Does it work on an Intel Mac, or is Apple Silicon required? The current build runs on both architectures. An Intel machine with 16 GB RAM handles most edits competently, though the AI masking and relighting tools calculate noticeably faster on Apple Silicon. The download page lists 8 GB RAM as the minimum and recommends 16 GB for a reason—background replacement on an 8 GB Intel Mac occasionally triggers a pause.
Will it replace Lightroom or Photoshop? For some tasks, yes; for others, no. Luminar Neo does not manage a catalogue of thousands of images, and its selection and compositing tools are not as deep as Photoshop's. It does replace a round-trip to Photoshop for common creative edits such as sky swaps, relighting, and portrait retouching. Many users keep a library manager for organisation and use Neo as the creative layer on top.
How steep is the learning curve? Shallow at the entry point, with a few steep spots further in. A new user can open a photo, click the AI Assistant, and have a presentable result inside a minute. Understanding how masks interact with the layers panel and how to sequence non-destructive edits takes a few afternoons. The interface does not hide complexity; it just does not force you to face it on day one.
Can it handle large raw files from high-resolution cameras? Generally yes, provided the machine meets the recommended RAM. A 60-megapixel raw file from a Sony A7R series loads and responds to sliders without excessive lag on a Mac with 16 GB or more. Operations that recalculate scene depth, such as relighting, take a few seconds on such files regardless of hardware.
What happens to my edits if I uninstall the app? By default, Luminar Neo stores edit data in a sidecar file alongside the original image or inside its own catalog folder, depending on how the image was opened. Saving a copy as a layered .luminarneo file preserves all adjustments and masks for reopening later. Exporting a flattened TIFF or JPEG bakes the edits in permanently.
Rescuing three bands shot under mixed stage lighting
A music venue photographer shoots three bands in one evening under mixed LED lighting. The raw files come home with heavy colour casts—some frames are magenta under the stage wash, others green from the bar area. The photographer opens the first batch in Luminar Neo.
She selects a representative frame and runs the AI Assistant from the Edit tab. The tool neutralises the magenta cast, lifts the shadows on the drummer's face, and adds a modest amount of structure. She backs the Accent AI intensity from 100 down to 60 because the stage haze looked more natural with less contrast. Satisfied with the base treatment, she copies the settings to the rest of the frames shot under the same light.
On a wide shot where the vocalist is silhouetted against a backlight, she opens the Relight tool and drags the light source toward the front of the stage. The AI depth map keeps the background dark while brightening the face and microphone stand. A quick pass with the Dust Removal tool cleans up two sensor spots visible against the smoke.
For the final image—a close-up of the guitarist—she adds a texture layer from her library of scanned film grain, sets the blend mode to Soft Light, and masks out the eyes so they stay sharp. The whole session, roughly ninety keepers, is edited and exported as high-quality JPEGs in under three hours. The venue posts the gallery the next morning.