Aspecten
 Download (1.8 GB)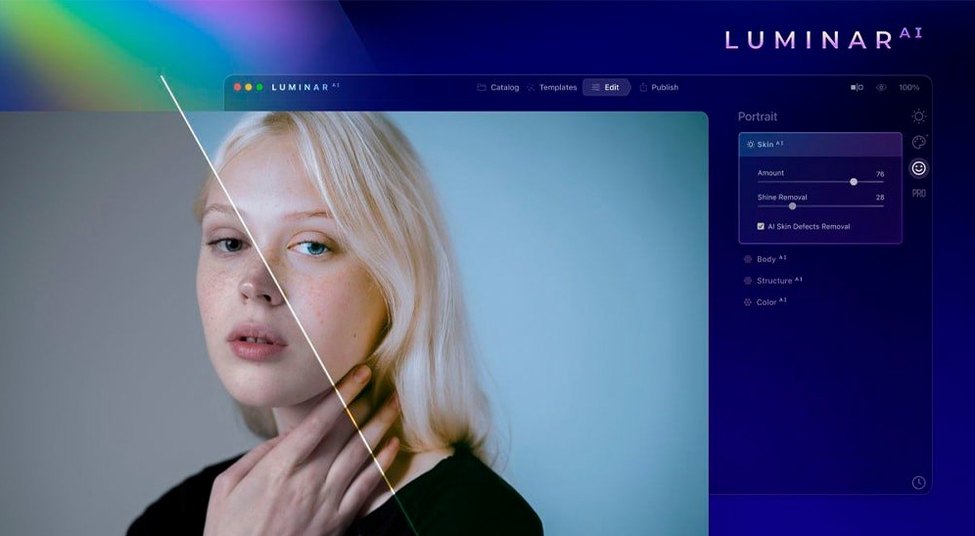


Luminar AI 1.5.5 ships with eleven interface languages and one clear premise: a photo editor where the AI does the repetitive work. The first sessions matter, because the toolset is broad enough to feel scattered. A small set of three tools gives a sense of what the software actually does.
| Detail | Value |
|---|---|
| Current version | 1.5.5 (13797) |
| macOS | 10.13.6 or later |
| Architecture | ARM and 64-bit x86 |
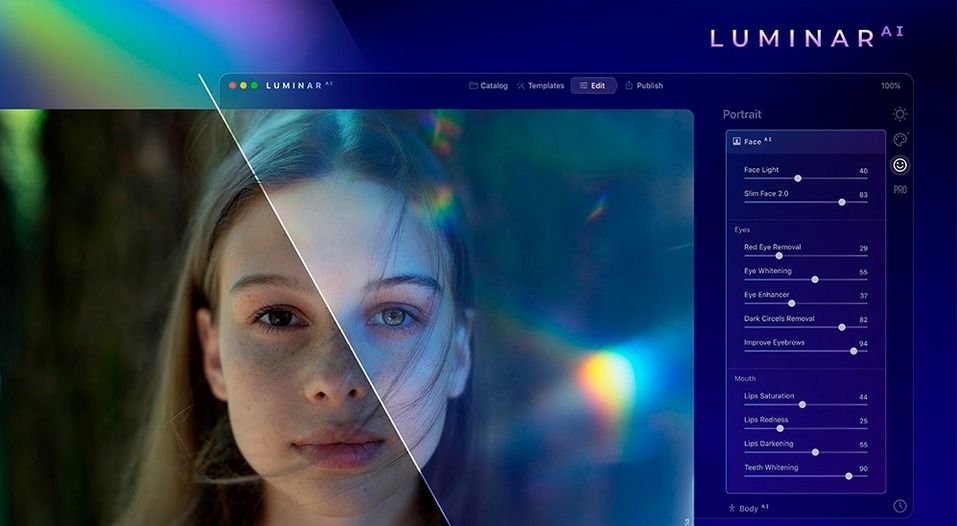
Start with Accent AI. It is a single slider that adjusts lighting and colour together, and it shows how the editor thinks about an image. A portrait benefits from a second pass with Face AI, which adjusts facial features and removes dark circles without manual masking. For outdoor shots, Atmosphere AI adds fog, haze, steam or drizzle; the effect is easy to overdo, but a light touch reads naturally. Bokeh AI is worth trying on busy backgrounds, and Structure AI brings out detail in water, sky and people. Together these four cover the core of the application.
The interface is available in English, German, Spanish, Italian, Traditional Chinese, Simplified Chinese, Korean, Dutch, Portuguese, French and Japanese. Luminar AI automates common editing tasks, which makes it a practical starting point for photographers who want results before they have learned the full editing workflow.
Overusing Atmosphere AI until the photo drowns in fog
Beginners often open Luminar AI and apply every slider at full strength. The Atmosphere AI tool is the usual victim: a landscape gets fog, haze and drizzle turned up to 80, and the original photo disappears under a layer of grey. The better approach is to bring a slider to 30 or 40, pause, and check whether the effect still serves the image. Almost every AI tool in the application works more convincingly at half strength.
Another mistake is treating the AI suggestions as final. Composition AI crops a photo based on composition rules, but it cannot read the photographer’s intent. A group portrait cropped tight to the faces loses the context of the room. The crop is a suggestion, not a command. The same holds for Sky AI: the replacement sky may look plausible, but if the original lighting came from the left and the new sky has sun from the right, the whole image feels subtly wrong. Adjusting the sky’s position and warmth after the replacement fixes this.
A third pattern shows up when people work on portraits. They run Face AI, then Skin AI, then Iris AI, and then step back to find the face has lost connection to the rest of the photo. The skin texture stays intact — Skin AI is careful about that — but the eyes look too bright and the face too smooth relative to the neck and hands. Working on a duplicate layer, or simply dialling back the Iris AI setting, keeps the portrait coherent. Beginners also skip the edit history panel, which lets you walk back individual adjustments without undoing everything.
Apple Silicon brings faster Sky AI replacements
Version 1.5.5 runs natively on Apple Silicon, and that change is the one users feel most. On an ARM Mac, the application launches faster and applies AI adjustments with less of a processing pause. Sky AI replacements that took four or five seconds on an Intel machine now complete in under two. For photographers who batch-edit a set of outdoor shots, the cumulative time saving is real.
The plugin behaviour also settled down in later builds. Earlier versions of Luminar AI occasionally lost the round-trip connection to Lightroom Classic and Photoshop; a photo sent out for editing would not come back, or would return as a flattened TIFF without the edit history. In 1.5.5, the plugin handoff is steadier, though working from a standalone session and exporting manually still gives the most predictable result for complex edits.
Everyday use on macOS 10.13.6 or later means the application fits into older workflows on ageing hardware, but the performance gap between Intel and ARM is wide enough that users on Intel machines tend to keep the catalogue small and work on one image at a time. The interface itself did not significantly reorganise in later 1.x builds; the tool arrangement stayed consistent, so upgrade friction was low.
Stripping the editing pipeline down versus ON1 Photo RAW
Placed next to ON1 Photo RAW, Luminar AI shows a different philosophy. ON1 bundles layers, masking, and a full raw processing engine into one application; it expects the user to understand the editing pipeline. Luminar AI strips that pipeline down to sliders and AI decisions. A photographer who wants control over every brush stroke will gravitate toward ON1. Someone who wants a usable sky replacement in thirty seconds will find Luminar AI the faster route.
Against Pixelmator Pro, the contrast is sharper. Pixelmator Pro is a layer-based editor with machine learning features woven into a traditional toolset — colour adjustment, retouching brushes, vector tools. It rewards users who already think in layers and masks. Luminar AI does not ask the user to think about layers at all; it presents tools as direct actions on the image. For quick portrait work, Luminar AI’s Face AI and Skin AI are more immediate than Pixelmator Pro’s repair and clone tools. For compositing or graphic design work, Pixelmator Pro is the more capable application.
Looking toward Adobe Lightroom, the comparison is less about features and more about structure. Lightroom is a catalogue-based raw processor and organiser. Luminar AI is a single-image editor that can also sit as a plugin inside Lightroom. The two can coexist: a photographer can cull and organise in Lightroom, then send a portrait to Luminar AI for the AI retouching tools, and bring the result back. Luminar AI does not offer Lightroom’s organisational depth, but its retouching tools are more specialised.
People searching for a luminar ai mac torrent or a Luminar AI crack often weigh these comparisons before committing. The Mac version runs on both architectures, which keeps it relevant on older hardware while ON1 and Pixelmator Pro also support Apple Silicon natively. The choice tends to come down to whether AI-led speed matters more than editing depth.
Batching fifty headshots with consistent Face AI results
Portrait photographers who process batches of headshots gain the most from Luminar AI. A session of fifty headshots benefits from Face AI and Skin AI applied quickly, with consistent results across the set. The edit history panel lets them apply a baseline treatment and then tweak individual faces without starting fresh each time.
Landscape and travel photographers who work outdoors in variable light also find a strong fit. Sky AI and Atmosphere AI turn a flat midday sky into something with mood, and the adjustment is quick enough to do in a café after a morning shoot. The tools do not replace a golden-hour exposure, but they rescue images that would otherwise sit unedited.
Mac users who are new to photo editing and find Lightroom’s interface intimidating get a gentler introduction here. Luminar AI’s single-slider tools give a result before the user understands white balance or tone curves. That early success keeps people editing. The risk, as always, is that they stay at the slider stage and never learn why an image works, but as a first editor on a Mac it is approachable. Users who later want more control often keep Luminar AI installed as a plugin for the retouching tools they have come to rely on.
Users on older Intel Macs running macOS 10.13.6 through Mojave or Catalina can still run the application, and for them Luminar AI offers a current editor that does not demand the latest operating system. The processing waits are longer than on Apple Silicon, but the toolset is the same. For those weighing a luminar ai download mac option on an older machine, this compatibility keeps the editing experience accessible.