Aspecten
 Download (403 MB)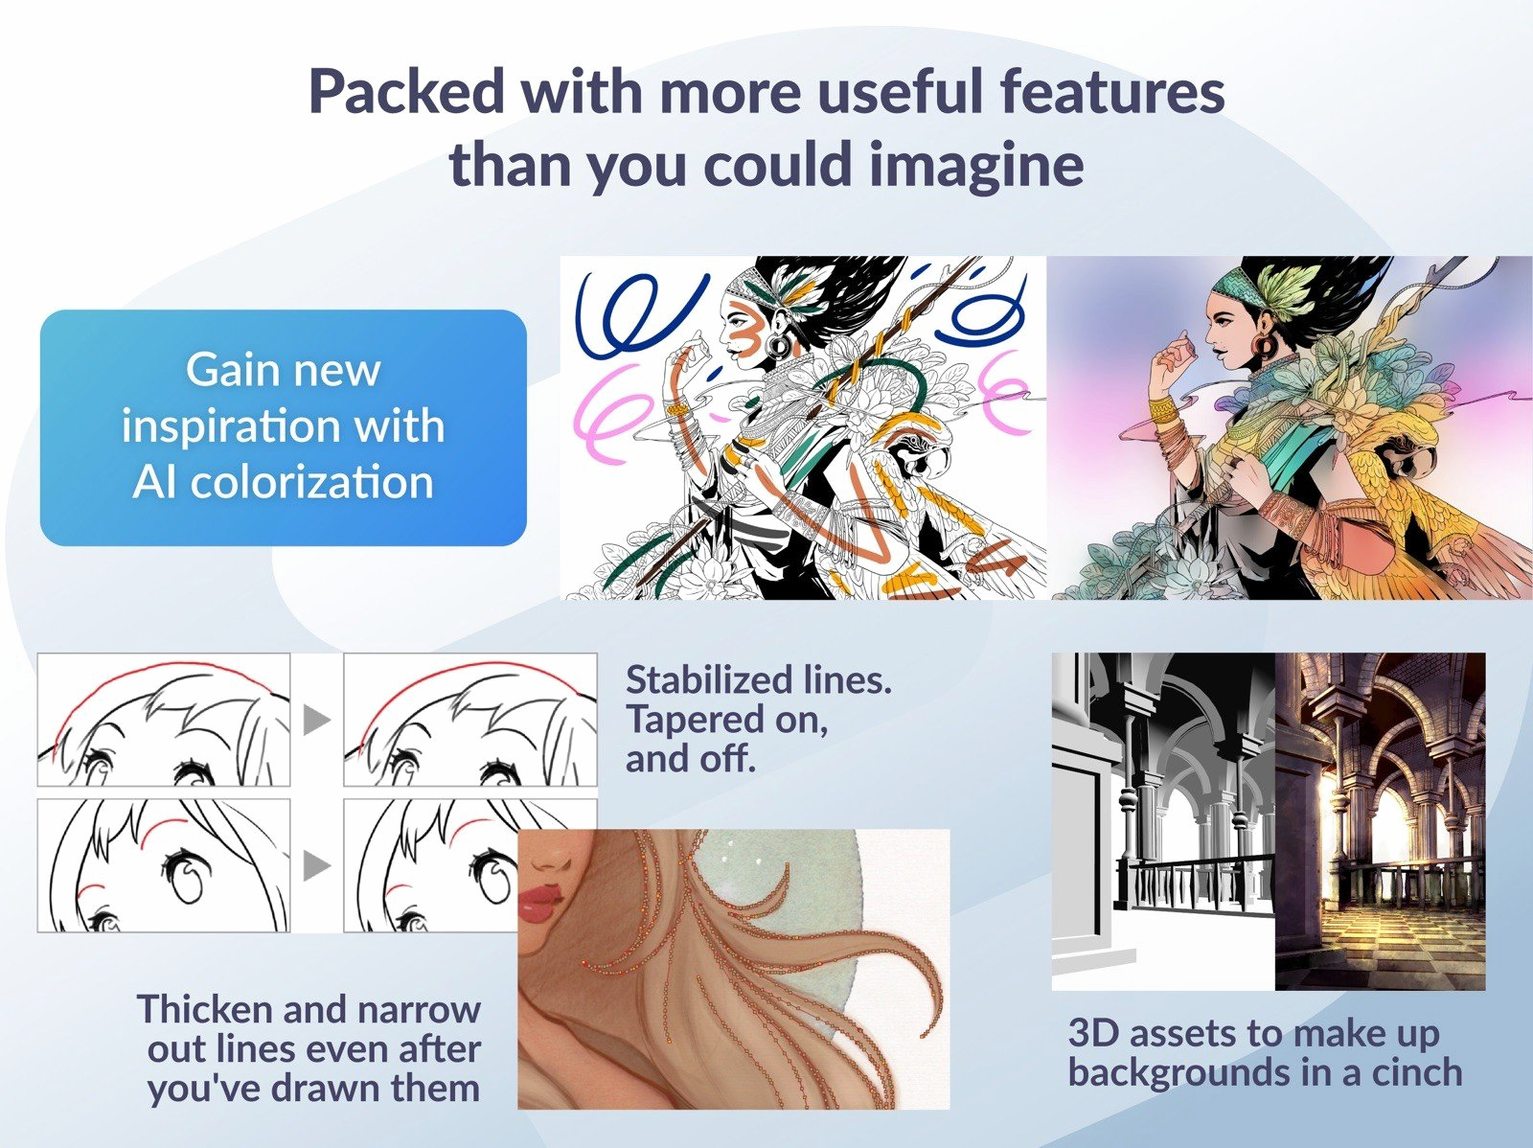
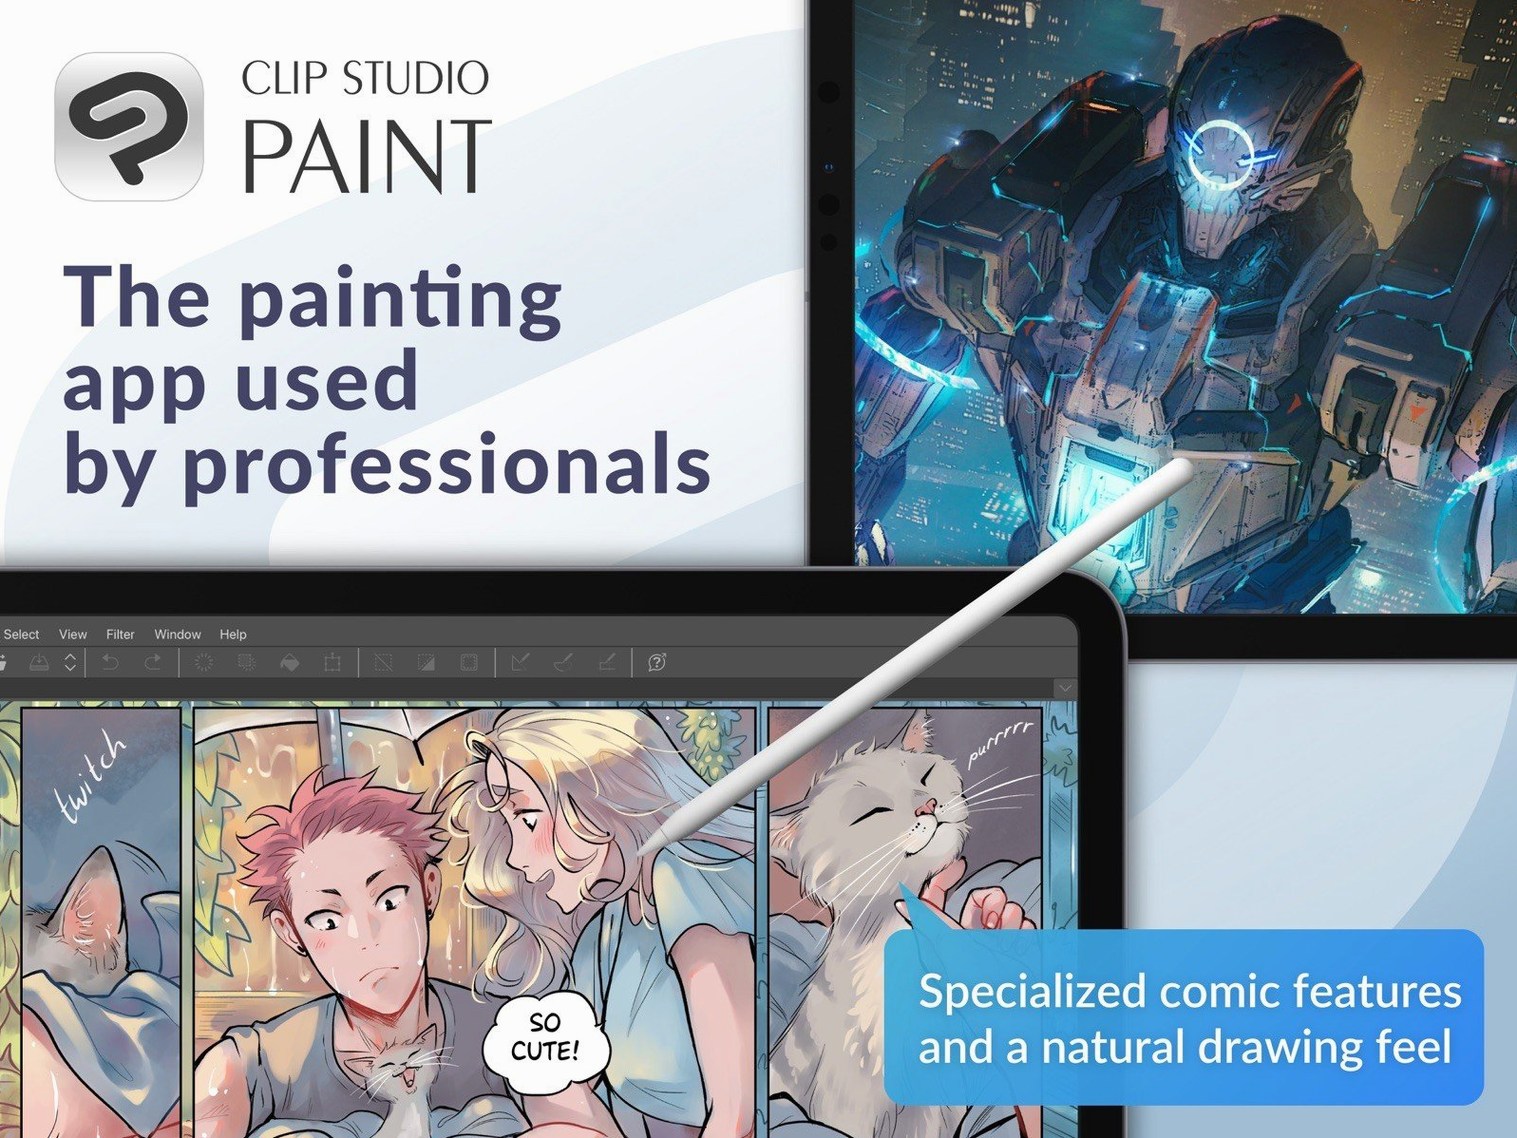
A storyboard artist opens a multi-page file, scrubs through a timeline to check mouth shapes against a dialogue track, then exports a layered PSD for the colourist. That sequence of tasks sits comfortably inside a single application.
| Edition | Suited for |
|---|---|
| PRO | Single-page illustration, concept art, short animation clips |
| EX | Multi-page comics, manga volumes, full animation projects |
Each standout feature maps to a practical job. The timeline and onion skin display handle frame-by-frame animation timing, letting you see previous and next cels while drawing an in-between. For print and digital comics, the EX edition organises pages into a single story file; you can flip through the layout without juggling separate documents. Layered PSD import and export keep the pipeline open between this app and other tools, preserving layer structure rather than flattening artwork on transfer. Pen tablet support captures pressure sensitivity for line weight and opacity, which matters as much for inking a manga panel as it does for painting a character study. Recent maintenance work in version 4.1.4 tidied up macOS 15 Quick Look previews of .clip files, fixed an export quirk where certain PSD sizes displayed incorrectly in Finder, and resolved a force-close trigger tied to the Running color mixing setting.
Slotting into a Procreate-to-Photoshop pipeline
Most artists do not work in a single application all day. A typical workflow might start with a rough sketch in Procreate on an iPad, move to Clip Studio Paint for inking and panel layout, then land in Photoshop for final colour adjustments before sending a flattened TIFF to a layout person. The layered PSD support makes that handoff clean. When you export a .psd from Clip Studio Paint, layer folders, blending modes and opacity settings survive the trip. Vector layers rasterise on export, which is worth remembering if you plan to scale line art later in another program.
On the Mac side, the app ties into a few system-level conveniences. Quick Look now handles .clip files properly under macOS 15, so you can tap the spacebar in Finder and check a thumbnail without launching the full application. That small improvement saves time when you are hunting through a folder of twenty storyboard drafts. The software also respects standard macOS text behaviours for dialogue entry: system spell-check, emoji picker, and input method switching for Japanese, Simplified Chinese, and Korean all work inside speech bubble tools without extra configuration.
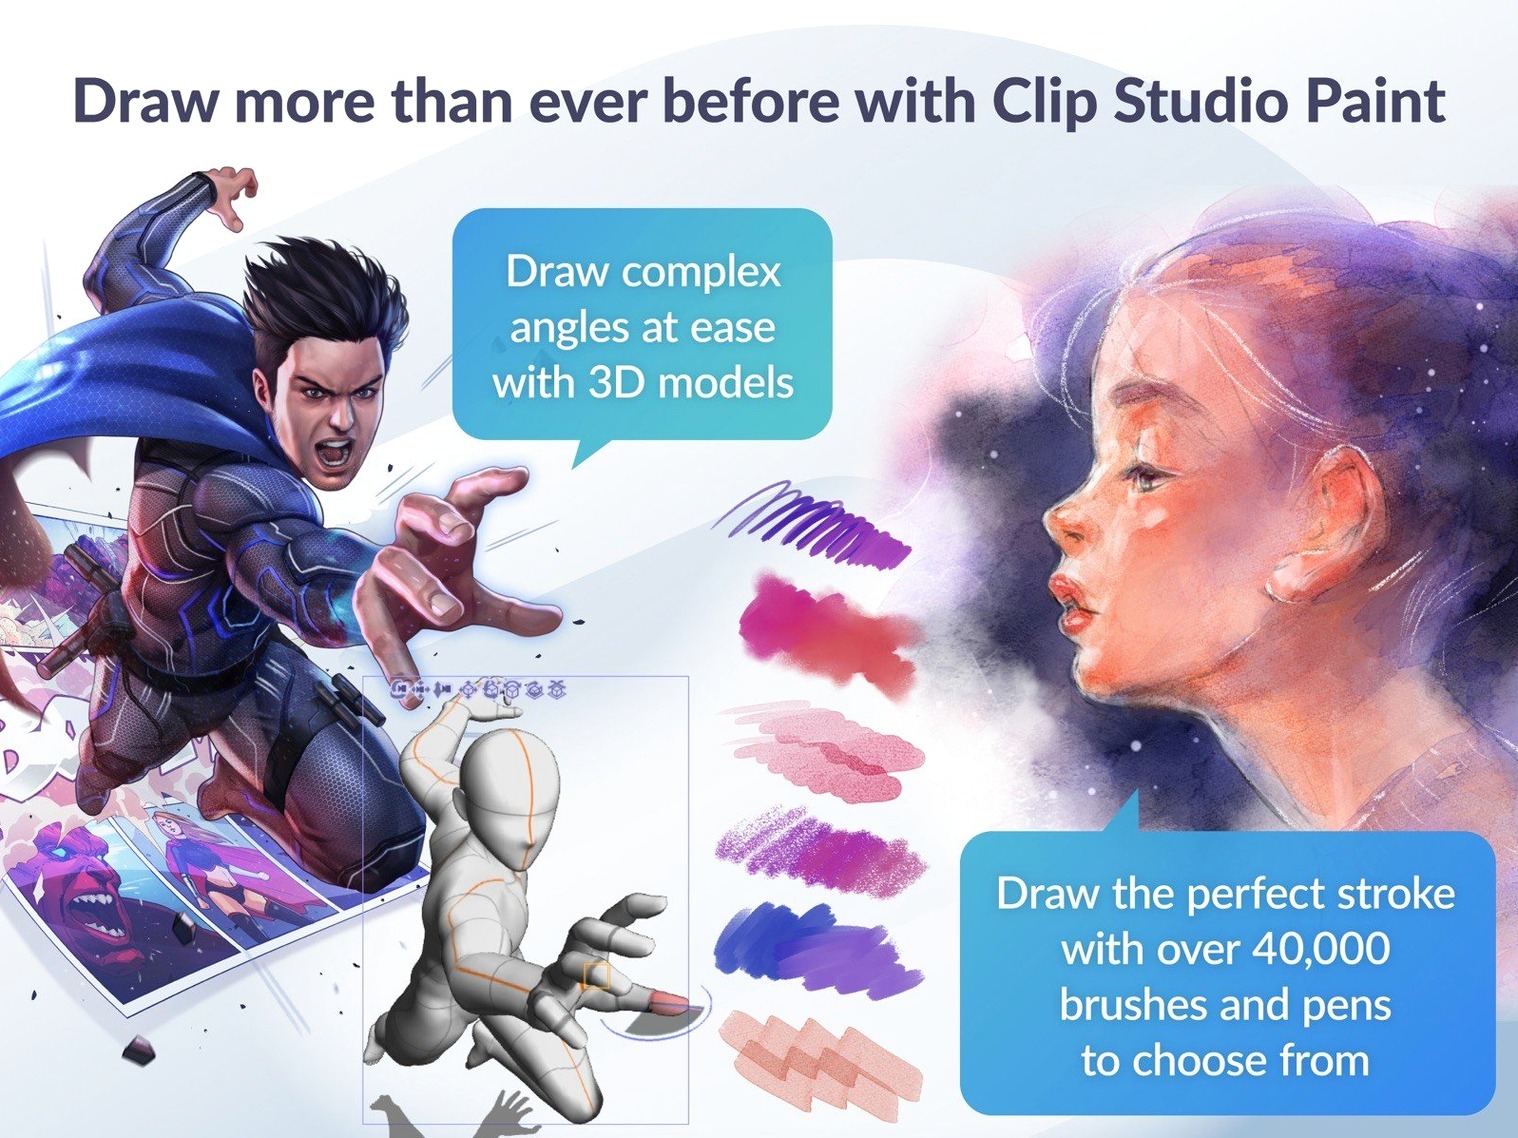
For 3D reference, you can bring in posed figures directly rather than switching to a separate posing application. The 3D material drag-and-drop behaviour got a small but noticeable refinement in version 4.1.4: dropping a material onto a canvas where a 3D layer is selected outside a frame folder now behaves more predictably. In practice, that means fewer moments spent undoing an accidental placement while thumbnailing a comic page.
Vector layers stay responsive on a 600 dpi B4 page
The application runs natively on both Apple Silicon and Intel hardware, and the difference is tangible on larger canvases. On an M-series Mac with 16 GB of memory, a 600 dpi B4 comic page with half a dozen vector layers and a 3D reference figure stays responsive during zooming and rotation. Brush strokes register without perceptible lag at typical tablet polling rates. Memory pressure creeps up when animation timelines stretch past a few hundred frames, and the recommended 8 GB minimum feels realistic rather than optimistic once you start compositing cels with audio.
Stability in version 4.1.4 is solid in everyday use. The fixed force-close bug related to the Running color mixing setting had been a recurring annoyance for painters who blend on-canvas; that particular crash path is now closed. Export reliability also improved: PSD files of certain dimensions no longer display incorrectly in Finder on macOS 15, and a timeline quirk that could leave orphaned cels after resizing clips has been patched. The application rarely beachballs during normal drawing sessions, though the first launch after installation runs a license check that requires an internet connection. Once verified, offline work proceeds without interruption.
GPU demands are moderate. The OpenGL 3.3 requirement means any Mac from the last decade qualifies, but integrated graphics on older Intel machines can struggle with the Quick Filters and Quick Effects previews. Version 4.1.4 fixed an edge artifact that occasionally showed up in those canvas previews, so the visual feedback is cleaner now, even if the redraw speed on weaker hardware remains what it is.
Calibrate pen pressure before your first stroke
After mounting the disk image, running the installer and choosing between EX and PRO on first launch, a few small adjustments make the first hours smoother.
- Calibrate pen pressure globally. Open Preferences and find the tablet settings. The default pressure curve works for many pens, but a slight softening of the initial response helps with light sketching on glass-surfaced tablets. Test it with a pencil tool, not an inking brush, so you feel the low end of the curve.
- Pick a workspace layout. The default palette arrangement prioritises illustration. If you are animating, switch to the animation workspace from the Window menu. If you are lettering comics, pull the Text and Layer Property palettes into the main docking area so you do not hunt for them every three minutes.
- Set up auto-save and backup behaviour. The application can save recovery files at regular intervals. Turn that on before you start a six-hour painting session. Decide where your work files live and point the canvas recovery folder somewhere sensible, not a buried temp directory.
- Download a few essential brushes from the asset library. The default brush set covers fundamentals, but the community materials include inking pens tuned for specific nib angles, texture brushes that mimic screentone, and blender tools that behave more like oil than the built-in wet mix. Going on a brush-gathering spree later interrupts drawing momentum, so pull in a curated handful early.
- Test 3D figure posing. Drag a default poseable figure onto the canvas, click a joint and rotate. Learning the posing controls takes ten minutes and pays off every time you need to check a tricky hand angle or a foreshortened limb. Register a couple of common poses as materials so they are one drag away during thumbnailing.
Vector inking and panel tools you won’t find in Photoshop
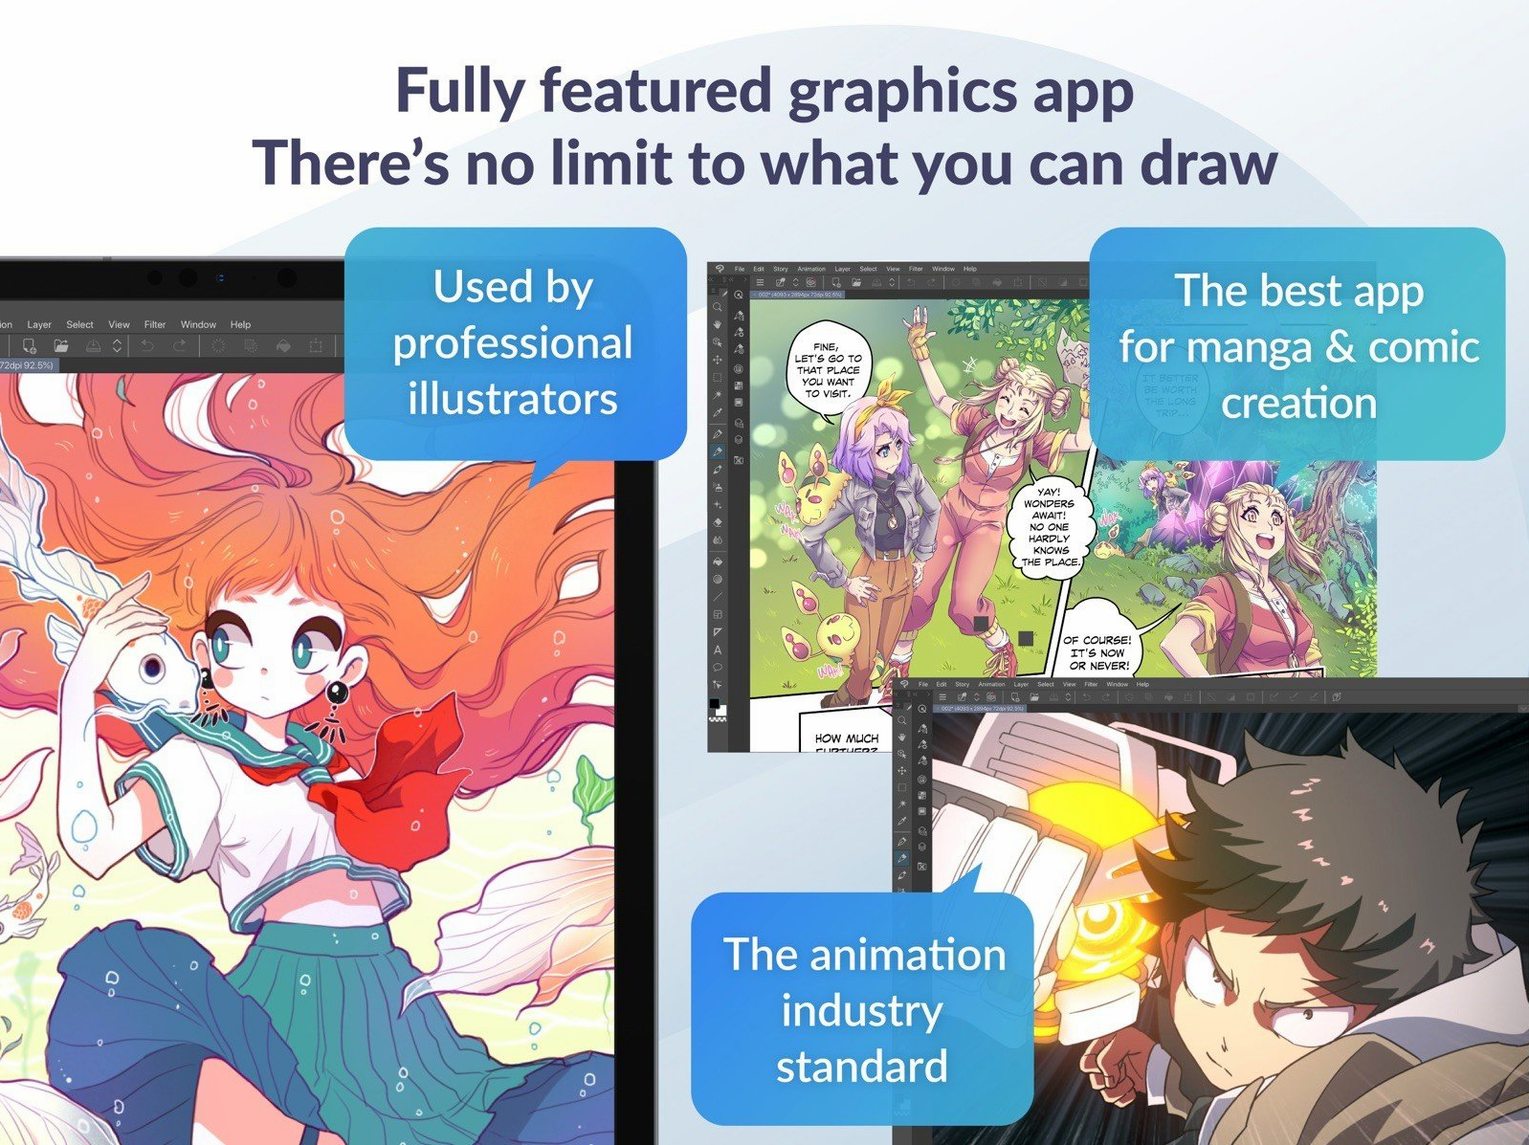
Does it replace Photoshop for digital painting? For painting alone, the brush engine and blending modes cover similar ground. The difference appears in workflow: Clip Studio Paint adds vector inking, panel tools and animation on a timeline, which Photoshop does not handle in the same way. If you also letter comics or draw frame-by-frame animation, the overlap with Photoshop shrinks to colour correction and final compositing.
How does the EX edition differ in daily use? The practical gap is multi-page management. EX lets you keep an entire chapter or volume in one .clip file, flipping between pages without opening separate documents. It also lifts the 24-frame animation cap present in PRO. If you draw single illustrations or short animated loops, PRO covers everything you need. If you are producing a 40-page comic or a two-minute animated short, EX removes the friction of juggling files.
Will my old Manga Studio files open? The application reads Manga Studio 4 EX and 4 Debut files directly. Open them and carry on working. Layers, text and page settings come through intact.
Does it support Apple Pencil or third-party tablets? Pen pressure sensitivity works with any tablet that supplies standard pressure data to macOS. Wacom, Xencelabs, Huion and iPad via Sidecar all register pressure without extra drivers inside the application. Tilt and rotation support depend on the tablet model, not the software.
Can I work offline? After the initial license check, yes. The application does not phone home during drawing sessions. Functions that pull from the cloud, such as the asset library, need a connection, but the canvas, timeline and export tools operate fully offline.
Stop brush lag by dropping the canvas preview quality
Brush lag on large canvases. If strokes trail behind the cursor at high resolution, drop the canvas preview quality temporarily. The setting lives under the View menu and does not affect export resolution. Also check that the stabilisation setting on the current brush is not cranked too high; a value above 30 can feel like lag even when the engine keeps up.
PSD export looks different from the canvas. Vector layers rasterise and text layers may convert to pixels depending on the export settings. If the colours seem off, confirm that the colour profile embedded in the PSD matches the one your downstream application expects. The fix applied in 4.1.4 addressed a Finder preview issue, not a colour space mismatch, so profile checking remains a manual step.
Animation cels go missing after changing the frame rate. This was a known bug fixed in 4.1.4. If you are on an earlier version, the current build prevents orphaned cels when resizing clips or adjusting the timeline frame rate. Updating to the latest build resolves it without needing to rebuild the timeline.
3D figures land in the wrong place. The drag-and-drop improvement in 4.1.4 made placement more predictable when a 3D layer is selected outside a frame folder. If a figure still lands oddly, check whether you have a frame folder active; drag the material onto the canvas with the correct layer selected first, then move it.
The interface feels cluttered. Open the Window menu and hide palettes you rarely use. The colour wheel, layer panel and tool property bar cover most daily needs. Save the stripped-down layout as a custom workspace so you can recall it after experimenting with the full palette set.