Aspecten
 Download (1.2 GB)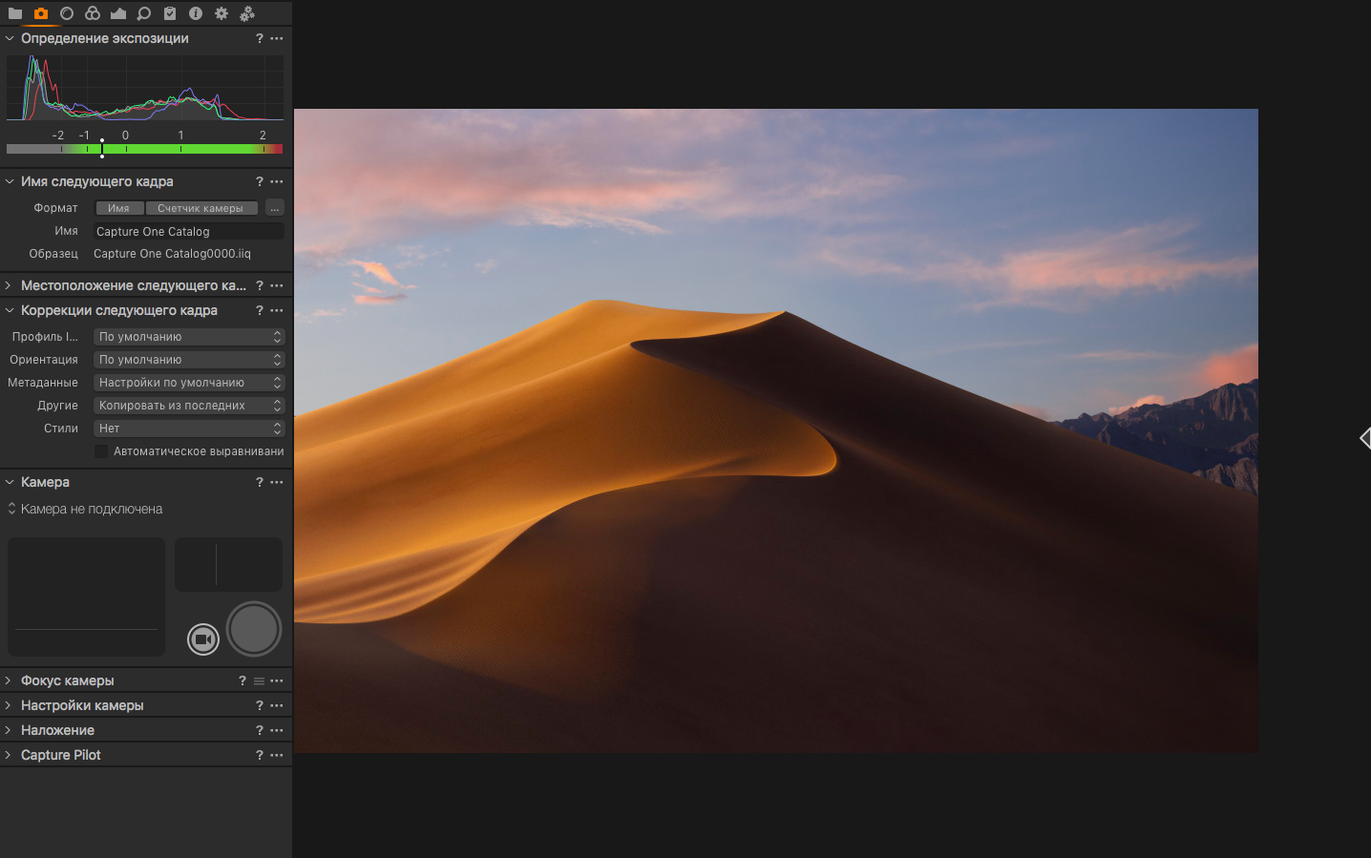
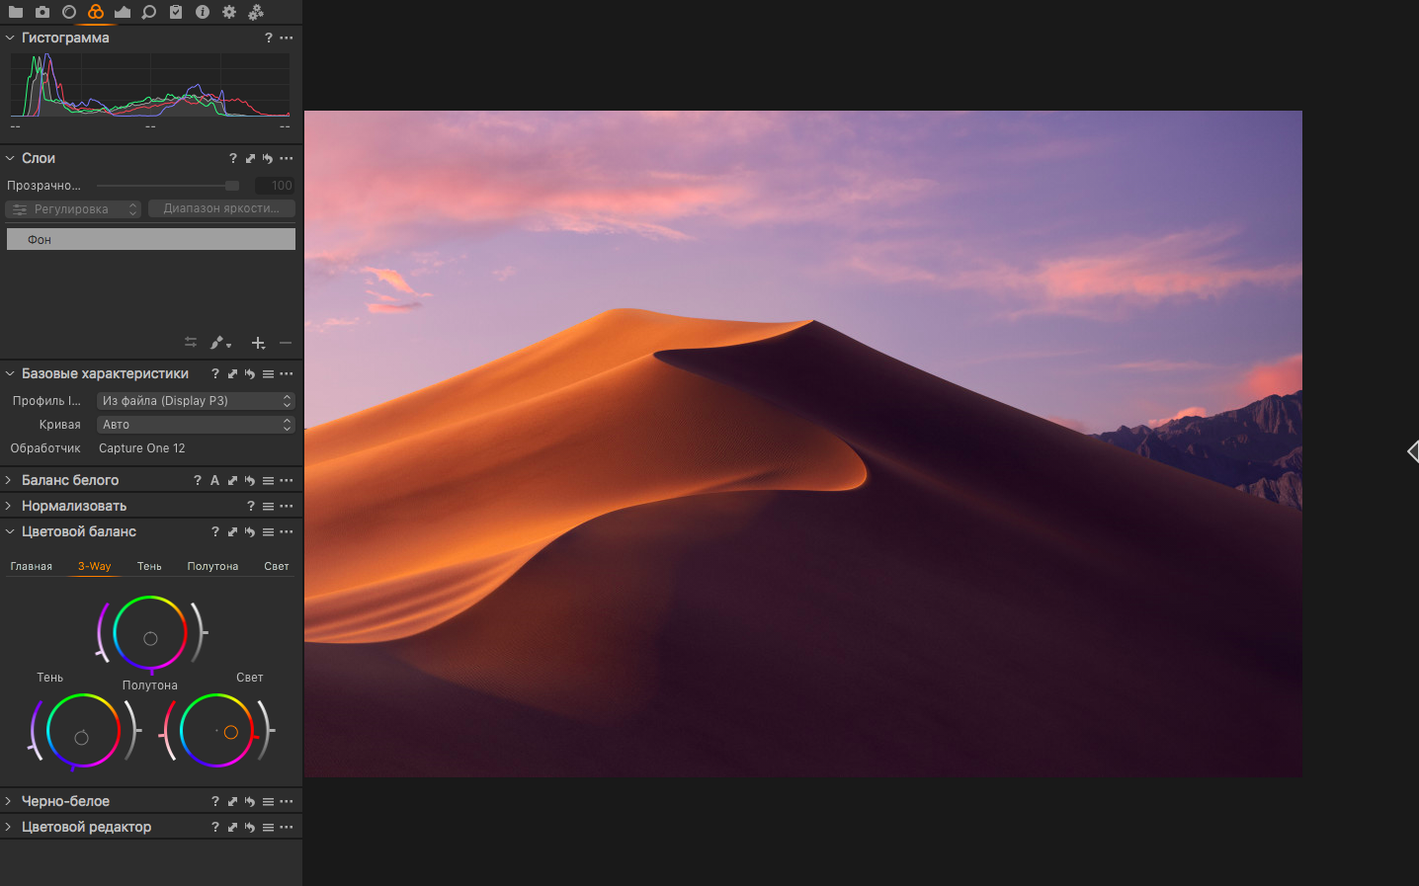
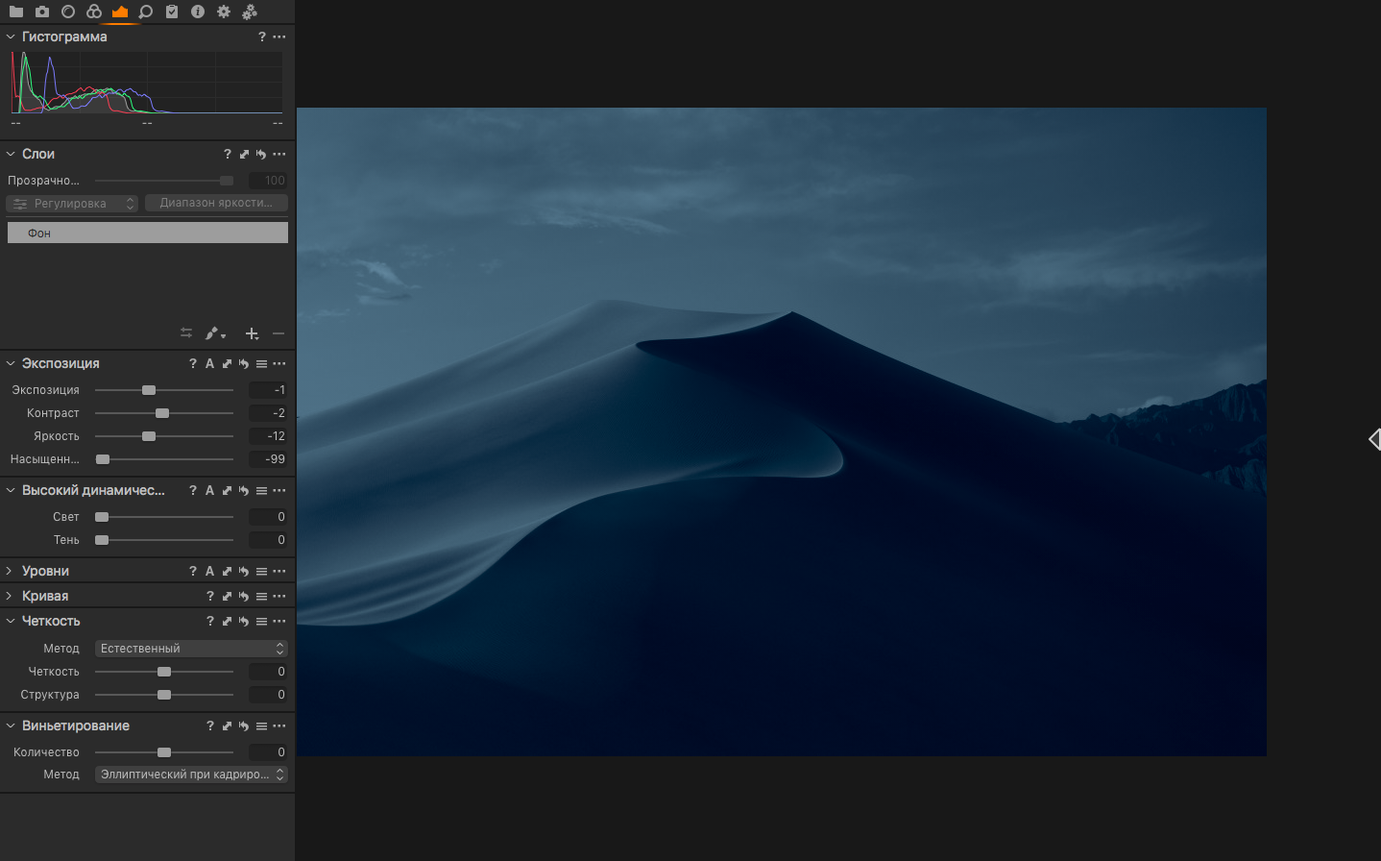
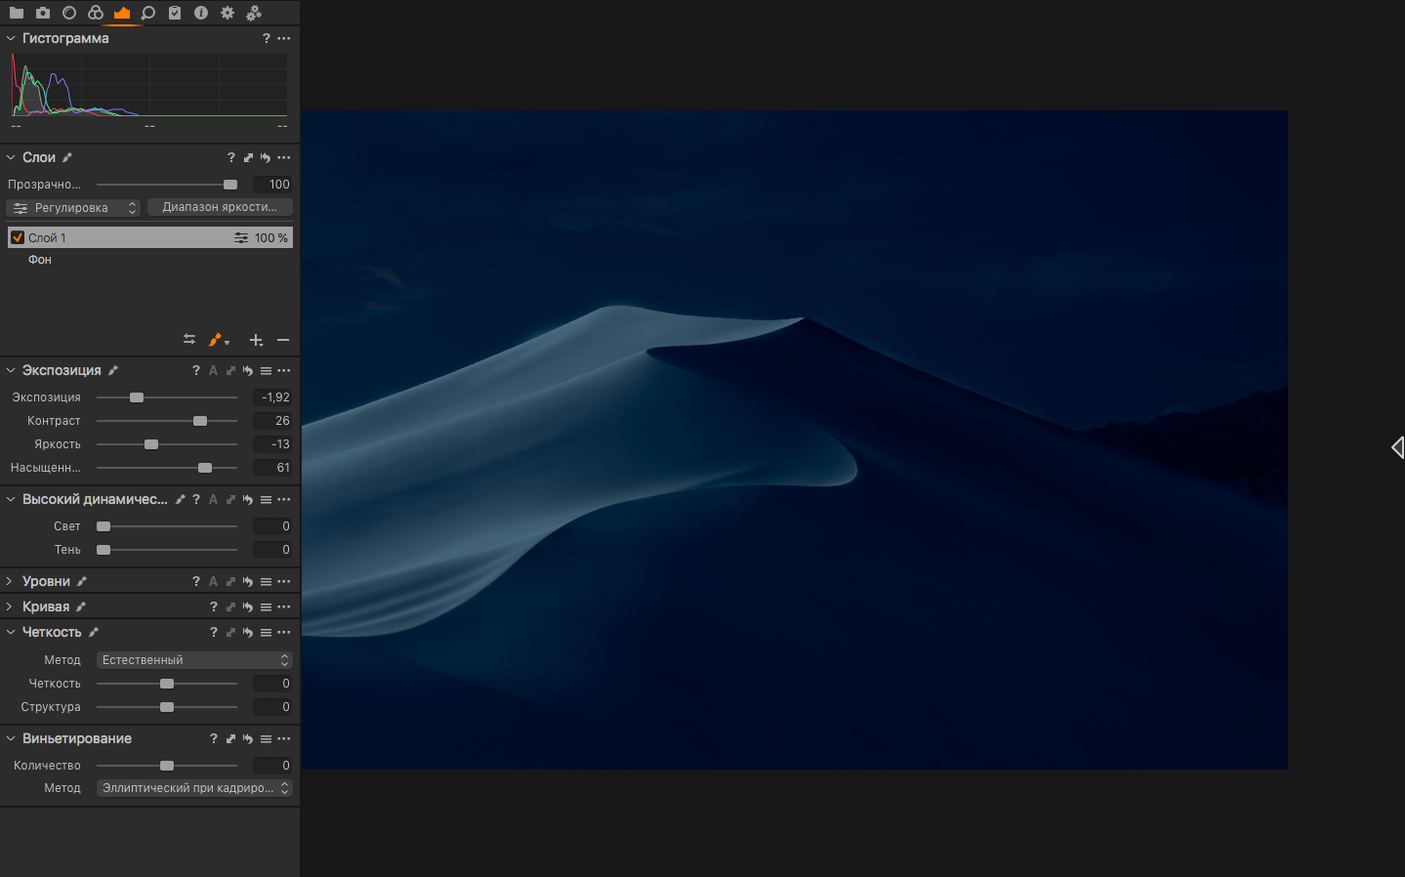
Colour balance controls open with a colour temperature slider and a tint slider, each responding without lag. The adjustment is global by default, but a local mask can isolate it to a single part of the frame. That same logic repeats across the tool set: a broad correction applied, then refined.
Multiple correction variants branch off a single RAW file, each one an independent starting point from the original sensor data. Switching between them shows no sign of cumulative degradation. It suits a session where a photographer delivers a neutral base edit, a high-contrast version, and a monochrome treatment to a client for selection.
File conversion happens in single-image and batch modes, with format and size settings saved as presets. Colour noise reduction sits alongside luminance noise handling, but the colour variant targets the low-frequency speckle that can appear in shadow areas of high-ISO frames. The effect is subtle at default strength and can be dialled up for difficult files.
Plug-ins extend the app through a developer portal, adding niche functions without altering the core interface. Wireless tethering improvements arrived in version 16.8, alongside enhanced denoise, assisted review, and new contact sheets. The interface itself stays restrained—eleven languages supported, a layout that favours panels over wizards, and a quiet assumption that the person at the keyboard understands what a tone curve does.
Raise the preview resolution so the image matches your screen
Out of the box, Capture One defaults to a workspace and a set of behaviours that a studio photographer might appreciate, but a few tweaks make the app feel more personal straight away.
Start with the preview resolution. The default Auto setting can sometimes soften the viewer during adjustments. Setting it to Full under Preferences > Image forces a sharper rendering, though it costs a fraction of a second on older hardware. Next, check the temporary folder location. Capture One stores previews and intermediate files aggressively, and moving that folder off a cramped system drive prevents surprises a month later.
The colour space of the viewer catches people out. It defaults to the monitor profile, which is correct for screen work but can mismatch exported files viewed elsewhere. Switching the proof profile to sRGB IEC61966-2.1 under View > Proof Profile gives a more honest preview of what a JPEG export will look like on a browser or a phone screen.
Under the Crop tool, enable Show Outside Image. The default cropping behaviour hides everything beyond the rectangle, which makes fine rotation adjustments harder to judge. Seeing the full frame while you rotate helps place the crop line against a horizon or an architectural element.
Auto adjustments are off by default for most tools, but the Auto Levels shortcut (Shift-Command-L) applies a quick tonal correction that works well as a starting point. Tame it by going to Preferences > Exposure and reducing the Auto Levels Clipping values to 0.10% for shadows and highlights. The default clipping can push contrast too hard on a well-exposed RAW.
One last setting that matters: assign a custom export recipe right away. Visit the Output tool tab, set up a full-size JPEG at 100% quality with a sharpening preset of your choice, and save it as Proof JPEG. That single recipe, available from any right-click, saves the mental friction of building export settings while an image is still fresh.
Twelve hundred wedding frames meet sessions and variants
Capture One rewards users who work in deliberate, repeatable steps. A wedding photographer returning from a Saturday shoot with twelve hundred frames will find the session-based cataloguing and the variant system more practical than an app that treats each file as a separate project. The ability to edit one image from a burst, copy its adjustments, and paste them across fifty keepers with a single keystroke turns a morning of culling into an afternoon of delivery.
Studio photographers who shoot tethered gain the most from the app's architecture. The live view, the overlay tool, and the ability to apply a style on capture mean the client sees a near-finished image seconds after the shutter fires. No other part of the market gets as close to Capture One's design assumptions as a photographer with a camera on a stand, a cable running to a MacBook, and an art director leaning over the screen.
Colour-critical editors—people who match product colours for a catalogue or skin tones across a portrait series—benefit from the colour editor's precision. The skin tone tab alone, with its hue-uniformity sliders, does in a few seconds what a generic HSL panel takes minutes to approximate. A retoucher who delivers files to a print house that expects CMYK TIFFs can build a recipe that embeds the correct profile and resolution without touching a separate converter.
Landscape and architecture photographers who rely on layers will find the local adjustment workflow a natural fit. The luminance-mask feature, tucked inside any adjustment layer, lets you drag a gradient across a sky and have it automatically avoid a dark foreground building. That kind of control is possible elsewhere, but here it is built into the same panel that handles exposure and white balance, which keeps the editing linear rather than scattered across modules.
Casual photographers who edit twenty frames every few weeks will feel the weight of the interface more than they feel its advantages. The app does not handhold, and its file-referencing model—where images live in a catalogue or a session, not in a self-contained library—requires a mental model that takes a few days to settle. For those users, the speed of a simpler tool often outweighs the depth of this one.
A client code, an external drive, and a viewer that fills with thumbnails
You connect a camera via USB and open a new session. Capture One asks for a name and a folder location; you give it a client code and point it to an external drive. The empty viewer fills with a tethered preview as the camera wakes.
A still life sits on a table under window light. You frame a test shot, fire it, and the file appears in the viewer within a couple of seconds. The exposure looks half a stop dark, so you tap the Exposure slider to +0.60. The white balance eyedropper lands on a gray card placed in the scene, and the colour cast vanishes. You save those two adjustments as a style called Base Correction and set it to apply automatically to every incoming capture.
The next ten frames come in clean. You switch from the Capture tool tab to the Library tab, where the thumbnails line up in a grid. You mark five as green—client picks—and two as red. A quick filter hides the rejects, and you open the first keeper full-screen.
A dust spot on the backdrop catches your eye. You switch to the Retouch tool, paint over the spot with a healing brush at 40 pixels, and watch it disappear. The clone source sits on a clean patch of background three centimetres to the left. You zoom back out and check the whole frame at 100% with a slow pan. No banding, no artefacts.
The client asks for a warmer version of the same frame. You create a new variant, name it Warm edit, and push the colour temperature from 5300K to 5800K. The tint stays neutral. Another variant gets a black-and-white treatment through the dedicated tool, with a red filter preset that lifts skin tones and darkens the blue fabric in the background.
Three variants now sit under the same thumbnail, all referencing the original RAW. You select all three, open the Output tool, and pick a pre-built recipe: full-size TIFF in Adobe RGB, 300 ppi, sharpening for glossy paper. A single click on Process starts the queue. While the files write, you drag the keepers into a contact sheet layout, print a quick PDF proof, and email it to the client before the TIFFs finish.
Option-drag a slider to skip the preview stutter
Holding Option while dragging a slider temporarily disables the preview update, which stops the viewer from stuttering when you need a large jump in a value. Release the key and the image snaps to the new setting. It is a small thing that becomes muscle memory within a week.
The Copy Adjustments clipboard holds more than most people realise. Select an image, press Shift-Command-C, and a dialogue opens with checkboxes for every possible adjustment category. You can copy only the white balance and exposure from one frame, then paste just those two values onto a hundred others. The clipboard stays populated until you overwrite it, so you can paste days later if the catalogue remains open.
Double-clicking a slider handle resets that single parameter to its default, but double-clicking a tool's label resets every slider inside that tool group. Accidentally push the Clarity structure slider too far? Double-click the word Clarity and the entire panel returns to neutral. It works on every tool tab in the app.
The focus mask is hidden under the View menu and mapped to Shift-Command-F. It overlays a green shimmer on the areas of the image that are in sharp focus, based on edge contrast. A tethered shooter checking critical focus on a product label can glance at the mask instead of zooming to 100% on every frame.
Right-clicking any colour in the viewer with the Colour Editor open sets the edit point to that exact hue range. It bypasses the need to pick from a colour wheel manually. On a portrait, right-click a patch of cheek and the skin-tone uniformity sliders appear immediately, ready to smooth redness without touching the lips or the eye sockets.
Pressing G toggles the grid overlay, but pressing Command-' toggles a finer rule-of-thirds guide that is more useful for composition checks during a tethered session. The shortcut is unlabelled in the default menus and easy to miss entirely.
Arrange Exposure, Colour, and Lens Correction on the left and save a template
Build a session template before importing anything serious. Create a new session, arrange the tool tabs the way you like them—most people want Exposure, Colour, and Lens Correction on the left, with Layers and Histogram on the right—and save it via File > Save as Template. Every future session starts with that layout, not the factory default.
Import a small test folder of twenty RAW files from your most-used camera and spend an hour building a default style. Set the tone curve to Auto, adjust the shadow and highlight recovery to taste, and add a tiny amount of Clarity and Structure. Save the style and set it to apply on import. That way every new image arrives already carrying your baseline look, and you edit from a warm start rather than a flat RAW.
Let the previews build fully before you begin culling. Capture One generates high-quality previews in the background, and scrolling through a large import while those previews are still rendering makes the app feel sluggish. Set the import to Generate Previews and walk away for five minutes. When you return, the browser scrolls without delay.
Check the Base Characteristics tool on a few images from different lighting conditions. The default curve for your camera model is usually correct, but Phase One occasionally ships a generic profile for a newly supported body. If the colours feel off, try switching the curve to Linear Response and building contrast manually. The difference can be dramatic on a camera added in the most recent update.
Set the backup location in the session preferences before you format a single card. Capture One can write a duplicate of every imported RAW to a secondary drive while the import runs. The setting is buried under the Import tool's Backup panel and is easy to overlook until the day you need it and realise it was never switched on.
Finally, give the keyboard shortcut editor an evening. Open Preferences > Keyboard Shortcuts and scroll through the unassigned commands. Many of the most useful functions—like Select by Same ISO or Propagate to Same Orientation—have no default key binding. Mapping five or six of these to unused keys turns a repetitive filtering task into a single button press, and those small accelerations compound quickly during the first full job.