Aspecten
 Download (47 MB)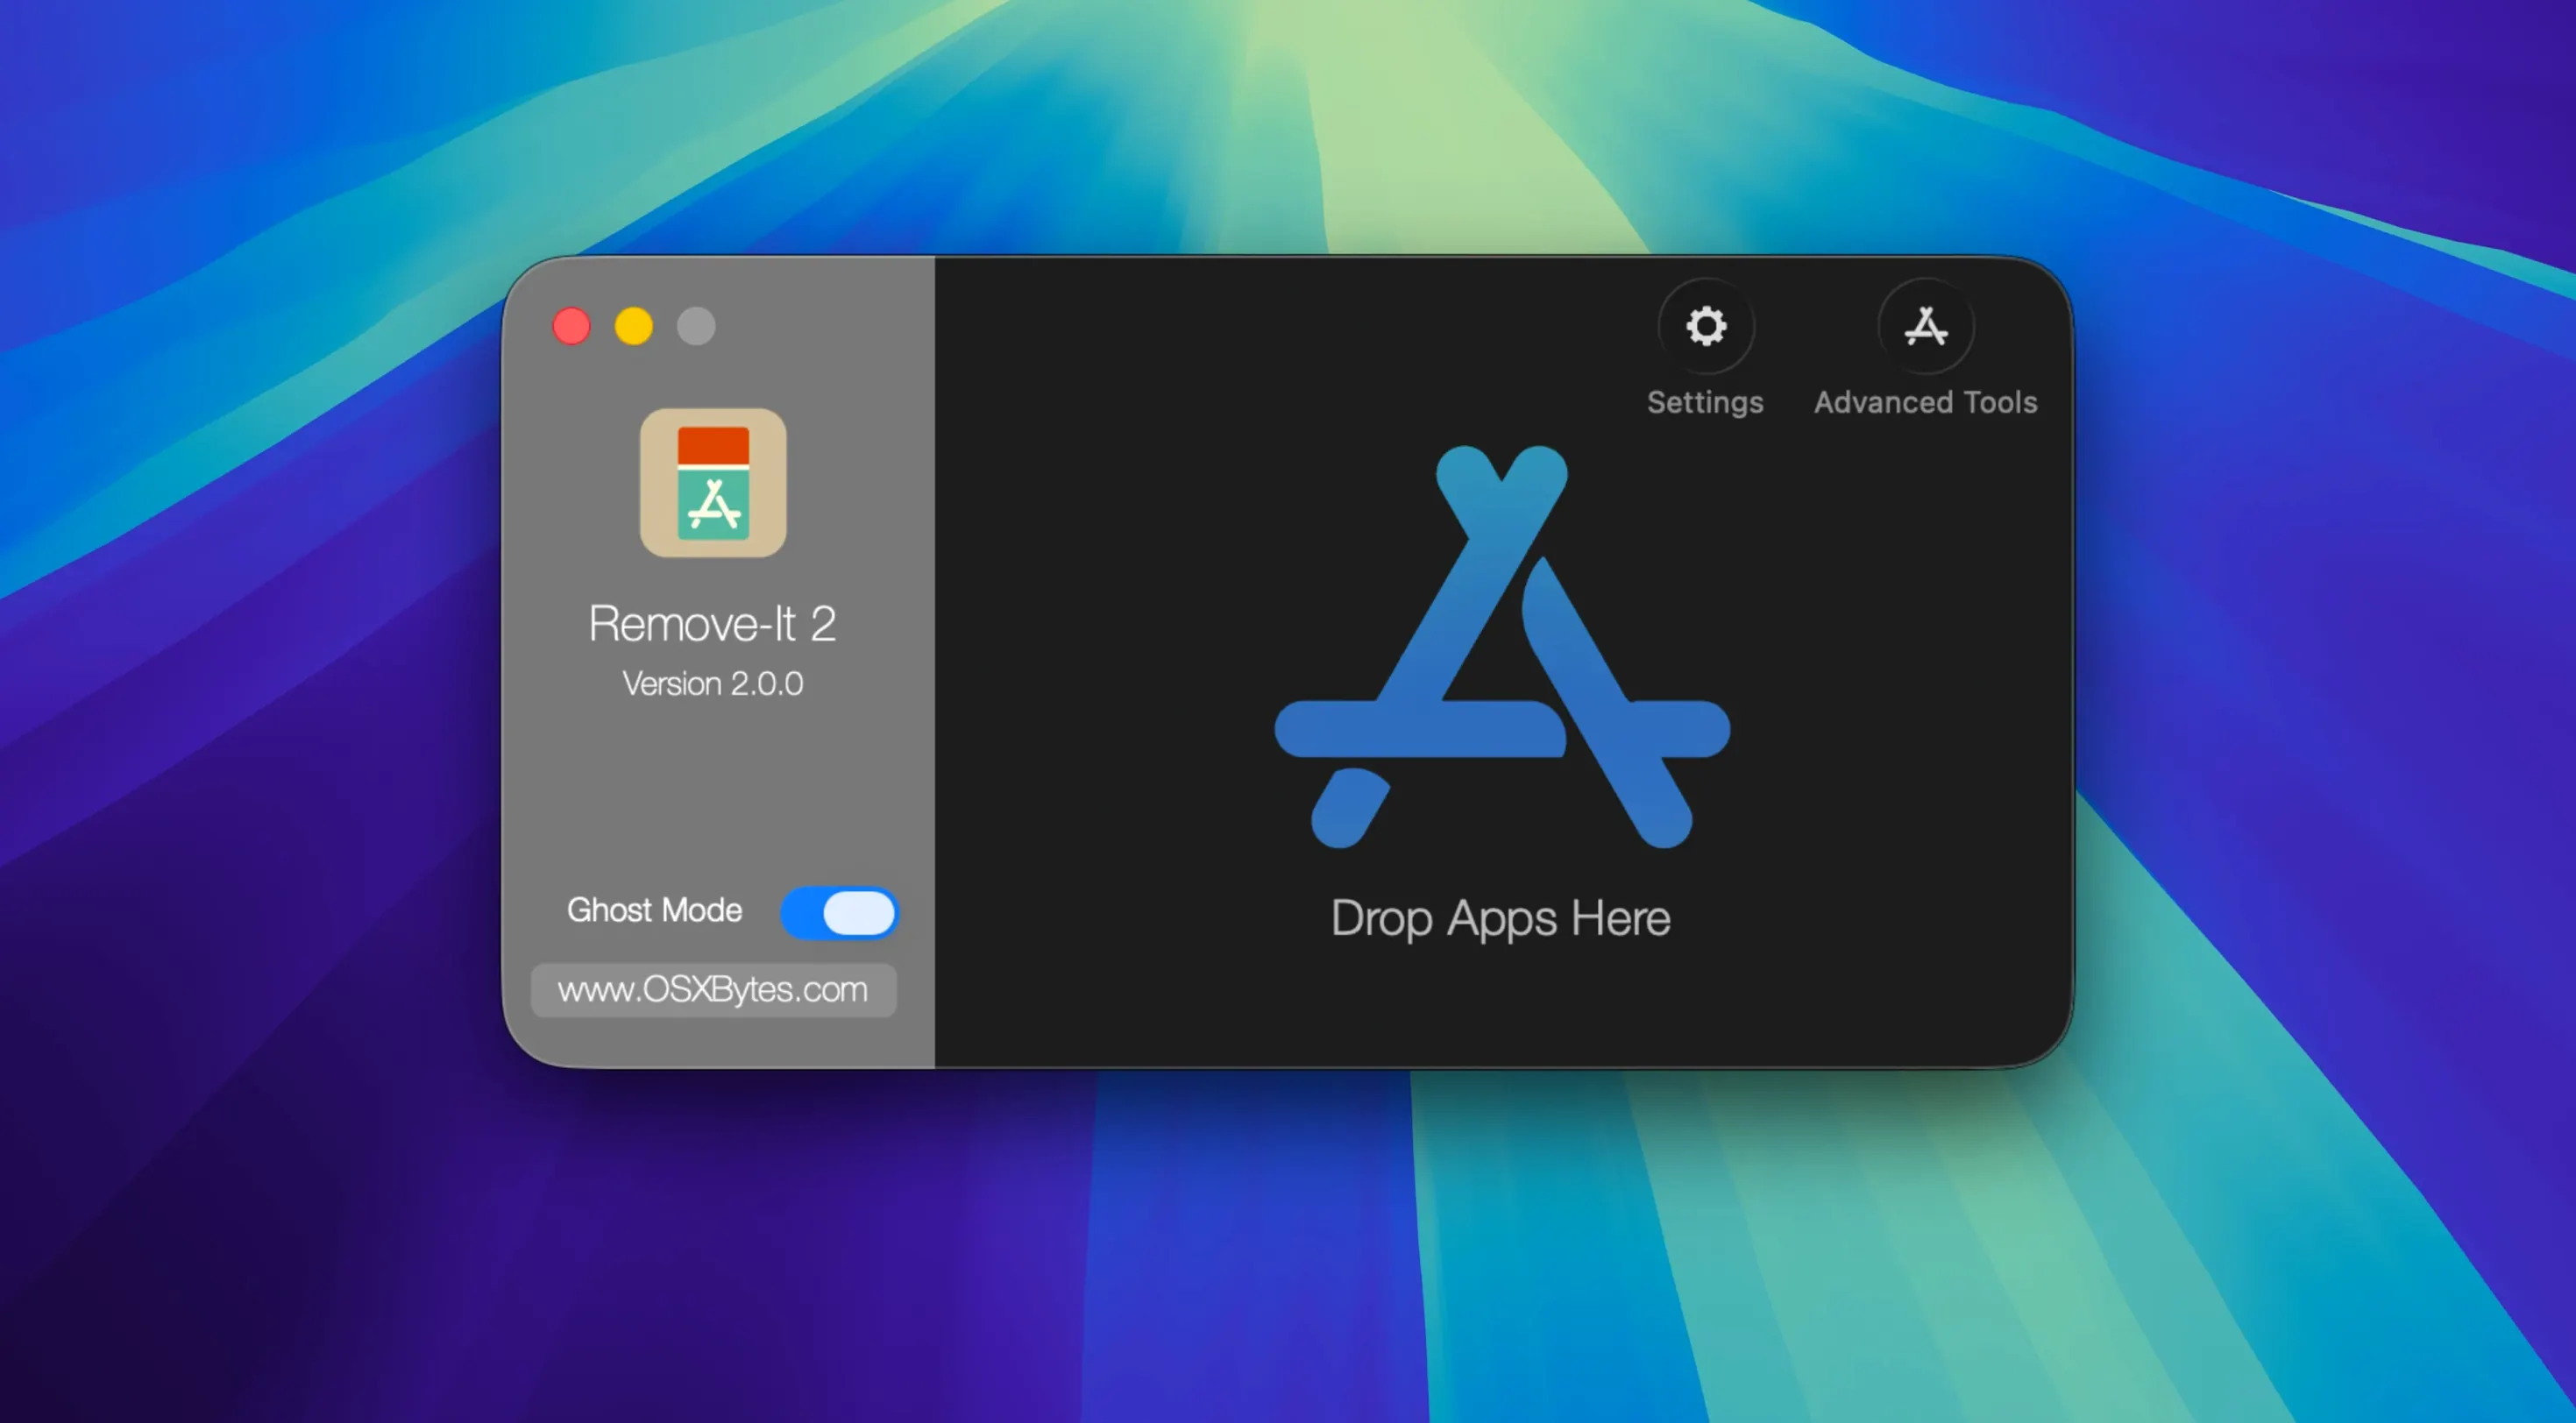
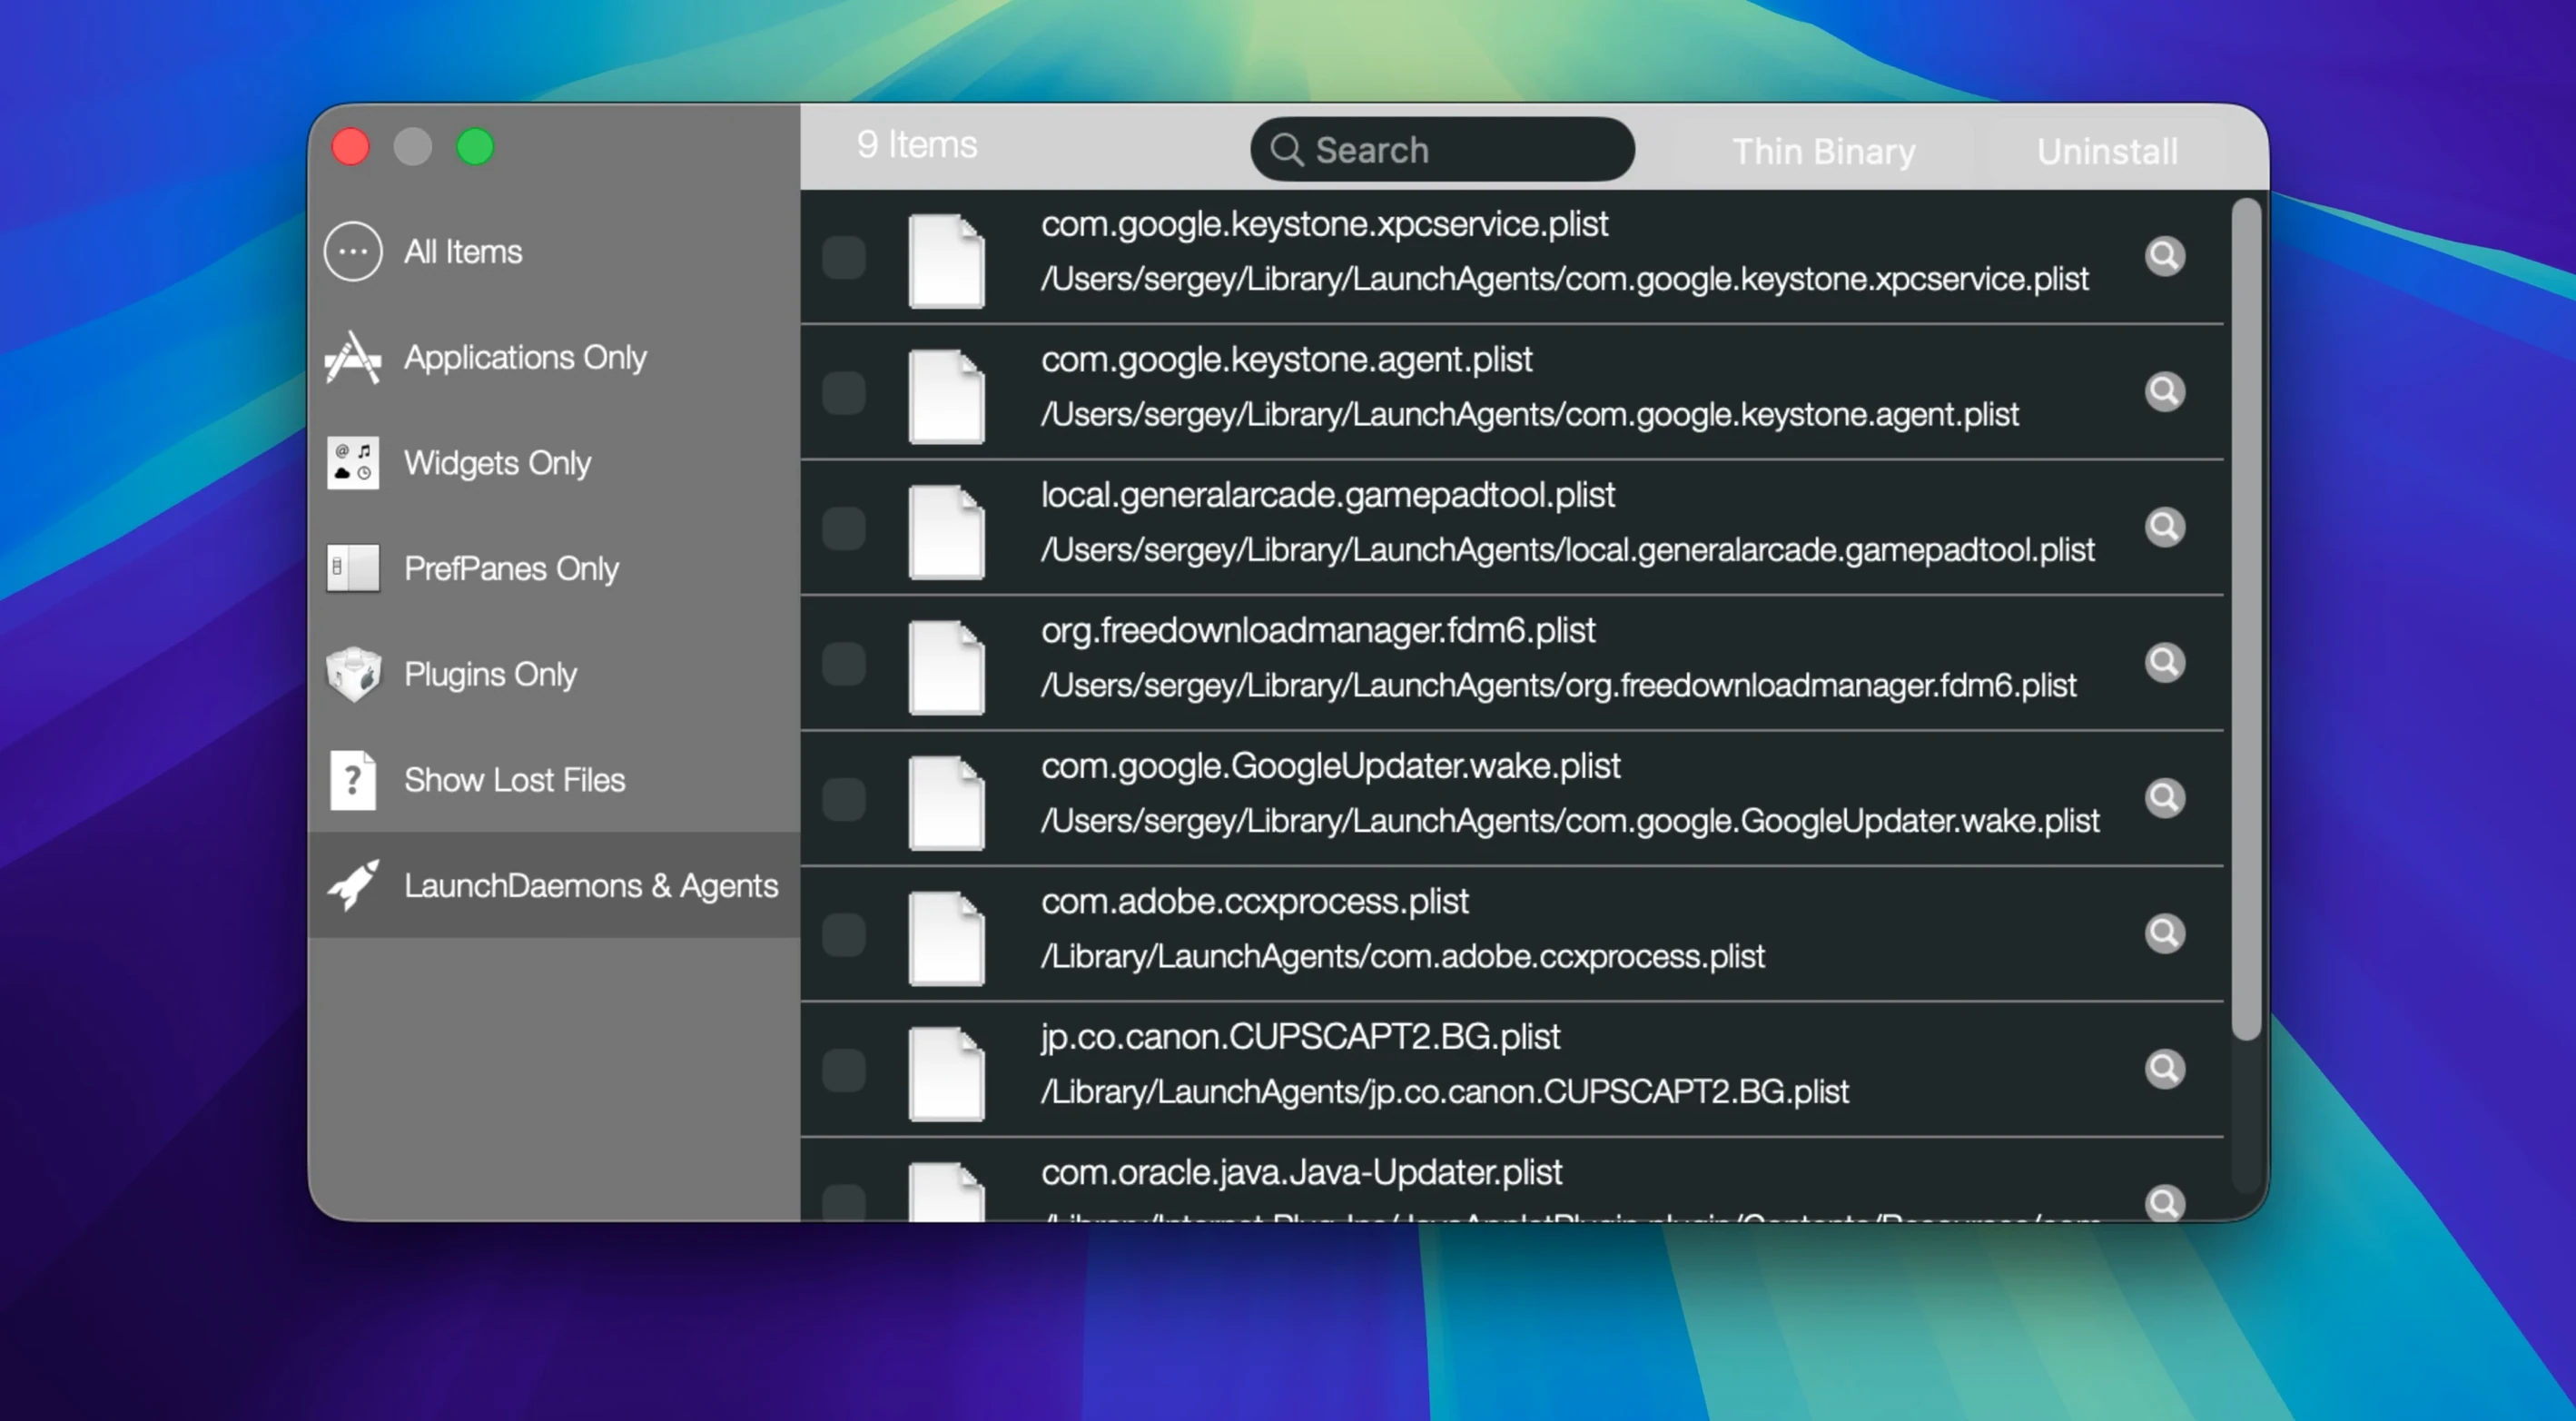
Remove-It runs on macOS 10.15 through to 26.x, on both Intel and Apple Silicon hardware. For a newcomer, the core job is straightforward: pick an application and let the utility hunt down the scattered preference files, caches and support folders that ordinary deletion leaves behind. Here are the first things to try.
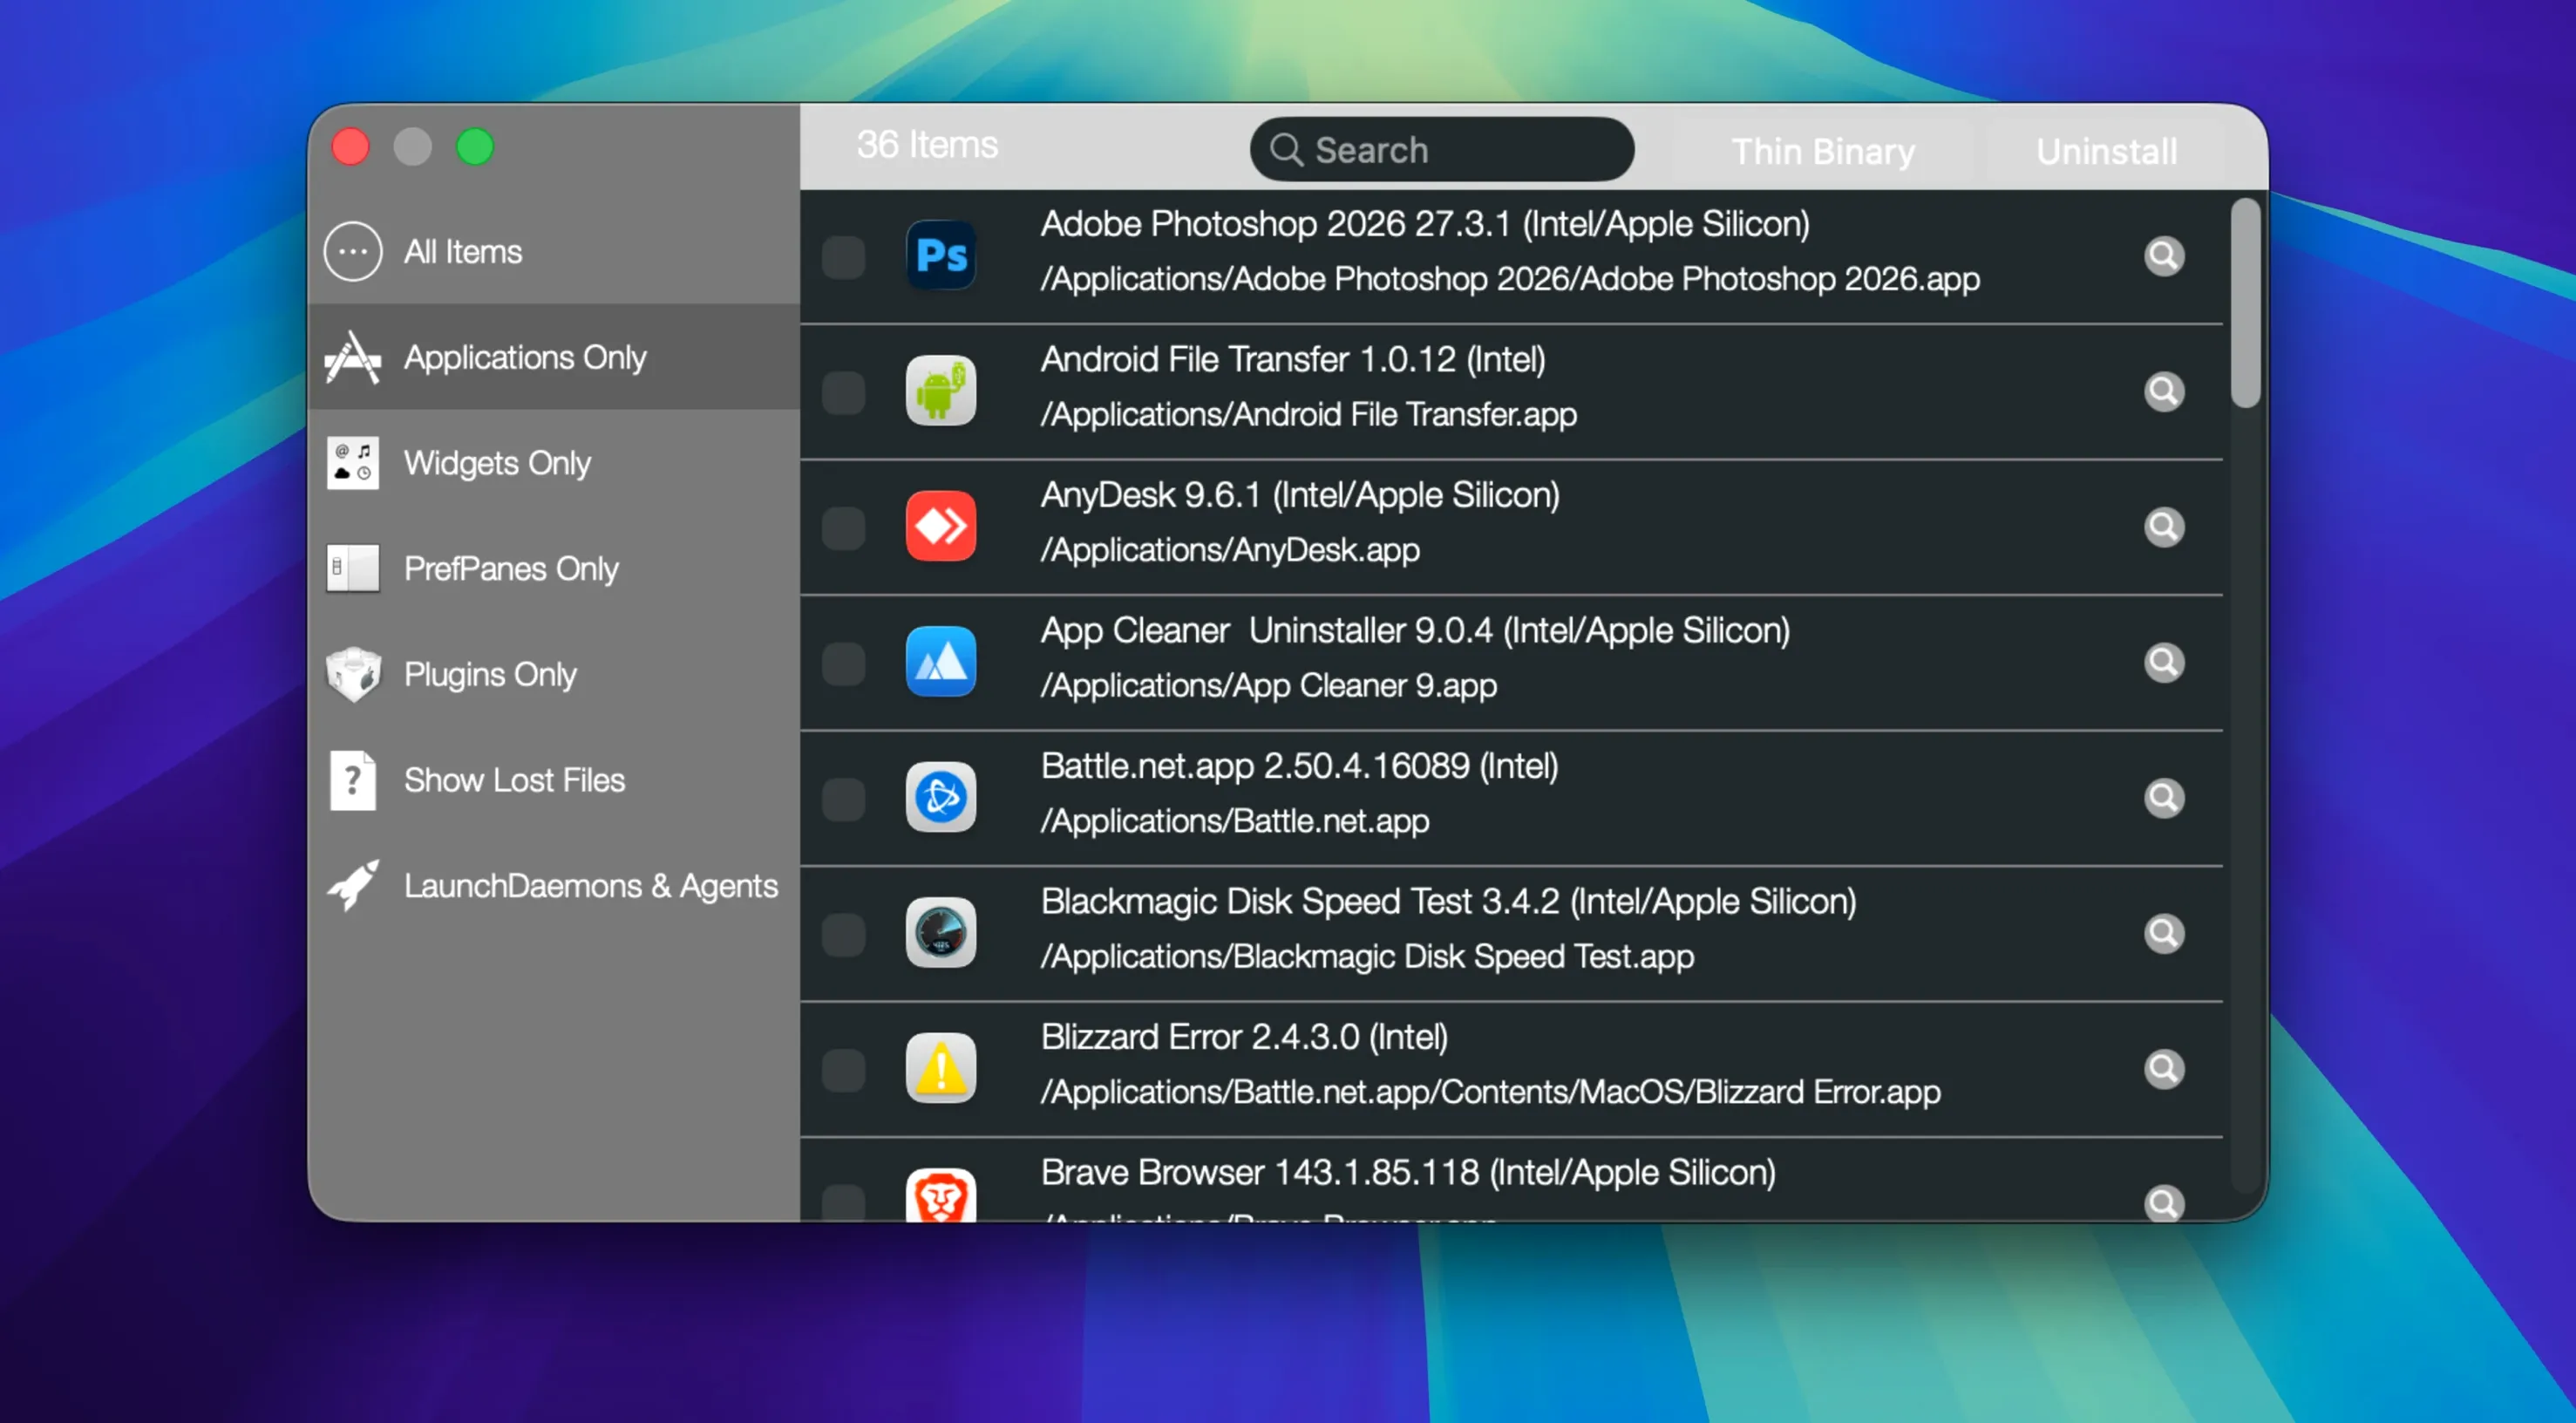
- Scan every volume. Open the app list and you will see installed programs from all mounted volumes, not just the local Applications folder. It is a quick way to spot duplicates or old versions sitting on external drives.
- Drag an app onto the window. The simplest way to start a removal is to drop an application icon directly into Remove-It. It immediately searches for associated files and presents them in a single list for review.
- Protect default applications. In the preferences, mark built-in Apple apps as protected. This prevents an accidental removal of something like Mail or TextEdit when you are tidying up third-party software.
- Trim universal binaries. For apps that bundle both Intel and ARM code, use the option to strip the architecture you do not need. It reclaims disk space without altering how the application runs on your Mac.
- Let it watch in the background. Turn on background mode and Remove-It will monitor when you move an app to the Trash via Finder, then offer to find its leftover files automatically.
The fuzzy matching behind the scenes relies on a Levenshtein distance algorithm, so files with slightly different naming from their parent app still surface in the results. Working through these five areas gives you a practical feel for how the tool catches what a manual delete misses.
Let the Levenshtein scan finish before closing the window
One early misstep is assuming the scan has finished when the main list populates. Remove-It continues to match files in the background using its Levenshtein algorithm, and closing the window too soon cuts that process short. Let it settle before reviewing what it found.
Another common error is skipping the protection settings. A newcomer who trashes a little-used app without protecting its support files first may find another application quietly loses its preferences or templates. Set up protected folders and default app protection before running any large cleanup session.
Beginners also overlook the expert mode toggle. With expert mode off, the utility returns a conservative set of matches. Switching it on broadens the search to more loosely related files, which is useful for deeply embedded software, but can also surface items that belong to other programs. Treat the expanded list as suggestions, not certainties, and read each path before confirming removal.
Turn on background monitoring for Trash-triggered leftover prompts
Open preferences and enable background monitoring straight away. With this active, moving an app to the Trash from Finder triggers a prompt asking whether you want Remove-It to locate leftover files. It turns a manual habit into something the utility catches without extra steps.
Next, spend a minute in the protection panel. Add your home folder application directories and any shared support folders you rely on across multiple apps. The list of protected items grows with use, but a solid starting set prevents regret later.
Under the search options, check scan inside folders if you keep portable apps or nested utilities in project directories. The default view shows only recognised application bundles, but many macOS tools sit loose inside other folders. Ticking this expands coverage noticeably on development or media machines.
Finally, if you download a remove-it mac download package from a trusted source, the installer places the app in your Applications folder. Drag it to the Dock for quick access, then set the preferences to launch at login if you want background monitoring active from the moment you start working.