Aspecten
 Download (180 MB)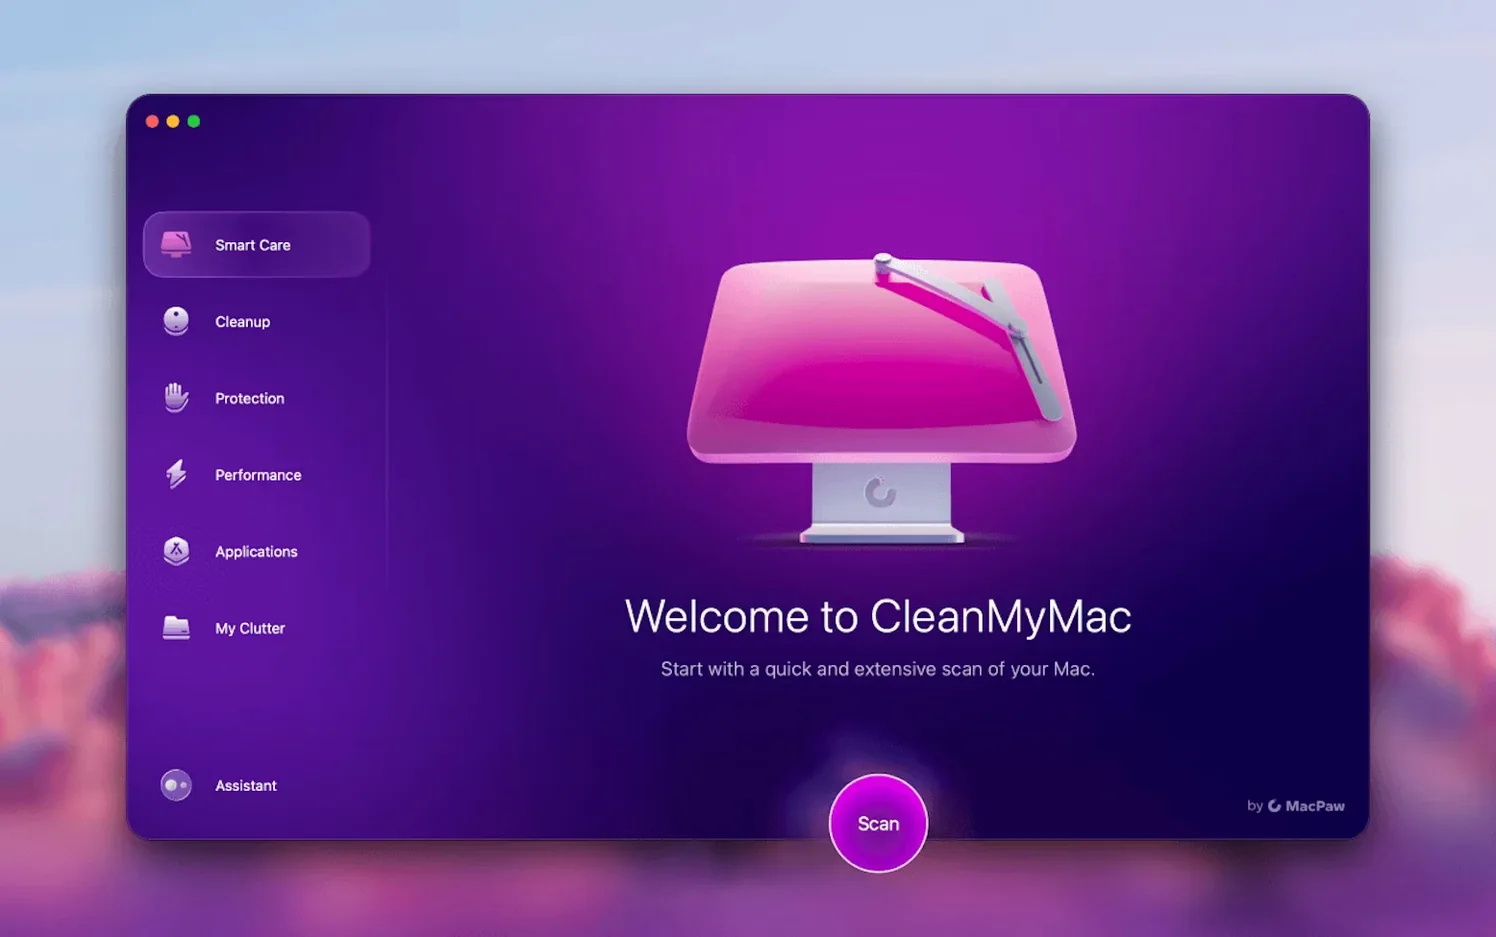
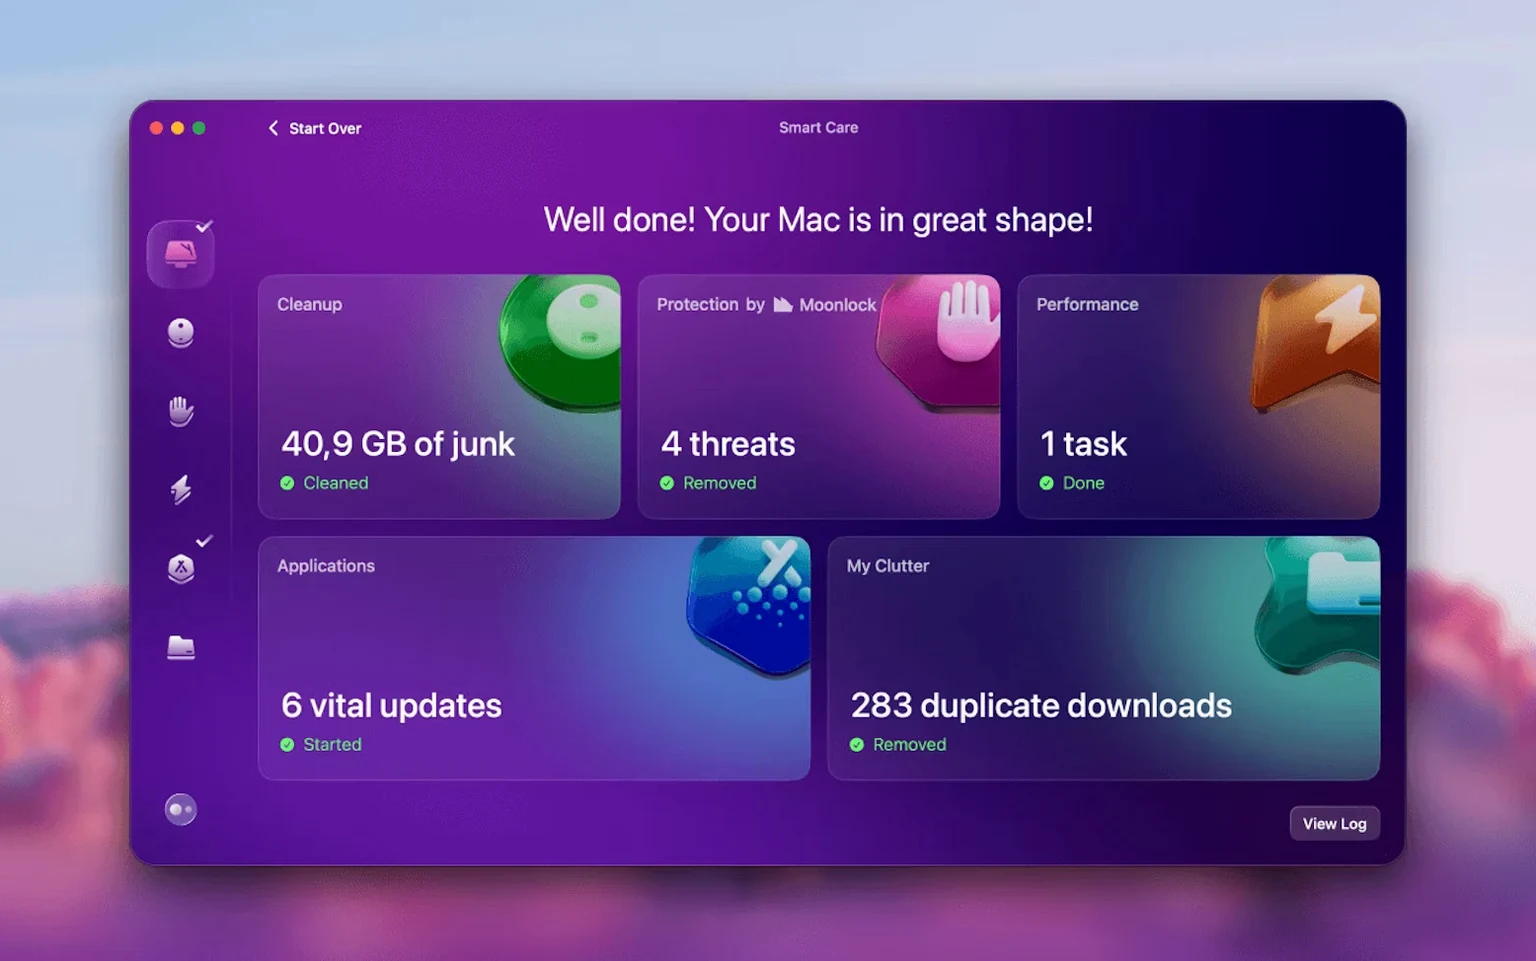
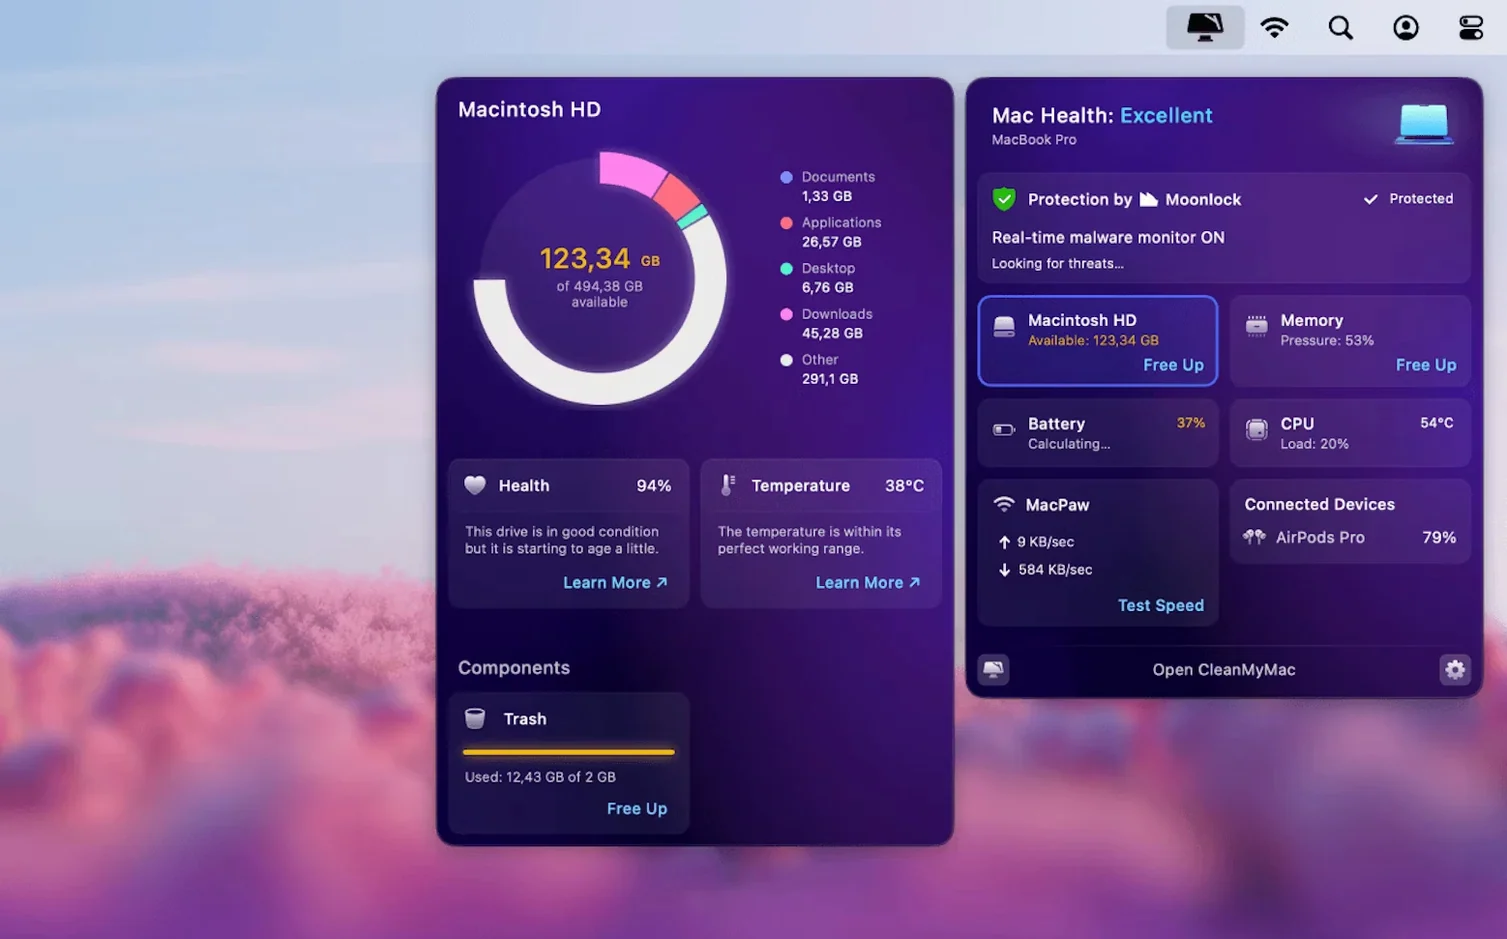
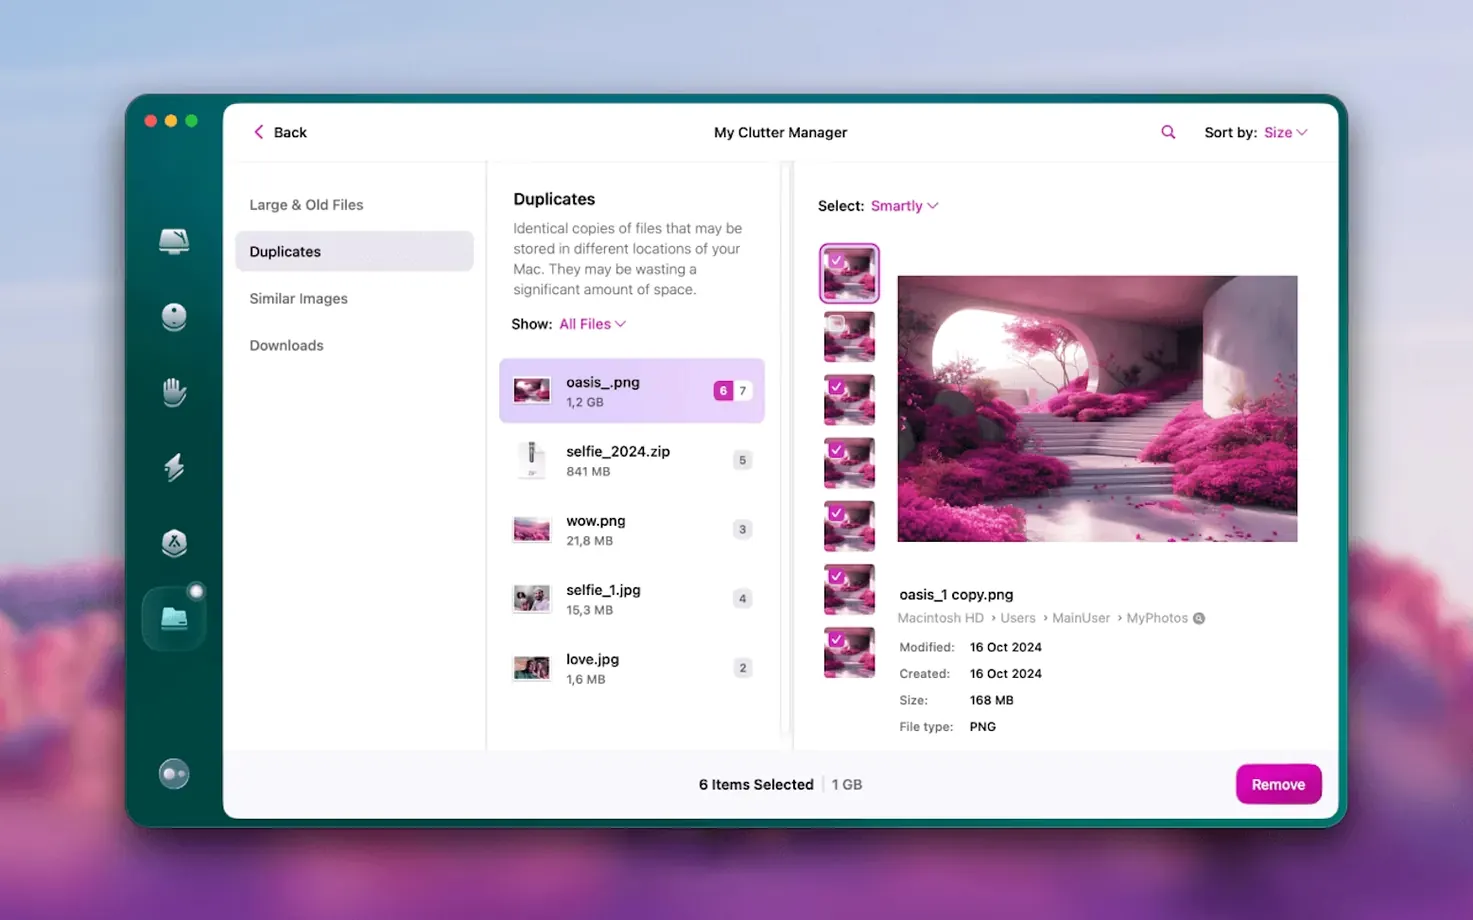
Version 5.7 brings mail management into the fold, letting you clear out old Gmail attachments and message clutter directly from the Mac app. Rather than listing every module, it is more useful to follow one realistic maintenance session from start to finish — the kind you might run on a sluggish weekday afternoon.
| Detail | Note |
|---|---|
| Architecture | Apple Silicon, Intel 64-bit |
| macOS | macOS 11 and later |
| Languages | 12, including German, Dutch, Japanese, Ukrainian |
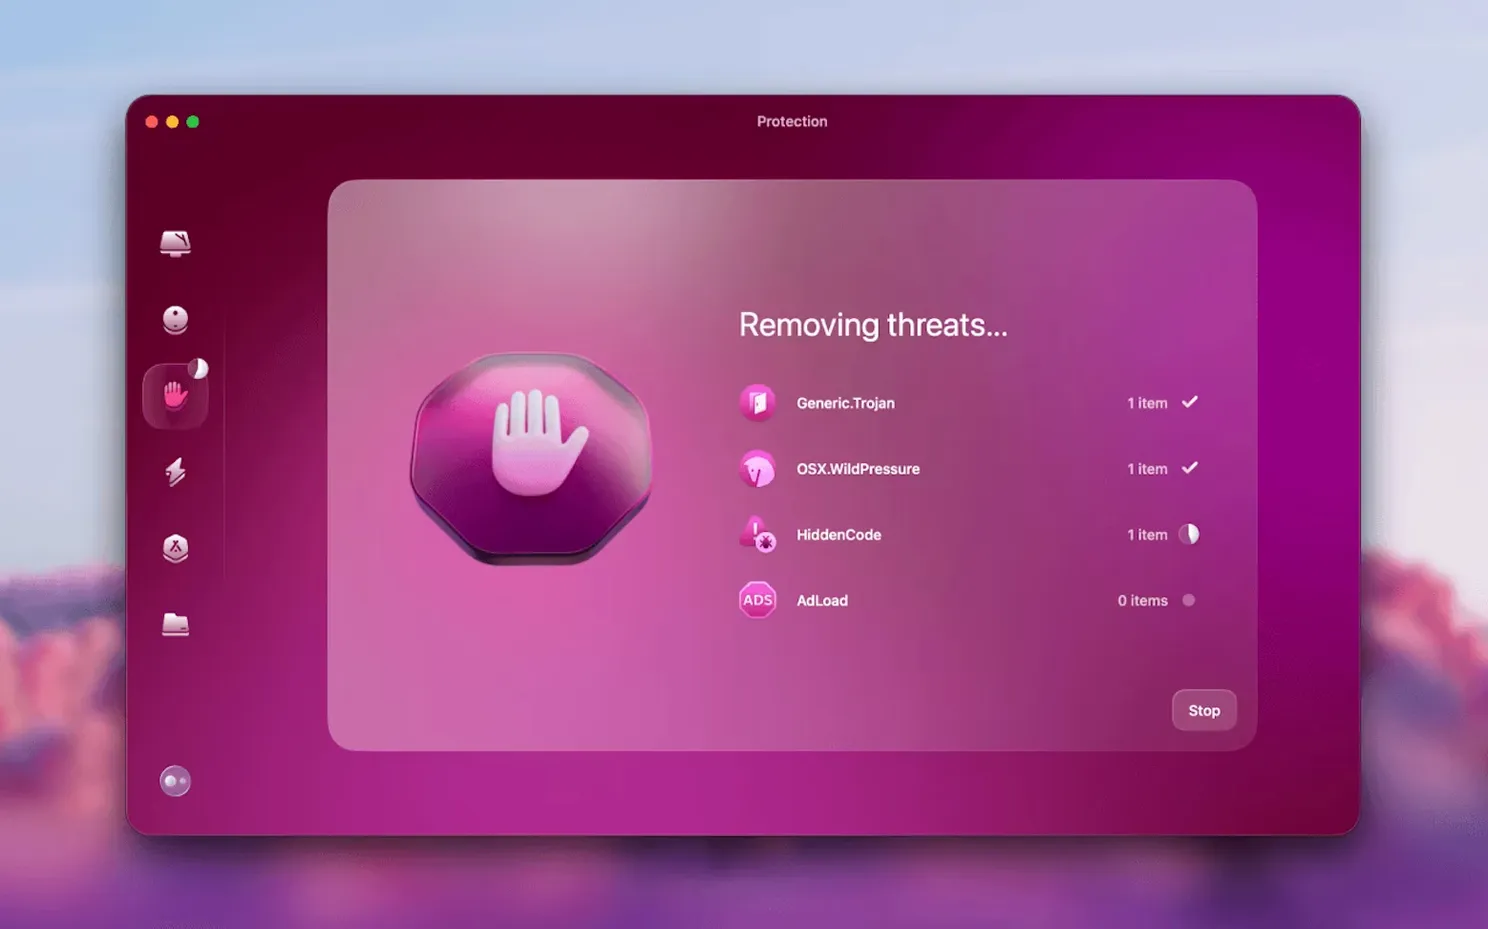
You open the app and run an instant system scan. It flags several gigabytes of user cache files, old iOS software updates and a handful of localised language packs you never use. Before committing, you switch to the new Mail tab. After a quick Gmail authorisation, the module surfaces a stack of heavy newsletter attachments and years-old read receipts. You select the lot and tap Run. The whole sweep — system junk, large leftovers and mail attachments — finishes in under two minutes, and the protection module stays quietly active afterward, watching for malware. For app removal, MacPaw’s separate App Cleaner & Uninstaller remains the more thorough option, but for a single-session tidy-up that now reaches into your inbox, the 5.7 update fills a practical gap.
When the app refuses to launch after installation
One recurring hitch is the system refusing to launch the app after dragging it into Applications. On a Mac running a recent macOS version, the cause is usually missing full disk access. The app needs to read system caches, mail data and other protected folders, and without that permission it sits quietly doing nothing. Opening System Settings, navigating to Privacy & Security > Full Disk Access, and toggling the switch for CleanMyMac solves this immediately — but you need to quit and reopen the app afterward for the change to take.
Another sticking point involves Gmail authorisation inside the new mail cleanup module. If you use two-factor authentication, the standard password prompt fails. Instead, you generate an app-specific password through your Google account settings and paste that into the authorisation field. The mail module then connects without fuss. Google occasionally revokes these passwords after account security events; regenerating one takes thirty seconds and restores functionality.
Some people notice the protection module flagging files that other security tools ignore. This is rarely a false positive and more often a mismatch in detection scope — CleanMyMac also looks for adware bundled inside legitimate-looking installers, while many antivirus tools skip that category. If a file looks suspicious, quarantining it through the module and observing for a day or two before deleting is a cautious middle ground.
Small-drive Macs regain the most space
People with 128 GB or 256 GB internal drives tend to notice the biggest practical difference. A small drive fills quickly with caches, mail attachments and duplicate iOS backups, and the large-file finder combined with the system junk module reclaims space without guessing what is safe to remove. Students and freelancers who work across several machines also benefit, because the scan surfaces forgotten DMG files, installer packages and temporary project exports that pile up over a semester or a contract.
Those who keep a Mac for four or five years without a clean reinstall often find the maintenance scan catches accumulated crud they had stopped noticing: system log files from two macOS versions ago, localisation data for languages they never selected, and broken login items that only appear in the background. The app does not promise miracles on an ageing machine, but clearing that layer of digital sediment can bring Finder and app launch times back to something closer to the machine’s younger self.
People with large Gmail archives — think tens of thousands of messages dating back to the early 2010s — get a specific boost from the 5.7 mail tools. Gmail’s web interface is slow at bulk deletion, especially when attachments are involved. The local module handles the same task faster because it sorts by attachment size and age before sending deletion commands, so you cull the heaviest messages first without scrolling through every newsletter individually.
Running every module blindly without reviewing selections
A common early error is running every module on the first day without looking at what each one selects. The large-file finder, for example, does not distinguish between a forgotten installer and a carefully organised video archive on an external drive. People who click Run without reviewing the list sometimes delete media projects they meant to keep. The fix is simple: expand each category and skim the file paths before committing. Anything sitting in a folder named after a client or project deserves a second look.
Another beginner habit is treating the app removal tool as a complete uninstaller. It removes the main binary and immediate support files, but some applications scatter preferences and caches across several Library folders. For a truly clean removal, MacPaw’s separate App Cleaner & Uninstaller digs deeper. Beginners who rely solely on the built-in removal module and then reinstall the same app sometimes wonder why old settings reappear — this is why.
Skipping the first-run scan and heading straight to the mail module causes confusion too. The mail authorisation flow expects the app’s background helper to be running already, and the helper initialises during that first system scan. If you bypass it, the Gmail login window may hang or throw a connection error. Running even a quick scan before setting up mail access avoids this entirely.
Option-click the menu bar icon for a forced recheck
The menu bar icon, disabled by default, provides a lightweight status panel without opening the full interface. A click shows current drive health, memory pressure and the last scan result. Holding the Option key while clicking reveals a forced recheck of the protection module’s malware definitions, useful if you suspect something slipped through and want an immediate second opinion without a full restart.
Inside the large-file finder, dragging a folder from Finder onto the scan results area filters the list to show only files inside that folder and its subdirectories. This is undocumented in the interface but works reliably, and it turns a broad disk scan into a targeted audit of your Downloads folder or a specific external drive.
The system junk module has a hidden granularity toggle: right-clicking any category header reveals a submenu that lets you exclude that category from future scans. People who regularly need their email attachment cache, for instance, can exclude it once and stop seeing it in every report, rather than manually deselecting it each session.
A small but practical shortcut: pressing Command-R after a scan finishes repeats the last scan with the same selections, so if you run the same cleanup every Friday, you do not need to re-tick the same boxes each time. The mail module remembers its last attachment filter too — if you last searched for attachments over 10 MB, that filter persists across sessions until you change it.
Establish a clean baseline with one system scan first
Run the system scan once and apply it before touching any other module. This establishes a clean baseline and initialises the background helper that the protection and mail modules depend on. After that, give the protection module a moment to download its initial definition set — the status indicator shows a small progress bar on first launch. It takes less than a minute on a typical connection.
Set up the large-file finder to ignore external drives you use for active work. The scan will still see them, but excluding them in the preferences prevents an accidental deletion during a rushed cleanup session. People working with video or audio projects on external SSDs should do this on day one, because a drive full of large media files looks exactly like a drive full of clutter to the scanner.
Configure the mail module on the second day, not the first. Let the app settle, let the background helper run through a sleep-wake cycle, and then authorise Gmail when the system is not also indexing after a fresh install. The mail scan is network-intensive and competes with Spotlight indexing; staggering them avoids both processes crawling.
If you are comfortable with Terminal, a quick check afterward confirms what was removed: ls -la ~/Library/Caches/ run before and after a cleanup session shows precisely which application caches were targeted. This is not required, but it builds confidence in what the app considers safe to delete — after a few sessions, the pattern becomes predictable and you can scan and run without inspecting every line.