Aspecten
 Download (760 MB)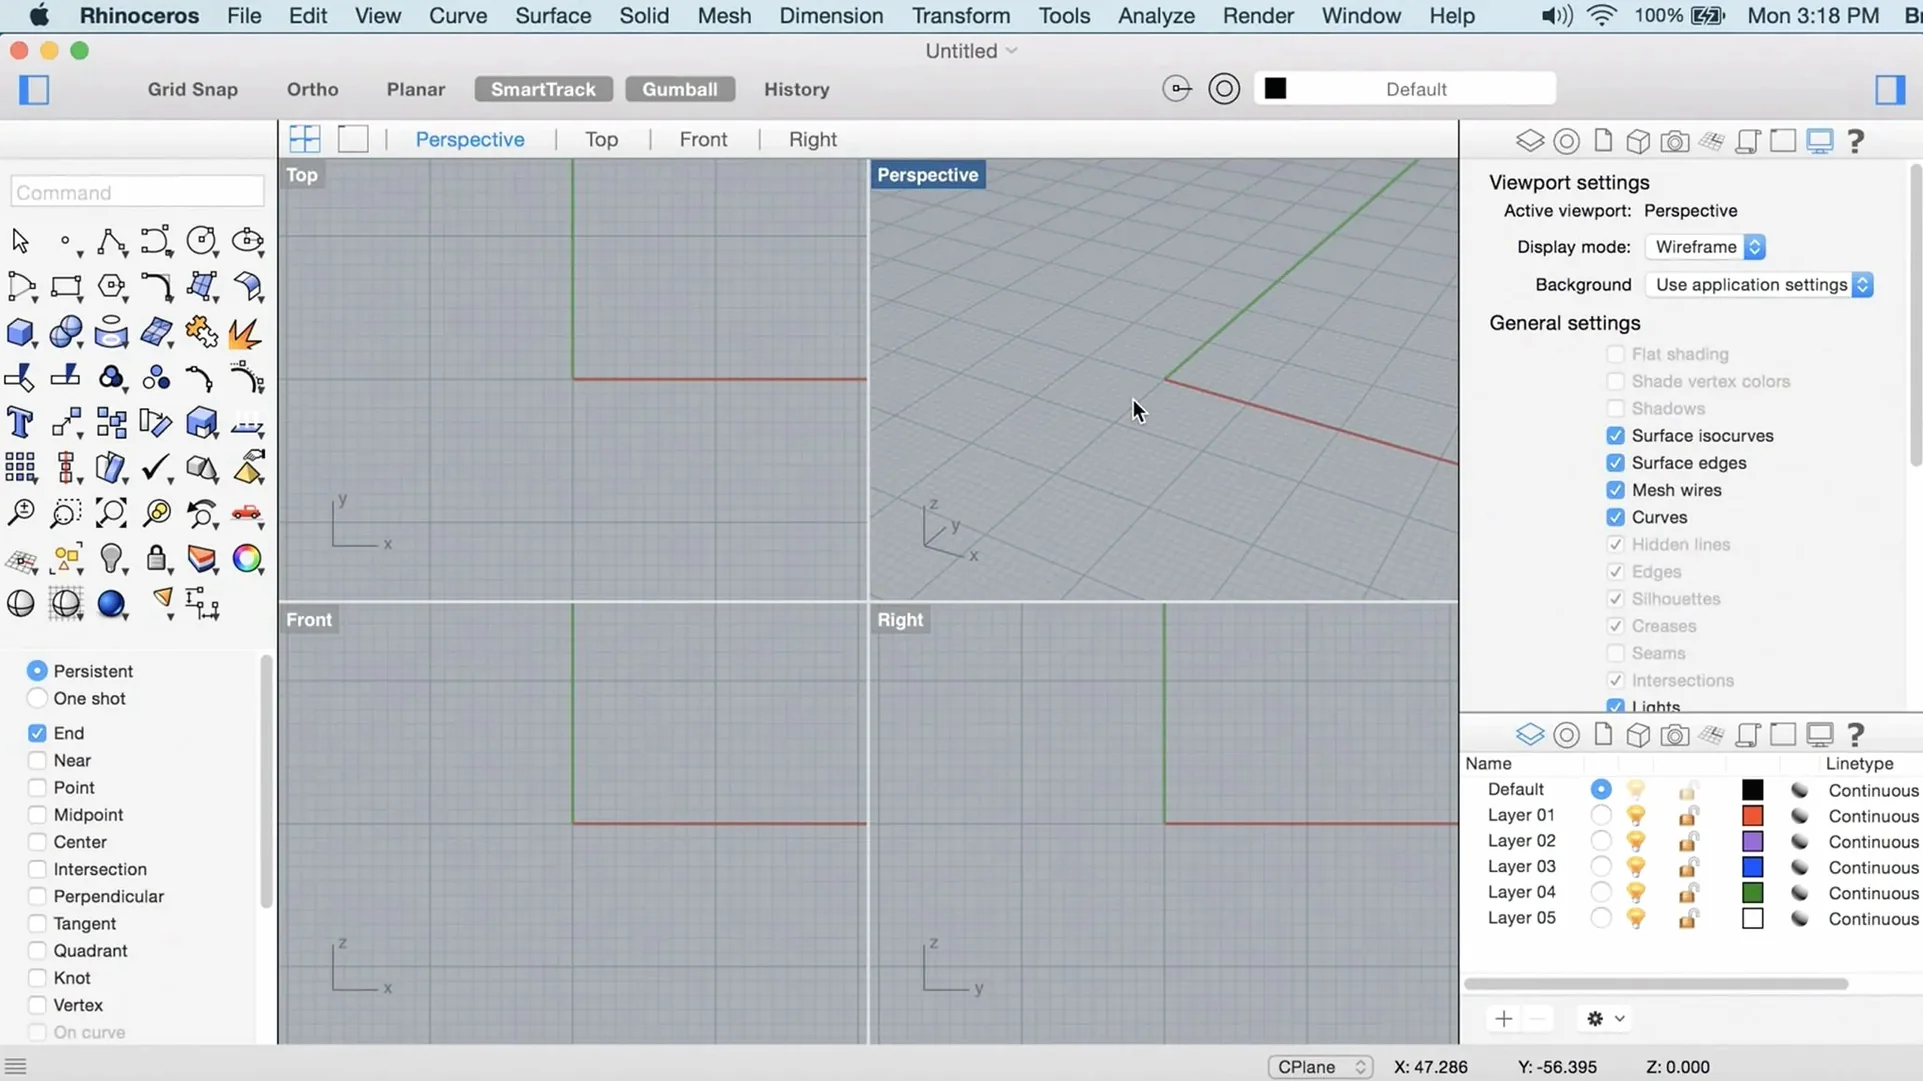
8 GB of RAM is the recommended minimum. A multi-button mouse with a scroll wheel is also advised, because much of the navigation relies on a three-button setup. These are modest entry requirements for an application that handles geometry of practically any size or complexity, limited only by the hardware inside a Mac.
Starting a model from curves, SubD cages, or scan data
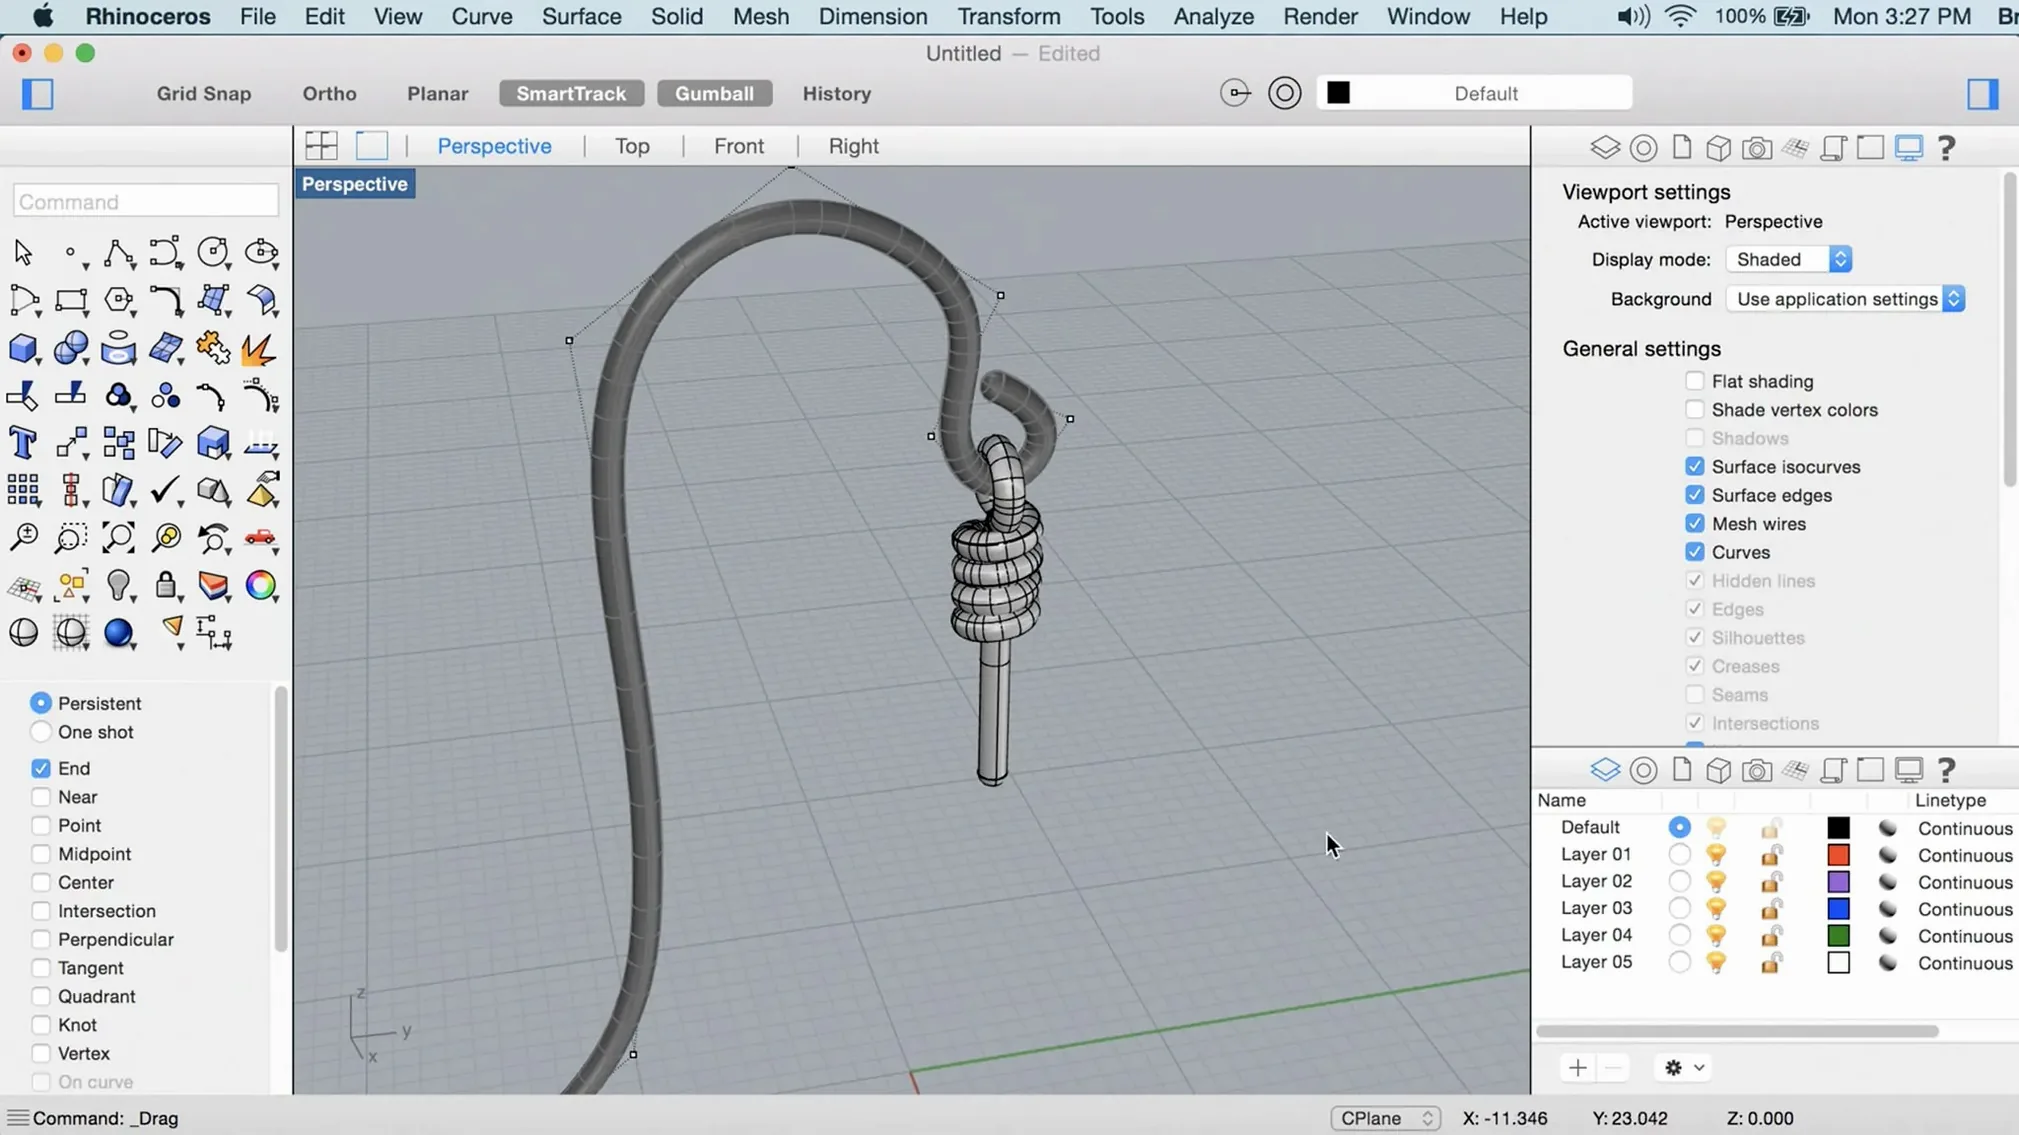
- Start with a base form. It can be a simple curve network, a SubD cage or imported scan data. Rhino 8 on Mac uses Apple Metal to draw the viewport, so shaded and wireframe modes stay responsive even with dense meshes.
- Apply ShrinkWrap to create a watertight mesh around loose or intersecting geometry. The feature generates a single closed envelope — useful when preparing a model for 3D printing or when cleaning up scan artefacts.
- Add SubD Creases to sharpen edges on subdivision surfaces without adding control loops. A crease value between 0 and 1 sets the hardness of the edge, keeping the cage light while defining crisp transitions.
- Arrange tool palettes and panels. The interface on Mac is now more customizable: palettes can float, stack or hide, and a single-window mode keeps the workspace tidy on a laptop screen.
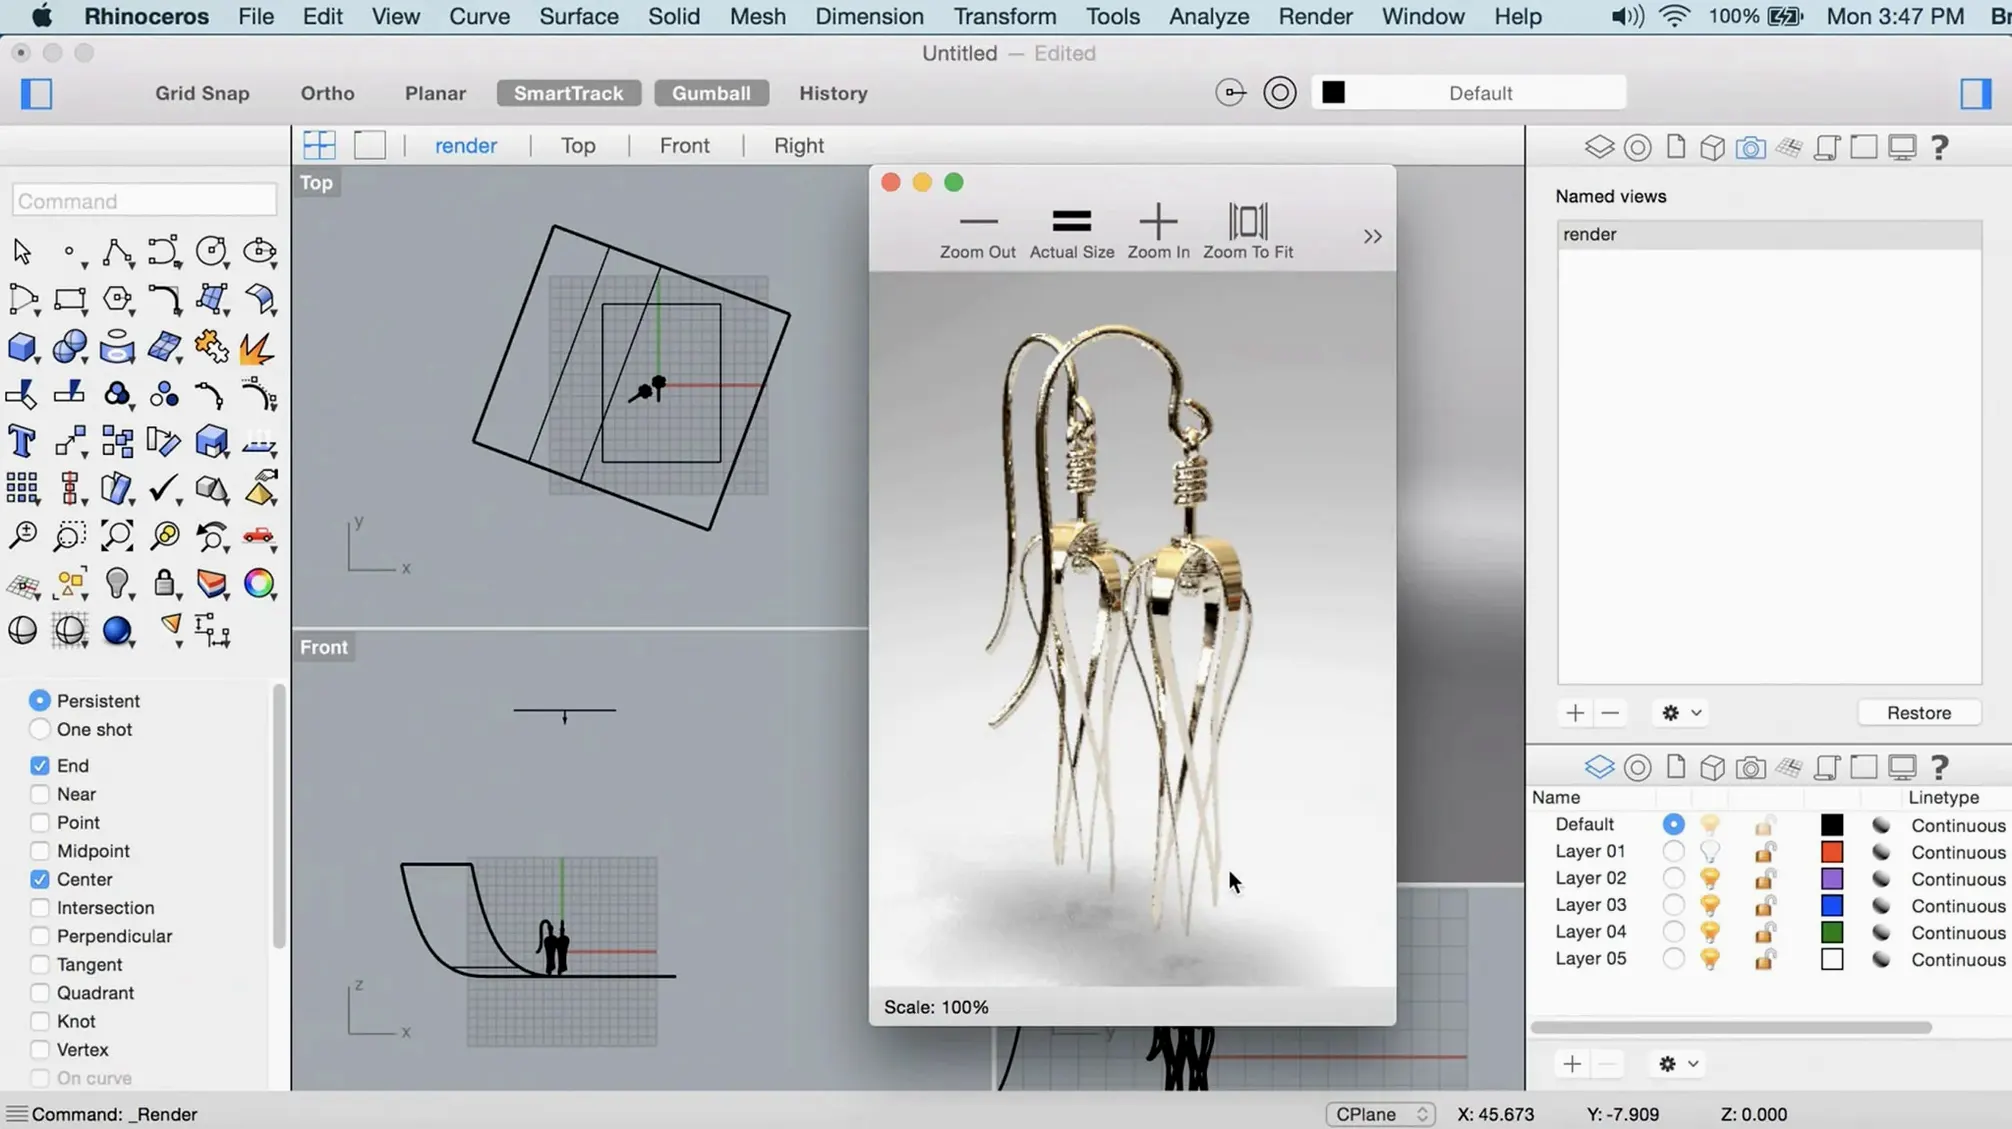
- Render with the updated Cycles engine. The renderer produces faster previews and final frames, using the same Metal-based pipeline as the viewport for consistency between what you see and what you export.
What stayed the same is the broad file compatibility and the freeform approach to modelling. Rhino does not lock you into a single primitive type — solids, surfaces, meshes and SubDs coexist in one file, and the Mac version reads and writes the same .3dm format as the Windows release.
Overlooked tools that reduce modelling friction
A handful of Rhino's smaller features sit just outside the main toolbars and are easy to overlook during the first weeks. They do not change what the application can model, but they change how little friction you feel while modelling.
- Tab to lock a direction. Begin dragging a transform handle, tap Tab, and the movement snaps to the axis you are pulling. Tap Tab again to cycle through the other two axes. This works inside Move, Rotate, Scale and the Gumball, and it removes the need to keep a straight hand on the mouse during long drags.
- Alt-drag a Gumball arrow to extrude a face. On a SubD or a polysurface face, hold Alt and pull one of the Gumball arrows. Rhino extrudes that face along the arrow direction without switching to the ExtrudeSrf command. Release and the new geometry stays selected, ready for another operation.
- Middle-mouse button as a pop-up. A click of the middle button — or a three-finger tap on a trackpad, if you have configured it — brings up a radial menu of frequently used commands. The default set includes Zoom Extents, Plan, Perspective, Undo and Redo. You can edit the radial menu from Rhino Options > Mouse, and most experienced users swap in their own six commands within the first few days.
- Ctrl-Shift-click to select a sub-object. In a crowded model, Ctrl-Shift-click on a face, edge or control point picks that element directly, skipping the need to isolate the parent object first. It works across polysurfaces, SubDs and curve control points, and it pairs well with the new crease-editing tools in version 8.
- F1 during any command opens its help page. If a prompt in the command line looks unfamiliar, pressing F1 opens the relevant page in the local help file. The help system on Mac uses the same documentation set as the Windows version, with examples and notes specific to the Metal viewport where they apply.
Rebuilding a dense, hole-filled scan into a clean CAD model
A designer sits down with a rough sketch and a scan file from a client. The mesh is dense — 1.2 million triangles — and full of small holes where the scanner lost the surface. The goal is a clean, watertight solid that can go to a CNC shop by Friday.
Rhino opens to a perspective viewport with the default grey ground plane. The scan imports through File > Import, and the viewport redraws in under a second. Even on a MacBook Pro with 16 GB of RAM, the Metal viewport keeps shaded rotation smooth. A quick middle-click pops up the radial menu; selecting Zoom Extents centres the scan in all four viewports.
The command line gets used more than the toolbars. Typing ShrinkWrap and pressing Return opens the new dialog. A target edge length of 0.8 mm is typed in, the offset is left at its default of 0.2 mm, and the preview updates after a two-second pause. The resulting envelope covers every hole and wraps the loose geometry into a single closed mesh. A few stray islands near the edges are trimmed with MeshSplit and deleted.
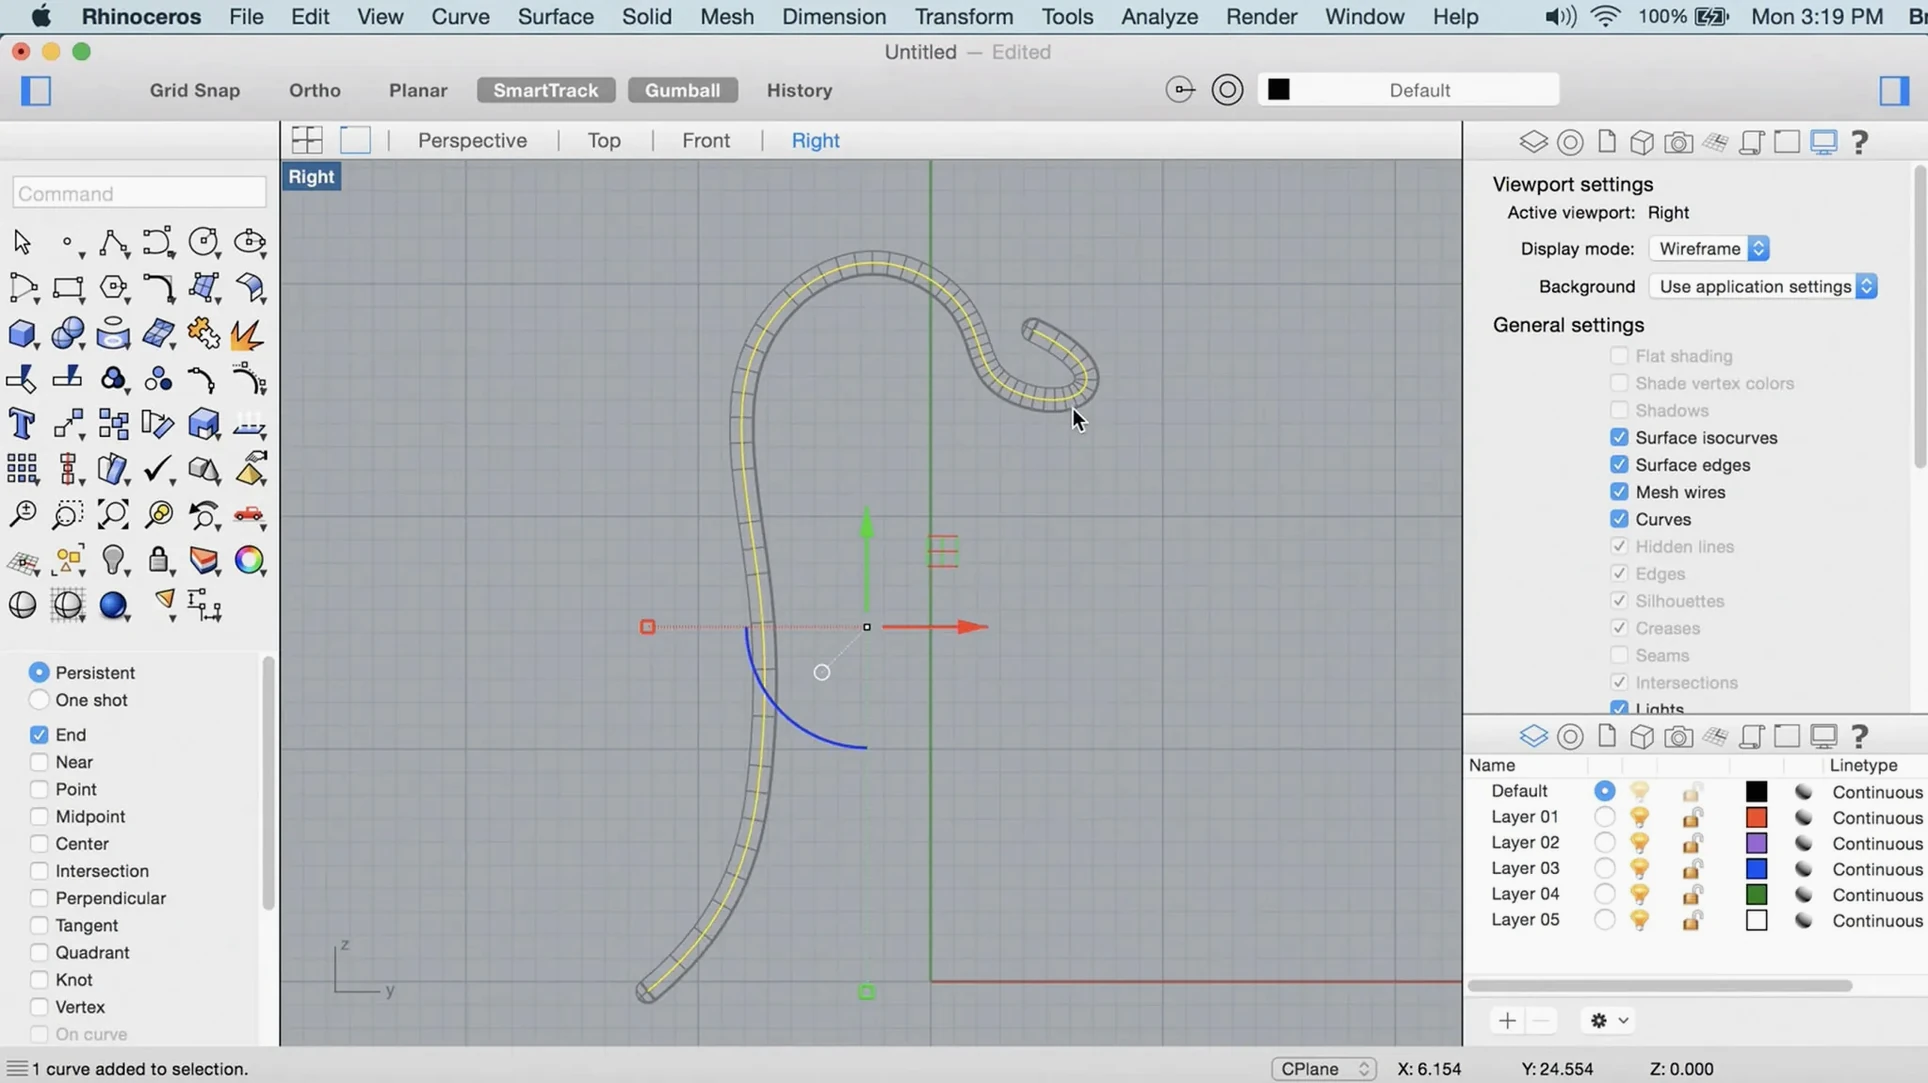
From there the session moves to SubD work. The designer draws a curve along the top edge of the ShrinkWrap mesh using InterpCrv, snapping to the mesh vertices for accuracy. A second curve follows the bottom contour. The Loft command builds a surface between them, and ToSubD converts it into a subdivision surface with a single click. A crease value of 0.8 is applied to the top edge — sharp enough to read as a seam, soft enough to catch light along the radius. The crease appears in the viewport as a thicker edge line, and the surrounding control cage remains light, without the extra loops a traditional sharpen operation would demand.
Before lunch the file is saved as a .3dm, and a copy is exported as a STEP for the CNC shop. The whole session — import, wrap, trim, curve, loft, SubD conversion, crease, export — takes about forty minutes. Most of that time is spent thinking about the curves, not waiting for the computer.
Mixed-geometry workflows next to Fusion, Plasticity, and Blender
Three other Mac applications overlap with Rhino's modelling territory. They approach the same problems from different angles, and the differences show up fastest in a mixed-geometry workflow.
Rhino vs. Fusion 360. Fusion is a parametric solid modeller with integrated CAM and cloud-based collaboration. It excels when a design needs a timeline of features — extruded sketches, fillets, hole patterns — that can be edited later by rolling back in history. Rhino's history is selective and object-based, not timeline-based. For a product designer iterating on a plastic enclosure with precise draft angles and a family table of sizes, Fusion's parametric approach saves hours. For a designer who needs to model a freeform organic grip surface and blend it into a mechanical housing, Rhino's NURBS and SubD tools offer more direct control. Fusion's Mac version runs as a native Apple Silicon app but still feels heavier to launch and less responsive in a pure modelling session than Rhino's Metal viewport. Rhino's offline, file-based workflow also suits studios that do not want a cloud dependency in their design pipeline.
Rhino vs. Blender. Blender is a polygon modeller with a deep animation, sculpting and rendering toolset. It handles dense meshes and sculpting operations that would slow Rhino to a crawl — multiresolution sculpting, dynamic topology, cloth simulation. For a character artist or an animator, Blender is the natural choice. Rhino's mesh tools are lighter and focus on mesh repair, reduction, and conversion to and from NURBS surfaces. The two complement each other in a pipeline: a designer might block out a form in Rhino as a precise NURBS surface, export it as an OBJ, detail it in Blender with sculpt brushes, and bring the resulting mesh back into Rhino for ShrinkWrap and 3D-print preparation. Blender's interface has matured but remains dense and hotkey-dependent in a way that can overwhelm a CAD-trained user. Rhino's command-line-and-toolbar approach feels more familiar to someone coming from SolidWorks or AutoCAD.
Rhino vs. Plasticity. Plasticity is a newer NURBS modeller built on the Parasolid kernel, aimed specifically at concept artists and industrial designers who want a fast, keyboard-driven workflow. It strips away the command line and the extensive plug-in ecosystem in favour of a minimal interface where most operations happen through key presses and on-screen widgets. Plasticity's filleting and Boolean operations feel snappier than Rhino's in some edge cases, thanks to the Parasolid kernel. But Plasticity is a surface-and-solid modeller only — no SubD, no mesh repair, no ShrinkWrap equivalent, no Grasshopper. For a quick concept model of a sleek product, Plasticity is a pleasure to use. For a model that needs to pass through engineering review, incorporate scan data, or drive a parametric Grasshopper definition, Rhino's broader toolset becomes necessary.
A specific workflow: from point cloud to watertight solid
This workflow turns a messy point cloud into a solid model ready for 3D printing. It uses three of Rhino 8's newer features in sequence.
- Import and filter the point cloud. Drag the .xyz or .las file into the Rhino window. The point cloud appears as a single object. Use
PointCloudReduceto thin the dataset if it exceeds five million points — a spacing of 1 mm is a reasonable start for a desktop-sized object. UseSelBrushPointsto paint-select and delete scanner artefacts or background noise around the edges. - Generate a mesh from the cleaned cloud. The
MeshFromPointscommand triangulates the remaining points. For organic shapes, a sample spacing of 2 mm produces a mesh that captures the form without overwhelming the next steps. Check the mesh withShowEdgesto identify naked edges and holes; runFillHoleson any gaps larger than a few triangles. - Apply ShrinkWrap. Select the repaired mesh and open
ShrinkWrap. Set the target edge length to roughly double the sample spacing used in step 2 — 4 mm in this case — and enable the smoothing option. The resulting envelope is a single closed mesh with no internal geometry or intersecting faces. For objects with flat faces or sharp edges, reduce the target edge length in those regions by assigning a smaller value to a local selection set. - Convert to a solid. If the ShrinkWrap mesh is clean and closed,
MeshToNURBconverts it to a polysurface. The conversion is exact but produces a large number of individual faces;MergeAllFacessimplifies planar regions into single surfaces. For a simpler path to a printable file, skip the NURBS conversion and runQuadRemeshon the ShrinkWrap result instead, which produces a lighter quad mesh that exports directly as an STL or 3MF. - Validate and export. Run
Checkon the final solid or mesh to confirm it is closed and manifold. Export as STEP for machining, STL for 3D printing, or .3dm for archiving. The entire process from point cloud import to export takes under fifteen minutes for a typical scanned object.
The same workflow works with a Rhino torrent or a Rhino 8 torrent providing the application files — the process inside the software does not change. Some users search for a Rhinoceros torrent or a Rhino 3D torrent when setting up a new workstation, and the build described here matches the current distribution found under those search terms.
Day-one habits that save months of effort
A few habits established in the first week will save a disproportionate amount of time over the months that follow.
- Set up the middle-mouse pop-up on day one. Open Rhino Options > Mouse and assign the six commands you reach for most often. A typical set for a product modeller: ExtrudeCrv, FilletEdge, Join, Split, ShrinkWrap, and MatchSrf. The pop-up appears at the cursor position, so commands execute with a click and a flick, without a trip to the toolbar or the command line.
- Adjust the AutoSave interval. Rhino defaults to saving a backup every 10 minutes. For a session with large imported meshes, every 5 minutes is safer. Find the setting in Rhino Options > Files; the backup .3dm files land in a folder you can browse from the same pane.
- Learn the command aliases you will actually use. Rhino ships with dozens of aliases —
Efor ExtrudeCrv,Ffor FilletEdge,Jfor Join — and you can add your own in Options > Aliases. If you find yourself typingMeshToNURBrepeatedly, alias it toMTN. The command line remembers your aliases between sessions, and they carry over if you copy your preferences to another Mac. - Configure the viewport background. The default gradient background looks fine but can hide geometry in the margins of a shaded display. Switch to a solid colour — light grey or near-white — from the viewport display settings. The change is subtle but makes wire