Aspecten
 Download (3.1 GB)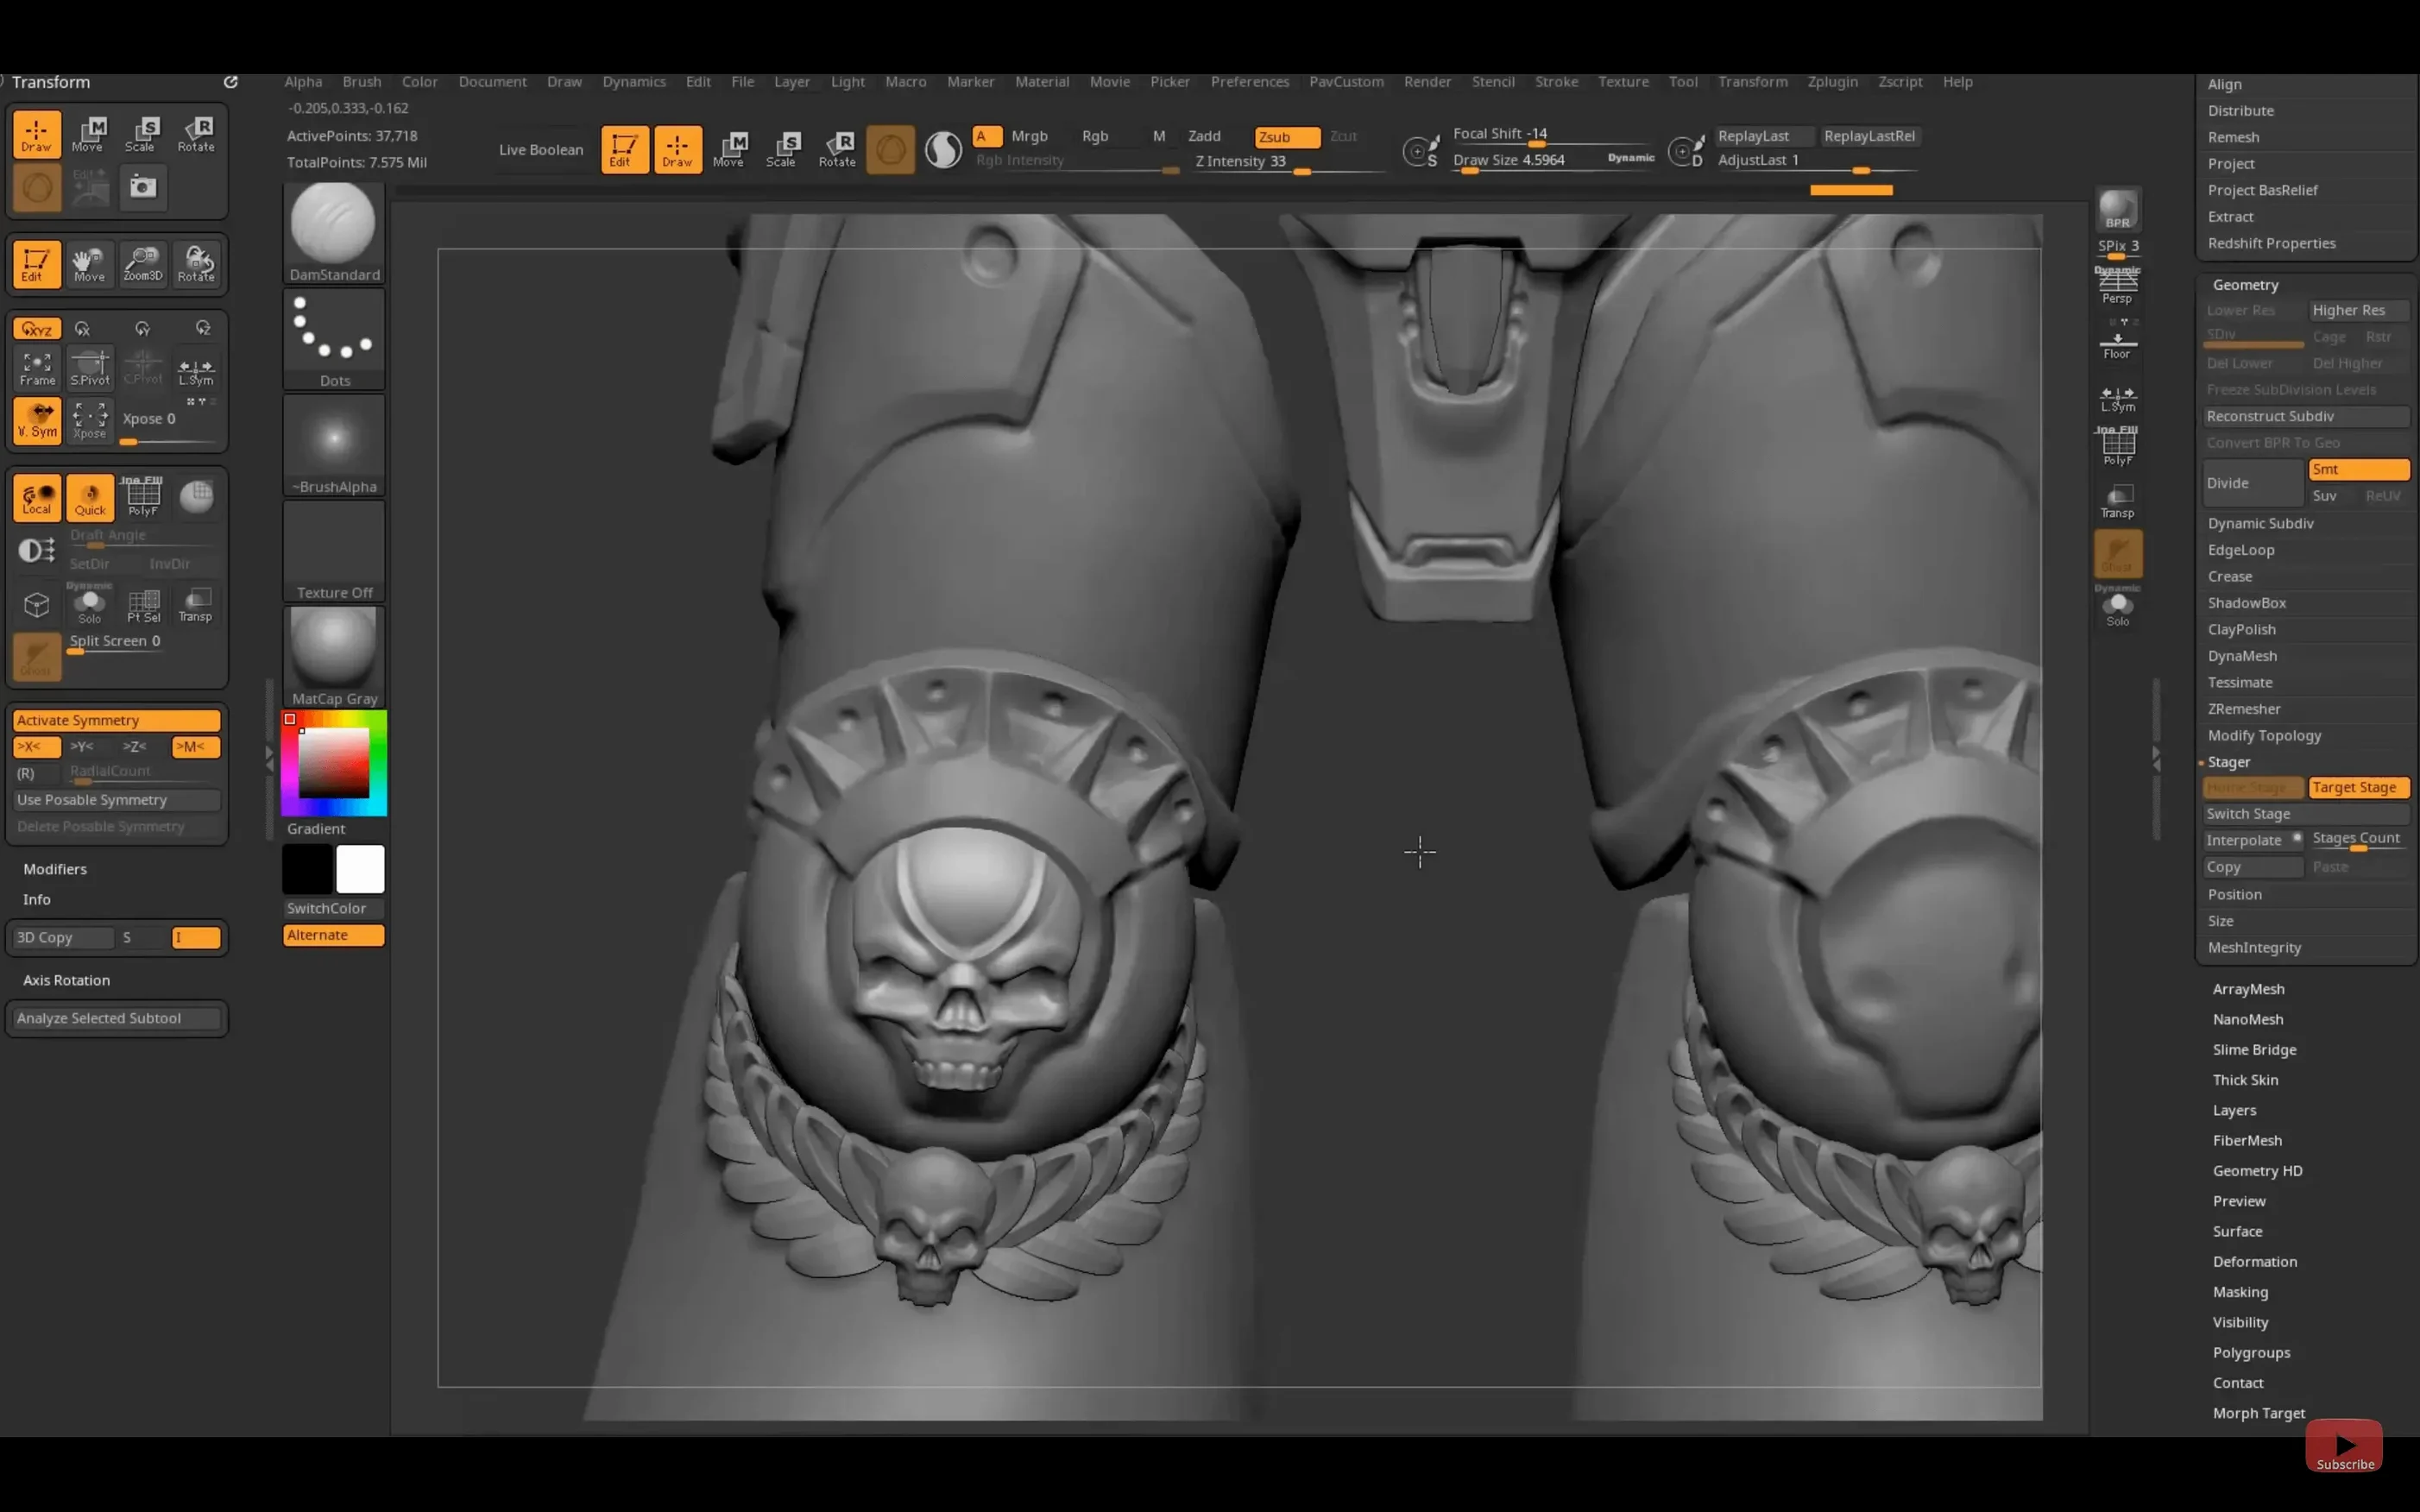
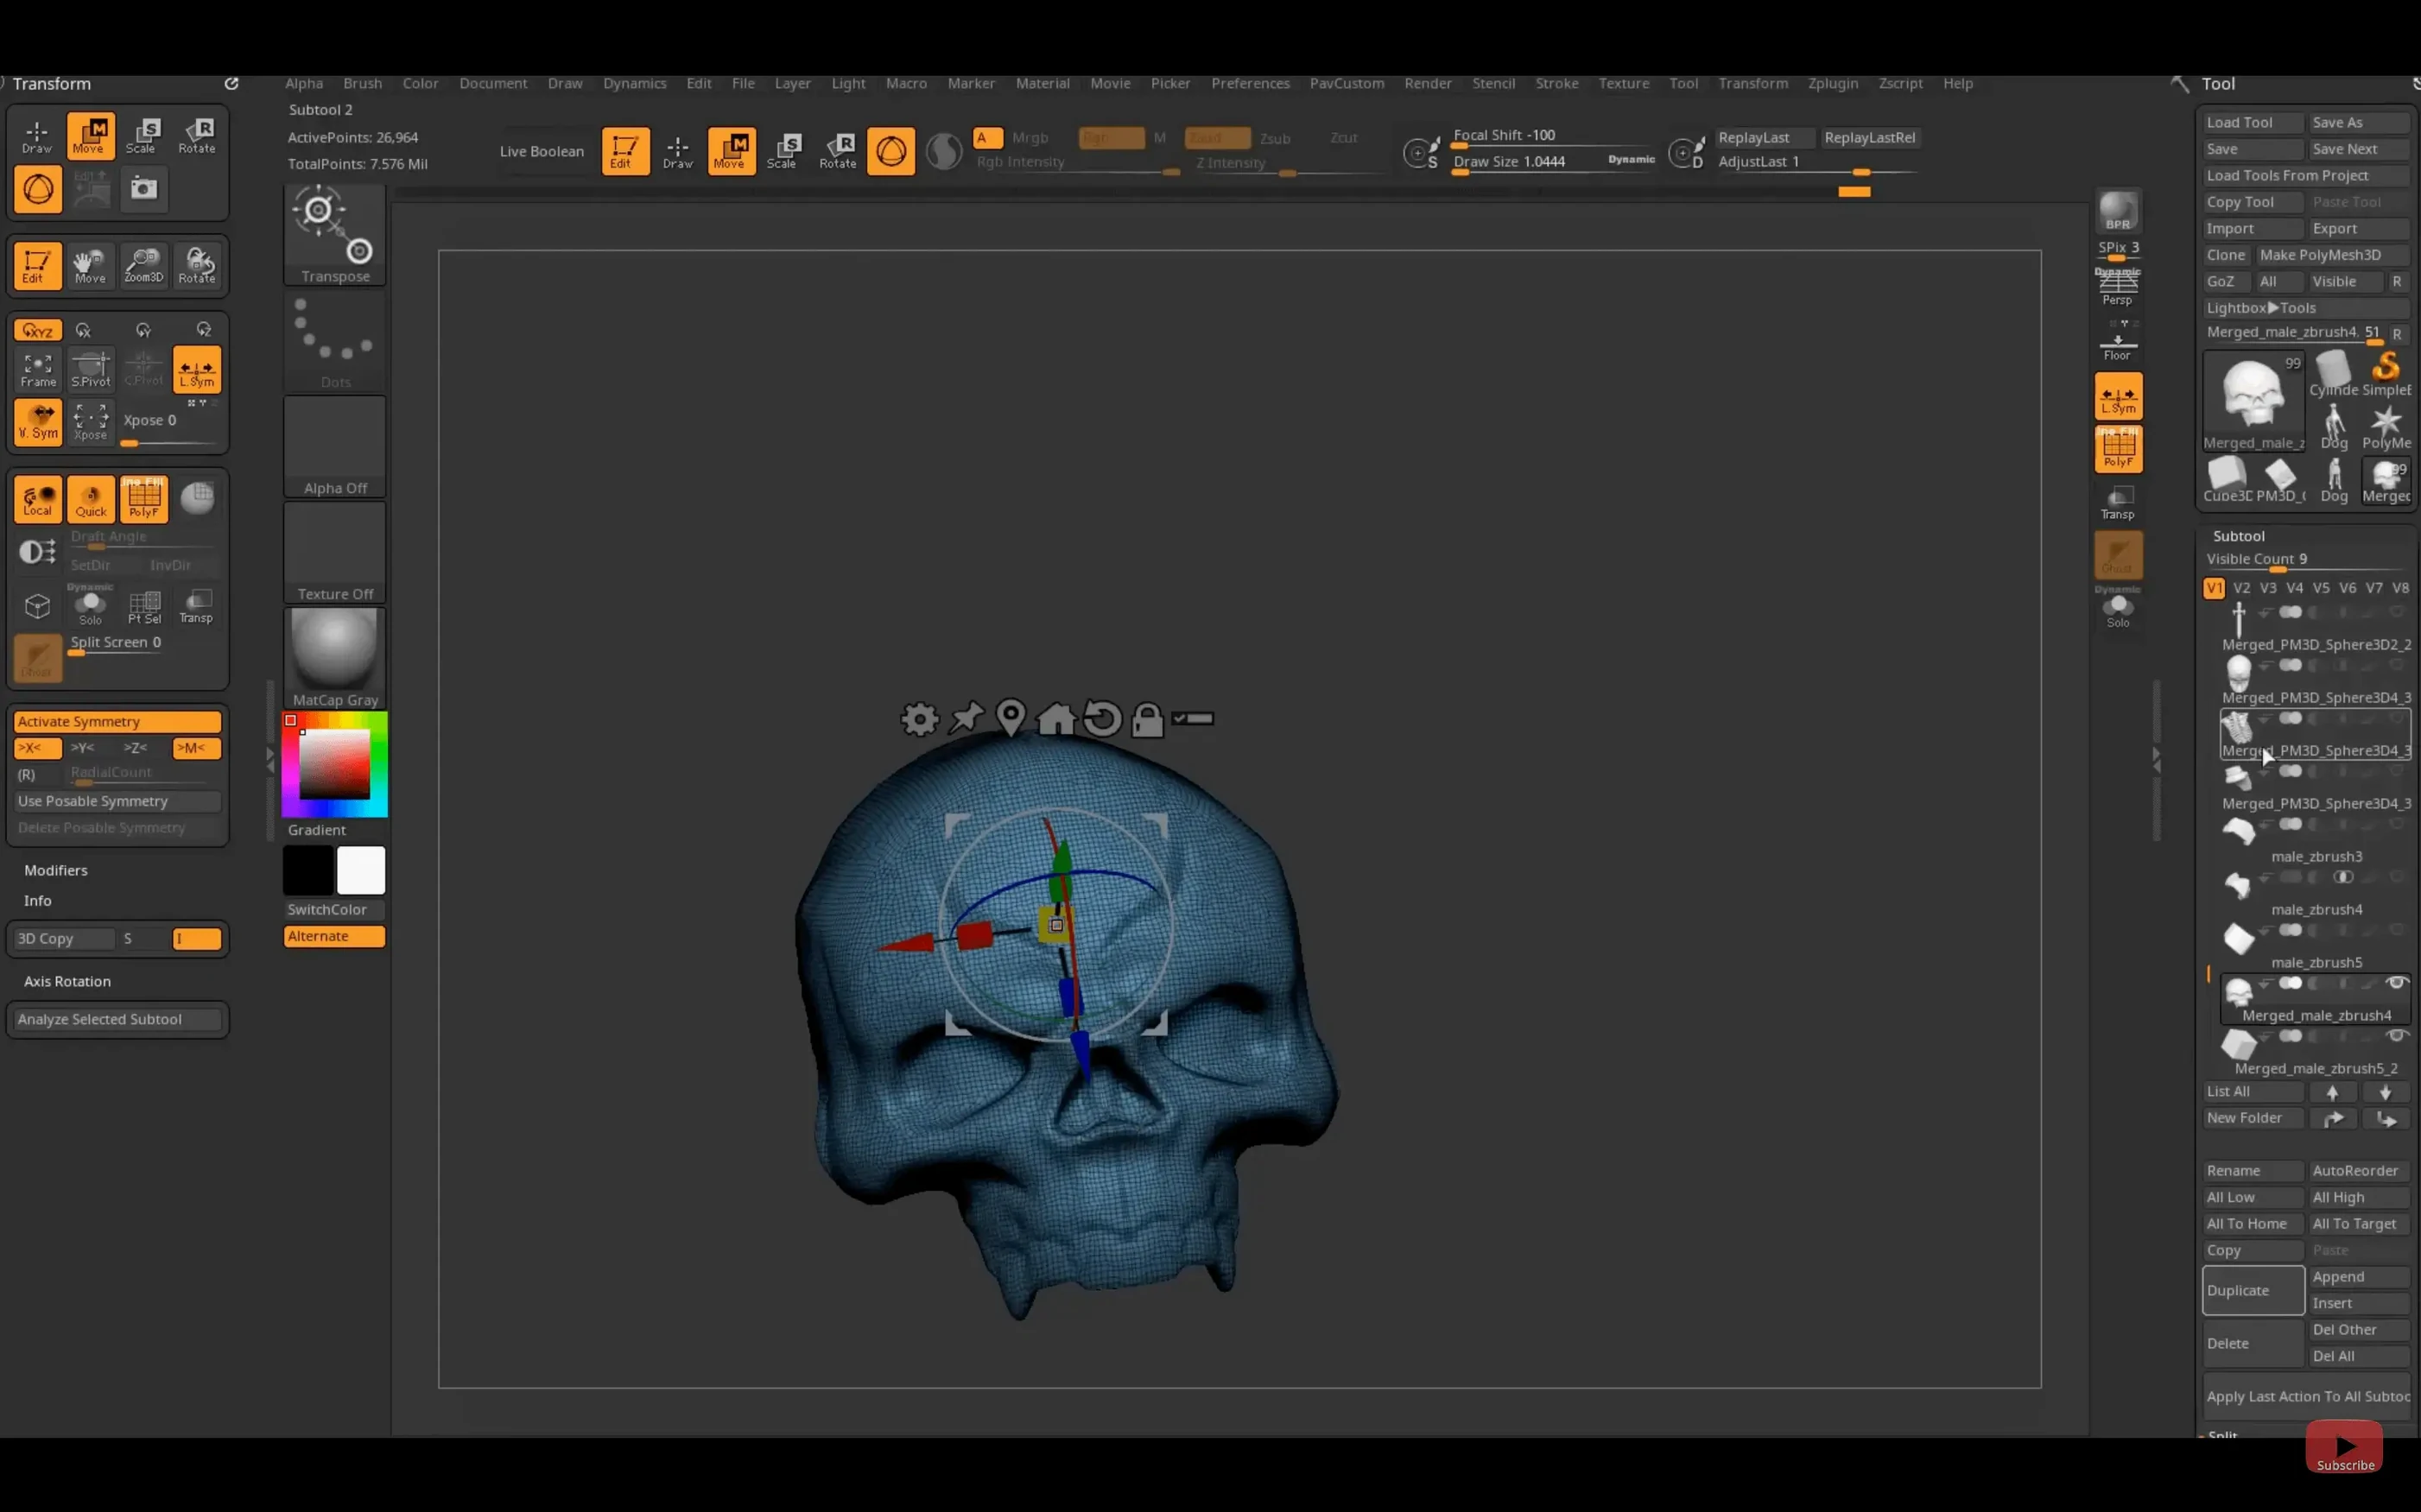
Character artists, toy designers, and jewellery modellers often make ZBrush their first stop when an idea needs to become a three-dimensional form. The software thinks in clay, not in vertices and edges, which makes the jump from a blank canvas to a detailed bust feel more like a workshop session than a CAD exercise. For someone opening the app for the first time, a handful of terms define how everything fits together.
Pixol — a point on screen that stores more than a pixel. It holds XY coordinates, colour, Z depth, orientation, and material. When you paint a stroke, you are laying down depth and surface quality at the same time, not just applying a flat colour map.
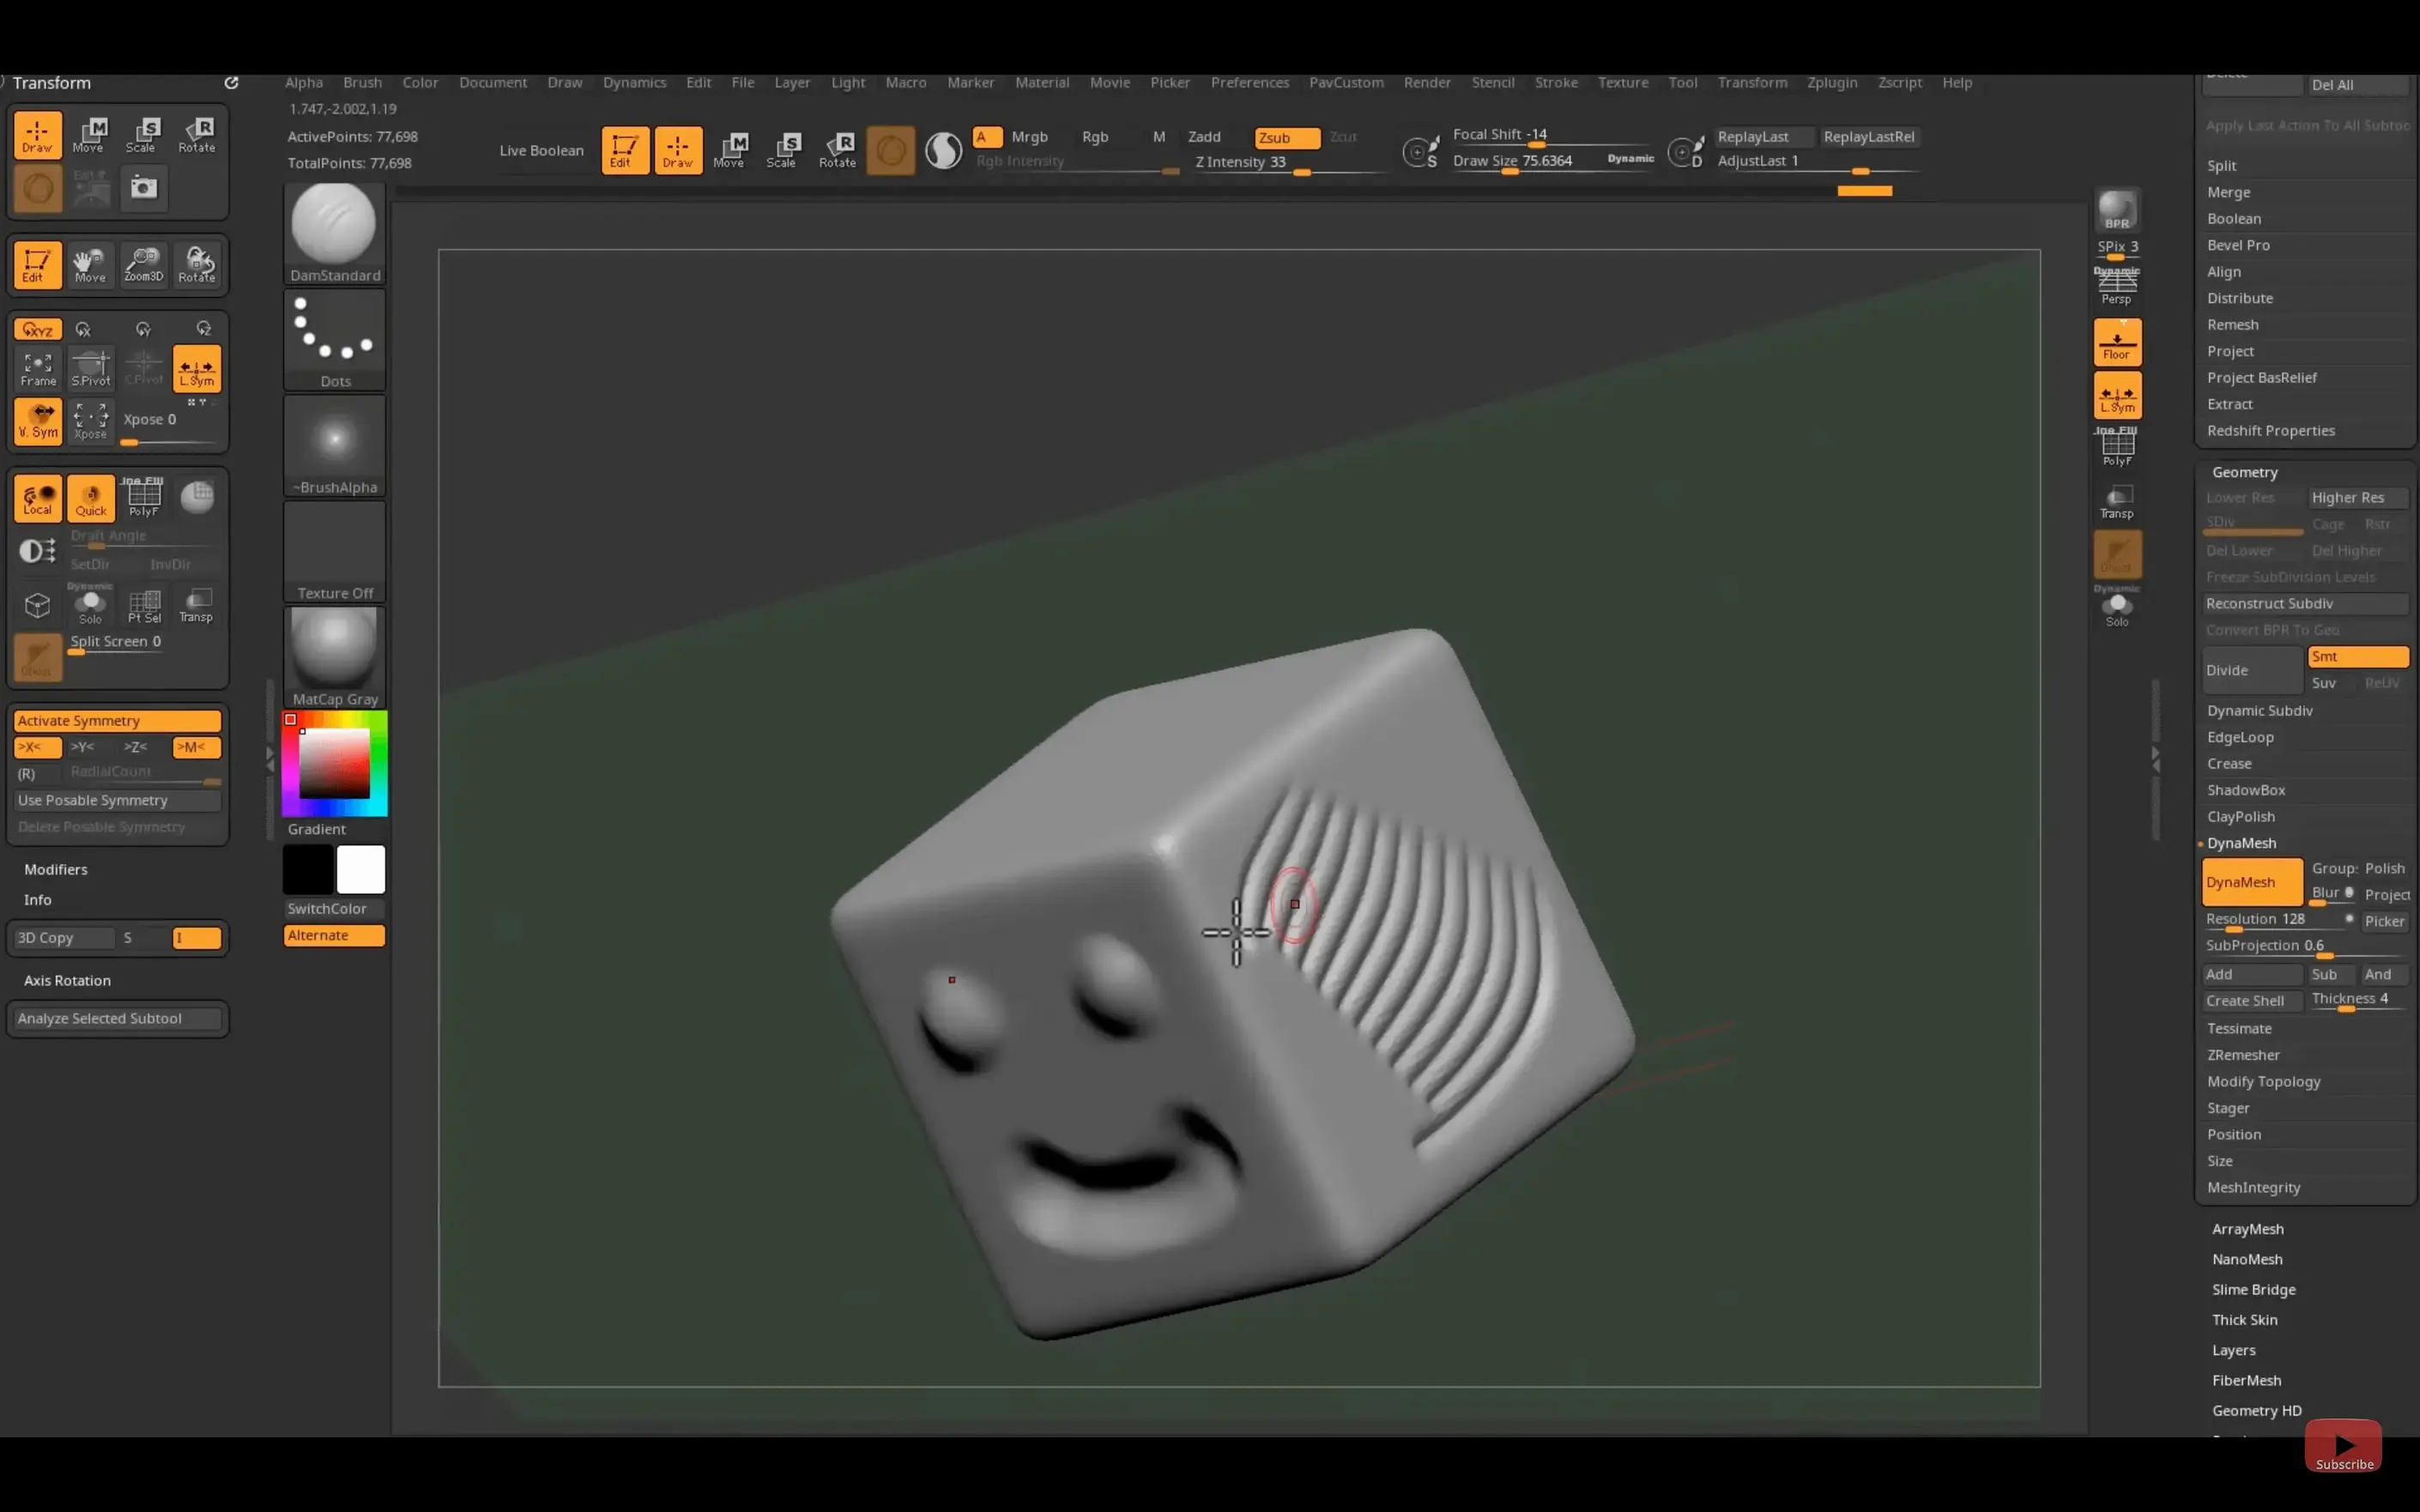
DynaMesh — a way to reflow the polygons of a model so you can pull, stretch, and add chunks of digital clay without the topology tearing. Newcomers often start here because it removes the worry of ruining a mesh early on.
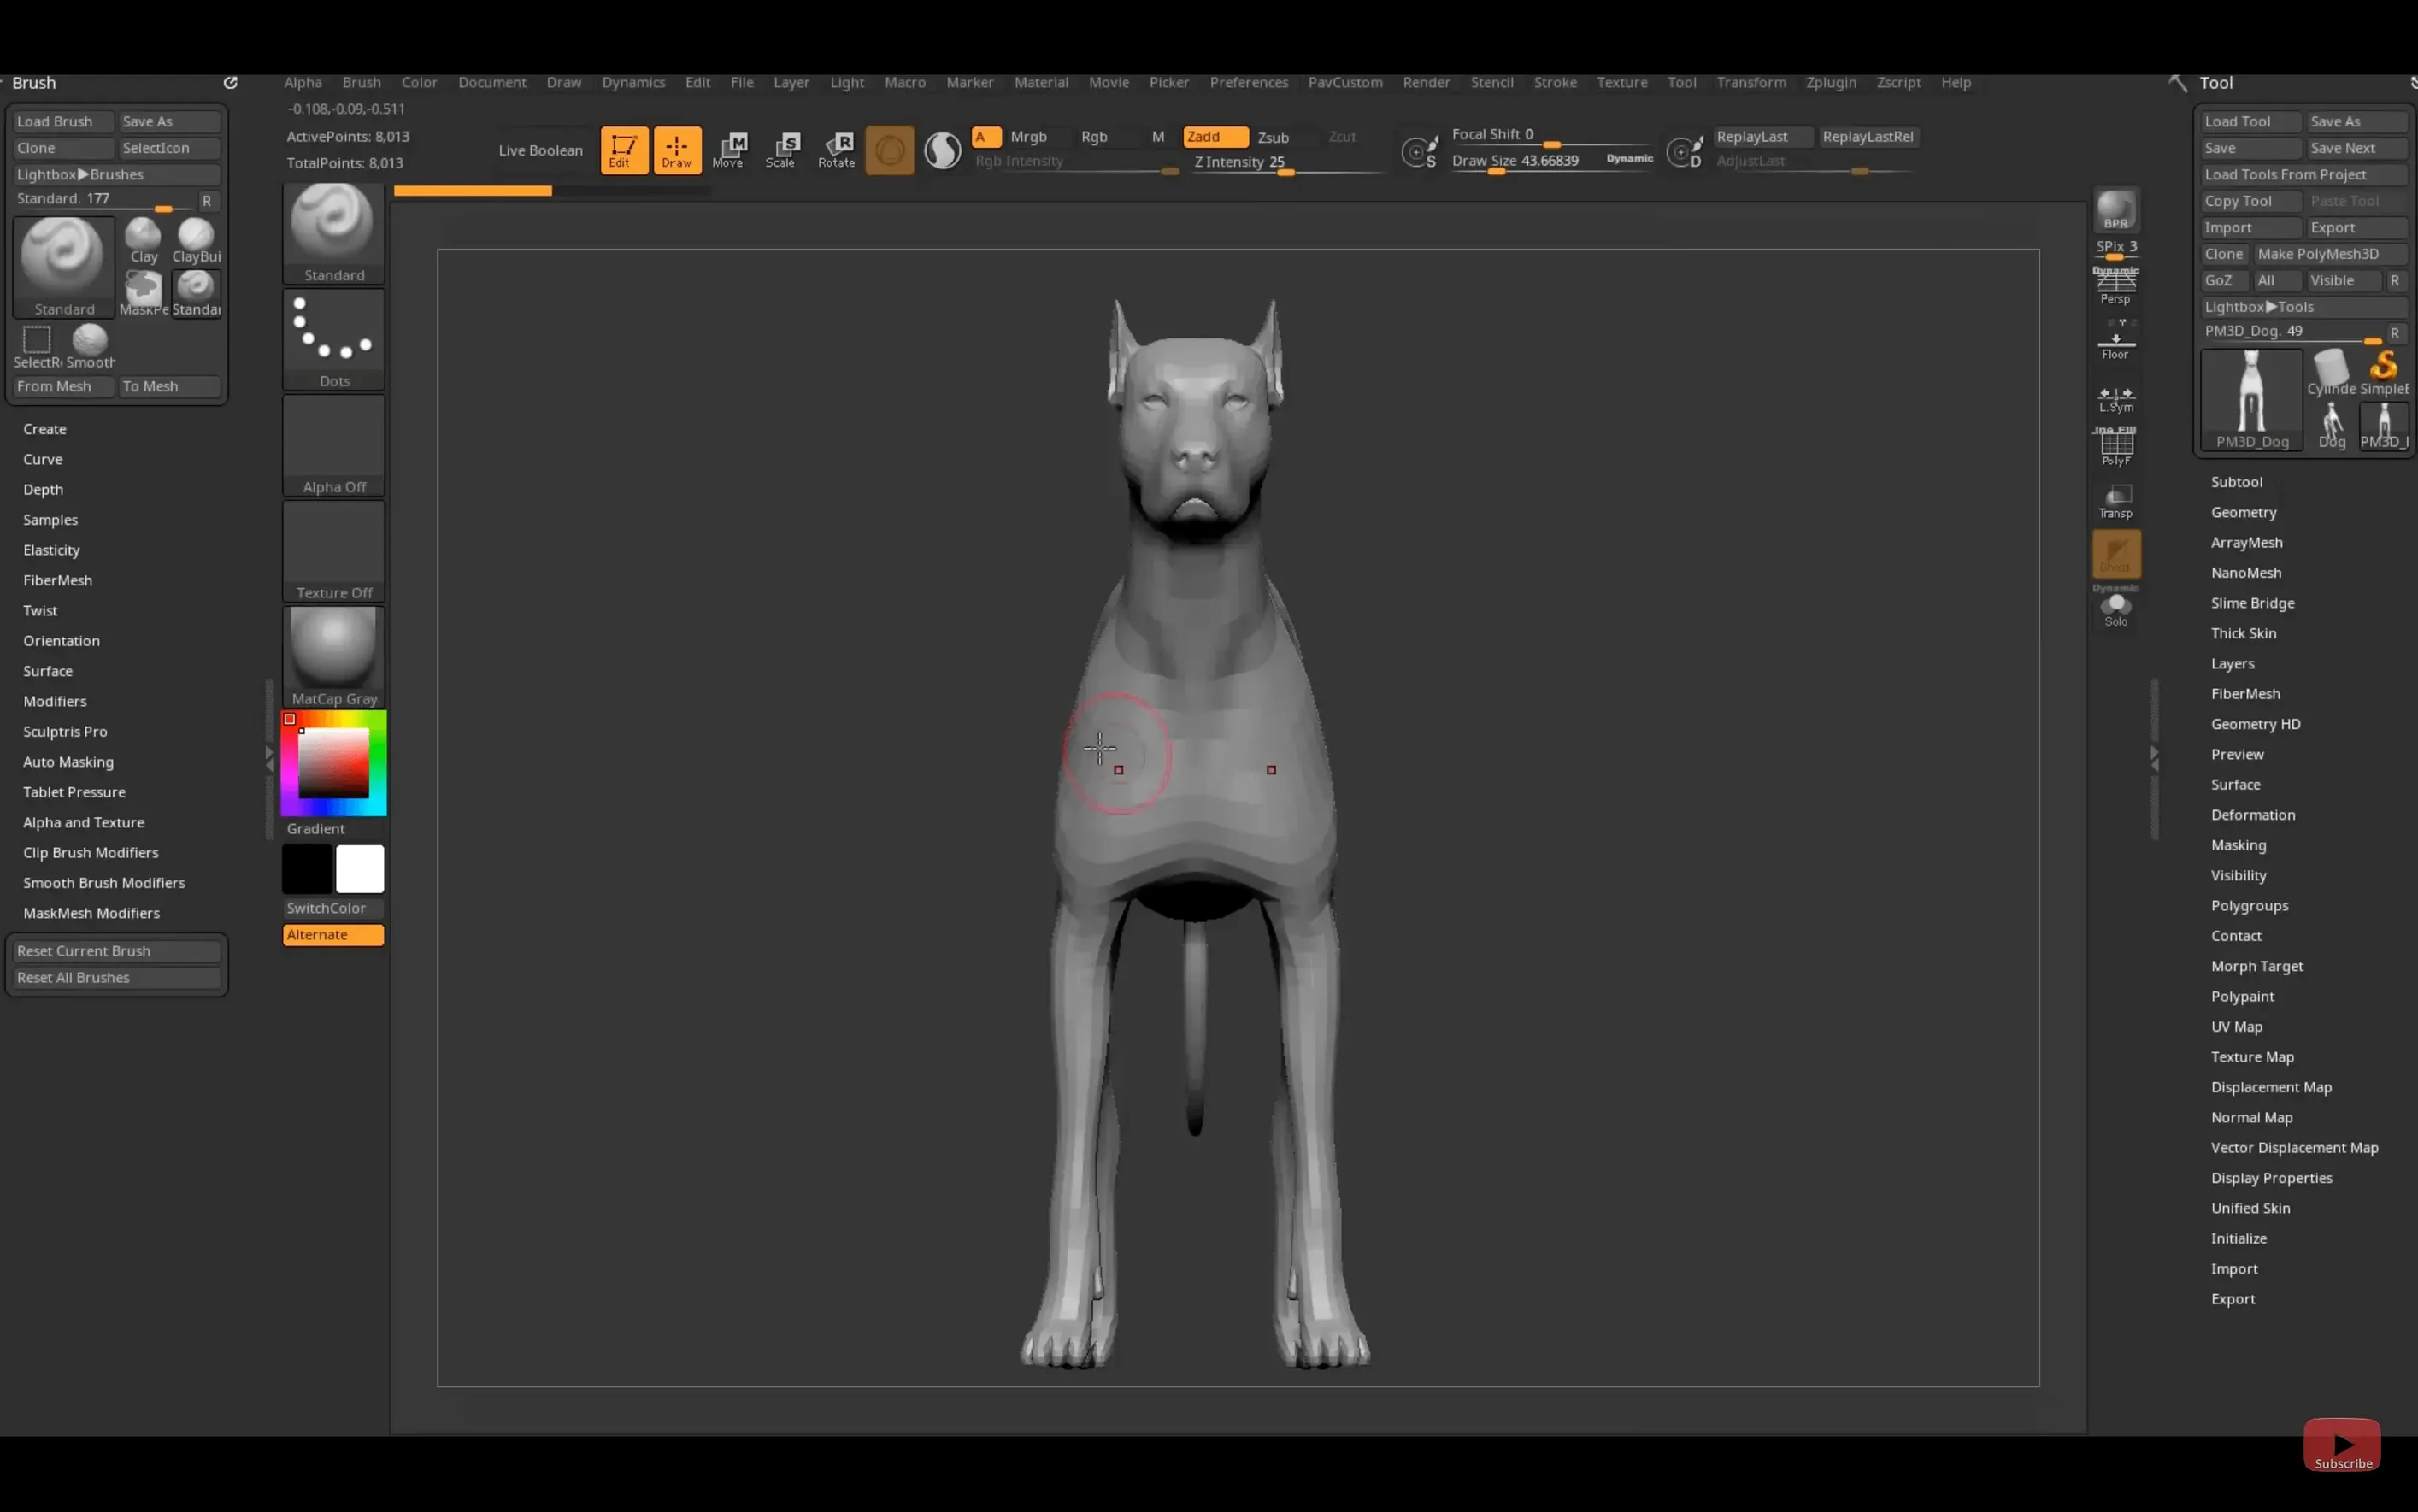
Standard Brush — the tool most first sculpts begin with. It displaces the surface outward under the cursor, building up a nose, a ridge, or a fold with each stroke. Combined with the Smooth brush, which relaxes the surface, a basic shape takes form quickly.
Polygon count — ZBrush handles tens of millions of polygons on a typical workstation. A beginner can subdivide a simple sphere several times and still move the surface fluidly, adding fine wrinkles or skin texture without system slowdown.
Where character artists find the most natural fit
Character artists building creatures, busts, or stylised figures find ZBrush the most natural fit. The brush engine and subdivision workflow align with how they think — starting from a sphere, massing out a silhouette, then carving secondary forms and fine skin details in layers. The toolset rewards iterative shaping, and an artist who works rough-to-refined will recognise the rhythm inside the first hour.
Concept designers who need to produce a half-dozen readable turnarounds in a day extract a different kind of value. The DynaMesh workflow lets them pull and mash shapes without pausing for topology decisions. A quick sculpt can be posed with Transpose, lit with the built-in MatCap library, and sent to a director before lunch. Precision matters less than speed and silhouette clarity, and ZBrush delivers both without hiding them behind menus.
Jewellery modellers and collectible designers lean on the masking and polygroup tools more than freeform sculptors. Precise radial symmetry, boolean live previews, and the ability to isolate a complex filigree element and subdivide it independently turn a decorative brief into an achievable afternoon project. The same holds for hard-surface concept artists who build mechanical forms with the ZModeler brush and crease edges with a couple of clicks.
Less obvious beneficiaries are scientific illustrators and dental technicians. The ability to sculpt a fossil reconstruction from reference photos, paint polypaint directly onto the surface, and export a turntable movie gives them a presentation tool that sits comfortably alongside their measurement software. The macOS version holds its own here — large SubTool stacks load quickly on Apple Silicon, and the interface feels responsive even with a Wacom tablet in the chain.
Starting from a blank canvas and a sphere
Open ZBrush and the canvas shows a blank document with a gradient background and a single default tool — usually a polymesh star or a sphere. Most artists swap it immediately for a simple sphere from the Tool palette. That sphere gets converted to a polymesh 3D object, dropped onto the canvas in Edit mode, and the session begins.
The first ten minutes are pure massing. DynaMesh is toggled on with a resolution of 128, the Standard brush pulls the equator outward into a jaw, and the Move brush tugs the crown into a rough skull dome. The artist rotates the view constantly with the right mouse button — ZBrush expects you to orbit, not to work from a fixed angle. A lumpy head reads as a head within a handful of strokes, and the speed of that first read is what keeps the session moving.
Once the primary masses hold together, subdivision begins. The tool gets a few levels of subdivision via Ctrl+D, and the artist switches to the Clay Buildup brush to block in cheekbones and brow ridge. The Smooth brush follows, held with Shift, knocking back the harsh ridges into something anatomical. If an ear needs to exist, a new sphere gets appended as a SubTool, DynaMeshed into a rough shell, and merged down later. The timeline is unstructured — no keyframes, no construction history — just the undo stack and a habit of saving versions manually.
The last stretch of the session shifts to detail. Alphas are loaded into the brush to stamp pores or scales, the DamStandard brush cuts creases into eyelids and knuckles, and polypaint adds a base skin tone directly onto the vertices. A BPR render with shadows and ambient occlusion gives a crisp still to evaluate before the file is saved as a ZPR project. The whole session might span ninety minutes and produce a character bust that already reads well in a portfolio turntable.
Feeding high-poly sculpts into a traditional 3D pipeline
ZBrush does not replace a traditional 3D package — it feeds one. A typical pipeline pushes a high-poly sculpt through the Decimation Master plug-in, exports a manageable OBJ or FBX, and brings that into Blender, Maya, or Cinema 4D for retopology and layout. The GoZ bridge handles that handoff with a single click for Maya 2026 and 3ds Max 2026, updating the target app’s scene with the current mesh state.
Texture work branches in two directions. The Substance Bridge, new in version 2026.2.1, sends the sculpt and its polypaint to Substance Painter in one step — the artist bakes maps there and paints in a layer-based environment that ZBrush never tried to replicate. Others skip external texturing altogether and use ZBrush’s Spotlight tool to project photographs onto the surface, baking the result into polypaint for export.
macOS integration is straightforward. The app reads and writes to any folder the user has permission for, recognises pressure and tilt from a connected tablet without extra drivers, and respects Spaces so the canvas can live fullscreen on one desktop while reference images sit on another. The ZBrush window plays nicely with Quick Look: a saved ZPR file previews its thumbnail in Finder, which helps when digging through versioned sculpts. Artists who record sessions feed the ZBrush window into OBS or ScreenFlow for time-lapse capture — the app’s OpenGL canvas handles capture cleanly.
For those exploring the software through a zbrush download mac search, the installation is a standard disk image and installer routine. If macOS flags a compatibility warning, a quick Terminal command strips the quarantine attribute and the app launches without further friction. The same build runs on Intel and Apple Silicon, so a studio with mixed hardware can use one installer across its fleet.
Workflow: creature bust from scratch to turntable
Suppose the brief asks for a reptilian creature bust suitable for a collectible figurine. The artist starts with a sphere polymesh, enables DynaMesh at 64 resolution, and blocks in the skull — a long snout pulled forward with the Move brush, jaw mass built low and wide, eye sockets pushed inward with the Standard brush while holding Alt to invert the stroke direction.
With the base head readable, the artist appends a sphere as a new SubTool for the neck and shoulders. The Move brush stretches it into a rough column, and DynaMesh merges it with the head when the two SubTools are combined. Another sphere becomes the creature’s crest — a curved plate that flares behind the skull. Masking by polygroup isolates the crest so the Clay Buildup brush can thicken its ridge without affecting the neck.
Now subdivision begins. The merged tool gets three levels of subdivision. At the middle level, the artist sculpts secondary forms: nostril rims, brow ridges, the folds where the jaw meets the neck. DamStandard cuts the lip line and eyelid crease. The Smooth brush, used sparingly, keeps the creature organic rather than rubbery.
Detailing moves to the highest subdivision level. A custom alpha stamped repeatedly creates the scale pattern, rotated and scaled per stroke. Polypaint lays down a base olive tone with darker mottling around the eyes and crest — nothing painterly, just vertex colour that reads under a MatCap grey material. The artist saves a ZPR project, exports a turntable movie using Movie palette settings (a 360-degree rotation over 120 frames), and sends a PNG still via the BPR renderer for client review. The file then travels through Decimation Master and GoZ into Maya for retopology, where the low-poly mesh will receive the baked displacement maps that carry all that sculpted detail into production. A search for zbrush 2026 download points newcomers to this same build, and the workflow described runs identically on an M1 MacBook Air and a Mac Pro tower — the brush engine scales well across the hardware spectrum.