Aspecten
 Download (721 MB)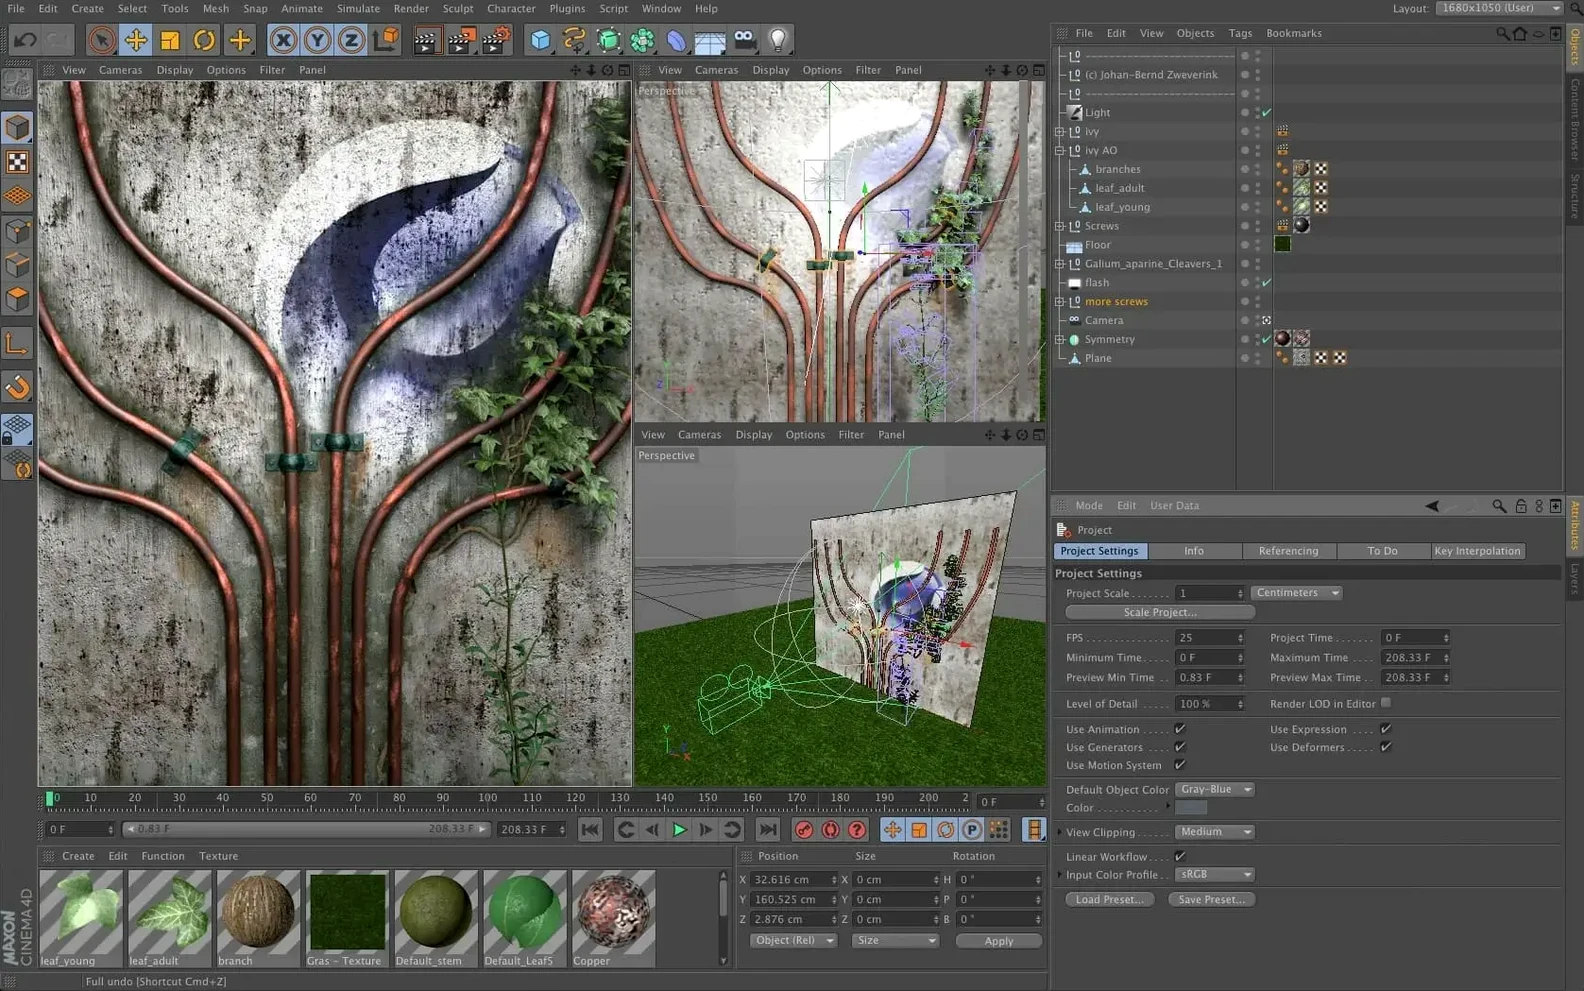
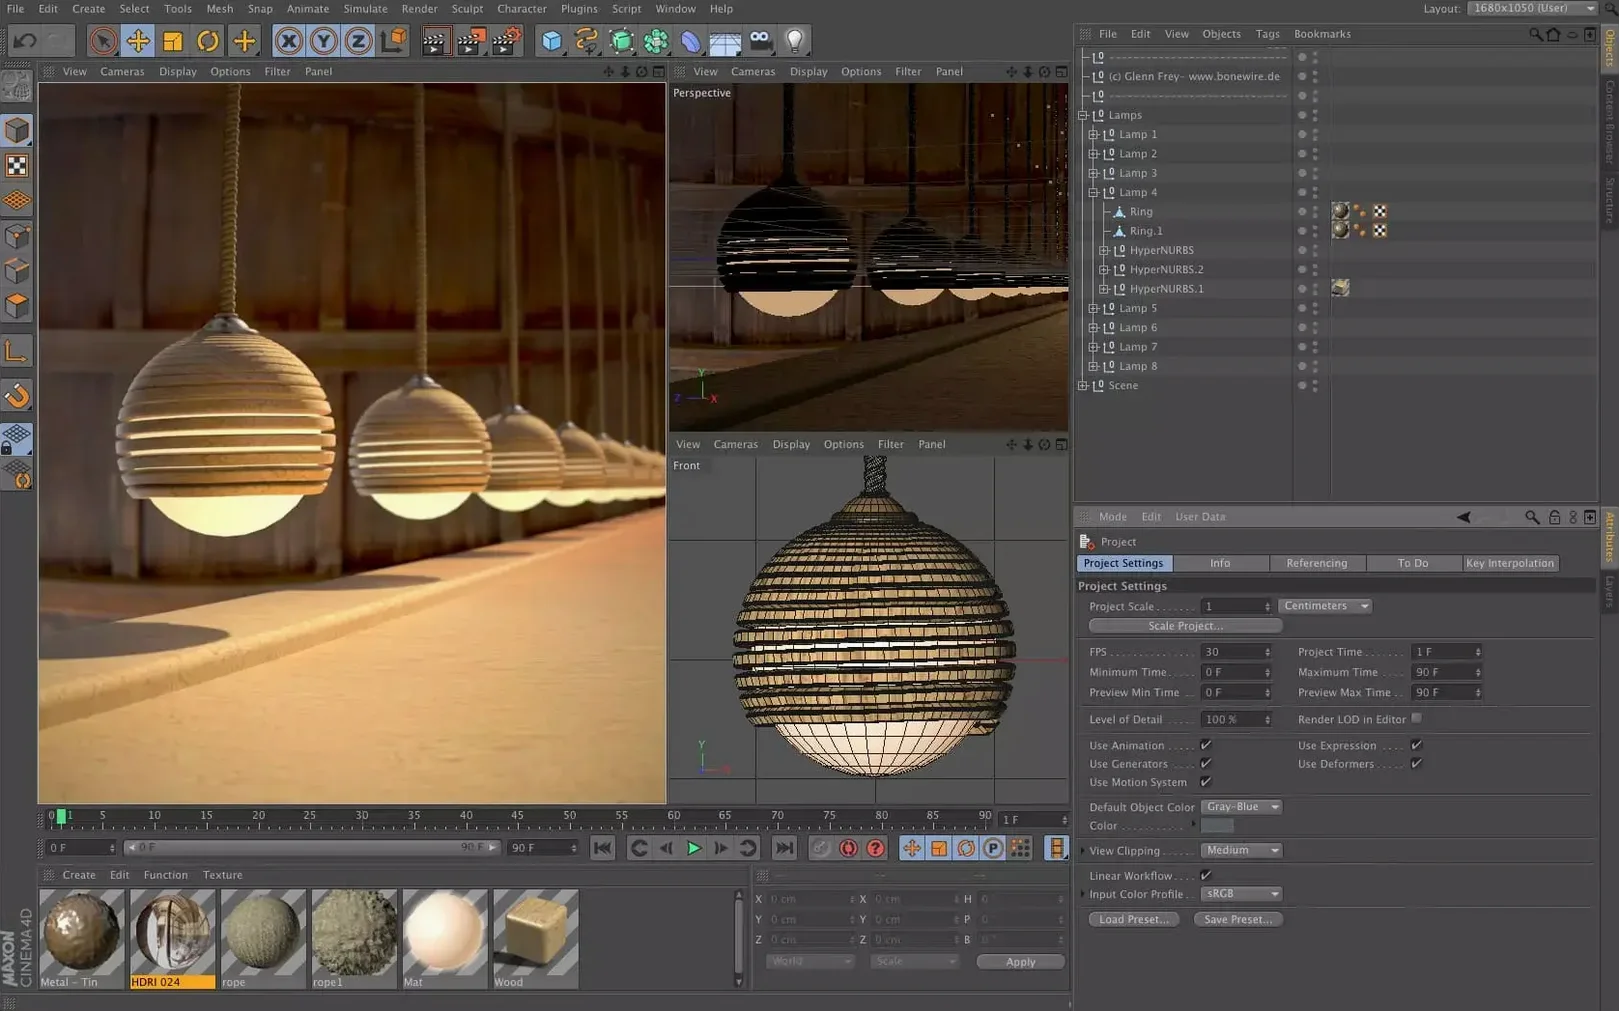
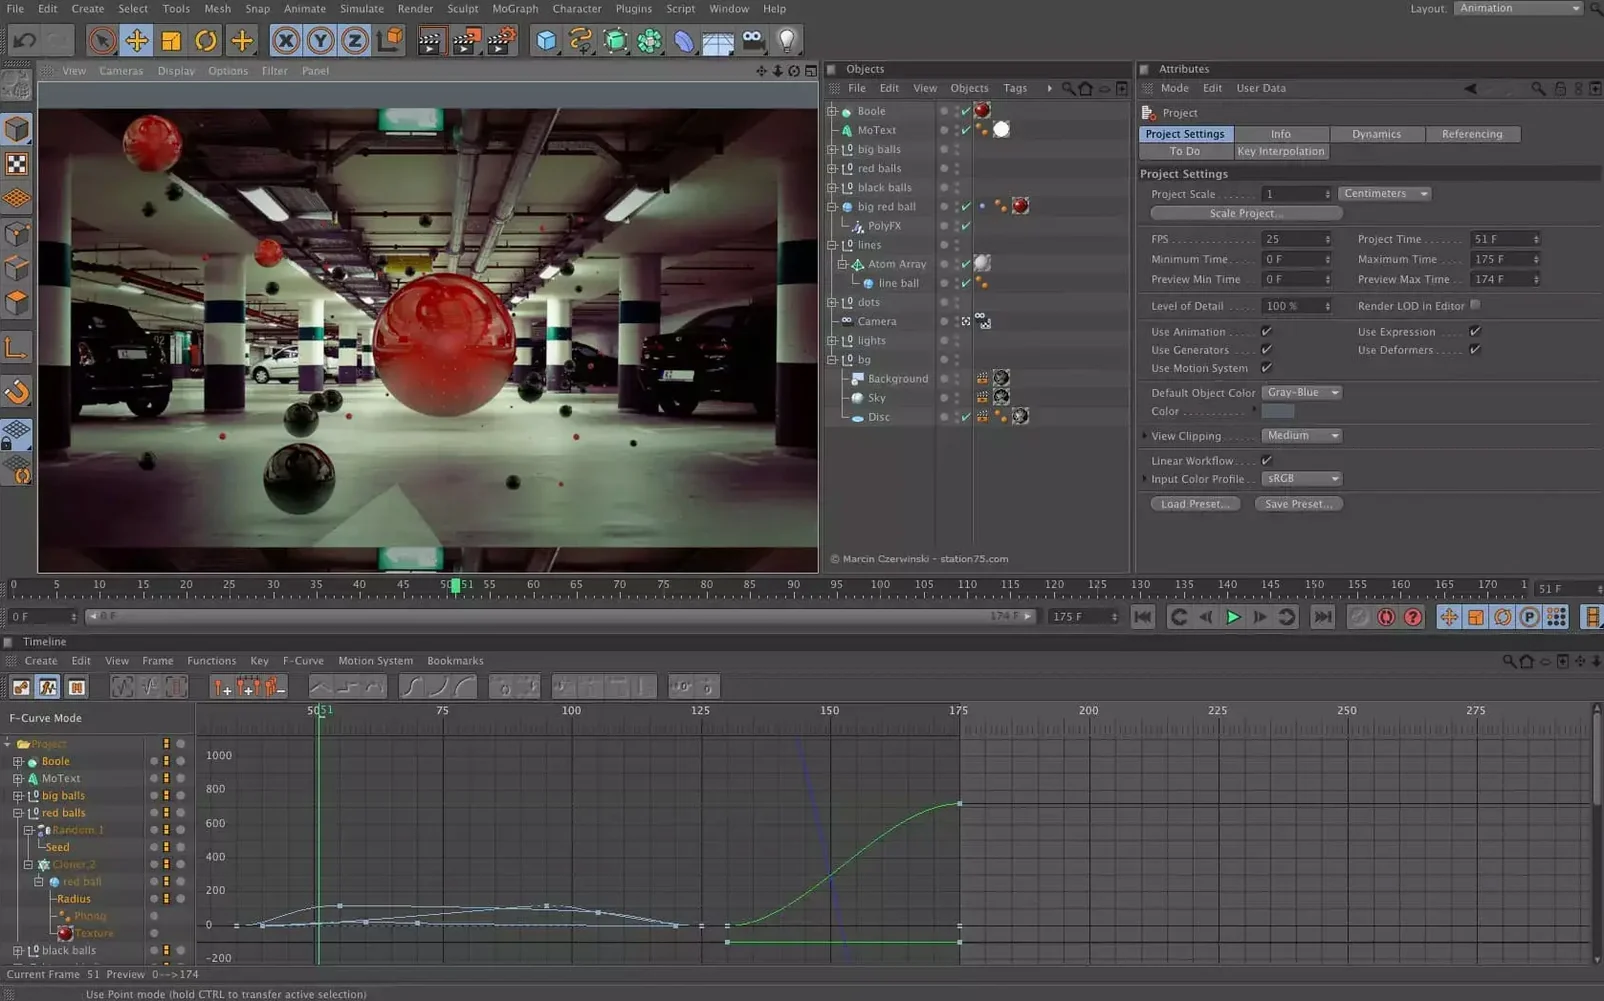
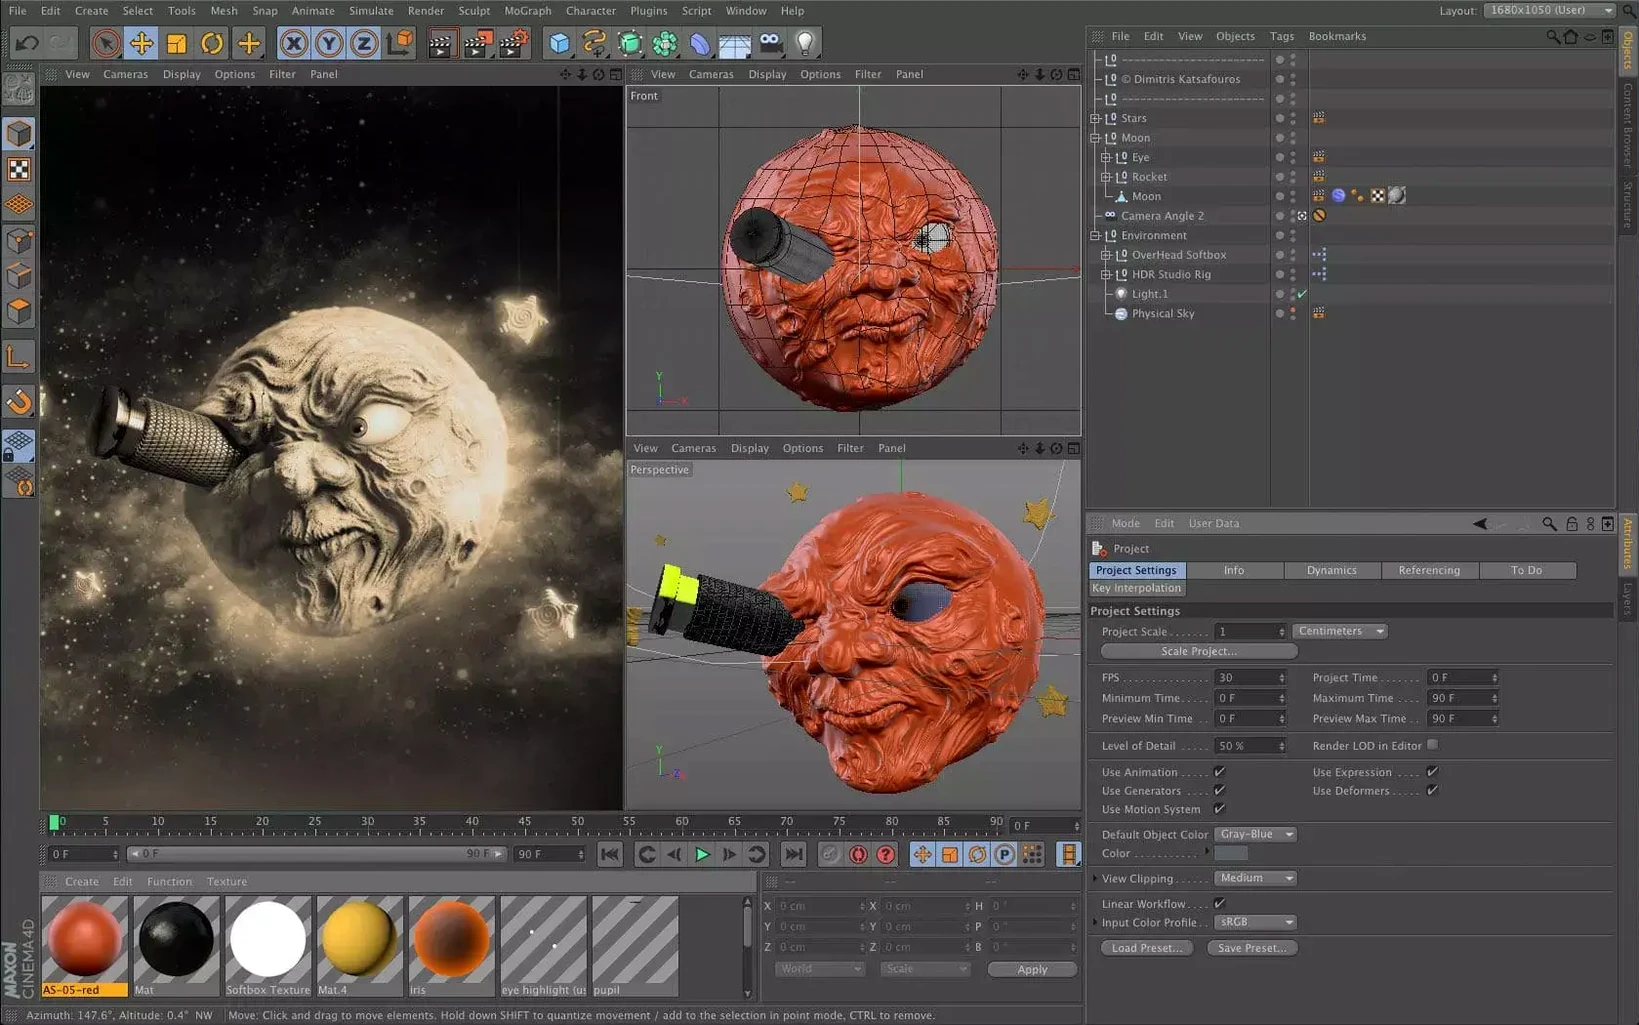
Cinema 4D runs on Intel and Apple Silicon Macs with macOS 11 or later, and on Windows including Windows on Arm. Maxon keeps the system requirements broad, describing compatibility with most recent versions of macOS and Windows.
Unified modelling, MoGraph, and scene node Capsules
- Modelling, animation, simulation and rendering in a single application
- Motion graphics, visual effects and game development work
- Design, visualisation and AR/MR/VR projects
- Using scene node features inside the classic Object Manager via Capsules
- Working with the Scene Manager and Capsules for data import and spline tasks
- Interface in English, German, French, Japanese, Korean, Simplified Chinese and several other languages
Redshift as a separate purchase and shifting spline workflows
- Redshift Render is listed separately; it does not ship as a built-in part of the Cinema 4D package
- Scene nodes, the Scene Manager and Capsules cover data import and spline features, which may shift familiar workflows
Switch to Standard layout for tutorial-friendly panel placement
Open the application and switch the layout to Standard from the top-right layout chooser. The default layout is fine, but Standard puts the Object Manager, Attribute Manager and viewport in a triangle that most tutorials assume you are looking at. Menu labels and tooltips appear in the language you selected during setup; you can change the language later under Edit > Preferences > Interface without reinstalling.
Set your project scale in Project Settings (Ctrl+D) before you place anything. Cinema 4D defaults to centimetres, which catches out people who work in metres or millimetres. Change it once and save an empty scene as your template via File > Save as Template.
Drag the HUD fields you care about onto the viewport — polygon count, frame number and active camera are useful. Right-click the viewport, choose Configure HUD, and tick what you want visible. Five minutes of HUD setup stops you squinting at the Coordinate Manager all day.
Check that your graphics card is recognised under Edit > Preferences > Renderer. On Apple Silicon the system report should show the Metal device; on Intel machines with a discrete AMD GPU you want that listed, not the Intel integrated chip. If the wrong device appears, quit and re-launch after plugging in an external display — Cinema 4D sometimes binds to the GPU driving the display it opens on.
Swap to Lines or Quick Shading when the viewport lags on dense meshes
Viewport is sluggish with a dense mesh. Switch the display mode from Gouraud Shading to Lines or Quick Shading in the viewport menu. Also lower the Level of Detail slider in the Object Manager for heavy subdivision surface objects. The object renders at full quality; you are only reducing viewport load.
Capsules turn black or disappear after saving. Capsules rely on the scene node evaluation engine, and they sometimes lose their connection to the node graph when you re-open a file. Select the Capsule object, open the Capsule tab in the Attribute Manager and click Rebuild. If that fails, delete the Capsule tag and re-apply it from the Asset Browser — the node setup itself stays intact in the scene.
Redshift shows a watermark or falls back to CPU. The renderer is a separate component. If the GPU driver is not found, Redshift quietly switches to CPU and puts a watermark on the frame. In Redshift > Preferences check the compute device list. On Apple Silicon you need the Metal-enabled build; on Intel with AMD you need the correct driver matched to your macOS version. A clean reinstall of the Redshift plug-in, keeping the version aligned with Cinema 4D 2024.2.0, resolves most cases.
Scene Manager spline imports skip the Object Manager. Data brought through the Scene Manager lands in the node graph, not in the classic object stack straight away. To route a spline into a Generator or Deformer, drag the spline from the Scene Manager into the Object Manager while holding Shift. That creates a reference object you can parent under a Sweep or Extrude as usual.
Workflow: modelling a product mockup from a reference sketch
Drop a reference image into the Front viewport and set its opacity to around 50 percent in the Attribute Manager. Create a Cube, make it editable (press C), and switch to Point mode. Move the vertices to match the silhouette of your sketch. Keep the mesh coarse at first — four subdivisions on the width and height are plenty.
Add a Subdivision Surface and drop the Cube under it. Select the Cube, switch to Edge mode and use the Knife tool (K) in Loop mode to add edge loops close to the corners. Tight loops give crisp edges where the silhouette changes sharply; leave space between loops where the form should be soft. Toggle the Subdivision Surface on and off with the traffic-light button in the Object Manager to compare the smoothed result with the base cage.
Once the outline reads well, duplicate the Cube and drag the copy to the side. On the copy, select edge loops at the parting lines or material breaks and use Mesh > Split to separate the object into shells. Name them clearly — housing, lens, button — and group them under a Null. Apply basic materials from the Asset Browser: a matte plastic with slight roughness, a glossy glass, a rubberised finish for grip areas. Drop a Sky object in the scene and assign a studio HDRI from the Content Browser; the reflections will tell you whether the surfaces read as intended.
Add a Camera, frame the product from a three-quarter angle, and lock the camera with a protection tag so you do not nudge it by accident. Render a still via the Render View window, check reflections and silhouette, then tweak the edge loops and material roughness until the mockup looks convincing.
Alembic camera with focus distance round-tripping into After Effects
Cinema 4D writes Alembic and USD files that After Effects, Houdini and Unreal Engine read without a plug-in. Export a camera with animated focus distance from Cinema 4D as an Alembic, import it into After Effects, and 3D text layers stay locked to the render. The Scene Manager now handles USD export, so assets tagged in the node graph travel with their material assignments intact.
On macOS the application respects Mission Control and Spaces sensibly. Assign the full screen viewport to a dedicated Space and swipe between it and a browser with reference images or tutorial pages open. The Quick Look feature in Finder previews .c4d scene thumbnails only if you saved the file with the Save Preview Image box ticked; enable that in File > Save Project for files you browse regularly.
Sidecar works for putting tool palettes or the Timeline onto an iPad screen. Drag the Timeline panel to the iPad, leave the main display for the viewport and the Object Manager. The Apple Pencil registers as a single touch point, not pressure-sensitive, so it works for dragging sliders and picking objects but not for sculpting.
For people who share scenes between Mac and Windows, the .c4d file format is cross-platform. Fonts are the usual sticking point; stick to the fonts bundled with Cinema 4D or convert text objects to splines before sending the file. Renders handed off to a Windows render node with Redshift need matching Redshift versions on both machines, not just matching Cinema 4D builds.
MoGraph Cloners and Effectors fill a gap for Adobe motion artists
Motion graphics artists who already work inside the Adobe ecosystem gain the most immediate benefit. The MoGraph toolset — Cloners, Effectors, Fields — has no direct equivalent in other 3D packages, and the After Effects camera exchange keeps round-trip work predictable. Artists building title sequences, broadcast packages and event-stage visuals lean on MoGraph daily.
Product visualisation specialists value the preset-based workflow. Capsules bring parametric modelling steps into the Object Manager without requiring node graph fluency, which shortens the time from a client sketch to a set of stills with consistent lighting. The material system is deep enough for accurate automotive and packaging renders without forcing a switch to a dedicated look-development tool.
Independent game developers working in Unity or Unreal Engine benefit from the clean FBX and USD export. Cinema 4D's rigging and weight-painting tools are simpler than those of character-focused packages, which suits smaller teams where one person handles modelling, rigging and animation for low-to-mid-poly assets.
Users who need the application on Apple Silicon, Intel and even Windows on Arm can move a licence and a project file between machines and carry on working. The cross-architecture compatibility makes it practical for studios with mixed fleets and for freelancers who use a Mac on-site and a Windows machine at a render farm.