Aspecten
 Download (1.7 GB)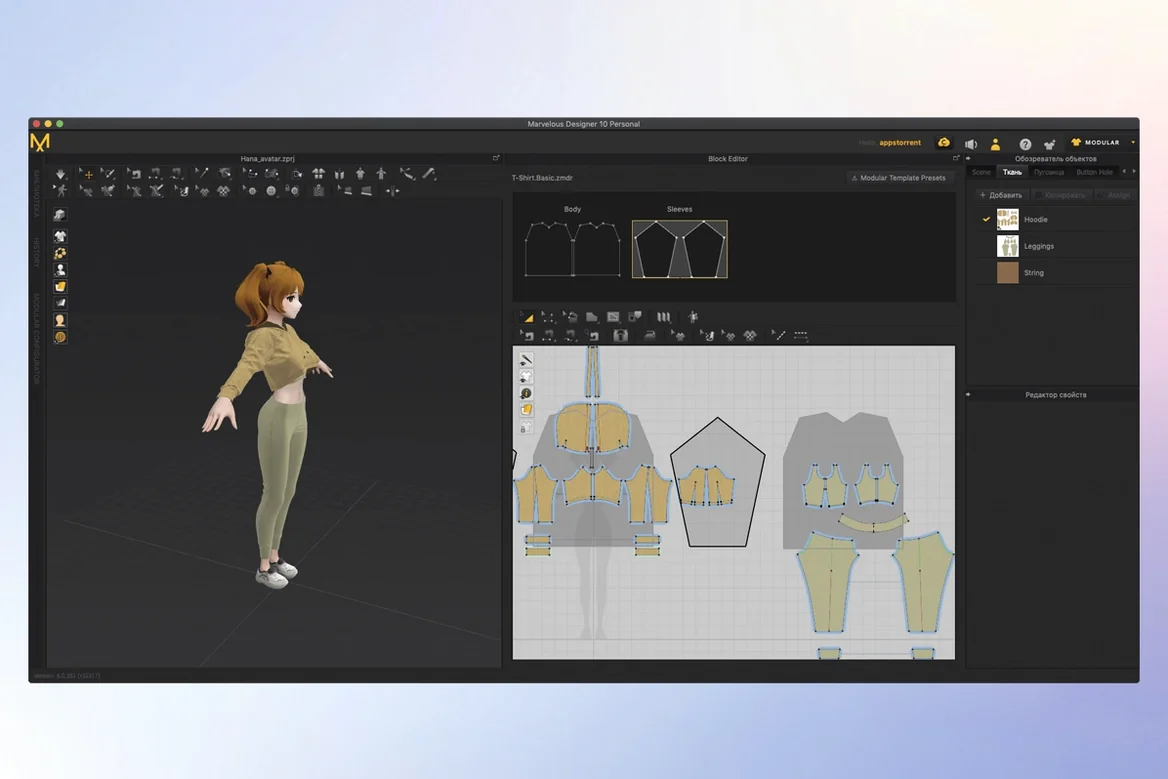
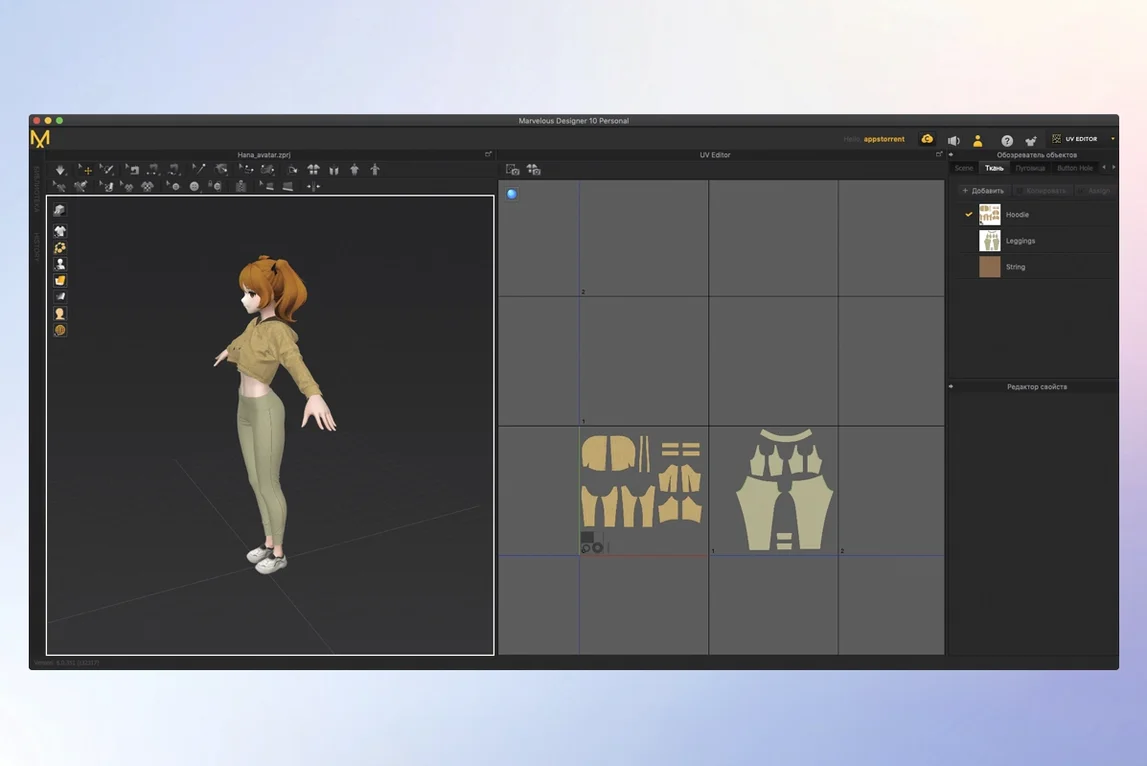
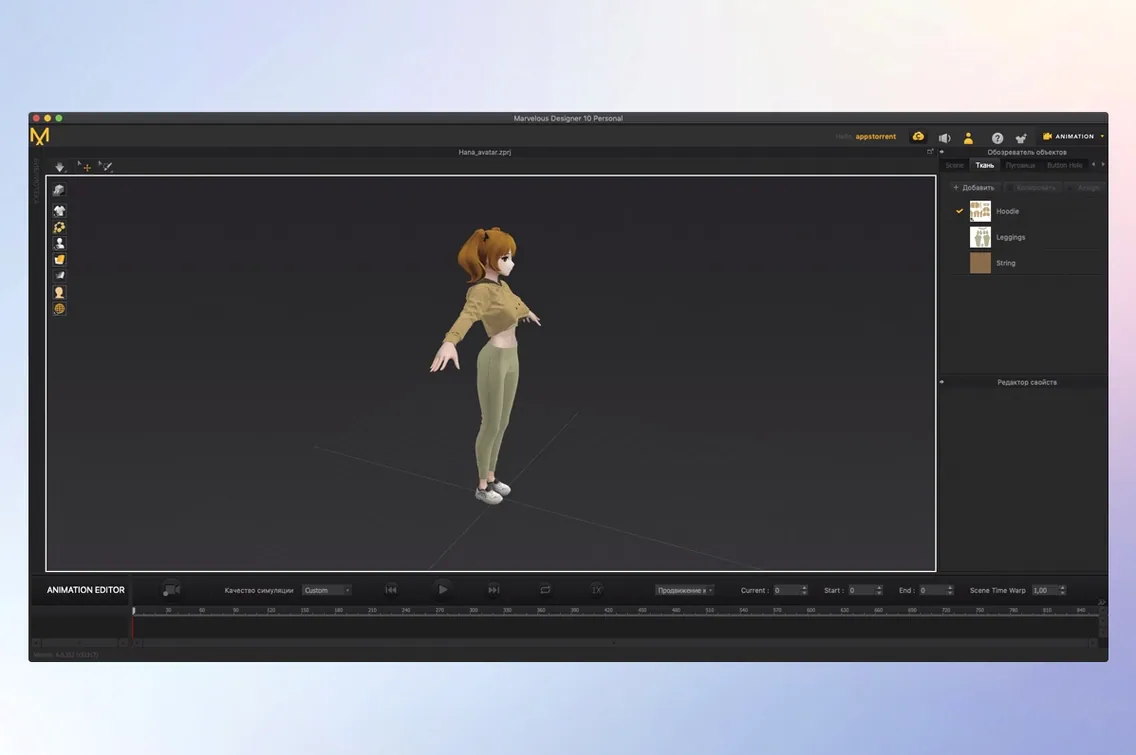
Version 2024.2 ships with over twenty parametric pattern shapes ready for direct editing. The library supplies a base, but the real work begins when you alter vertex counts, curve tension, and internal cut lines to match a specific avatar body. What separates drafting in Marvelous Designer from solid modelling is that every seam carries sewing direction and folding range—properties that affect how a garment falls long before you run a simulation pass.
Two aspects an experienced user will lean on
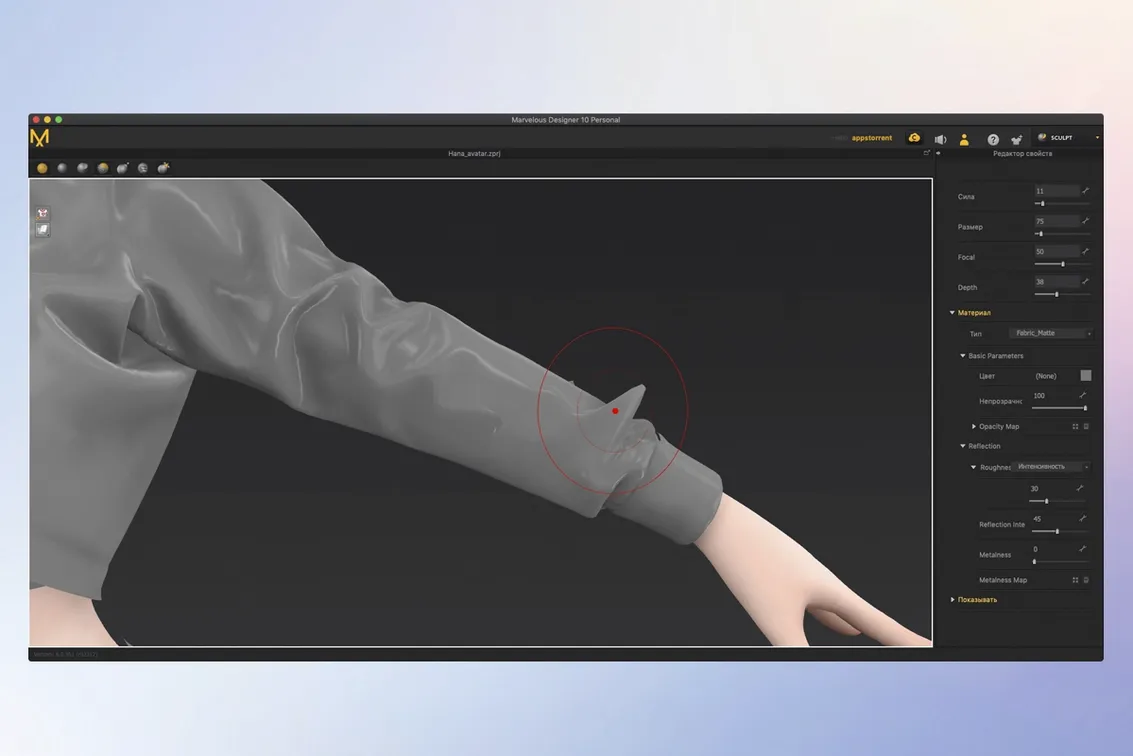
- Fabric physicality at accessory scale. The simulation engine does not stop at broad drape. It calculates texture distortion and friction across buttons, folded pleats, and layered trims. Setting accurate shear and bend resistance per panel lets a jacket collar roll differently from the lining underneath, which matters when you are testing a reusable item across a character wardrobe.
- External geometry flow. OBJ and USD interchange with Maya, 3ds Max, Softimage, Modo and ZBrush is part of the daily pipeline. The point-placement and contact tools help position a modelled buckle or armour plate so it follows the cloth surface without manual re-parenting. Changes to the pattern update the 3D garment model in real time, so fixing interpenetration becomes a visual check rather than a blind import.
Where the toolset is heading
The 2026.0 update introduced template-based rigging in the EveryWear module and a 3D Pencil for freeform line placement directly on the avatar. Neither replaces the core drafting table, but both reduce the back-and-forth when a design needs to move from flat pattern to fitted, animated garment faster.
What has quietly changed in daily use
Two additions from the 2026.0 release alter routines that users touch every session, not just when they open a feature tour. The Toon Shader removes a step that used to require a round-trip through another renderer. Instead of exporting flat-colour passes and rebuilding the look in a compositing tool, you apply the shader inside the viewport and adjust ink-line thickness and colour fill directly. For character artists shipping multiple outfit variations, this keeps style-checking inside a single application.
Template-based rigging in EveryWear shifts how a garment moves from a static fitting to an animated preview. Rather than binding cloth to an avatar skeleton by hand, you select a template that matches the body type, and the module assigns weighting automatically. The benefit shows up most when a design team iterates on a jacket across three body shapes in a week — less manual skinning per variant means more time testing cloth behaviour at walk-cycle speed.
Garments that survive export to Maya or Blender
Character artists working in game studios or VFX houses are the natural core, because they reuse garments across a cast and need the simulation data to survive export to Maya or Blender. The Alembic and USD paths make caching a cloth sim for a crowd shot straightforward, and the sewing-tool controls give enough fidelity that a shirt collar behaves consistently whether the character is idling or sprinting.
A smaller but equally dependent group are fashion-modelling freelancers who build digital samples before physical cutting. They lean on the parametric pattern shapes and real-time drape feedback to judge silhouette and seam placement. Recording a short simulation on a moving avatar gives them a fit check that a static render cannot — a shoulder seam pulling during an arm raise is visible immediately, not after the garment is stitched in muslin.
Beginners who commit to the embedded learning materials tend to cross the steepest part of the curve within a dozen sessions. The interface supplies visual helpers such as point placement highlights and contact indicators, which flatten the early confusion between 2D pattern view and 3D garment window.
Fabric-physicality controls Blender’s cloth modifier lacks
Compared with Blender’s cloth simulation, Marvelous Designer offers more granular fabric-physicality controls per panel — shear resistance, buckle scale, and internal-layer friction are exposed directly, whereas Blender’s cloth modifier uses a global set of parameters. The trade-off is that Blender keeps modelling, sculpting, and rendering inside one application. If your work stops at a single costume for a still image, Blender’s cloth tools are enough. If you maintain a character wardrobe of twenty reusable garments, the pattern library and dedicated sewing tools in Marvelous Designer save hours of manual retopology.
Next to CLO 3D (made by the same developer), the division is about audience. CLO 3D adds production-focused features such as graded sizing, tech-pack generation, and fabric-testing reports aimed at apparel manufacturers. Marvelous Designer strips those out and invests more in animation export, avatar rigging, and the EveryWear module. A fashion studio supplying factory patterns will stay with CLO. A 3D generalist rigging an elf coat for a real-time cutscene will find the toolset leaner and the import-export paths more relevant.
Against Optitex, the gap widens further. Optitex prioritises industrial pattern-making, marker layout, and fabric utilisation — concerns that matter on a cutting-room floor. Marvelous Designer does not attempt those. It instead treats the garment as an asset that lives inside an animation pipeline, with USD export and motion-recording capabilities that Optitex never aims for.