Aspecten
 Download (3 GB)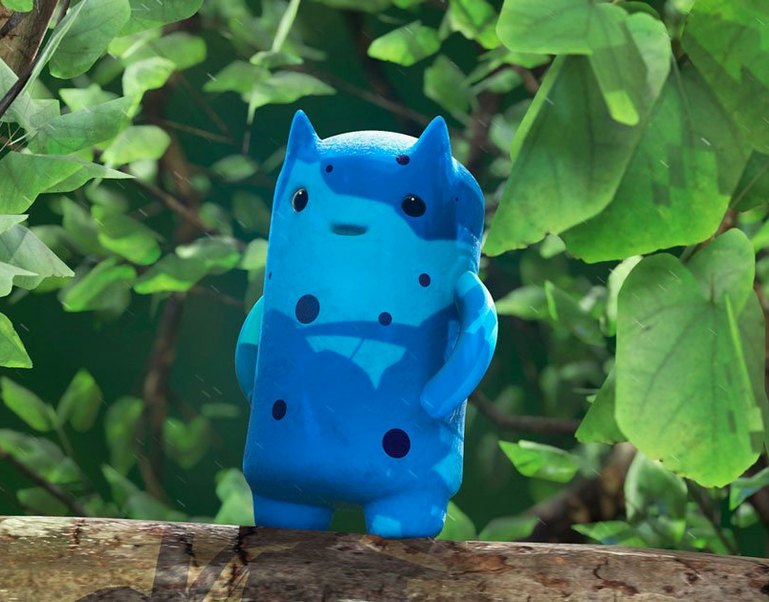

Adobe Substance 3D Painter is a dedicated application for painting textures directly onto 3D models. A typical task is taking a raw, grey mesh and giving it a believable surface, which starts with a material.
Applying the base material
A wood material from the library, dragged onto a simple crate model, instantly provides colour, roughness and a sense of grain. The viewport updates in real time, showing how the wood reacts to a rotating environment light, making it easy to assess whether the scale of the grain feels right before a single brushstroke is made.
Adding wear with dynamic brushes
To show use, an edge-wear generator detects the crate’s corners and applies darkening and roughness variation automatically. A particle brush then scatters fine dust into the crevices, a detail that would be tedious to place by hand. The layer stack records each action, so the particle spread can be masked, erased or repositioned later without affecting the underlying wood.
Refining the surface detail
Fine scratches come from a standard Photoshop brush preset, loaded directly into the tool. The brush strokes stay live, meaning their colour or height can be tweaked after the fact. Finally, switching the viewport to path tracing shows the lowest-lit recesses clearly, confirming the depth of the grain without needing an external render.
Toggle mask views with the M key to catch edge wear bleeding
Several shortcuts sit just below the surface of everyday use. The quick mask menu — accessed by pressing M — toggles between black, white and colour-coded mask views, which helps when checking whether an edge-wear generator has bled too far onto a flat surface. Holding V and clicking on a mesh island selects the entire texture set in the layer stack, saving the step of hunting through the Texture Set list manually.
In the brush settings, the lazy mouse option steadies freehand lines without requiring a steady hand. It is useful for panel lines on hard-surface models and stays off by default, so users often overlook it. Another small detail: right-clicking a layer’s thumbnail offers a Duplicate with Symmetry command, which mirrors the layer’s content along the chosen axis. For symmetrical assets such as characters or vehicles, this halves the painting time on mirrored details.
The shelf can store more than smart materials. Dragging a single layer or a folder of layers into the shelf preserves its blending mode, opacity and mask stack. Teams working on a shared asset often stash a base setup there — say, a rust layer group with a specific height blend — and recall it across multiple texture sets with one drag.
Inspect the sample robot’s full layer stack to learn masking
The initial launch presents a dense interface. A practical first step is to open the Sample project from the welcome screen. It contains a textured robot figure with the full layer stack intact, making it easier to inspect how masks, generators and fill layers are arranged than to start from an empty mesh.
Spending ten minutes with the Viewer Settings panel pays off. Switching the environment map to a neutral studio light, rather than the default outdoor panorama, gives a more honest read of roughness values. Enabling the colour checker overlay from the camera menu places a calibrated reference strip in the corner of the viewport, which helps spot displays that skew warm or cold.
A common early frustration is sluggish brush response on a high-resolution mesh. The cause is often the padding setting in the texture set. Lowering the UV padding from the default to a tighter value, and reducing the temporary viewport resolution via the Display menu, restores responsiveness without affecting the final output. Once the model feels snappy, painting becomes less of a waiting game.
It is also worth locating the auto-save interval preference. The default is set conservatively; shortening it to five minutes prevents losing a long material exploration when the application is still unfamiliar and crashes are more likely from experimental shader switches.
Game artists can export texture sets directly into Unreal Engine templates
Three groups tend to settle into the software quickly. Game artists benefit most from the real-time viewport and the ability to export texture sets directly into engine-specific presets — Unreal Engine and Unity templates are built in. The layer-based workflow maps naturally onto the way a typical game asset evolves, from a base material through wear, decals and grime.
Product visualisation specialists gain from the path-traced preview and the large smart material library. Materials such as anodised aluminium, injection-moulded plastic and brushed steel adapt to curvature and ambient occlusion automatically, which speeds up the texturing of consumer electronics and furniture. The ability to change project resolution after the fact means a visualisation can start at 2K for layout and switch to 4K for final delivery without rebuilding the layer stack.
Freelance generalists who handle modelling, texturing and lookdev themselves appreciate that the application holds the entire surface story in one file. There is no need to bounce between a dedicated baker, a 2D image editor and a renderer for simple adjustments. A single .spp project file contains the mesh, the baked maps, the full layer stack and the viewport lighting setup, making handoff to a future self or a collaborator straightforward.
Applying a skin smart material to a creature bust with ID maps
Consider a character artist tasked with texturing a stylised creature bust for a short film. The mesh arrives with clean UVs and an ID map that separates skin, horn and eye materials. The artist drags a skin smart material onto the first texture set. The material reads the baked curvature and applies a subtle reddish subsurface tint to the thinner areas around the nostrils and ear edges without any manual painting.
The horns need a different treatment. A fill layer with a gradient mask creates a dark-to-light transition from base to tip, and a crack generator in the mask stack adds irregular fissures near the base where the horn meets the skin. The artist uses a Photoshop brush preset — an old spatter brush — to dab darker spots along the ridge, and because the strokes remain live, the opacity of the spatter layer can be dialled back after a director review.
The eyes require a glossy, wet look. A dedicated eye material from the library provides a multi-layered setup with an iris, pupil and clear coat. The artist adjusts the clear coat roughness down to achieve the right sheen, then uses the path tracing viewport to check the specular highlight shape against the film’s lighting reference. The session ends with an export of all texture sets as 4K EXR files, ready for the render pipeline.
Baking mesh maps from an FBX of a petrol can prop
A prop artist sits down with a freshly modelled petrol can, already UV-unwrapped. The day’s goal is a textured asset ready for a game engine.
- Baking. The
FBXfile is dragged into a new project. The Bake Mesh Maps dialogue opens automatically. The artist ticks Ambient Occlusion, Curvature, World Space Normals and Thickness, sets the resolution to 2K, and clicks bake. In twenty seconds the auxiliary maps appear as greyscale thumbnails in the texture set settings. - Base material. A painted metal smart material is dragged onto the mesh. It reads the curvature map and darkens the recessed seam around the can’s waist. The artist swaps the default paint colour from red to a muted olive green using the material’s exposed parameters.
- Edge wear. A new fill layer with an edge-wear mask is added above the base. The artist tightens the wear radius so it affects only the sharpest rim around the cap and the bottom edge. The metal underneath shows through as a lighter, silvery alloy.
- Labels. A decal image of a warning label, prepared in advance, is imported via the Add Stencil command. The artist aligns it on the front face in the 2D view, scales it with the transform tool, and stamps it into a new paint layer. The stencil is then hidden.
- Dirt pass. A dirt generator gets its own layer at the top of the stack, set to Multiply blending. The generator places grime in crevices and around the handle hinges. A painted mask excludes the label so the warning text remains readable.
- Review. The artist rotates the environment light to a low angle, checking that the height detail on the edge wear catches the light correctly. The path tracing toggle confirms the metal roughness is consistent across the can.
- Export. The Export Textures dialogue is set to the Unreal Engine 4 preset. The artist exports Base Color, Normal, Roughness, Metallic and Ambient Occlusion maps. The output folder is pointed directly to the game project’s asset directory.
The session, from empty mesh to engine-ready textures, takes just under an hour. The layer stack remains saved in the .spp file, ready for adjustments if the art director asks for a blue variant the next morning.