Aspecten
 Download (3.5 GB)
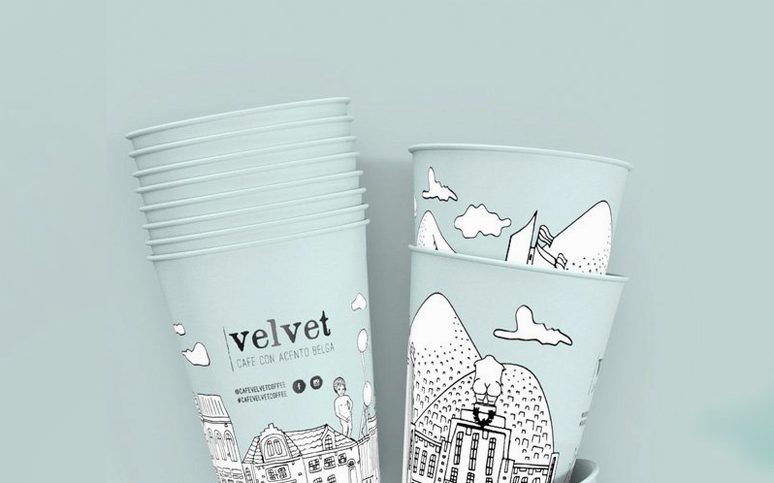
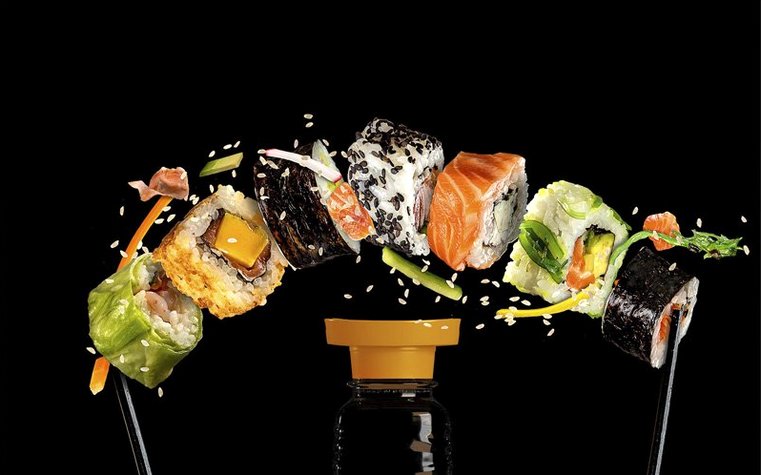
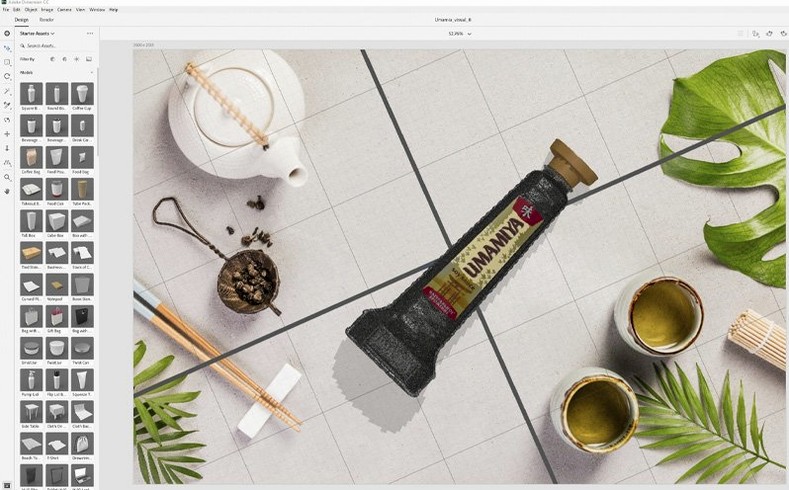
If you work with Photoshop to comp product shots or branding mockups, Dimension sits just upstream. It is a 3D tool built for designers who do not model from scratch, but need to place logos and packaging concepts onto realistic objects in a lit scene. Adobe positions it as a bridge from 2D layout to a finished 3D visual — without leaving the Creative Cloud ecosystem.
What kind of output does it produce?
Dimension generates photorealistic scenes from combined 2D and 3D assets. It automatically matches lighting, perspective and shadows to the materials and backgrounds you choose, so a product mockup reads as a coherent photograph rather than a rough composite.
Export layered scenes or place vector art onto 3D models
Scenes can be exported as layered files for further work in Adobe Photoshop CC. You can also place vector artwork or logos directly onto a 3D model, which makes updating branding across multiple angles a faster task.
Who is the intended user?
Dimension prioritises visual quality and ease of use. It suits graphic designers and brand visualisers who need convincing product shots or packaging concepts, but do not want to learn a full DCC modelling application.
Is it still maintained?
First days: small steps that pay off later
After installing, resist the urge to build a full scene on day one. Spend the first hour setting up a clean folder structure for your 3D assets. Dimension loads previously saved documents, but it does not embed every model or texture inside the project file. Keep a flat folder per project with the .dn file, linked Adobe Stock downloads, and any custom decals or background images.
Next, import two or three Adobe Stock assets and place them on the default ground plane. Adjust the camera orbit with the 1 shortcut, then switch to the render preview by tapping R. This teaches you how the viewport differs from the final image — previews are fast approximations, while the render resolves reflections, soft shadows and ambient occlusion at higher quality.
A practical third step: drag a logo file onto a basic cylinder or bottle model and watch how Dimension auto-wraps the graphic. If the decal stretches, switch the material type to Plastic or Glass and tick Match Image in the decal properties — the mapping updates immediately.
Workflow: a coffee bag mockup from scratch
A typical task goes like this. You have a flat coffee bag design from Illustrator and need three angled product shots for a client presentation. Start in Dimension with a new document at 3000 by 2400 pixels, RGB. Set the background to a soft studio-grey environment from the starter assets panel. Do not use a pure white background on day one — it flattens edge contrast and makes the render feel sterile.
Search for a pouch model via the built-in Adobe Stock browser. Filter by optimised for Dimension — these models include properly grouped surfaces and sensible UVs. Place the model, then rotate it 15 degrees on the Y axis so the front panel catches the light. Apply a matte material to the pouch body and increase the roughness slider to around 0.7; this stops the package looking like glossy plastic.
Now add the artwork. Drag the Illustrator file directly onto the front surface. Dimension converts vector art into a decal and keeps the layers intact. Scale the decal with the on-model handles, not the canvas gizmo, so it respects the pouch curvature. For the side gusset, duplicate the decal, assign it to the side surface and rotate it 90 degrees. Check the render preview — if shadows pool too dark under the pouch, lower the ground shadow opacity to 0.6 and boost the environment light intensity by 0.3.
Export a layered PSD. In the export dialogue, enable Render layers and select Object masks. This gives you a Photoshop file where the pouch, ground shadow and background sit on separate layers, ready for colour tweaks or a white knockout for e-commerce. The whole sequence, from empty canvas to layered PSD, takes under twenty minutes once the assets are prepared.
Why decals stretch on bottles and spheres by default
The most frequent beginner error is slapping a logo onto a curved surface and expecting it to read correctly. Dimension applies decals as planar projections by default. On a bottle or sphere, the graphic stretches at the edges. The fix is in the decal properties: switch from Planar to Cylindrical projection, then dial in the depth slider until the graphic wraps without distortion.
Another common misstep: treating the viewport as the final output. The viewport uses a real-time rasteriser that approximates reflections and soft shadows. Beginners position objects, judge the lighting, and save a screenshot. The actual render engine resolves caustics, bounced light and material refraction properly. Always toggle the render preview window before making final lighting decisions.
Overloading the scene is a third pitfall. Dimension handles a moderate number of objects well on Intel Macs, but stacking twenty high-poly models from Stock without checking polygon counts causes the viewport to stutter. Work with proxy objects where possible — a simple box with the correct dimensions can stand in for furniture while you light the scene, then swap in the detailed model just before the final render.
A subtle one: ignoring the match-image environment feature. If you drop in a photographic background, Dimension can analyse the light direction and colour temperature from the image. Beginners skip this step and wonder why the 3D object looks pasted on. Click Match Image in the environment panel and let the app sample the light — the object settles into the scene with far less manual tweaking.
A security-only update that kept scene loading stable
Version 4.1.7, released in January 2026, was a maintenance update focused on security vulnerabilities. It did not introduce new rendering features or UI changes. In daily practice, the update means scene loading and document handling remain stable on macOS 11 and later, and the application continues to open previously saved .dn documents without conversion steps.
Over the past few releases, the most noticeable change in everyday workflows has been the gradual improvement of the Adobe Stock integration directly inside the app. Searching, previewing and placing optimised models no longer requires switching to a browser. The library panel loads thumbnails faster than it did in early 2022 builds, and model previews rotate with a click-drag before you commit to the download. That small speed gain shaves minutes off asset hunting during a tight deadline.
The render engine received under-the-hood stability work in the 2024 cycle, though it remains x86-only on Intel Macs. Scenes that previously caused sporadic crashes during multi-pass rendering now complete reliably. Users who export layered PSDs also benefit from cleaner object mask edges — a refinement that crept in around the mid-2023 updates and reduced the need for Photoshop clean-up after export.
Yes. Dimension continues to receive technical and security updates. The latest release is version 4.1.7, issued 2026-01-21, which addressed security vulnerabilities.