Aspecten
 Download (384 MB)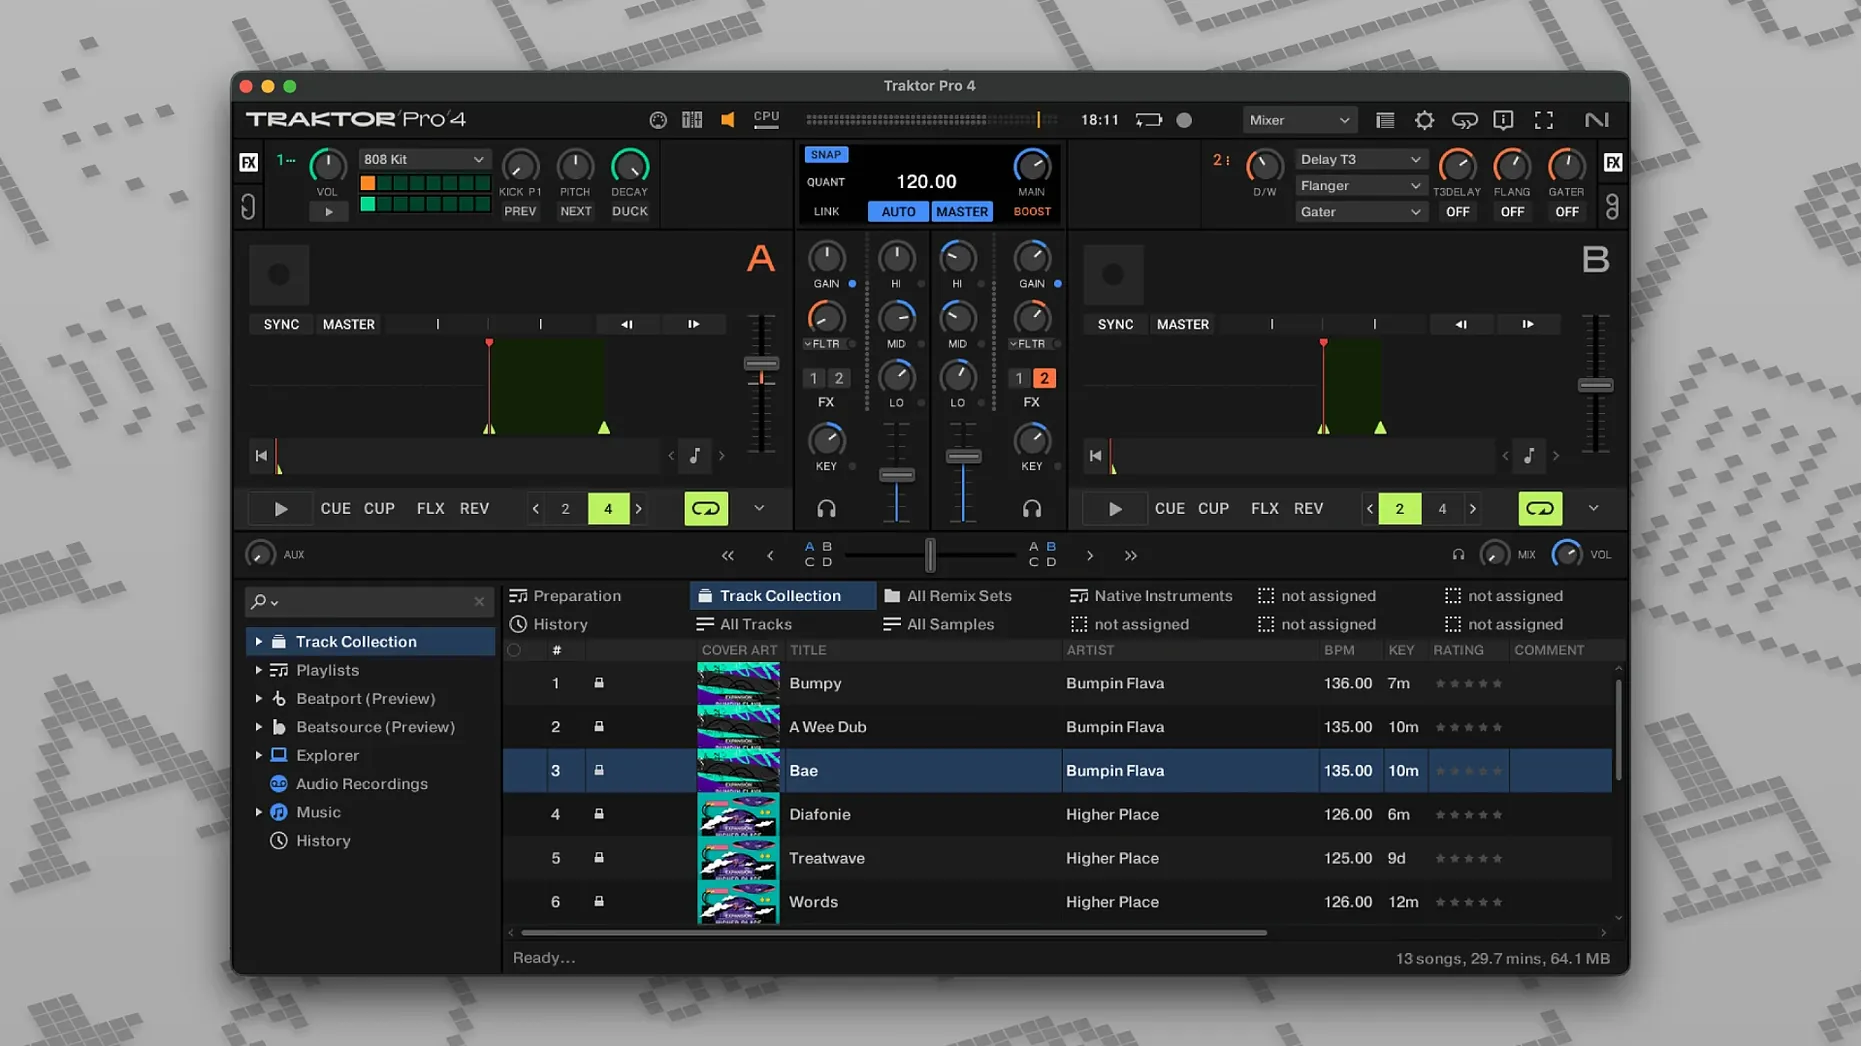
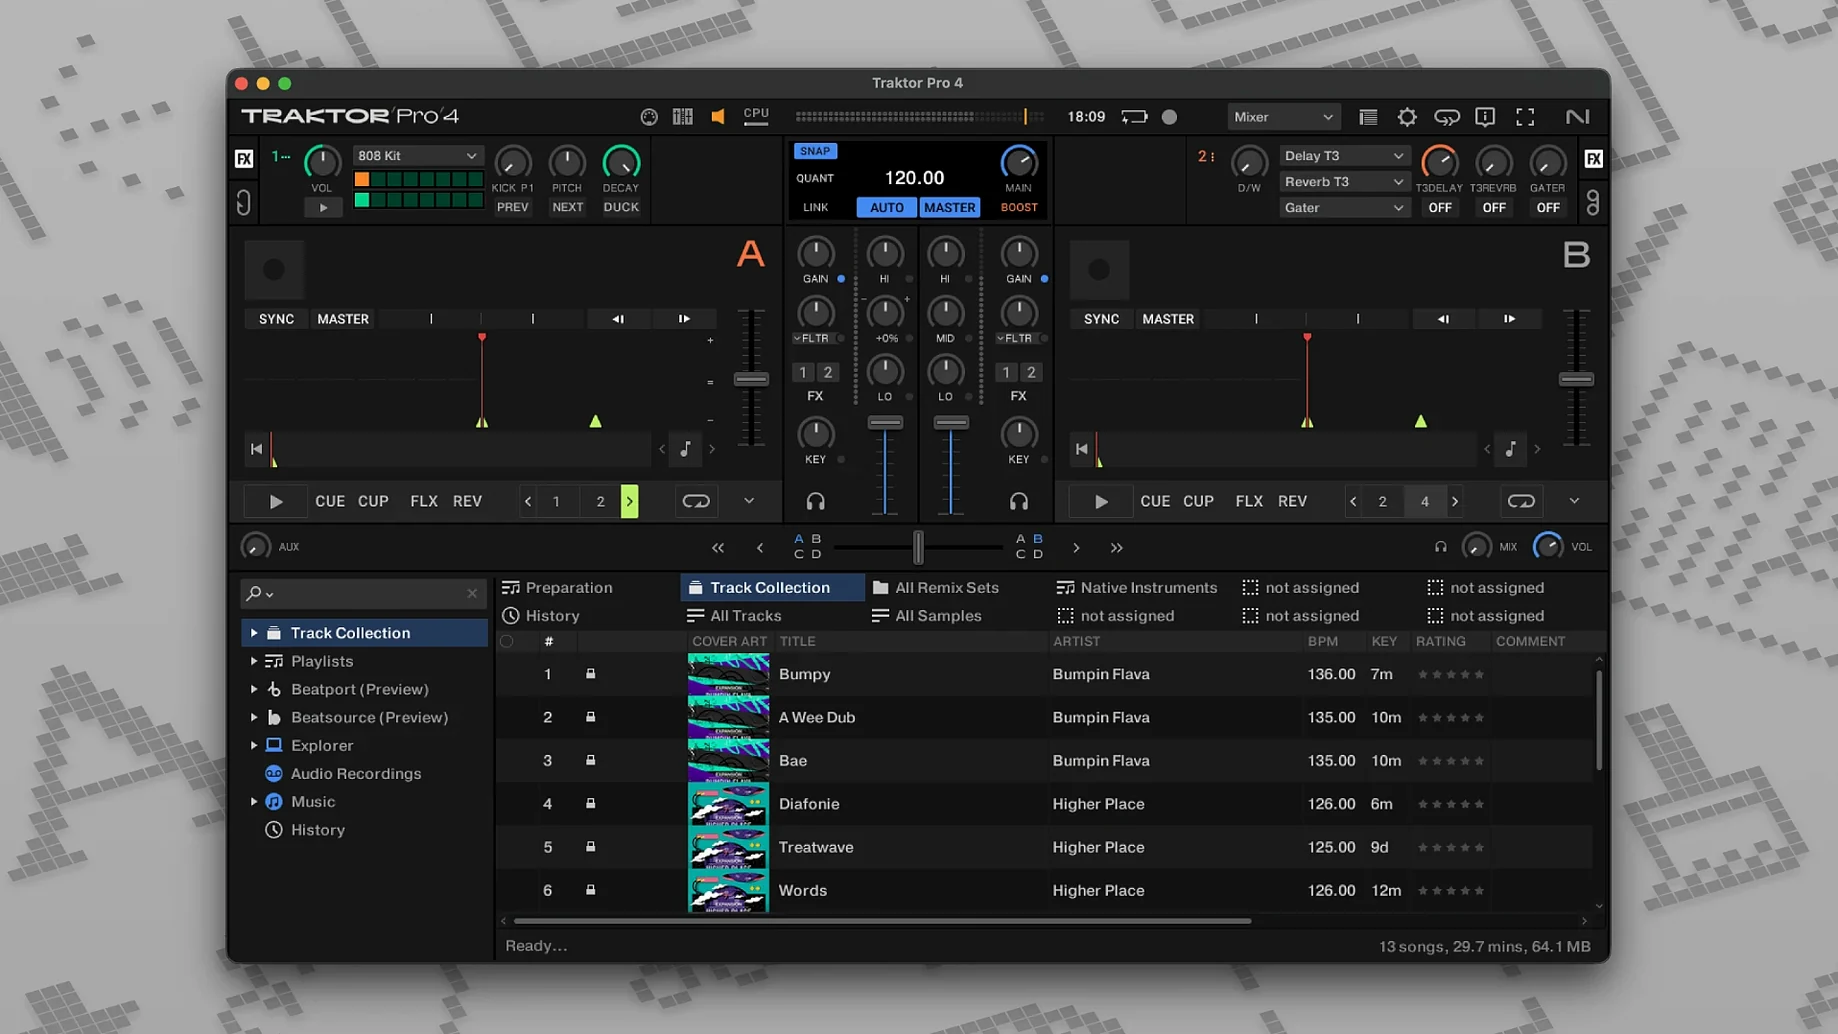
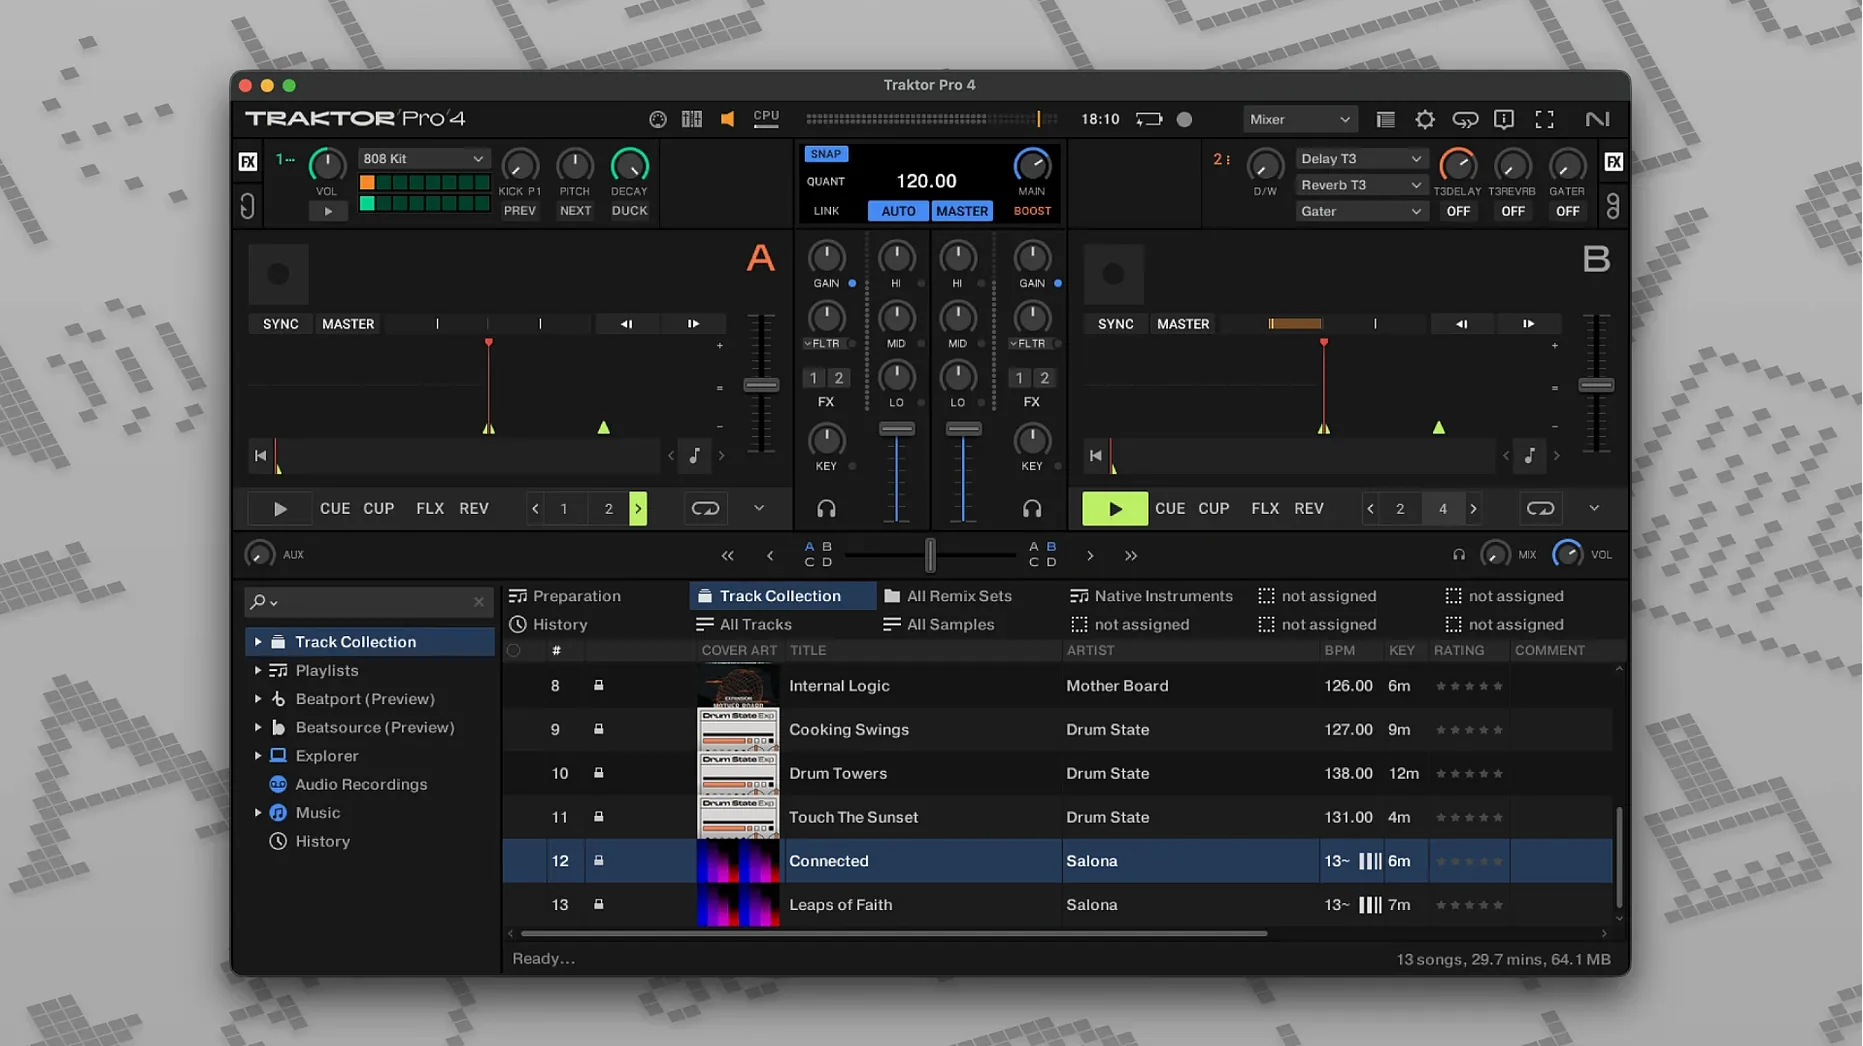
Traktor Pro 4 is DJ mixing software that puts four decks, a collection of effects and a flexible layout into one package.
Organising a collection
The browser reads iTunes tags and lets you sort music by artist, BPM or key. Beatport streaming sits alongside local files, so you can pull tracks from a catalogue without leaving the program.
Building a set across four decks
You load tracks into Track Decks, isolate vocals and drums with Stem Decks, trigger one-shot samples via Remix Decks or route a Live Input through the mixer. Sync keeps decks in time using MIDI Clock or OSC, and an external audio interface handles routing to a club system.
Recording and customising the workspace
Recording actions let you capture knob movements and fader rides. You can export the result as a WAV or AIFF file. Keyboard shortcuts are user-defined, and the layout adjusts to fit the task — strip it back for a two-deck mix or expand it for a full four-deck setup with a Traktor Kontrol controller.
Point the browser before you load a track
Open the downloaded disk image and run the standard installation procedure. Once the application launches, resist the urge to load a track immediately. The first hour shapes how comfortable the next weeks will feel.
Begin by pointing the browser to your main music folder and letting Traktor analyse it. The analysis pass detects BPM, key and beatgrid positions. A large collection can take a while. Let it run in the background while you explore the preferences — the grid results will be more consistent if the computer is not also decoding a playing track at the same time.
Next, connect any controller or audio interface you intend to use. Traktor recognises a Kontrol unit out of the box, but a third-party device needs a mapping loaded first. Do this before you start cueing, not after. Open Preferences > Controller Manager, browse for a mapping file or import one you downloaded, and confirm that each fader and knob sends a signal. A five-minute check here prevents a silent channel during a practice set.
Set the recording path early. The mixer can capture a full session as a WAV or AIFF, but the default location may land in a temp folder you will forget. Point it to a folder you actually check. The same goes for the sample and remix set storage — decide where those live before you start building a Remix Deck.
Finally, spend twenty minutes on a two-deck mix with tracks you know well. Do not touch effects or stems. Just load, beatmatch by ear, adjust the crossfader curve in the mixer preferences if the transition feels abrupt, and confirm that the master output reaches your speakers cleanly. This bare-bones session reveals audio dropouts, routing mistakes or latency problems before you layer complexity on top.
Stem extraction finishes in about five seconds
On Apple Silicon hardware the application feels immediate. Deck loads, stem separation and waveform rendering all benefit from the native ARM code path. On an M1 or M2 machine, stem extraction on a four-minute track completes in roughly five to eight seconds, and scrolling through a large collection with Beatport streaming active stays smooth. Intel machines run the x86 64-bit build without complaint, though stem processing takes closer to twelve seconds on older quad-core chips.
Memory use settles around 600–800 MB with two decks running and a modest collection loaded. Adding two more decks, an active Remix Deck and stem processing nudges it past 1 GB. This is moderate by current standards, but a machine with 8 GB of unified memory will still feel room for a browser and a recording utility alongside. Disk activity peaks during analysis and stem caching; once those are done, the application reads audio in small streaming buffers and stays quiet.
Stability in version 4.5.1.21 is unremarkable in the best sense. A three-hour set with four decks, Beatport streaming and an external Kontrol unit connected over USB-C did not produce a single dropout or crash. The one noticeable quirk involves switching audio interfaces while the transport is running — the engine sometimes mutes until you stop and restart playback. Pause before swapping interfaces and you avoid the issue entirely.
CPU load during a two-deck mix with EQ and a reverb effect sits around 12–15 % on an M1 Pro. Engaging stem separation on both decks raises it to roughly 30 %, and adding a third Stem Deck pushes toward 45 %. A Remix Deck with eight one-shot slots adds negligible load. The takeaway is that a recent Apple Silicon machine handles a full four-deck stem set without fan noise, while an older Intel model benefits from freezing stems ahead of time.
Load the first track after the controller lights settle
You arrive with a crate of new tracks and a rough idea of the energy you want. The room is quiet. You connect a Kontrol S4, open Traktor and wait for the controller lights to settle.
You start by loading a deep house track into Deck A. The waveform snaps into view, colour-coded by frequency band. You tap the cue button on the controller to set a start point on the first kick, then nudge the jog wheel until the beatgrid lines match the transients exactly. A quick lock with the quantise button and the grid is solid.
Deck B gets a vocal track in the same key. You switch it to a Stem Deck. The separation takes six seconds. You mute the bass stem, keep the drums and vocals, and bring the volume fader up slowly. The two tracks overlap — Deck A carries the low end, Deck B adds texture on top. You tweak the Deck B filter knob to roll off some high frequencies until the phrase builds.
Halfway through the transition you open the Remix Deck on Deck C. A kick sample, a snare fill and a riser sit in three slots. You trigger the riser in time with the phrase, tap the snare fill on the fourth beat and let the new track's bassline drop when you swap the bass stems. The room feels fuller.
You record the whole thing. The capture button has been armed since the first track. When you finish forty minutes later, you stop the recording, open the folder you set earlier and find a clean WAV file with no clipping. Later you might open it in an editor to trim the start, but for now it serves as an honest document of the set.
Mistakes that trip beginners up
One of the most common errors is ignoring the beatgrid after analysis. The automatic detection works well on quantised electronic music, but a track with a loose intro or a live drummer often lands a grid line on the wrong transient. A DJ who trusts the grid blindly will watch the sync button drift out of phase. Fixing it takes a few seconds: zoom into the waveform, drag the first marker to a clear kick and tap the metronome to confirm.
Another mistake is loading a Stem Deck without letting the separation finish. The waveform shows a progress bar during processing. If you cue the track while stems are still extracting, the isolated parts will cut in abruptly partway through the phrase. Wait the extra seconds or pre-process stems for tracks you know you will use.
Beginners also overlook the crossfader curve setting. The default curve can sound abrupt on long blends. Opening Preferences > Mixer and selecting a smoother curve gives the fader more travel in the middle, which suits house and techno transitions far better than the sharp cut intended for scratching.
Routing mistakes creep in when an external mixer is involved. A common scenario: the crossfader moves, but the master output stays silent because the internal mixing mode is still set to software rather than external. The switch lives in Preferences > Audio Setup. If your physical mixer expects individual deck outputs, toggle this before you start playing.
Finally, some users map every knob on a third-party controller in one sitting and then cannot remember what anything does. A better approach is to map three essential controls — say, filter, effect dry/wet and cue volume — and practise with those for a week. Muscle memory builds faster when the mapping is sparse and deliberate.
A 256-sample buffer balances latency and stability
A handful of preferences make an outsized difference to daily use. Each suggestion below takes under a minute to adjust.
- Audio buffer size. Found in Preferences > Audio Setup. A setting of 256 samples balances low latency with stable playback on most modern Macs. Drop to 128 if you scratch or do fast cue juggling; raise to 512 only if you hear pops during stem-heavy sets.
- Crossfader curve. Under Preferences > Mixer, switch from the default sharp curve to a medium or smooth profile. Long blends become more forgiving, and the fader position actually corresponds to what you hear.
- Quantise mode. Enable it in the transport section or via the
Qkey. Quantise snaps cue points, loops and hotcue jumps to the beatgrid, which prevents off-beat triggers during a live set. You can disable it temporarily for a loose, human feel, but leaving it on by default saves embarrassment. - Stem cache location. Under Preferences > Deck Details, set the stem cache to a folder on a fast internal drive. Stems reload instantly if you reload a track you already processed, and you avoid filling the system drive with cached audio.
- Recording file format. Preferences > Mix Recorder lets you choose between WAV and AIFF. Pick 24-bit WAV for maximum editing headroom later. The file is larger, but storage is cheap and the quality difference matters if you master the recording afterwards.
- Beatport streaming quality. If you use Beatport integration, open the streaming preferences and set the quality to 320 kbps AAC. The default may be lower, and a set played on a club system reveals the difference quickly.
Spend ten minutes with these adjustments and the application feels more like your own. The deck behaviour, the routing and the recorded output will all match how you actually work rather than how the factory defaults assume you work. Once these are set, you rarely need to revisit the preferences panel — a sign that the tool has settled into the background where it belongs.