Aspecten
 Download (1.3 GB)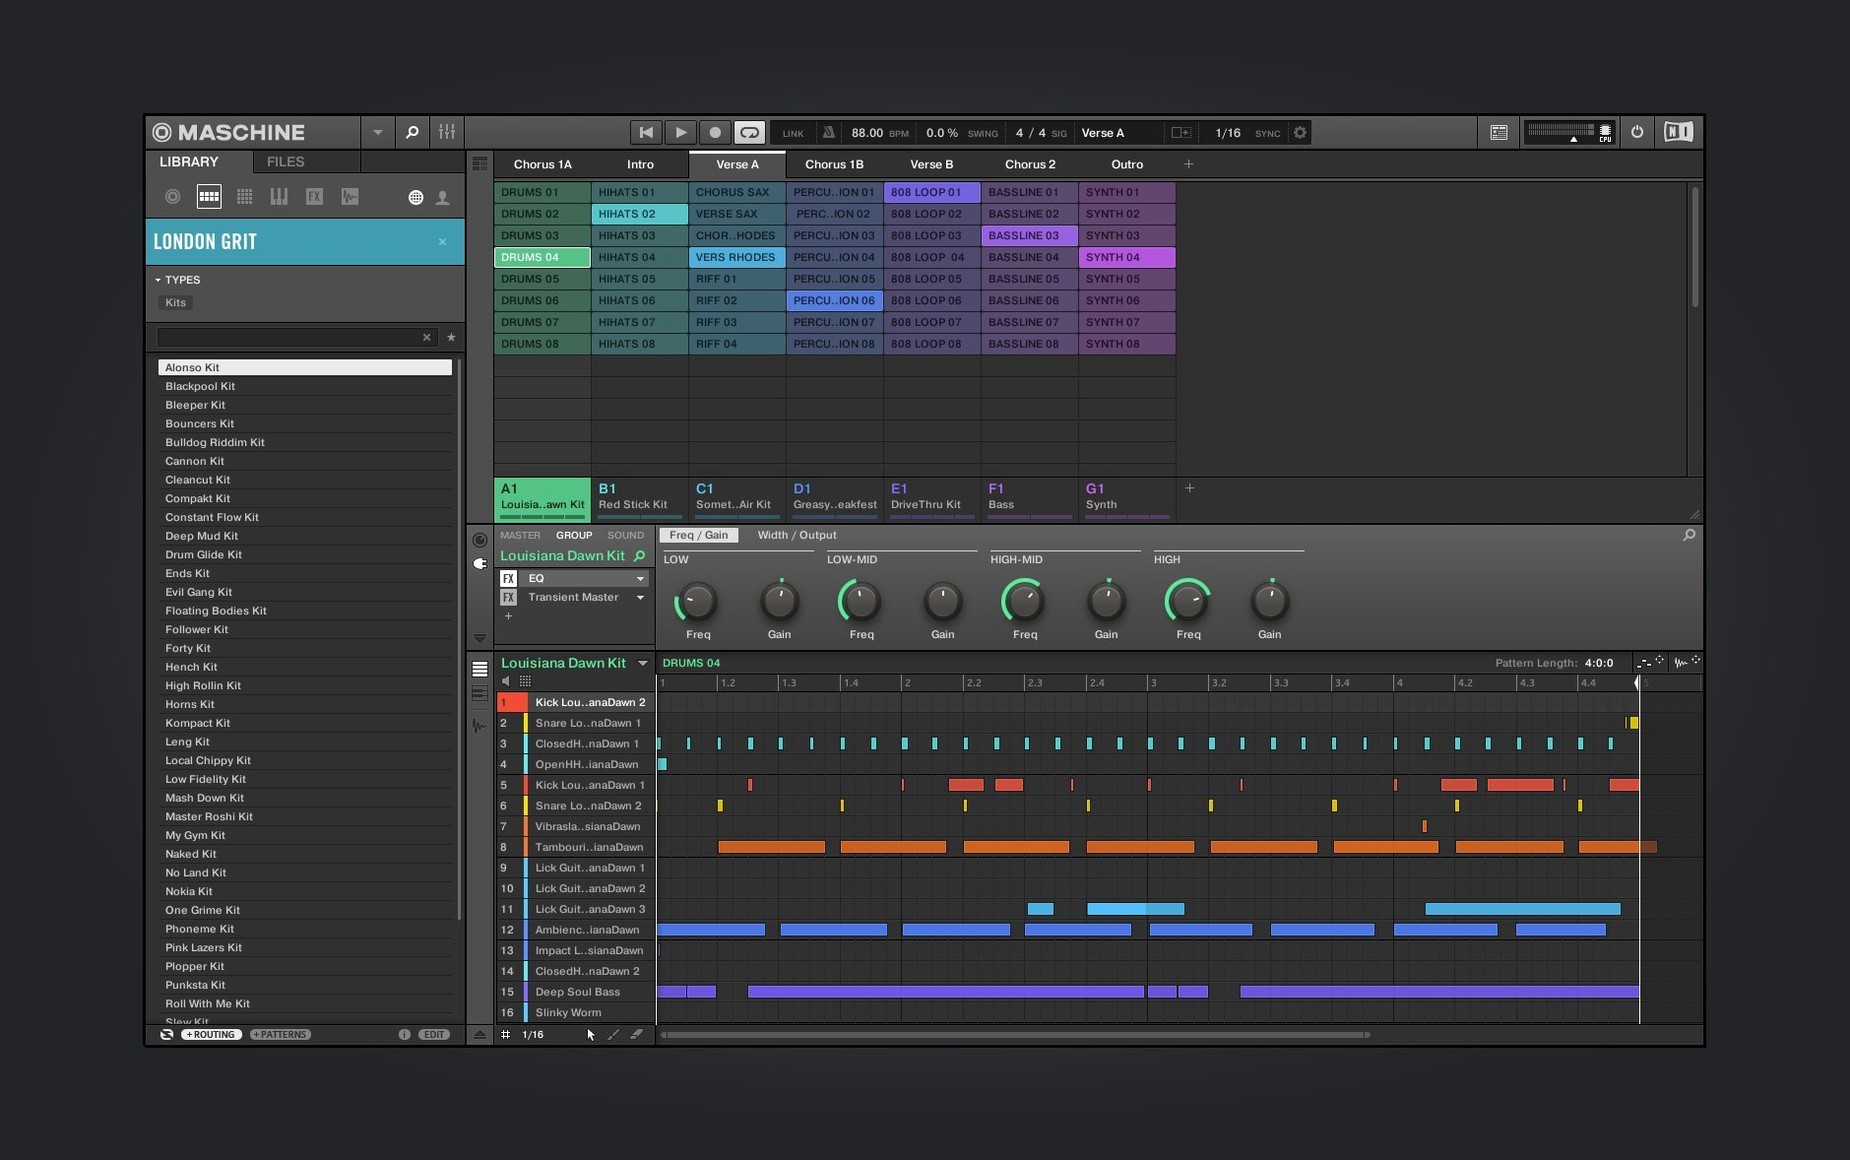
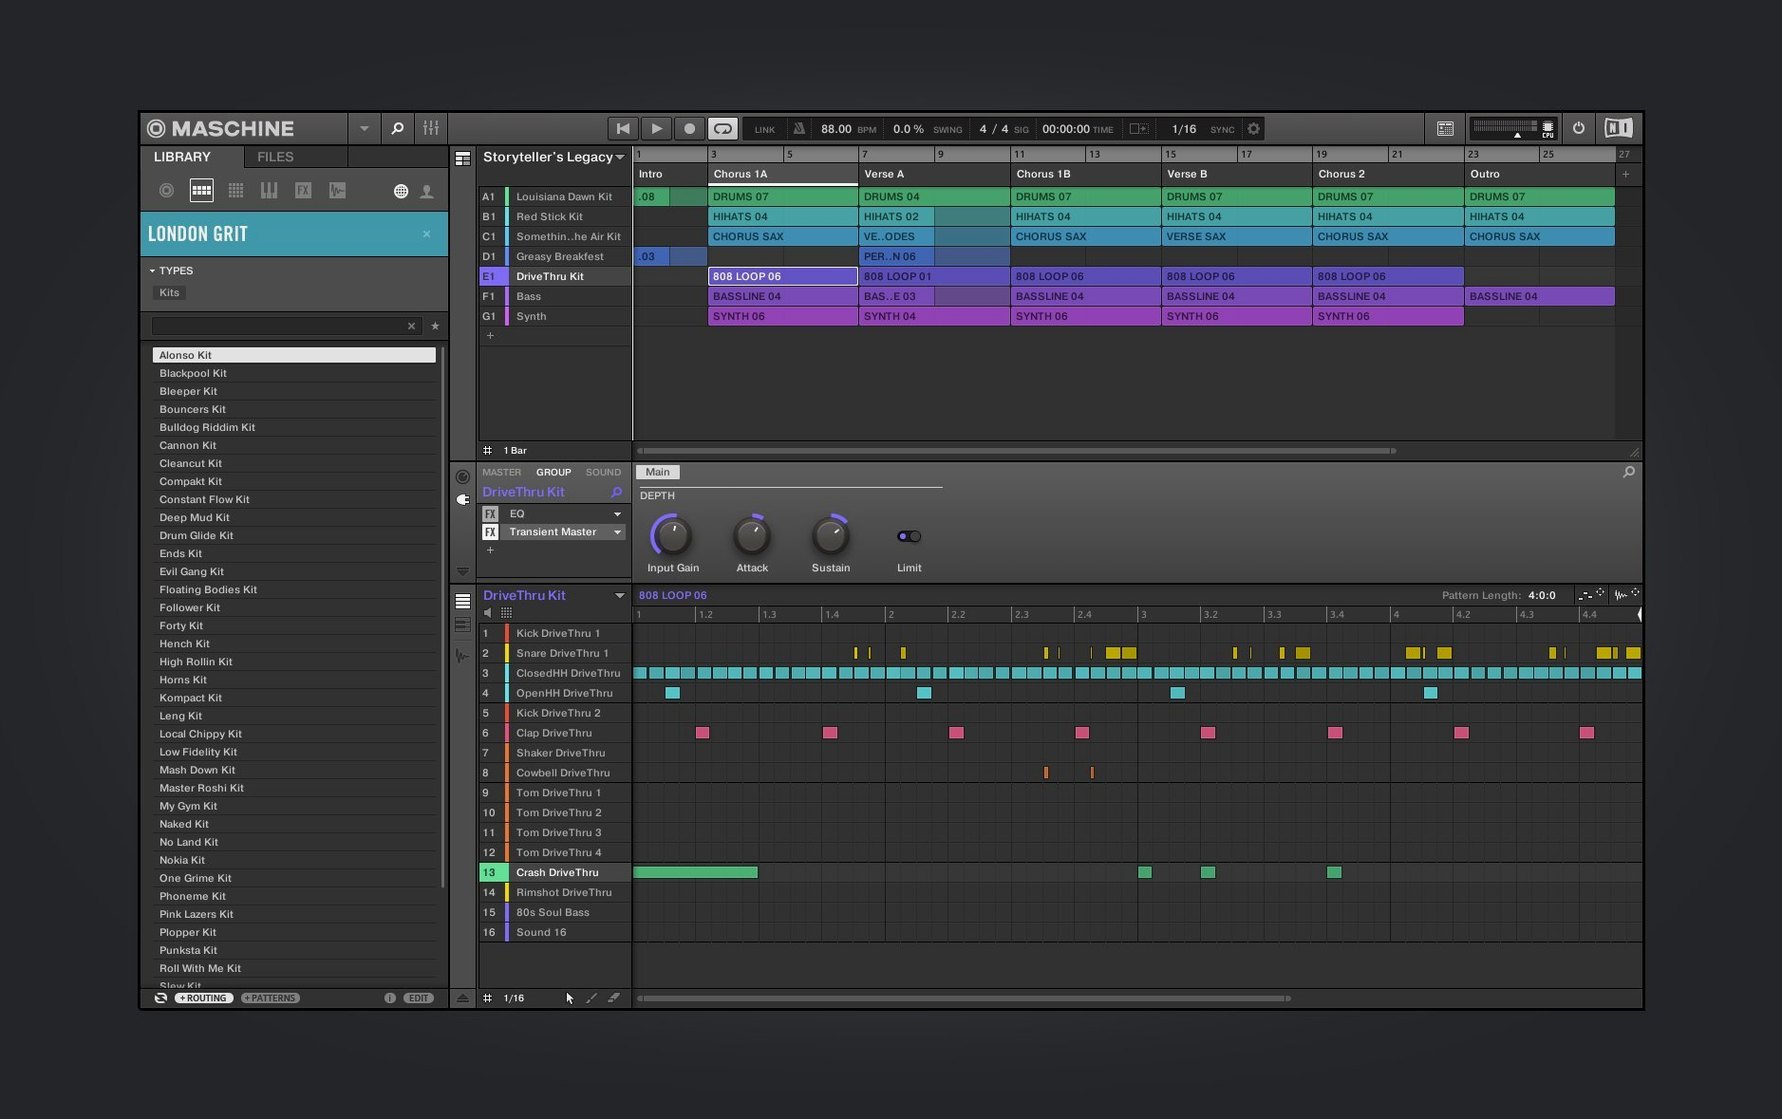
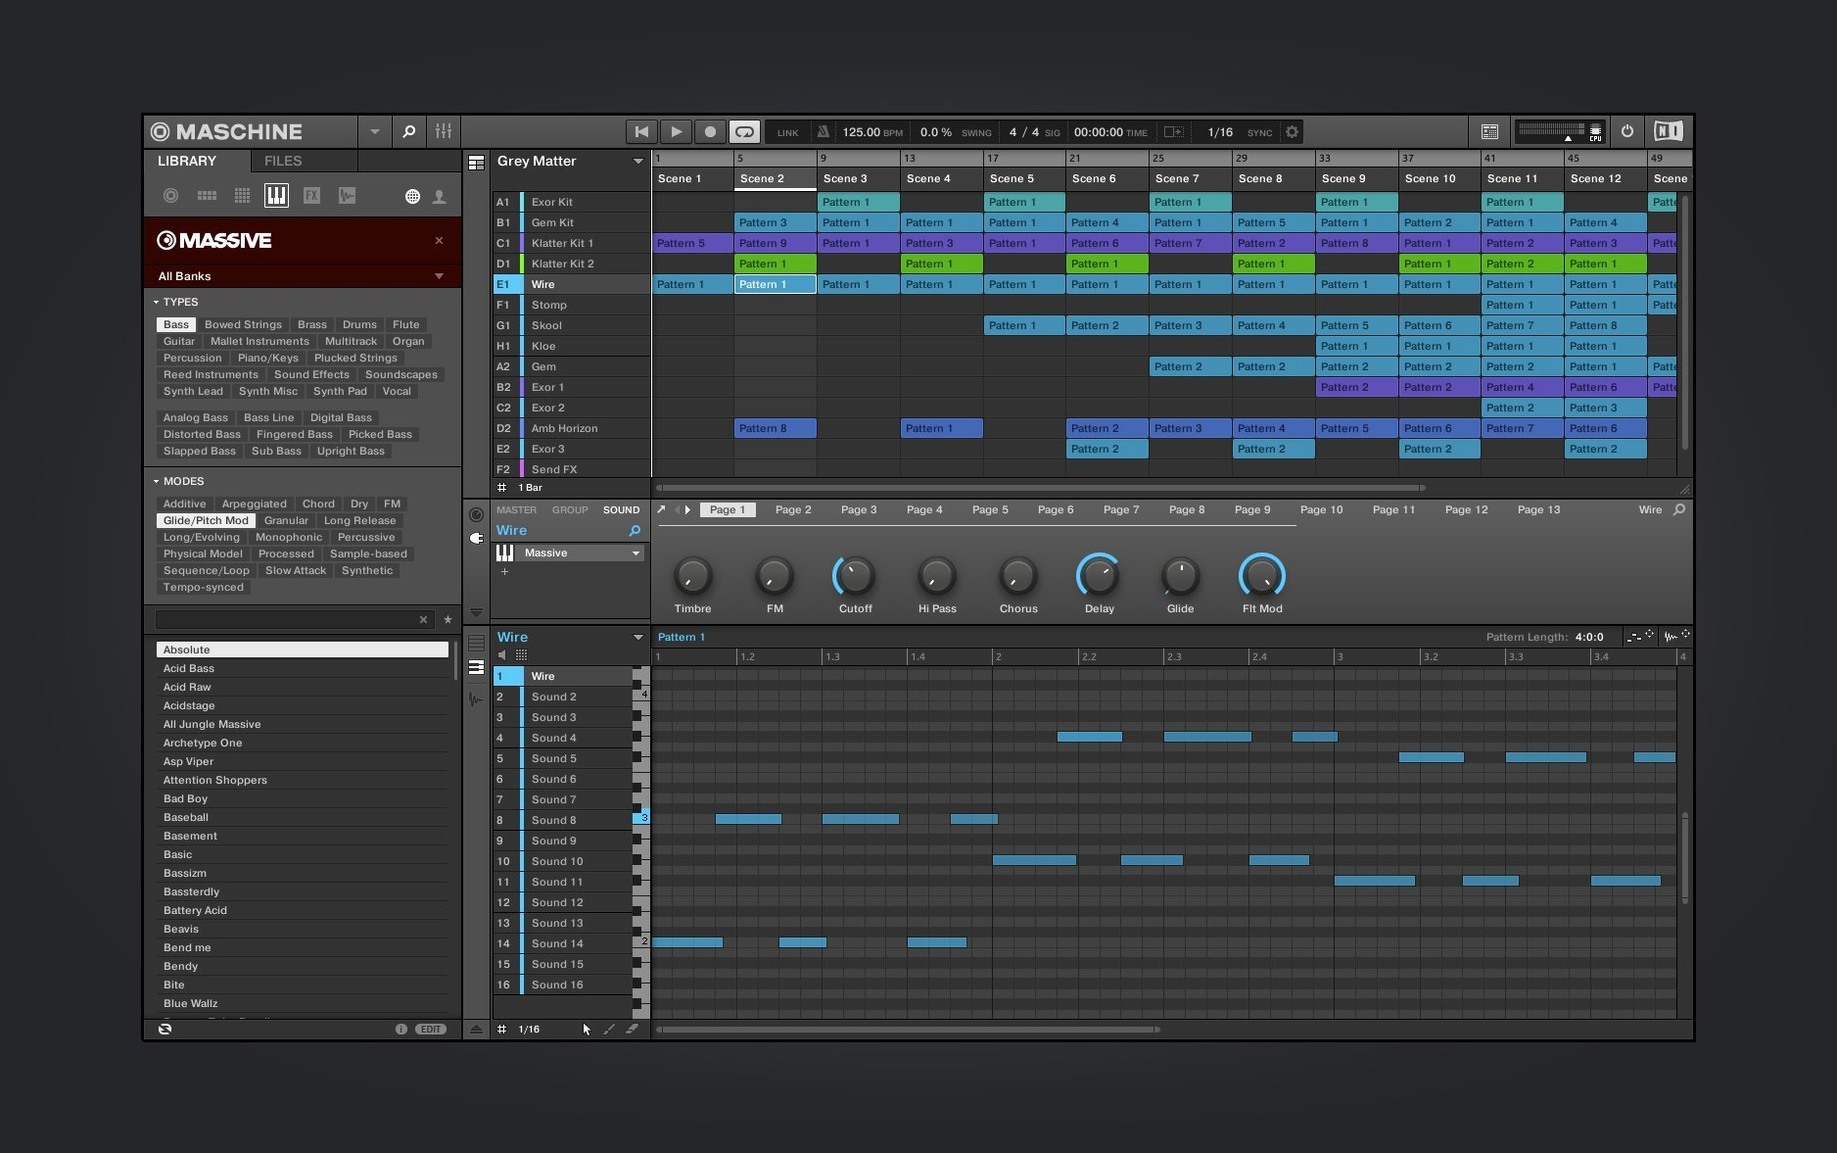
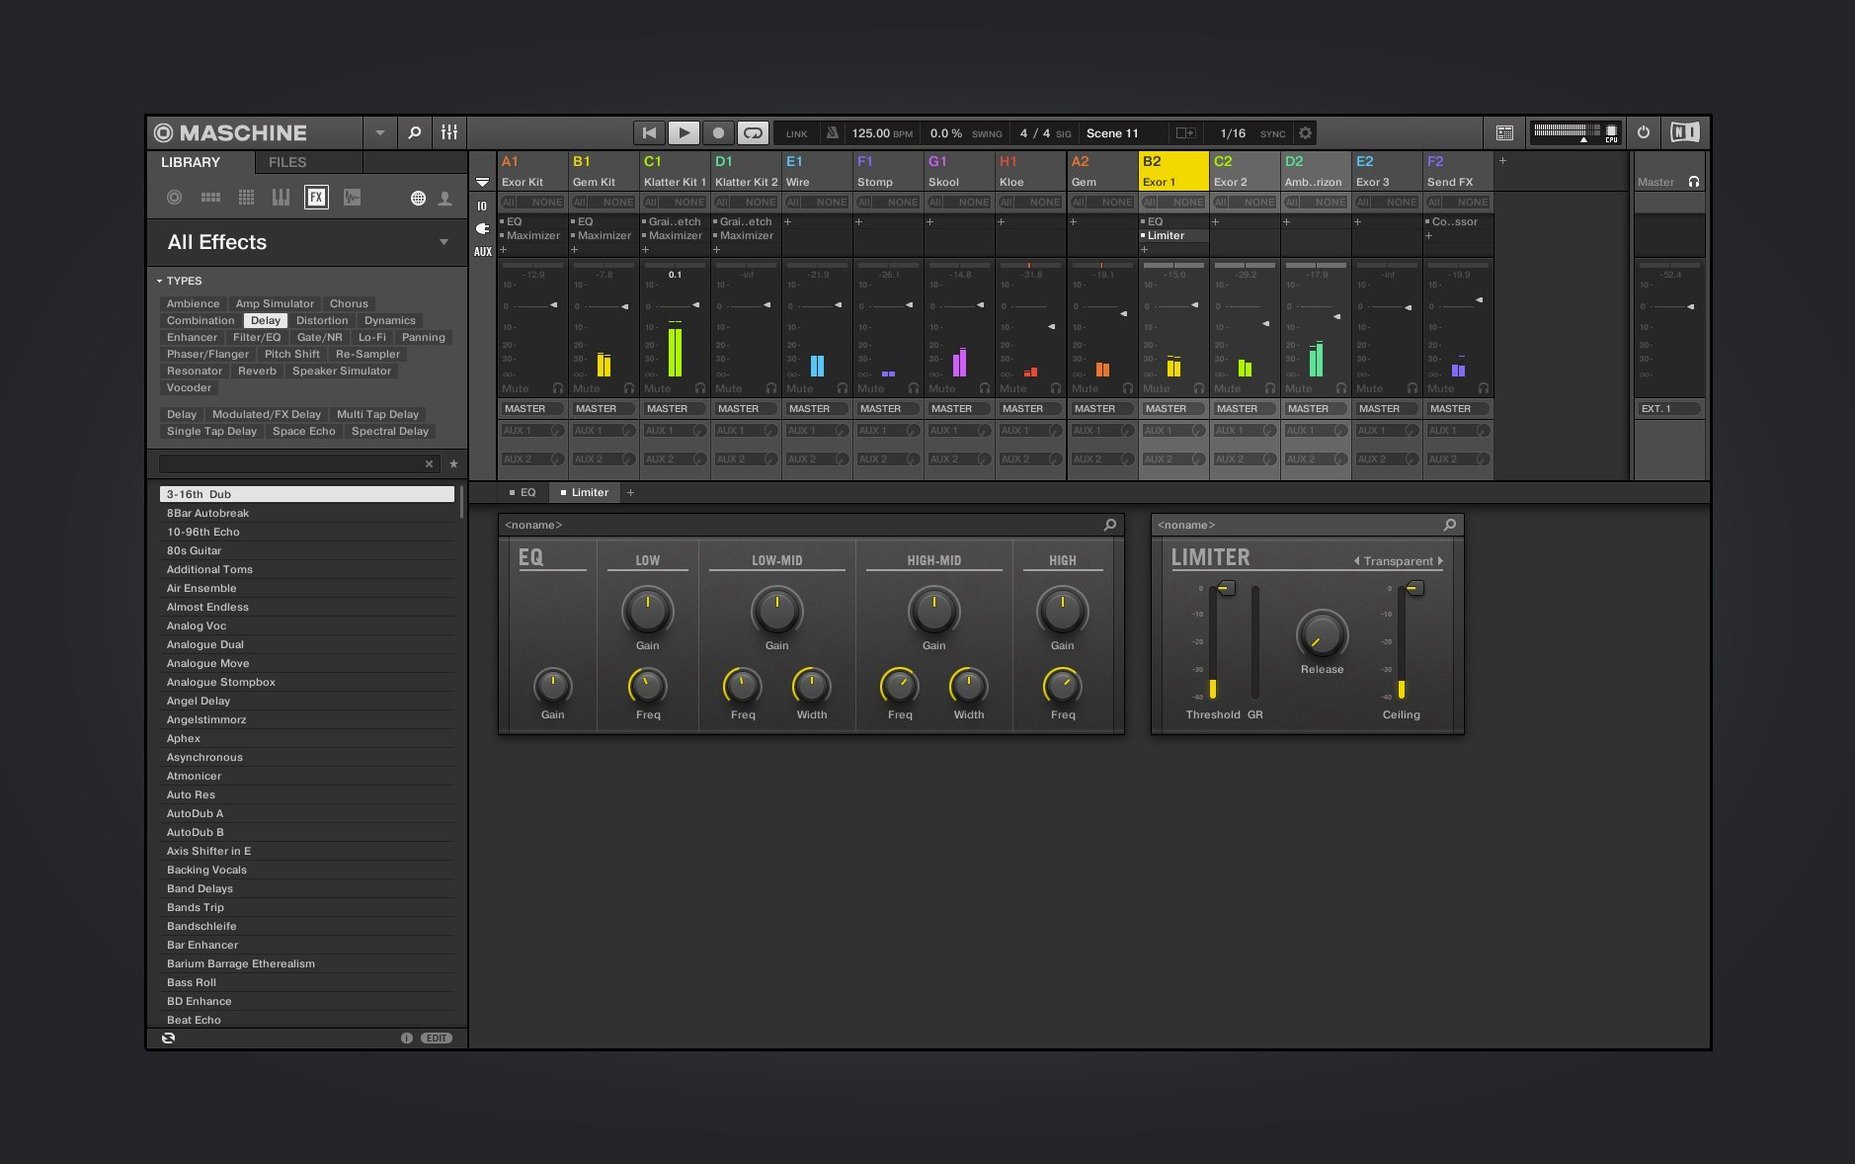
Maschine attracts producers who build tracks around drums, chops and patterns rather than linear arrangements. The 3.6.0 package from Native Instruments keeps that focus: a pattern-based sequencer, an integrated drum sequencer, a sampler and a mixer in one environment. It runs as a standalone application or as a plug-in.
Built‑in drum sequencer, sampling, and NKS controller support
- Pattern-based beat programming with a dedicated drum sequencer.
- Sampling and chopping audio within the same session.
- Performing with hardware, now including NKS Connect controllers such as the AKAI MPK mini IV.
- Mixing finished ideas without leaving the software, via the built-in mixer.
- Running on ARM and x86 64-bit Macs under macOS 13.
Redesign currently covers synths and mixer, not the full interface
- The interface language is English only.
- The current UI redesign work focuses on the Audio, Poly Synth and Drum Synth modules, plus the Mixer view; other areas remain largely as before.
- Maschine is a system of software and hardware; the download provides the software side.
Match sample rate and buffer size before your first beat
A few preferences make a noticeable difference before any beat lands on a pad. Open the Audio preferences and set the sample rate and buffer size to match the audio interface or built-in output you intend to use. Maschine defaults to a moderate buffer; lowering it to 128 or 64 samples reduces latency for finger-drumming, while raising it eases CPU load on larger projects. Under General, enable Group root note follows pad colour if you work across multiple sound groups and want visual cues to stay consistent. Another toggle worth switching on early is Auto-apply NKS mapping, which hands parameter control to connected NKS hardware without manual assignment. In the Library pane, point the content path to the location where Native Instruments sound packs reside — an external SSD, preferably — so the browser populates kits and one-shots without rescanning every session. The browser defaults to a flat list; switching to the Product or Bank view groups sounds by expansion, which speeds up scrolling through large Maschine libraries.
A beatmaker’s first evening with the 3.6.0 update
Someone who builds lo-fi hip-hop loops three evenings a week opens the new version with a specific expectation: the redesigned Drum Synth module should make kick tuning quicker. After mounting the disk image and running the installer, the welcome screen presents demo projects and tutorial links — a small addition, but handy for revisiting the basics of choke groups or macro mapping. Five minutes later, a blank project sits open. The first change is the Audio module’s updated layout. Where the old panel stacked gain and routing controls in a single column, the rework separates them into labelled sections, making it easier to route a live guitar input to a group with a compressor already inserted. The Poly Synth module now exposes envelope and filter controls on the same page, so a bass patch that previously required tab-hopping comes together in one view. An hour in, a four-bar pattern loops with kicks from the Drum Synth, a sliced Rhodes sample spread across eight pads, and a simple bass line. The mixer redesign is still gradual — channel strips show clearer gain reduction metering, but the send section remains compact. The session ends with eight patterns arranged into scenes, and the project exported as audio to a desktop folder. No hardware controller was plugged in; the entire sketch happened with the trackpad and keyboard, which the updated interface supports better than earlier 3.x builds.
Chopping a sample and building a pattern: a start-to-finish workflow
This walkthrough assumes a freshly installed copy of Maschine 3.6.0, a short vocal phrase in WAV format on the desktop, and no connected hardware. The goal is a sampled vocal chop spread across pads, triggered from a pattern.
- Launch Maschine as a standalone application. Click the New Project button on the welcome screen, then choose an empty template. The default group loads with 16 empty sound slots.
- Open the browser with F4 and navigate to the desktop folder containing the vocal sample. Drag the WAV file onto pad 1. The Audio module opens automatically, showing the waveform in the redesigned single-page view.
- With the sample selected, switch to the Slice tab in the waveform editor. Choose Grid mode and set the slice count to 8. Click Apply. Maschine distributes eight slices across pads 1 to 8, each pad now triggering a separate chunk of the phrase.
- Press Pad Mode (or click the pad mode icon) and set the eight pads to One-shot with polyphony at 4 voices. Adjust the start and end points of slice 3 if the transient cuts too abruptly — the waveform zoom in the Audio module makes frame-accurate trimming straightforward.
- Create a fresh pattern by clicking the + icon in the pattern bank. Double-click the pattern name and rename it “Verse chop”. Set the pattern length to two bars.
- Tap the pads in real time to record the chop sequence, or click notes into the piano roll step grid. For a swung feel, open the groove controls and apply MPC 60 Swing 58% from the preset list. The timing shifts immediately.
- Add a kick and snare: load a second group (right-click the group area, Add Group), browse to a Drum Synth kit, and drag it in. Pattern length should match the vocal pattern. Use the Drum Synth’s redesigned oscillator page to dial in a punchier kick transient by raising the click layer volume.
- Open the mixer view. The channel for the vocal group shows its fader at unity. Insert a reverb from the effect slot dropdown — the Plate algorithm works well on short chops. Set the send level to around 30% and reduce the reverb time to 1.2 seconds so the tail stays tight.
- Export the loop: File > Export Audio. Select Sound as the source, set the range to the two-bar pattern, choose 24-bit WAV, and save. The file lands on the desktop, ready for arrangement elsewhere or further processing in Maschine’s own sampler.
Full mouse-and-keyboard control with no hardware required
Does the software work without a Maschine hardware controller?
Yes. All sequencing, sampling, and mixing functions are accessible with a mouse and keyboard. The 3.6.0 interface updates, especially in the Audio, Poly Synth, and Drum Synth modules, improve the on-screen editing experience. That said, the workflow was originally designed around the hardware; some operations, like note repeat and pad-level parameter nudging, feel quicker with a controller. NKS Connect support in version 3.6.0 extends this to devices such as the AKAI MPK mini IV, so you are not limited to Native Instruments hardware.
Can I open old Maschine 2 projects in version 3.6.0?
Maschine 3 reads project files created in Maschine 2.x without conversion steps. Kits, patterns, scenes, and effect chains carry over. The updated module interfaces display the same parameters with a different layout; no automation or sound data is altered by the redesign.
How does the plug-in version behave inside a DAW?
Maschine loads as a VST3 or AU plug-in and routes its 16 stereo outputs to the host mixer. Patterns and scenes sync to the DAW transport when the plug-in is set to follow host tempo. MIDI notes from the DAW can trigger Maschine scenes, which makes it practical to sketch a beat inside Maschine and then trigger changes from an arrangement track in Logic Pro or Ableton Live. The plug-in window is resizable and follows the same UI redesign as the standalone application.
What does NKS Connect actually do for me?
NKS Connect, introduced in version 3.6.0, allows compatible controllers to browse and load Maschine kits and instruments directly from the hardware, with parameter names and values shown on the controller display. Starting with the AKAI MPK mini IV, the integration means you can scroll through sounds, preview them, and map eight knobs to key parameters without touching the computer. For users who already own NKS-compatible keyboards, this brings Maschine’s sound library into the same browsing workflow used for Kontakt and other NKS instruments.
Is an internet connection required after installation?
The standalone application and plug-in run offline. The welcome screen links to tutorial videos that require a connection, and the browser’s product view expects content to be present on a local drive, but all core functions — sampling, sequencing, mixing, and export — work without network access.
Runs as AU or VST3 plug‑in inside Logic Pro and other DAWs
Maschine 3.6.0 behaves as a self-contained production environment, yet it expects to sit alongside other tools. As an AU or VST3 plug-in, it loads inside Logic Pro, Ableton Live, and other DAWs that support the format. In this role, Maschine typically handles the initial beat and chop work while the DAW takes over linear arrangement, automation, and final mixdown. The 16 stereo outputs from the plug-in let each sound group land on its own mixer channel in the host, which is useful when a kick needs separate compression from the rest of the kit. MIDI clock from the DAW keeps Maschine’s sequencer in lockstep, and MIDI notes from an arrangement track can trigger scene changes for hands-off performance playback.
Outside a DAW, Maschine’s standalone mode works alongside macOS features without friction. Audio routing via BlackHole or Loopback can send Maschine’s stereo output into another recording application in real time — useful when capturing a live jam into QuickTime or streaming a beat-making session. The Export Audio command produces WAV files that drop into Finder and become immediately available to Logic’s browser, GarageBand’s loop library, or a video editor such as DaVinci Resolve. Drag-and-drop works in both directions: a sample from Finder lands on a pad, and a rendered loop can be dragged from Maschine’s waveform display straight to a desktop folder.
On the hardware side, NKS Connect broadens the controller landscape. An AKAI MPK mini IV connected via USB appears in macOS Audio MIDI Setup as a standard MIDI device. Maschine recognises it through the NKS integration layer, mapping transport controls and the browse knob without a manual MIDI learn step. This matters for producers who prefer a compact keyboard controller over the dedicated Maschine hardware — the software no longer treats third-party controllers as second-class devices. For those who already own Maschine Studio hardware or other Native Instruments controllers, the existing deep integration remains unchanged; the 3.6.0 update simply adds another path for getting hands on the controls.
Maschine also interacts with the rest of the Native Instruments ecosystem. Kits and instruments from expansions installed via Native Access appear in the Maschine browser automatically. A sound designed in Maschine’s sampler can be saved as an NKS preset and loaded into Komplete Kontrol or Kontakt later. The drum patterns and melodies stay in Maschine’s format, but the sounds themselves travel across the NI world, which makes the software a viable starting point for productions that finish in a different host.