Aspecten
 Download (1.5 GB)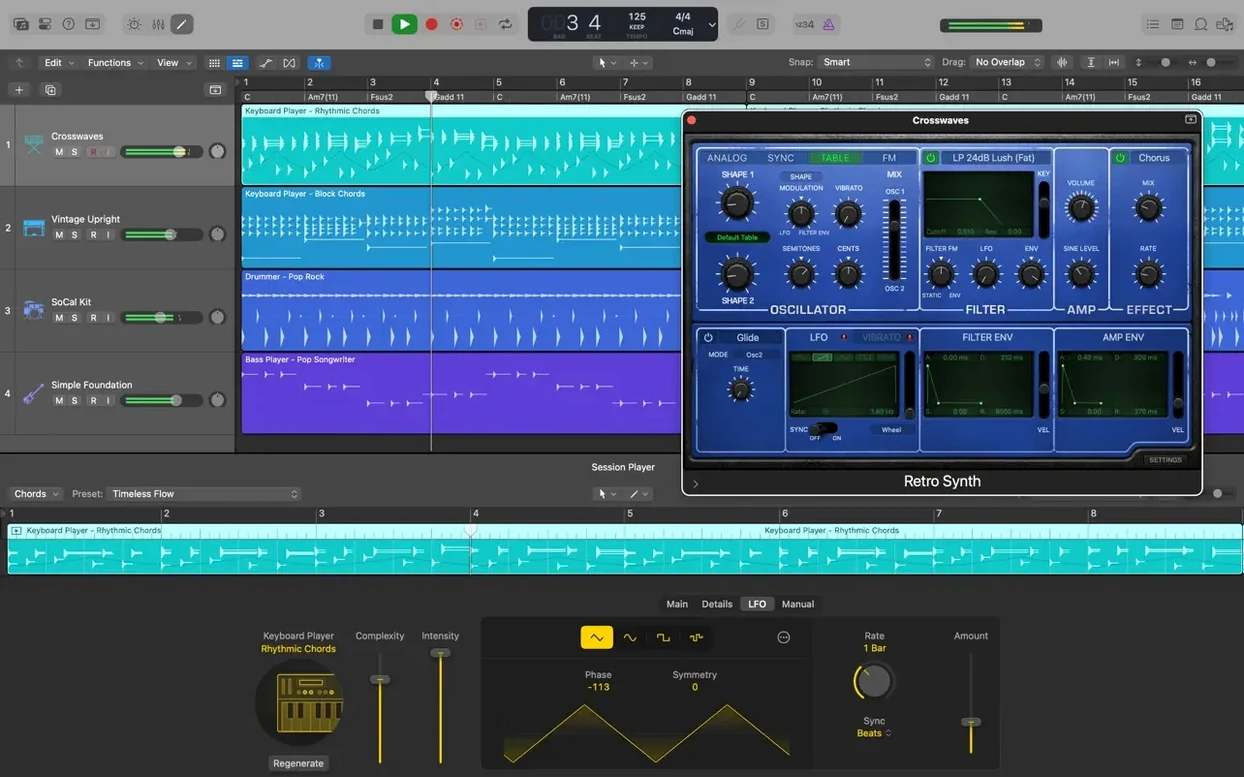
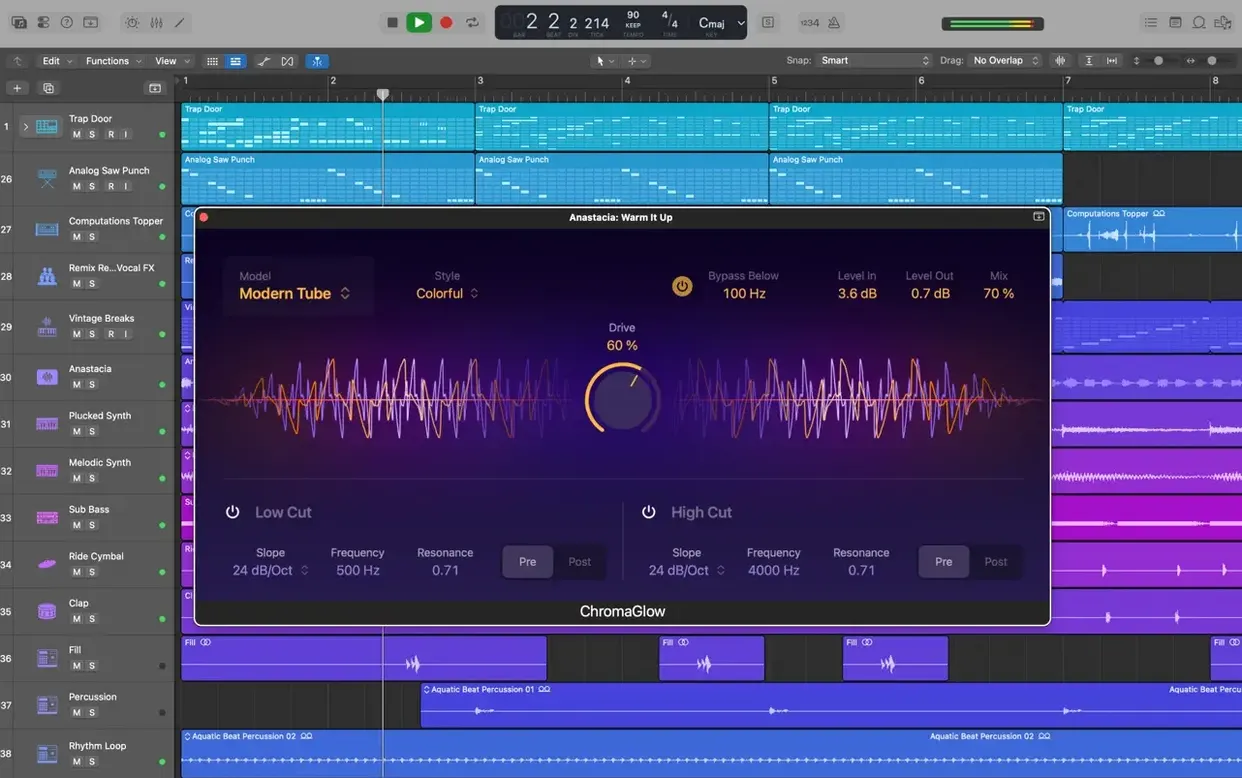
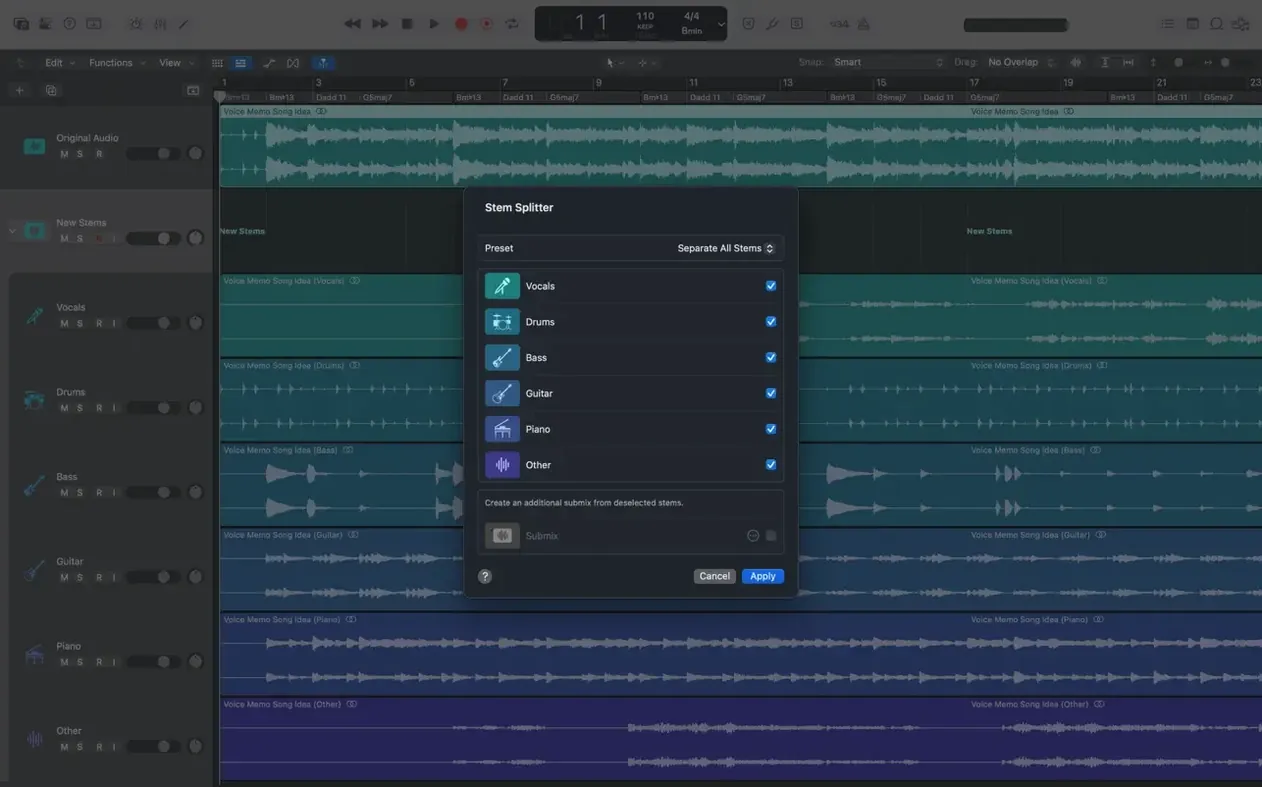
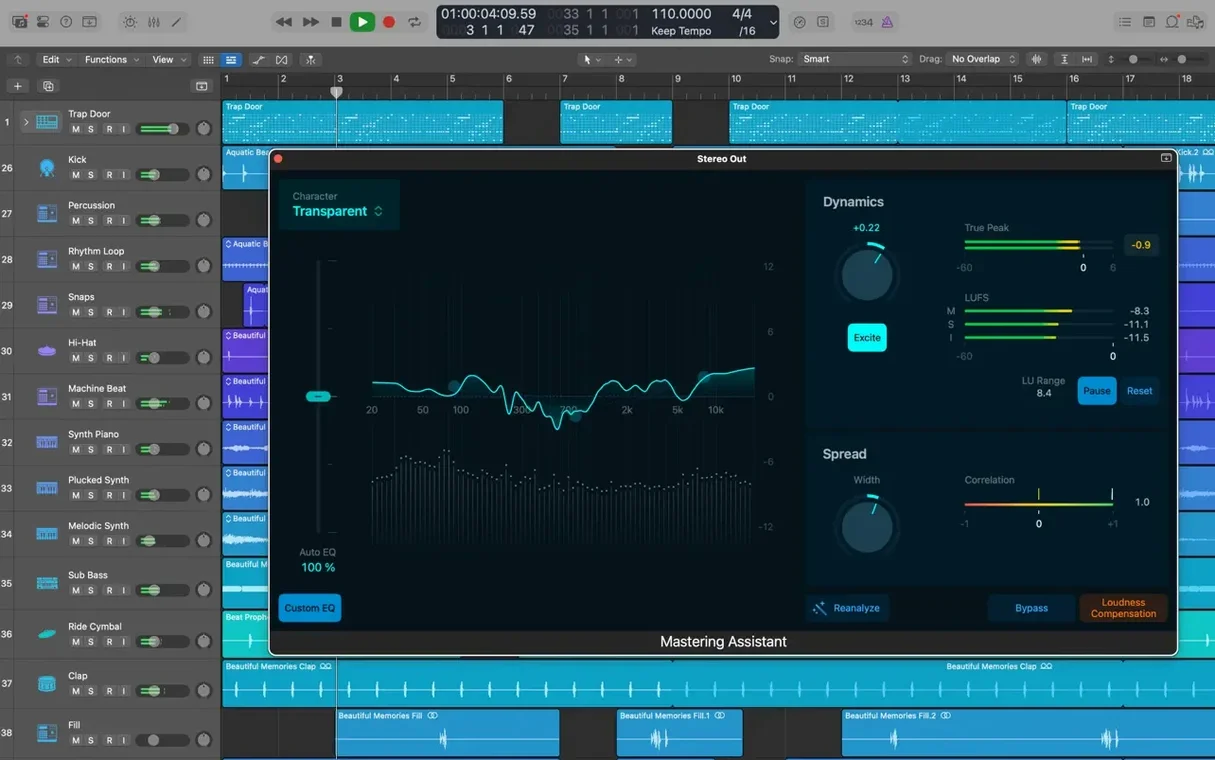
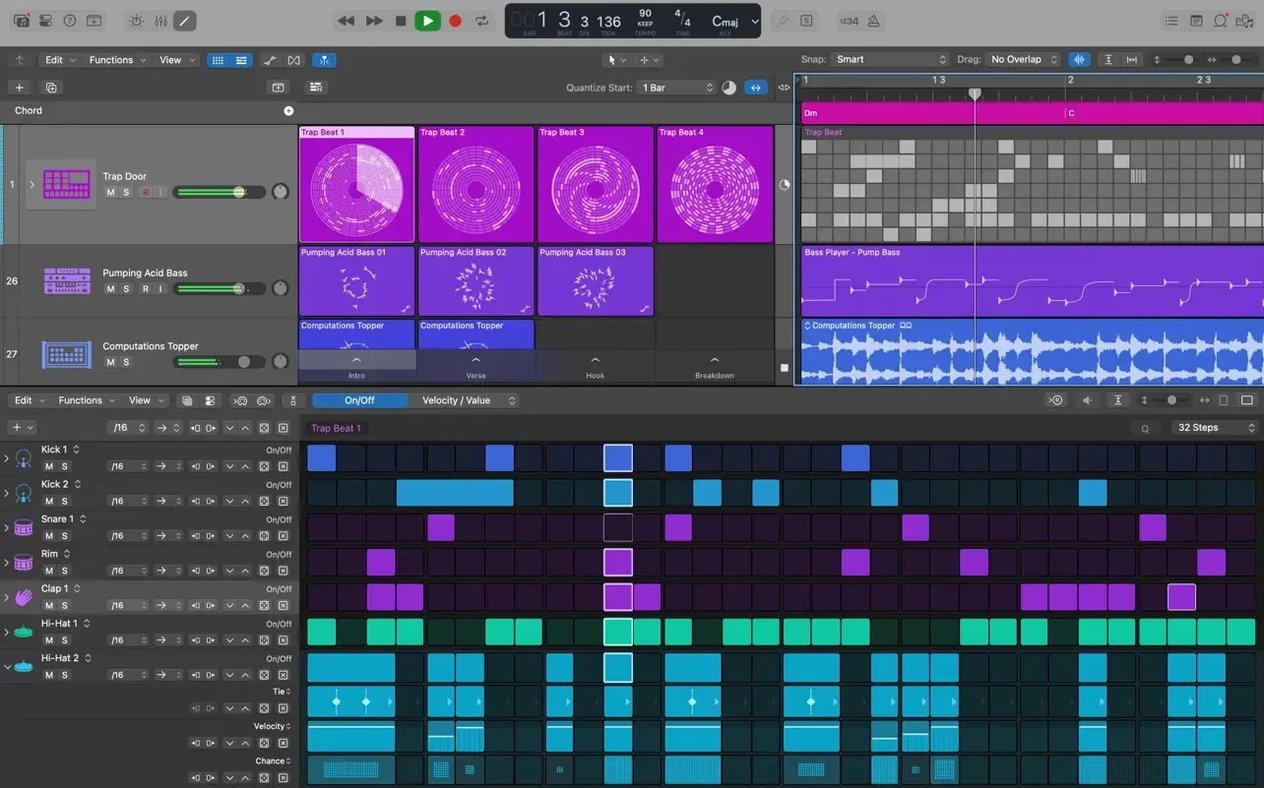
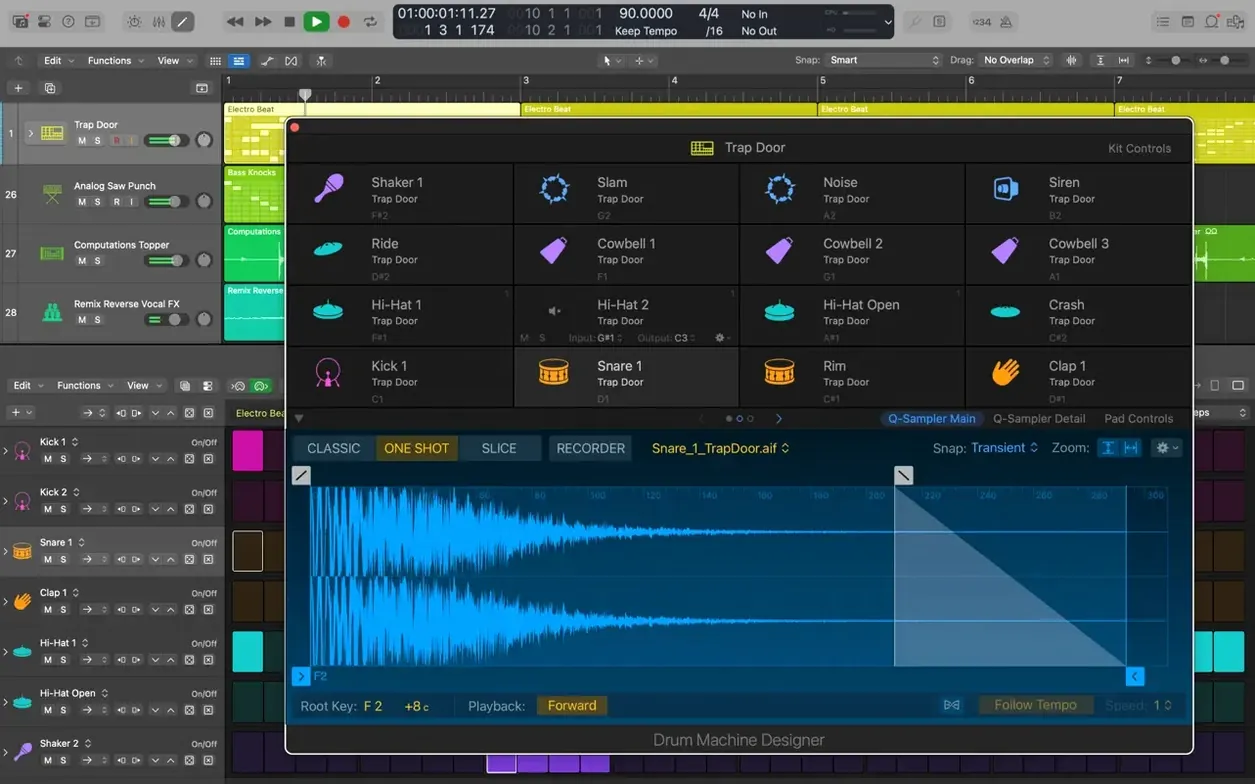
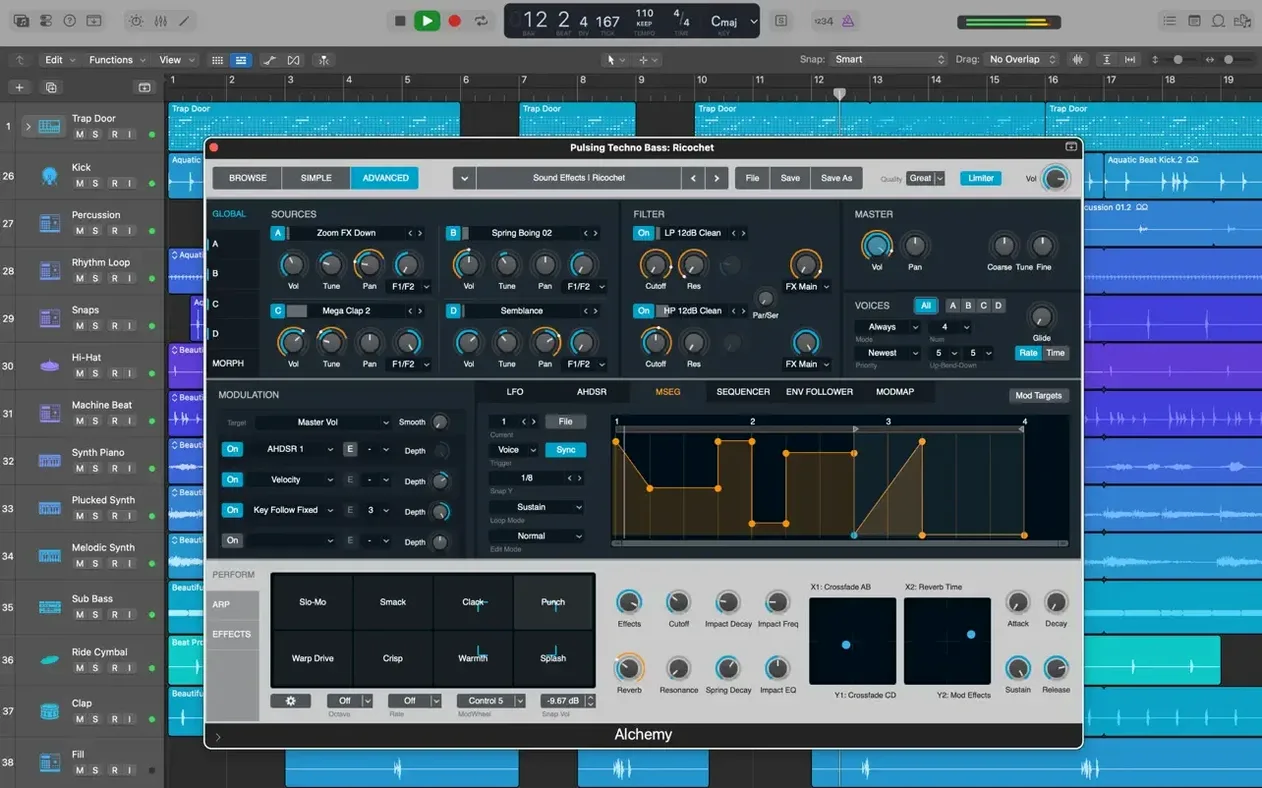
Version 12.3.1 is a maintenance release that restores a few editing behaviours and addresses stability. It fixes an issue where the app would quit unexpectedly when playing MIDI in a project containing video, and improves performance with track regions that number in the hundreds. Two editing gestures that had gone missing — relocating beat mapping transients and dragging the right side of a crossfade — are back. The Score also responds correctly to Staff Style changes made in the Inspector now.
Region-based editing and Selection-based Processing remain untouched
You still work with audio and MIDI regions for recording, arranging and editing. Selection-based Processing lets you render combinations of audio effects onto selected audio files directly. Track Stacks remain the method for grouping and managing multiple tracks, and Smart Controls still map several plug-in parameters to a single interface element.
What instruments and loops are still included?
Alchemy stays available as the main sampler synthesizer. The Drummer feature still offers 28 drummers for creating drum tracks. Pedalboard provides a way to build pedal chains, and Space Designer continues as the convolution reverb. The library still contains more than 7,000 Apple Loops.
What about project compatibility and older files?
The full Sound Library demands far more disk space than the app
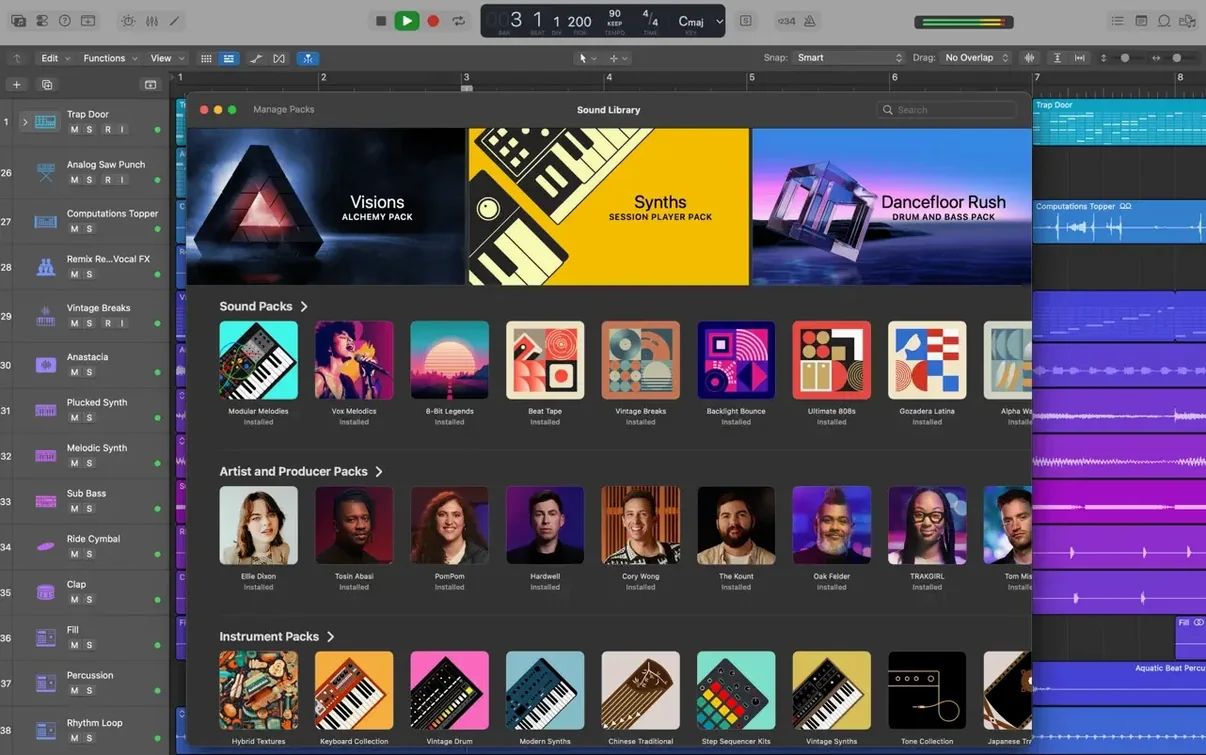
Whether you are coming from another DAW or setting up a studio Mac from scratch, a few concerns tend to surface with every download. The most common one is disk space. The app itself is compact, but the full Sound Library — all 63 GB of sampled instruments, loops and impulse responses — will not fit on a 128 GB internal drive alongside a few finished projects. You can install the minimum set (around 6 GB) and then download only the sounds you actually use. Alchemy libraries, Drum Kit Designer pieces and the more niche orchestral sections can live on an external SSD. Logic handles relocated content without fuss via the Sound Library Manager.
Another question is whether an older Intel Mac will cope. Version 12.3.1 runs on both Intel and Apple Silicon, but the architecture is only half the story. A 2019 MacBook Pro with 4 GB of RAM meets the minimum requirement yet will struggle once Flex Pitch, a convolution reverb and a few Alchemy instances are running together. The larger concern is usually RAM, not CPU architecture. The same goes for the display resolution: 1280 × 768 is the stated floor, but the Mixer and Score Editor become cramped below 1440 pixels of vertical space.
People moving from GarageBand often ask whether their projects transfer cleanly. They do, but with a caveat. GarageBand exports a simplified project structure. Automation lanes, some effect routings and the more playful Smart Instrument settings do not survive the trip intact. The bones — audio regions, MIDI notes, basic track settings — arrive unharmed. If you have been building songs on an iPad, the iCloud handoff works in the same way: export from GarageBand for iOS, open on the Mac, and expect to rebuild some of the polish.
Finally, there is the question of plug-in formats. Logic works exclusively with 64-bit Audio Units. VST and AAX plug-ins are invisible to it. If you are migrating from a DAW that leans on VST, check that your key instruments and effects also ship as AU. Most do, but a handful of older freeware compressors and niche synth emulations never made the jump.
Raise the I/O buffer from 128 samples before heavy projects
Out of the box, Logic makes a few assumptions that suit a beginner but slow down an experienced user. The first stop after launching is the Audio preferences. The I/O buffer size defaults to 128 samples, which is a reasonable middle ground. If you are tracking vocals or a live guitar part, drop it to 64 or even 32 samples. The roundtrip latency shrinks enough that you can leave software monitoring on and still play in time. When the arrangement grows to thirty tracks with effects, push it back up to 256 or 512 samples so the processor has breathing room.
Next, open the General preferences and turn off "Show Help Tags". Those yellow tooltip boxes that pop up whenever the pointer hovers over a control are useful for the first week. After that they become visual noise. In the same pane, set the "Project Handling" startup action to "Do nothing". The default behaviour launches a template chooser every time, which is polite but unnecessary once you know which template you live in.
The Display preferences hold a setting that changes the feel of the entire workspace: "Snap to Grid" behaviour. The default is "Smart", which guesses where you want regions and notes to land. It guesses wrong often enough to be frustrating. Switch it to "Absolute" if you work to a grid, or "Off" if you prefer free placement. The Snap menu lives in the Tracks area toolbar as well, but the preference sets the default for every new project.
One more adjustment that pays off within hours is the cycle range behaviour. Under the "Cycle" section of the General preferences, enable "Auto-set Locators". Selecting a region then automatically sets the cycle range to match. It is a small thing, but it removes four clicks from every looped playback during editing sessions.
Export an arrangement as XML straight into Final Cut Pro
Logic sits inside the Apple ecosystem with tighter integration than any third-party DAW can manage. The most practical connection is with Final Cut Pro. You can export an arrangement as an XML file from Logic and import it directly into a Final Cut timeline, where regions, track names and volume automation translate into audio roles and keyframes. The roundtrip works too: a Final Cut editor can export an XML that Logic opens as a project with the video embedded, synced and ready for a mix. The workflow is not automatic — you still need to check fades and plug-in assignments — but it removes the tedium of manual conforming.
MainStage, included in the same Creator Studio bundle, acts as a live performance front-end for the same sound library and patch format. You build a concert in MainStage using the Alchemy patches, EXS24 instruments and effects you already know from Logic. The two apps share the same Audio Units folder and Sound Library, so a patch designed in a Logic project works identically on stage. Keyboard players often build their set in Logic first, where the editing tools are richer, then import the channel strips into MainStage for the gig.
GarageBand for iOS bridges mobile ideas to the desktop. You can sketch a chord progression or a vocal melody on an iPhone during a commute, export the project via iCloud, and add it as new tracks to an existing Logic arrangement. The transfer works in one direction only — Logic does not send projects back to GarageBand — but as a scratchpad-to-studio pipeline it is fast enough to be useful.
On the macOS side, the app respects the system-wide media keys, AirPlay audio routing and MIDI Bluetooth. A Mac mini in a studio rack can stream a rough mix to a HomePod in the kitchen without touching the interface. The Audio MIDI Setup utility remains the place to configure aggregate devices and multi-channel interfaces; Logic picks up those configurations automatically once they are defined at the system level.
Let the Sound Library download fully before composing
Give yourself a quiet afternoon to let the Sound Library download fully before you start a serious project. The download manager in Logic is patient — it resumes after sleep and network drops — but if you begin composing while essential samples are still trickling in, you will hit greyed-out instruments and silence where a string section should be. Open the Sound Library Manager from the Logic Pro menu, select the categories you know you need, and let the progress bar finish.
Create a template during the first or second session. A blank project is fine for experimenting, but a template that already has your preferred track colours, a few bus routings, a reverb send and a mastering channel strip saves twenty minutes of setup every time you start something new. Save it with the "Include assets" box unchecked so it stays lean.
Learn the key command for "Hide/Show All Plug-in Windows" (it is V by default, but many users remap it). During the first days, plug-in windows multiply across the screen until you cannot find the Arrange area underneath. One keystroke clears them all. Another essential is the "Bounce in Place" shortcut, which renders a software instrument track to audio so you can commit a sound and move on instead of endlessly tweaking a synth patch.
If you use a third-party audio interface, install its driver before launching Logic for the first time. The app queries Core Audio at startup and builds its device list accordingly. Plugging in an interface after launch usually works, but occasionally the I/O labels do not populate correctly until a restart. The same applies to MIDI controllers: connect them before the app is open so the physical input object appears in the Environment without manual configuration.
Summing stacks route audio through a bus, folder stacks don’t
The most frequent early mistake is ignoring the difference between track stacks and simple groups. Dragging several tracks into a folder stack seems like an organisational shortcut, but a summing stack also routes audio through a common bus. If you later insert a compressor on the stack master, you are processing the summed signal, not the individual tracks. Beginners often do this to a drum kit and then wonder why the snare sounds squashed even when its own channel strip is clean. Use folder stacks for tidying the view and summing stacks only when you intend to process the blend.
Another common stumble is recording without checking the input monitoring state. Logic's default is to monitor through the software, so a vocalist hears their own voice with a tiny delay if the buffer is set too high. Beginners sometimes compensate by turning the headphone mix louder instead of lowering the buffer or switching to direct monitoring on their interface. The result is a performer who cannot pitch accurately and a take that needs more editing than it should.
Overloading the master channel strip with mastering plug-ins while still composing is a trap that catches almost everyone in the first fortnight. A limiter and an adaptive EQ on the stereo out make the rough mix sound loud and polished, but they also mask balance problems in the arrangement. A bass part that is too quiet gets hidden by the limiter's make-up gain. When you eventually bypass those plug-ins to do a proper mixdown, the whole balance collapses. Leave the master bus empty until the arrangement is finished and the static mix is roughly where you want it.
Flex Pitch introduces another subtle error: editing a vocal note without first checking that the region's tempo analysis is correct. Flex Pitch relies on Flex Time's transient detection, and if the algorithm misreads the phrasing, the pitch correction snaps to the wrong syllable boundaries. The result is a robotic warble that beginners often blame on the plug-in rather than on the analysis step they skipped. Always listen through the detected transients before you adjust any pitch.
Finally, beginners frequently ignore the backup options. Logic can auto-save alternate versions, but the setting lives in the project's own "Assets" preferences rather than in the app-wide preferences, so it is easy to miss. Without it, an experimental edit session that goes wrong has no undo path beyond the standard history. Enable "Auto-backup" with a reasonable interval — ten minutes is a safe starting point — and set it to keep the last few alternates. A crashed arrangement at two in the morning is easier to accept when the previous version is one menu click away.
You can open projects created in Logic 5 or any later version, so the update does not alter long-term compatibility.