Aspecten
 Download (1.7 GB)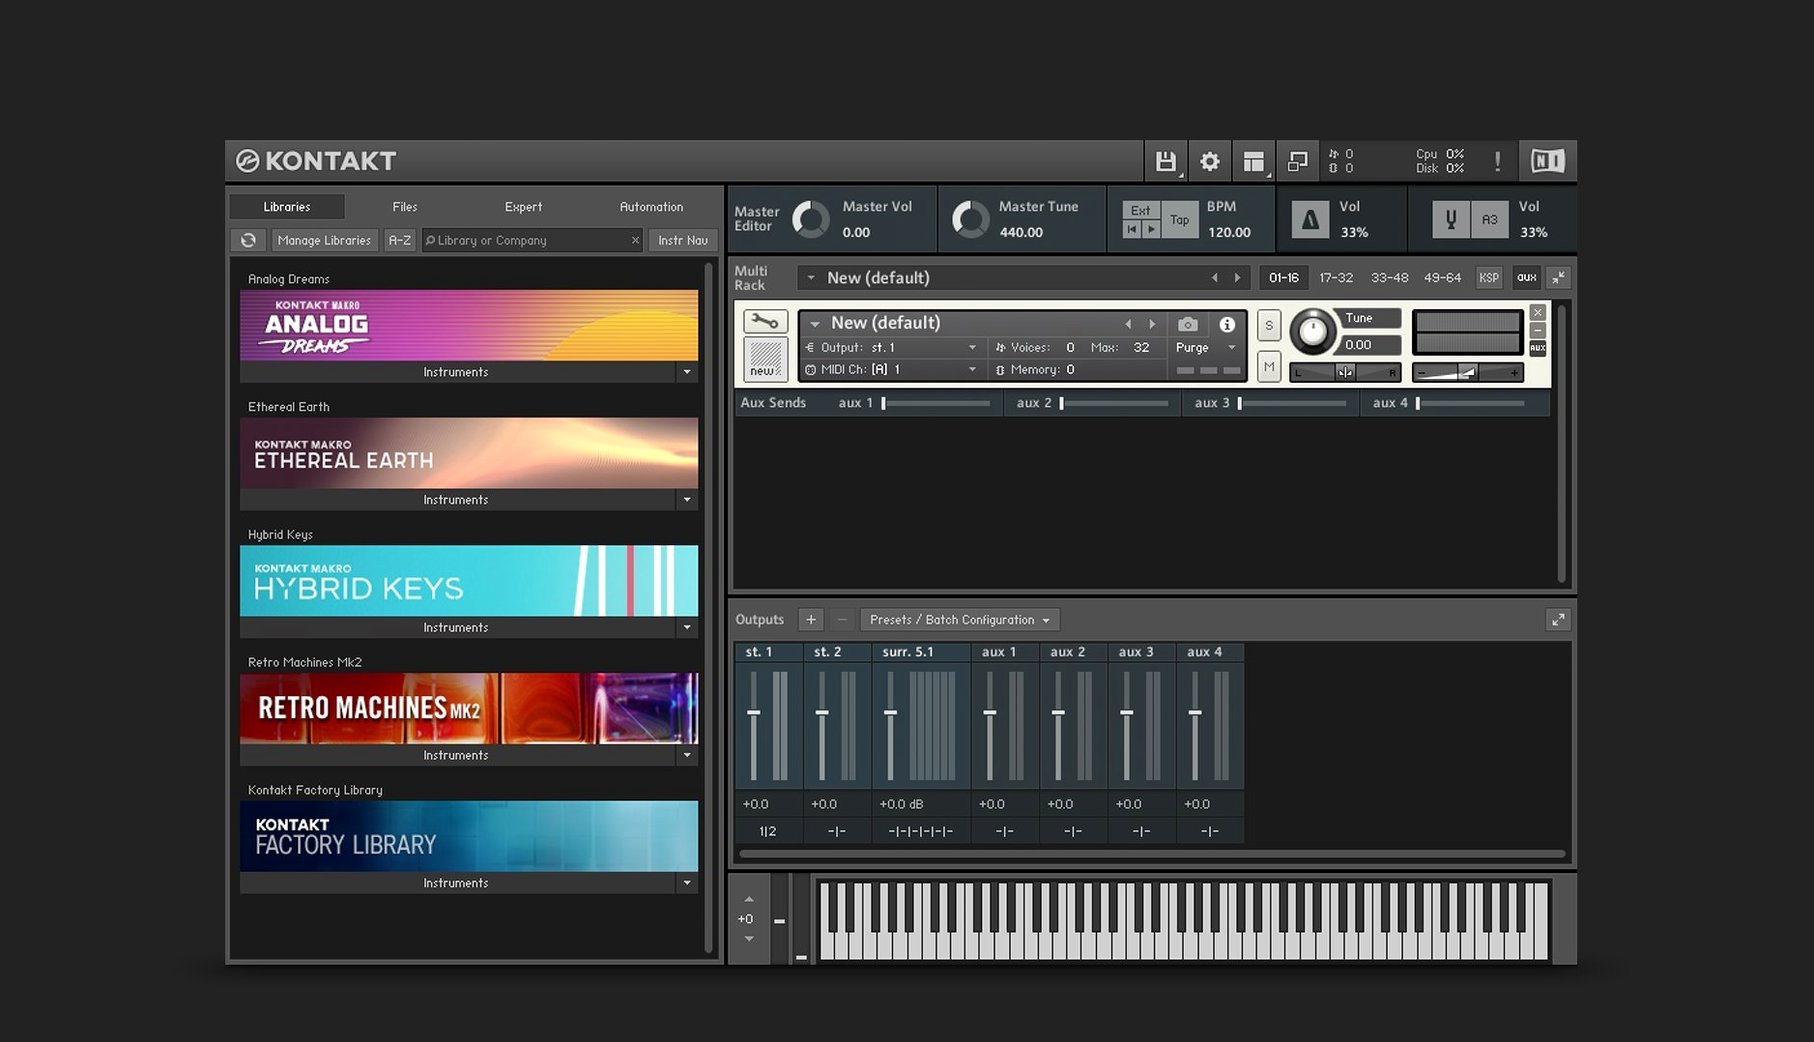
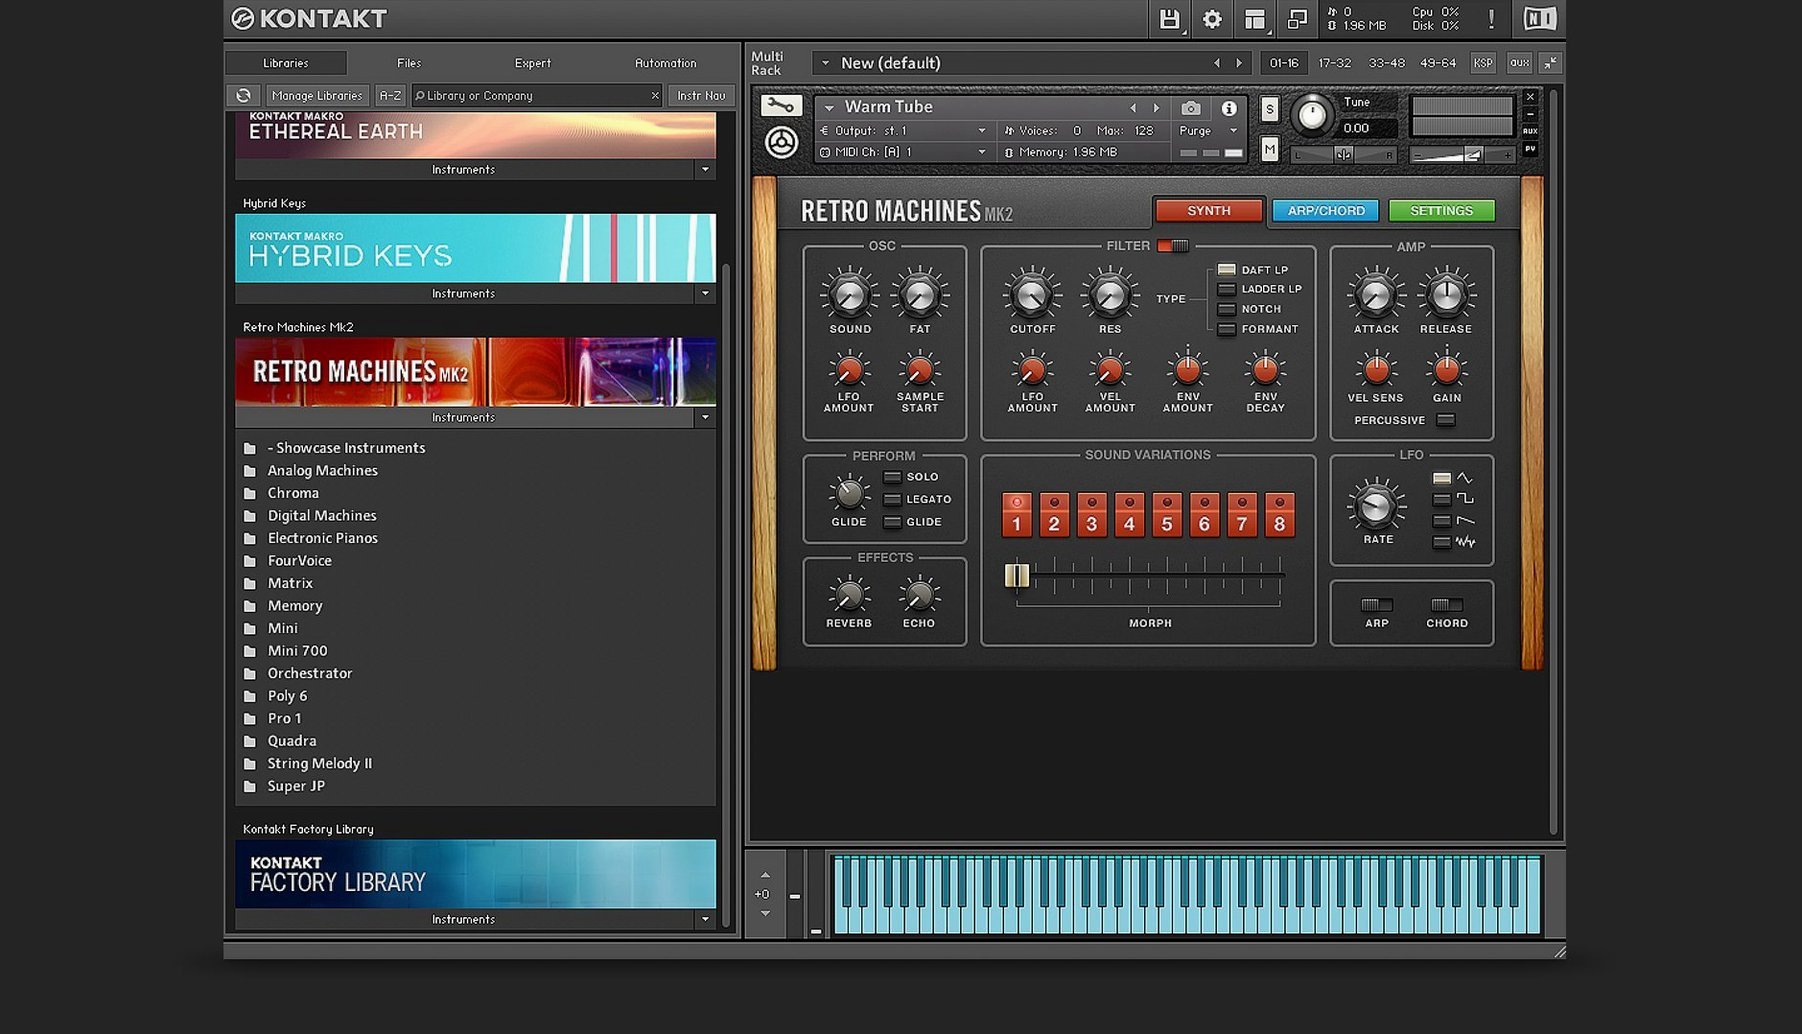
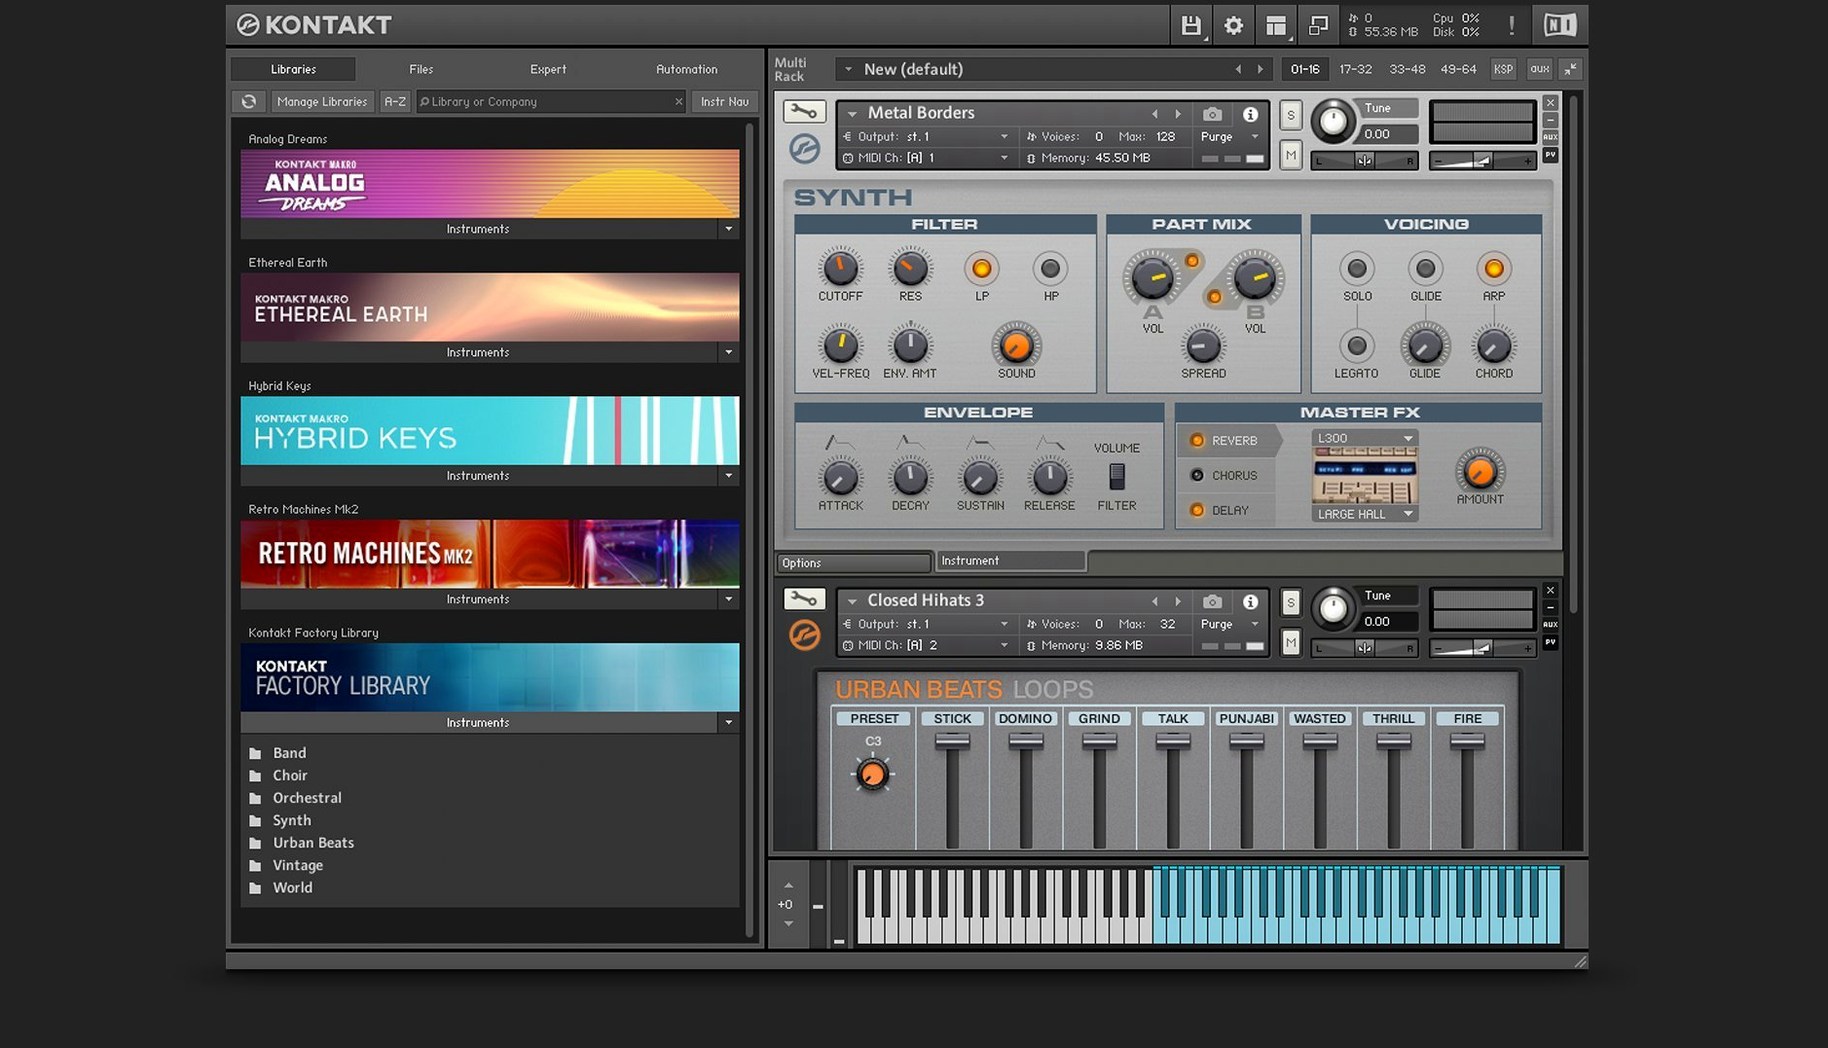
Opening a blank sampler can feel like staring at an empty studio rack. Kontakt 8 replaces that silence with a platform where instruments load instantly, ready to play. For someone new to the software, the sheer depth can obscure the most rewarding starting points. The items below steer clear of the manual and focus on what makes an immediate difference.
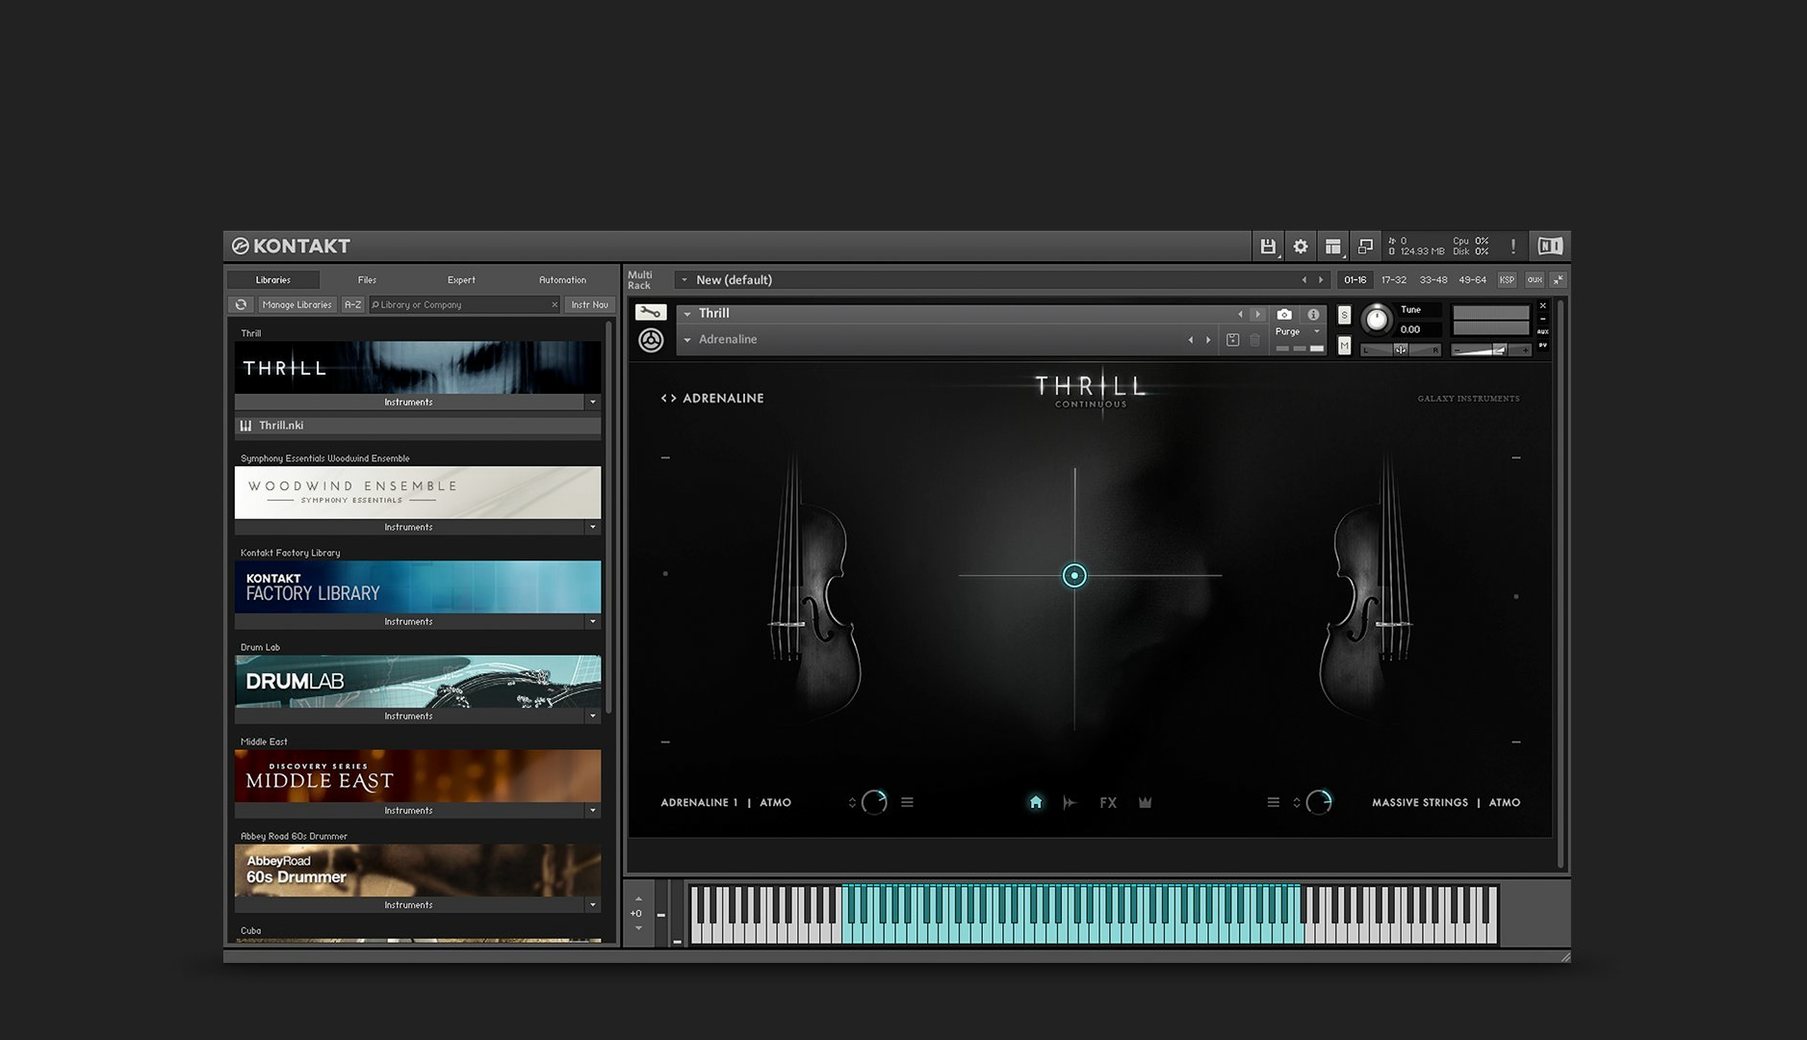
- Load a library instrument via the new browser. The overhauled browser lets you filter by type, character, and sound, so an acoustic piano or a textured pad appears within seconds. Hearing a polished, multi-sampled instrument straight away shows what the platform does.
- Drag a one-shot sample into Leap. Leap is a new panel for loops and one-shots. Drop a drum hit or a vocal phrase onto it and the sample maps across the keyboard, stretching and pitching naturally. It turns a single audio file into a playable idea faster than building a full instrument.
- Try the Wavetable module in an empty instrument. Starting from an init patch and adding the Wavetable source teaches the signal flow. Adjust the position, sweep through the table, and hear how a static waveform becomes a moving tone, all before touching a filter or an effect.
- Apply the Tape Saturator to a clean sound. The expanded effects section includes a tape emulation that warms up sterile samples. Placing it on a piano or a synth loop demonstrates how the internal buses colour audio without routing to an external plug-in.
- Use a MIDI Tool on a recorded phrase. The new Tools section manipulates incoming MIDI. Load a simple arpeggiator or a chord generator, hold a single key, and the performance changes character. It clarifies how Kontakt 8 extends beyond sample playback into composition territory.
These steps map a path from loading a complete library to shaping raw samples and MIDI. None of them require reading about KSP scripting or bus architecture, yet each one reveals a different dimension of the sampling platform.
Deliberate first-hour choices that fill the empty default view
A fresh installation of Kontakt 8 presents a quiet Default view with a search bar and little else. That emptiness is intentional, but it can stall momentum. The first hours benefit from a few deliberate choices that shape how the software fits into a daily working rhythm.
Rebuild the database on day one. Kontakt indexes libraries so the browser can filter by type and character. After installing, open the preferences and trigger a full rescan. Skipping this step leads to blank search results later, which beginners often mistake for missing content. Let the process run while you grab a coffee; once complete, searching for "felt piano" or "hybrid loop" actually returns what you expect.
Set the default plug-in behaviour. When a DAW loads Kontakt, it can open the Default view or the last-used instrument. Pick one and stick with it for the first week. Flipping between modes early on creates confusion about where settings live. The Default view suits browsing-heavy sessions; the instrument view suits sound design on a single patch.
Map the MIDI Tools to a controller knob. The side pane connects Tools to instruments, but a mouse drag on a rate slider feels imprecise. Right-click any Tool parameter, assign it to a physical knob or fader, and the Tool becomes an extension of the hardware. An arpeggiator rate under finger control transforms a static pattern into a performance.
Create a template instrument rack. Load four empty instrument slots, assign each to a different MIDI channel, and route them to separate outputs. Save this as a DAW template. During the first days, it removes the friction of setting up routing every time you want to layer a bass with a pad. The template grows with you, but a simple starting rack prevents technical detours from interrupting ideas.
Learn the keyboard shortcuts for zoom. Kontakt 8 uses Komplete UI for high-DPI rendering, which means panels scale cleanly on large displays. Press Cmd + and Cmd - to resize the interface without hunting through menus. A larger waveform in the Wavetable module makes editing the two Form shapers far less fiddly.
Test every installed library once. Not to audition every preset, but to confirm each library loads without errors. Libraries that need Native Access authorisation sometimes sit in a limbo state after a fresh installation. Catching them early avoids the frustration of reaching for a string ensemble during a session and finding a greyed-out interface.
Moving beyond the acoustic guitar preset player mentality
The most common beginner error is treating Kontakt as a preset player and nothing more. Browsing to an acoustic guitar, playing a few notes, and closing the window leaves ninety percent of the platform untouched. The leap from loading sounds to shaping them starts small: tweak a single macro knob on the instrument's front panel. Those knobs are placed there by the library designer precisely for quick customisation.
Another frequent misstep involves the output routing. Kontakt 8 can send each instrument to a separate stereo channel in a DAW, but the default configuration funnels everything through the main stereo pair. Beginners who load a drum kit, a bass, and a pad into one instance often wonder why they cannot process the kick independently. The fix sits in the Output section: create additional outputs, then assign instruments to them via the instrument header. The internal bus system supports sixteen stereo channels. Using even four of them transforms mixing flexibility.
Neglecting the Wavetable module's modulation oscillator leads to thin patches. The second oscillator, introduced in this release, can frequency-modulate or phase-modulate the main wavetable. A small modulation depth adds harmonic complexity that a single oscillator cannot produce, especially on sustained notes. Beginners who bypass the modulation section entirely miss the quickest route to richer, evolving tones.
Relying on the mouse for everything in Leap slows down workflow. Leap maps a sample across the keyboard, and the start point, loop length and envelope shape are all draggable on screen. But a sample sliced into eight hits responds far more musically when the slice index is assigned to a MIDI controller. Dragging a start point marker with a trackpad during playback never lands exactly where you want it; a knob or a modulation wheel snaps the slice selection in time with the beat.
Overloading the effects slots on every instrument eats CPU without proportional gain. The Solid G-EQ, Solid Bus Comp and Tape Saturator are high-quality processors, but stacking all three on a layer that sits low in the mix wastes resources. A better approach applies the bus compressor across grouped instruments via the internal bus system, not per-voice on a single hi-hat.
Finally, beginners often ignore the Adaptive Resonance feature on filters. When a low-pass filter sweeps with high resonance, certain frequencies can spike painfully. Adaptive Resonance detects those peaks and tames them automatically. Turning it off because "it sounds more analogue" usually results in a mix engineer reaching for a limiter later. Keep it on while learning, then disable it deliberately for specific creative effects.
Apple Silicon runs natively without Rosetta translation
Does Kontakt 8 work on Apple Silicon without Rosetta? Yes. Version 8.13.1 runs natively on ARM architecture alongside Intel Macs. The installer provides a universal binary, so both processor types are supported without translation overhead. The Komplete UI rendering also benefits from native memory handling on Apple Silicon, which keeps the interface responsive when switching between the Default view and a patch with multiple wavetable panels open.
Can Kontakt 8 load older libraries made for Kontakt 5 or 6? Libraries built for Kontakt 5 and 6 load without issue. Instruments using TimeMachine Pro time-stretching, introduced in version 6, retain their behaviour. The platform is backwards-compatible with the vast catalogue of third-party sample libraries that have accumulated over a decade. Some very old libraries that predate the KSP scripting updates may show a compatibility notice, but the majority open cleanly.
What is the difference between Kontakt 8 and Kontakt 8 Player? The Player is a free application that runs a curated selection of licensed libraries. It cannot edit instruments, build new patches from raw samples, or access the Wavetable module, MIDI Tools, or Leap. It is a playback engine. The full version removes those restrictions and opens the entire editing environment, including Komplete Script for instrument building.
Does Kontakt 8 require an internet connection? Native Access handles downloading, activating and updating the software and its libraries. An initial online activation is needed. Once activated, Kontakt runs offline. If a library requires periodic re-authorisation, the Player or full version will prompt you, but day-to-day use does not demand a connection.
Will a Kontakt 8 installation coexist with an older version? Multiple versions of Kontakt can reside on the same Mac. Installations are self-contained, and the plug-in formats include versioned identifiers. A project saved with Kontakt 6 instances recalls them correctly even after installing version 8. This matters for producers with long-running projects who prefer not to migrate instruments mid-session.
Is Kontakt usable without a DAW? The standalone application runs independently, with audio and MIDI routing configured in its preferences. It suits live performance, quick sound auditioning, and practice sessions where launching a full sequencer feels excessive. The standalone mode also provides a distraction-free environment for building instruments with Komplete Script.
How Kontakt 8 compares with similar Mac apps
Three other applications occupy adjacent territory on macOS: Logic Pro's Sampler, UVI Falcon, and Serato Sample. Each handles sample playback and manipulation, but their philosophies diverge.
Logic Pro Sampler ships with every copy of Logic and integrates tightly with the DAW's ecosystem. Dragging an audio region from the arrange window directly into Sampler creates a mapped instrument in one gesture. The workflow is immediate and requires no separate plugin window. Where Kontakt 8 pulls ahead is in the sheer breadth of third-party library support and the depth of its internal modulation. Sampler includes basic envelopes and an LFO; Kontakt offers a wavetable engine with dual form shapers and a modulation oscillator. For someone who works entirely within Logic and builds instruments from their own recordings, Sampler covers most needs. For someone who relies on commercial orchestral libraries, vintage synth emulations, or boutique sound design packs, Kontakt remains the format those libraries target first.
UVI Falcon matches Kontakt's depth more directly. Both are hybrid platforms that combine sampling, wavetable synthesis and deep modulation. Falcon's node-based architecture allows more flexible signal routing, connecting oscillators, effects and modulators in a graph. Kontakt's signal flow is more linear, which some find easier to reason about during patch building. The critical difference lies in the library ecosystem. Kontakt's catalogue is larger by an order of magnitude. Falcon hosts excellent UVI-produced libraries, but the independent developer community has congregated around Kontakt's KSP scripting for years. A producer choosing between them should weigh whether they value open-ended sound design (Falcon) or access to an established library market (Kontakt).
Serato Sample focuses on a single task and executes it elegantly. It analyses a piece of audio, detects transients, and maps slices across a keyboard within seconds. Kontakt's Leap panel aims for a similar result, but Serato's time-stretching algorithm and cue-point triggering feel more polished for beat-making workflows. Kontakt counters with flexibility: a slice in Leap can still route through the Wavetable module or any of the internal effects, while Serato keeps processing within its own streamlined interface. For a hip-hop producer whose primary need is vocal chops and drum breaks, Serato Sample is the sharper scalpel. For a sound designer who occasionally works with loops but also builds multi-layered instruments, Kontakt covers both territories without switching plug-ins.
Rain on a window becomes a playable pad with only stock tools
This walkthrough turns a short field recording of rain on a window into a playable, evolving pad. No third-party libraries are involved; everything uses the tools inside Kontakt 8.
Start with an empty instrument. Open Kontakt, click the new instrument icon, and delete the default sine oscillator. The mapping editor and group editor sit empty, waiting for source material.
Drag the recording onto the mapping editor. A single sample of rain, about four seconds long, appears as a zone mapped across the keyboard. Play a low note and the recording stretches into a slow rumble. Play a high note and it becomes a glassy texture. The raw material already suggests a pad.
Loop a clean section. Open the Wave Editor, isolate a segment without a sudden splash or bird chirp, and enable the sustain loop. Adjust the crossfade until the loop point becomes inaudible. The sample now holds a steady noise bed at any pitch.
Add the Wavetable module. Instead of using the sample as the sole audio source, route it through the Wavetable engine. Set the sample as the wavetable input, then dial in a slow position sweep with an LFO. The noise texture shifts timbrally over several seconds, moving from grainy to smooth and back.
Layer a modulation oscillator. Engage the second Form shaper on the main wavetable and set the modulation oscillator to a sine wave at a low frequency. The subtle phase modulation introduces a faint harmonic shimmer that sits above the noise, reminiscent of glass harmonica overtones.
Shape the envelope. Apply a slow attack of around 1.2 seconds and a release of 2.5 seconds. The pad now fades in gently and lingers after key release, masking the looped nature of the source.
Filter and colour. Insert a low-pass filter with moderate resonance. Enable Adaptive Resonance to prevent peaks when the filter sweeps. Map a macro knob to the cutoff frequency for performance control.
Apply the Tape Saturator. Place it post-filter on the instrument's insert chain. Drive the input until the noise softens around the edges, losing its digital sterility. The result is a warm, breathing pad that retains the organic quality of the original recording.
Use a MIDI Tool for movement. Load the arpeggiator Tool from the side pane and set it to a slow, random pattern across two octaves. Hold a single chord and the pad fragments into a gentle, unpredictable sequence. The Tool's rate knob, assigned to a controller, lets you speed the pattern into a rippling texture or slow it to a glacial drift.
The entire process, from raw field recording to performable pad, takes under ten minutes once the steps become familiar. No external effects, no DAW automation, just the sampling platform working as both an instrument loader and a sound design environment.