Aspecten
 Download (1.1 GB)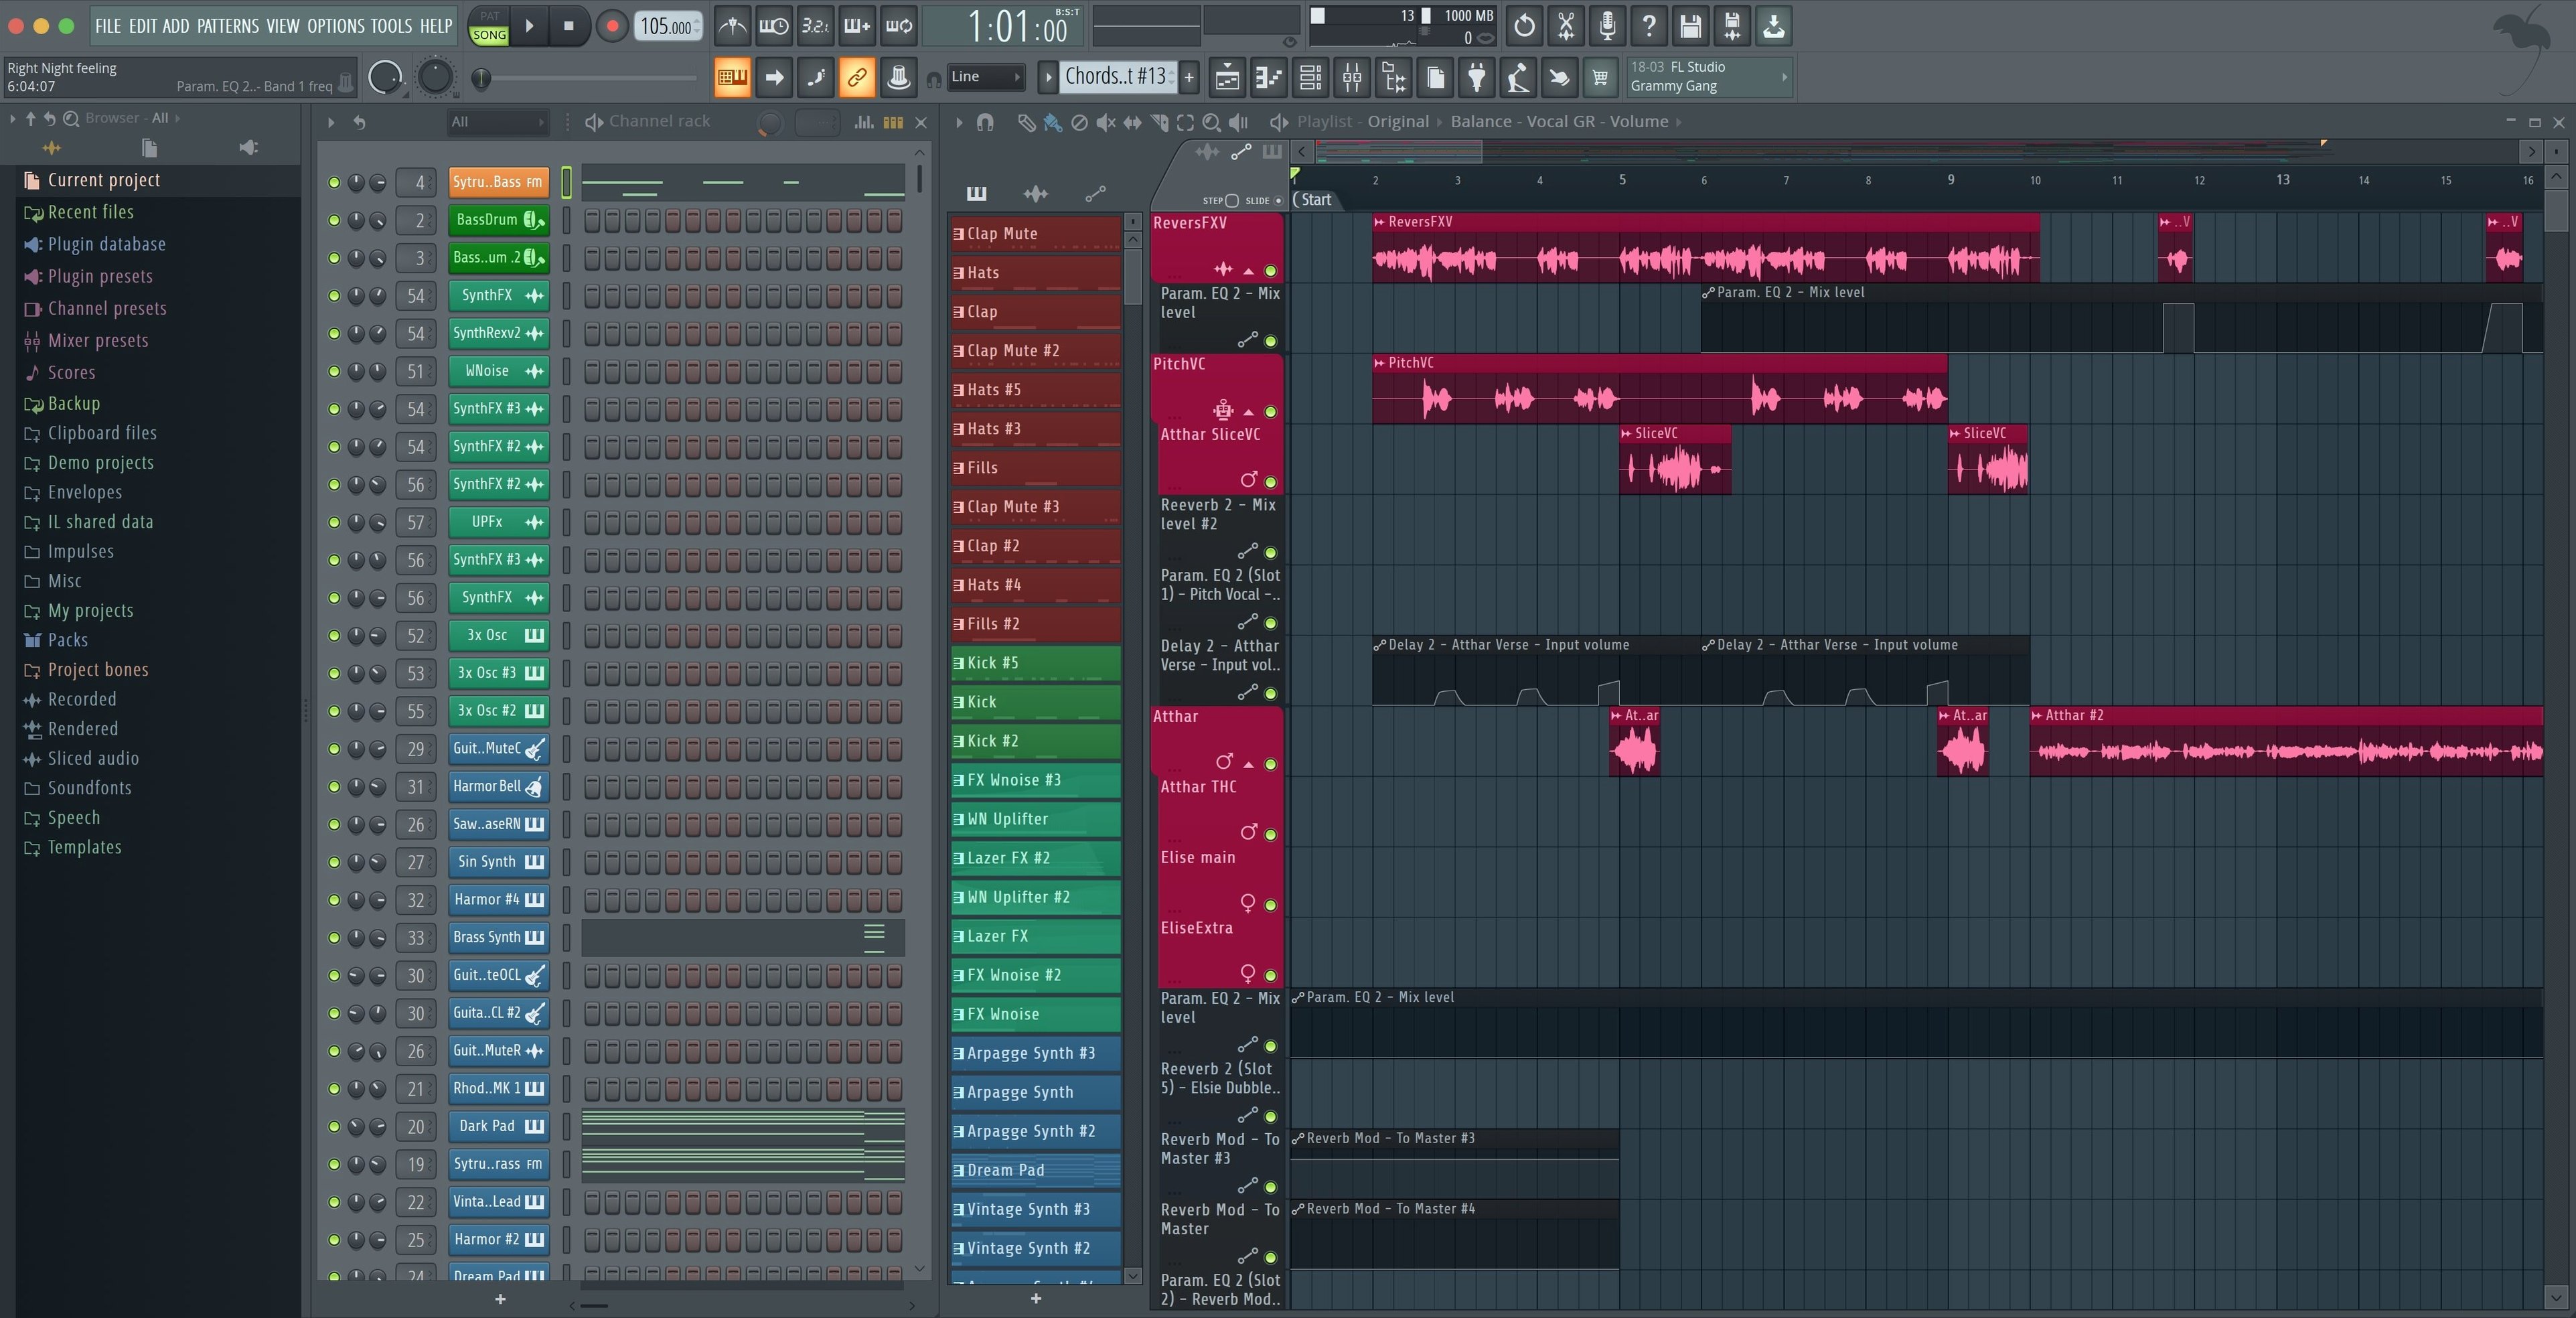
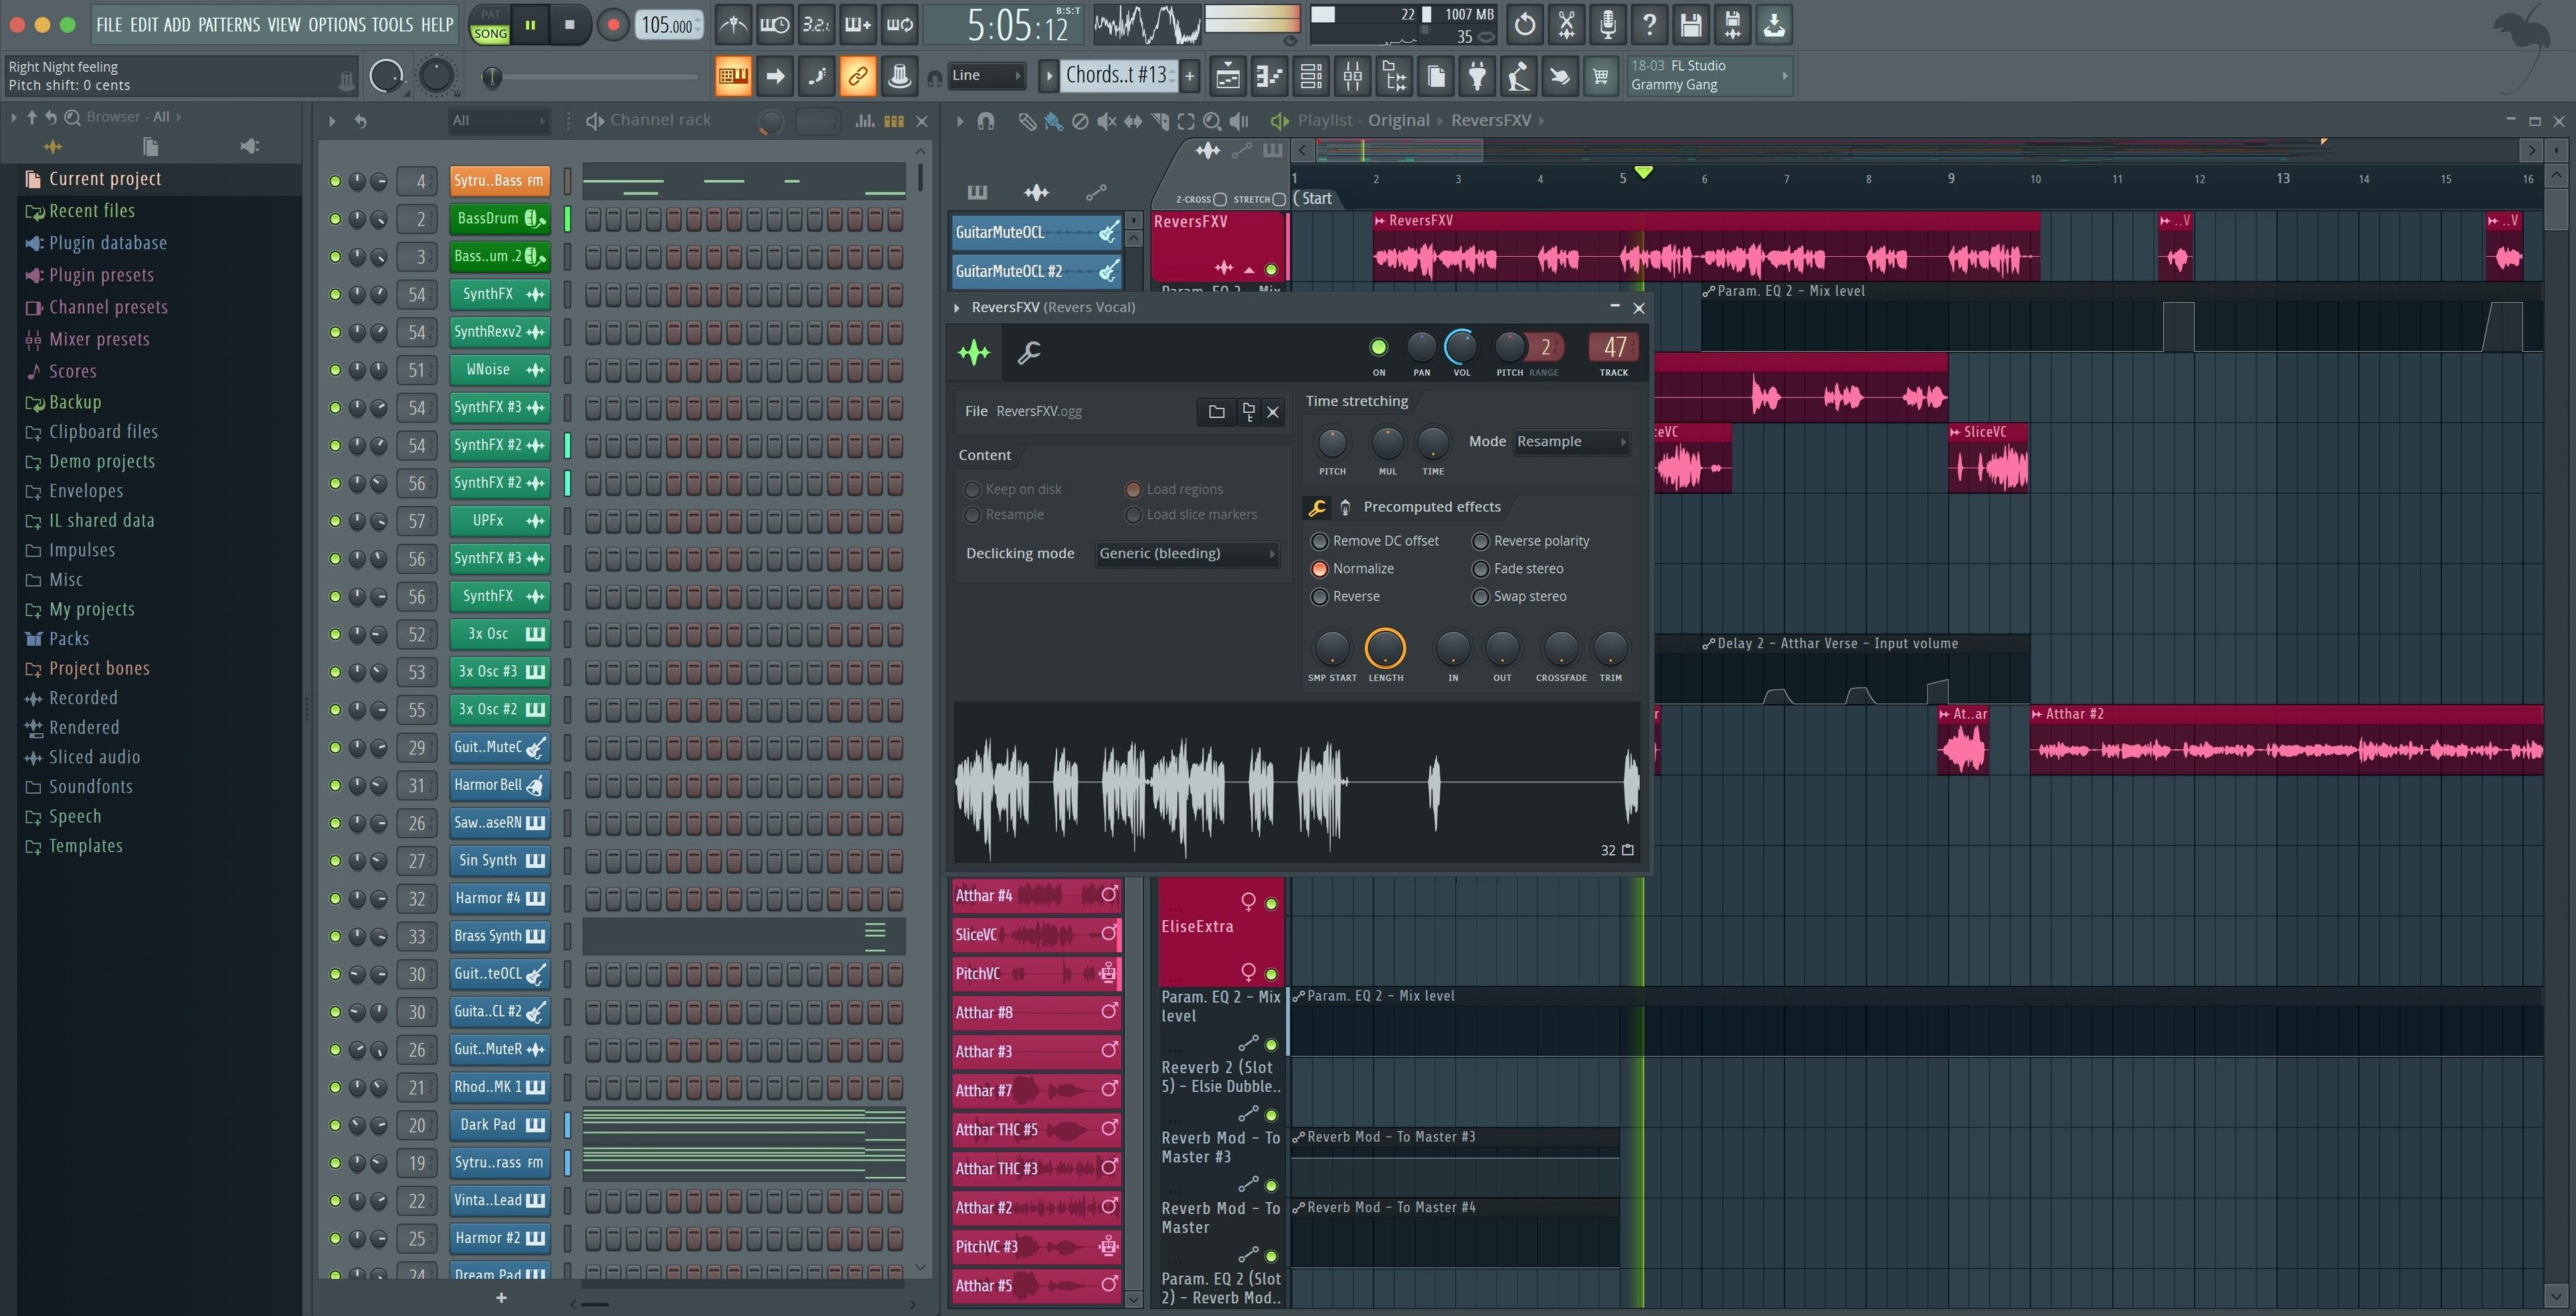
Beatmakers, electronic producers, and songwriters who build tracks layer by layer tend to gravitate toward FL Studio. Its pattern-based workflow suits people who think in loops and variations — drop a kick pattern, layer a snare, sketch a melody, then chain it all together in the playlist. The Mac version is the full desktop application, identical in capability to the Windows release, running natively on both Apple Silicon and Intel hardware without Rosetta.
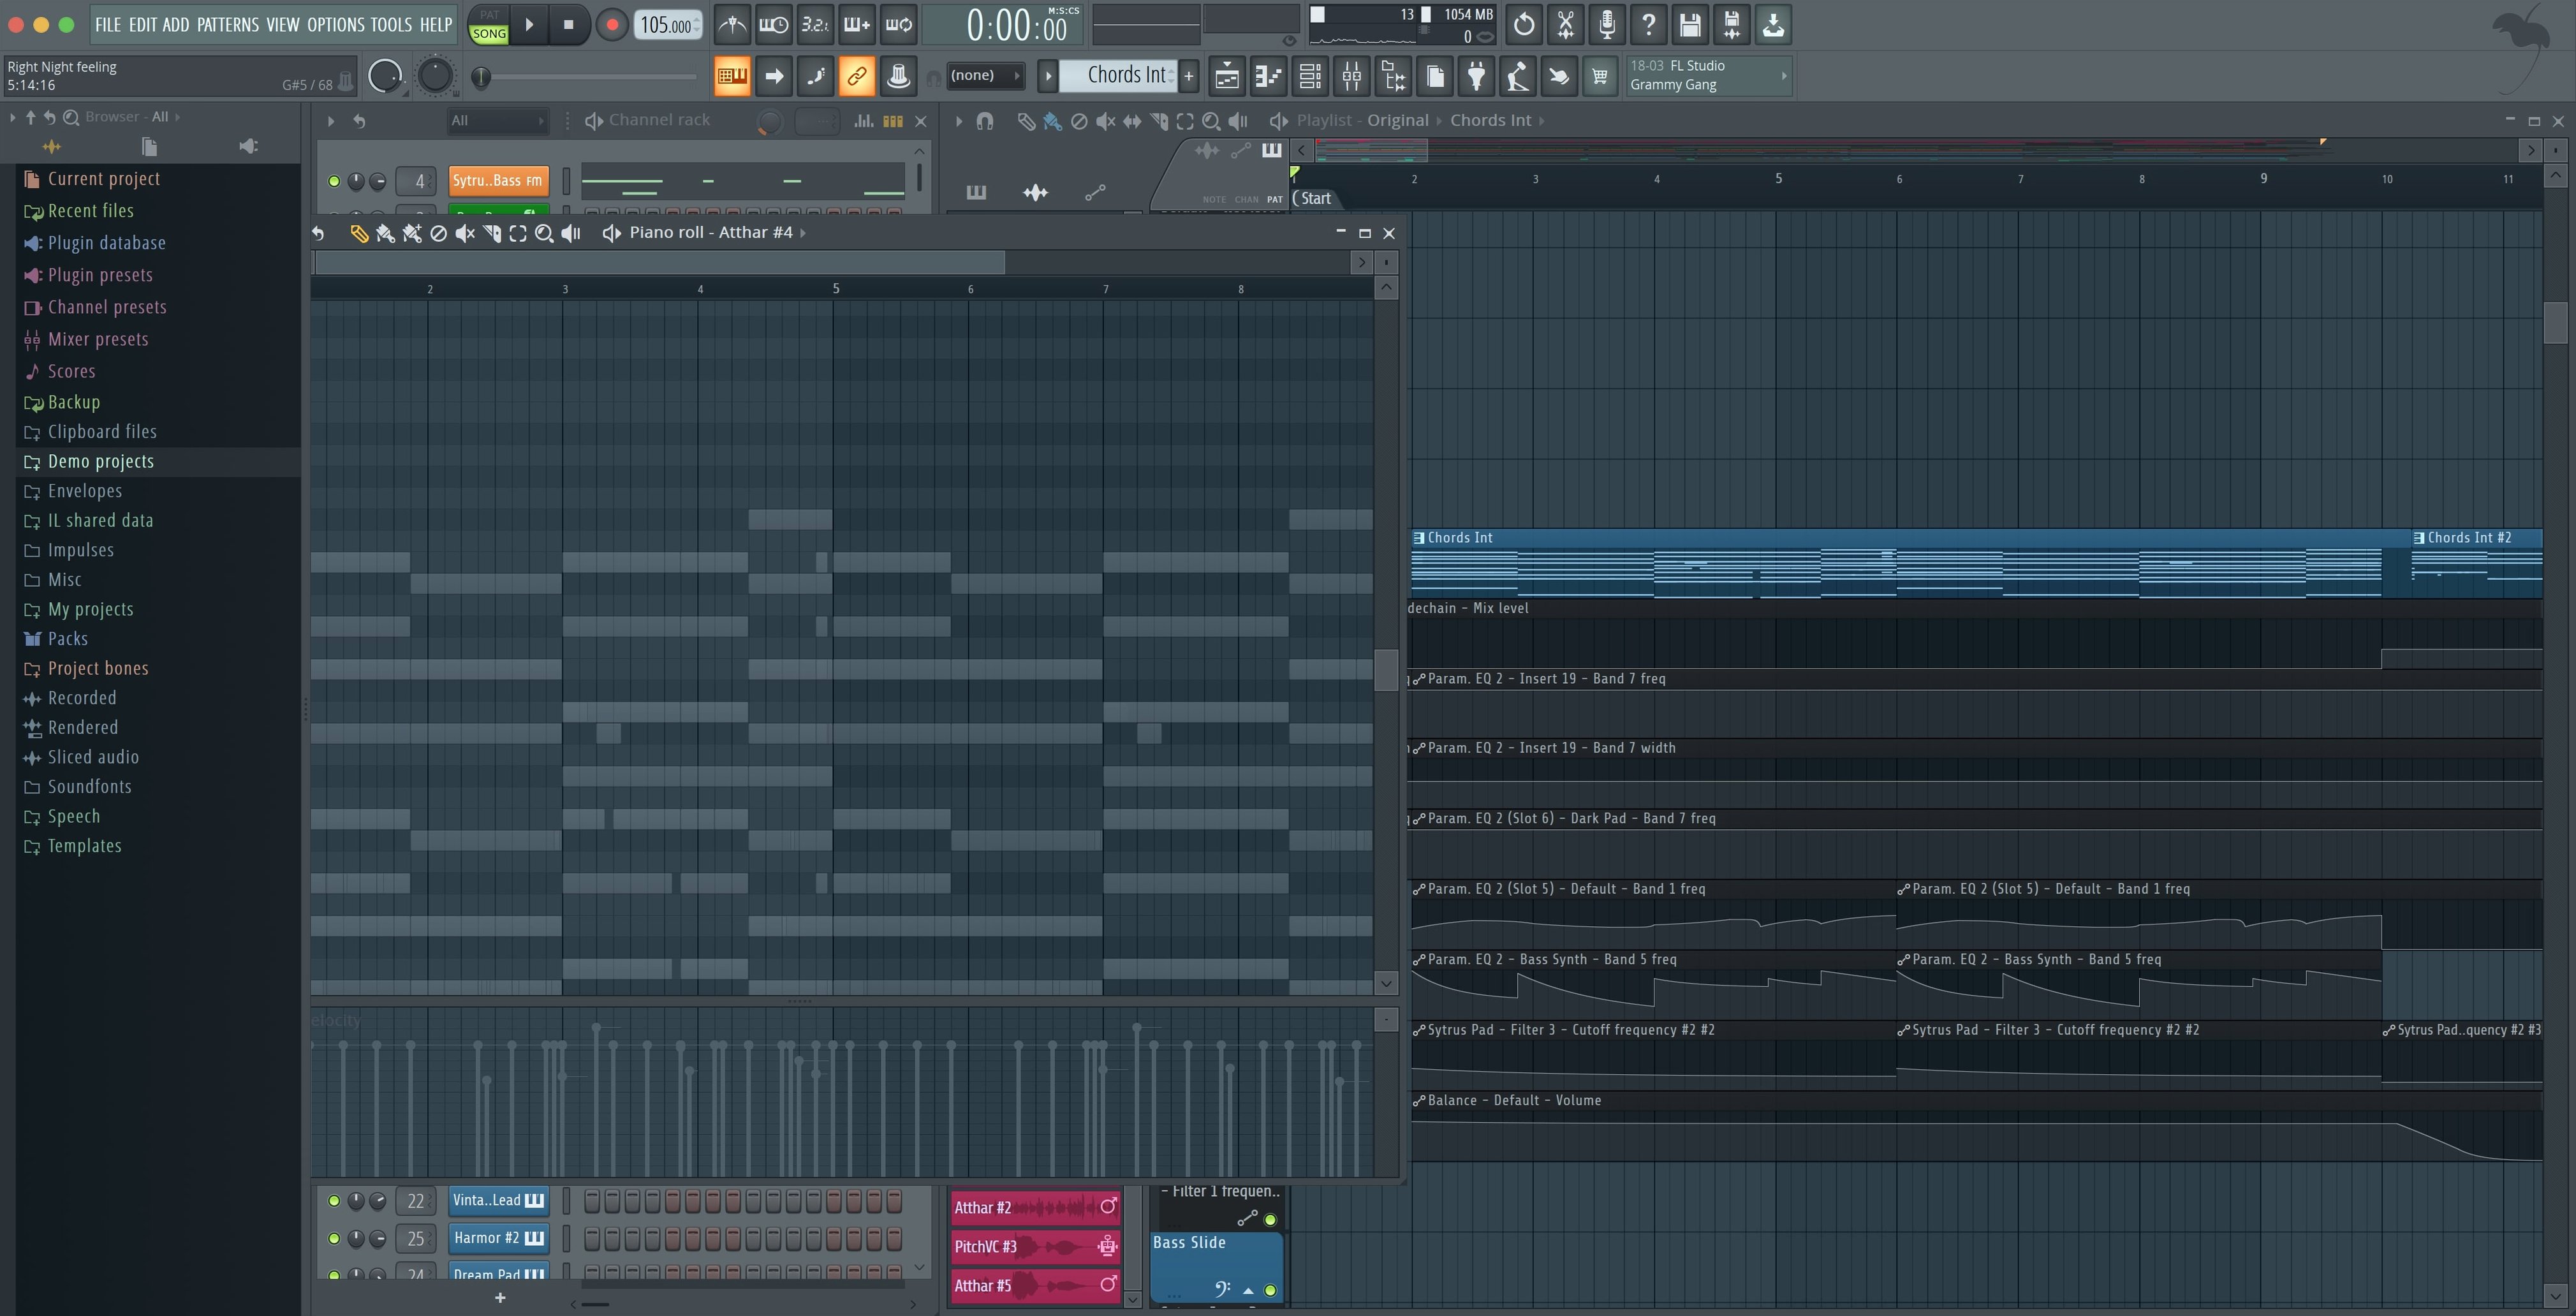
Recording and arranging sit alongside a mixing console that handles routing, effects chains, and automation. You can record audio straight into the playlist, edit takes, and pitch-correct vocals, or stay entirely inside the box with the step sequencer and piano roll. The piano roll remains one of the more detailed MIDI editors available — slide notes, per-note panning, and fine velocity control are all standard. VST plug-in support means third-party instruments and effects slot in without friction.
The Producer Edition includes audio recording and full playlist manipulation, which the entry-level Fruity Edition lacks. For anyone working with vocals, live instruments, or complex arrangements, that distinction matters. The 2026.1.6 update tightened a few practical details: the Tuner interface is now easier to read from a distance, and the Plugin Performance Monitor shows fractional precision on CPU percentages — small adjustments that help when diagnosing a project that is starting to strain.
FL Studio suits a particular mindset. If you like seeing every element of a track laid out as coloured blocks that you can shift, repeat, and mutate, the workflow clicks. If you prefer a purely linear tape-machine model, it might feel less natural. For loop-driven production, electronic genres, and rapid idea sketching, it remains a focused, capable environment.
Logic's linear timeline vs. FL's pattern-clip workflow
Logic Pro sits at the opposite end of the design spectrum. Where FL Studio builds a track from patterns and clips, Logic presents a linear arrange window as its centre of gravity. Logic's stock instrument and effect collection is larger — the sampled instruments alone cover orchestral, keyboard and percussion territory that FL Studio's built-in library does not attempt. For a songwriter who records live instruments and vocals from start to finish, Logic's comping and take management feel more direct. FL Studio counters with the piano roll and step sequencer, which remain quicker for drawing in drum patterns and melodic variations note by note. The mixer in FL Studio also routes more freely: you can send any channel anywhere without the bus structure Logic enforces.
Ableton Live shares FL Studio's clip-and-loop mentality but wraps it in a dual-view Session and Arrangement system. Live's Session View is a grid of clips you launch with a controller — something FL Studio does not replicate natively. For a producer who performs live or jams out arrangements by triggering sections, Live's design is the more natural fit. FL Studio's strength is the sheer depth of its piano roll and the way automation clips live as independent objects in the playlist. Moving an automation curve between patterns in FL Studio takes a drag; in Live, automation stays tied to the clip or the arrangement lane, which can slow down re-use. Both handle VST instruments well, though FL Studio's lifetime free update policy (on Windows, at least) shapes its long-term value differently from Ableton's paid upgrade cycle.
Bitwig Studio, built by former Ableton developers, offers a modular approach with its Grid environment — something FL Studio's Patcher tries to approximate but does not match in scope. Bitwig's touch-friendly interface and native MPE support give it an edge for experimental sound design. FL Studio's advantage is maturity: the step sequencer, the piano roll shortcuts, and the sheer number of tutorial-hours available mean a beginner can get a beat running faster than in Bitwig. If sound design is your primary activity, Bitwig may pull ahead; if beatmaking and arrangement speed matter more, FL Studio holds its ground.
Export dialog now includes master and current channel checkboxes
Version 26.1.6.5406 arrived as a maintenance release, but several fixes alter everyday tasks. The export dialog gained checkboxes to include the Master and Current channels when splitting mixer tracks — a small addition that saves time for anyone who sends stems to a mixing engineer. Before this, splitting mixer tracks meant exporting individual inserts and then bouncing the master separately. Now you can tick a box and get both in one pass.
The Plugin Performance Monitor now displays fractional precision on CPU percentages. A plug-in that once showed 3% might now read 3.2%, which is more useful when you are comparing two compressors or hunting down the one synth patch that pushes a core too hard. The change is subtle — you notice it only when you are diagnosing a project nearing overload — but it makes the monitor into an actual diagnostic tool rather than a rough indicator.
MIDI controller detection improved with a notification that appears when you plug in a new device. The dialog offers a direct path to enable it, cutting out a trip through the MIDI settings panel. For producers who swap between a keyboard, a pad controller and a control surface across a session, this removes friction. The Akai Fire controller also benefits: the update made its dedicated script the default, so the controller maps correctly without manual selection.
The Tuner interface received a layout adjustment for legibility at a distance. If you tune a guitar or check a vocal take from a few feet away, the larger readout helps. It is not a feature that changes how you produce, but it removes a minor annoyance for anyone who records live instruments regularly.
How FL Studio fits with other apps and macOS features
FL Studio integrates with the macOS audio layer through CoreAudio, which means it sees any interface the system recognises without additional drivers. Aggregate devices work — you can combine a USB microphone and an audio interface into one virtual device inside Audio MIDI Setup and FL Studio will treat it as a single input. MIDI over Bluetooth also routes through CoreMIDI, so wireless keyboards and control surfaces appear in the MIDI settings the same as wired ones.
Plug-in formats are VST2 and VST3; Audio Units are not supported. This matters if you have collected AU-only effects or instruments from other Mac software. A plug-in that ships both VST and AU versions will work, but Logic-only instruments wrapped as AU will not. The bridge to macOS's Audio Units ecosystem is absent, which keeps the plug-in scanning simpler but closes off some options.
For collaboration, FL Studio projects can move between Mac and Windows without conversion. The file format is the same across platforms, and plug-in names and paths resolve as long as the same third-party instruments are installed on both machines. Cloud project backup, introduced in the 2026 release, saves project files to a cloud location — useful for moving between a studio Mac and a laptop without carrying a drive. The backup does not include audio files or samples, so sample libraries must still be mirrored manually.
Rewire is no longer part of the picture on modern macOS, so using FL Studio as a sound module inside another DAW requires routing audio through a separate interface or using a virtual audio cable. MIDI clock sync works over the IAC bus, which lets you tempo-lock FL Studio to an external sequencer or drum machine through CoreMIDI's built-in routing.
Runs natively on Apple Silicon without Rosetta
Does it run on Apple Silicon without Rosetta? Yes. The current build includes native ARM code, so an M1, M2 or M3 Mac runs it directly. Plug-ins still depend on their own architecture — a VST that is Intel-only will run under Rosetta inside FL Studio, but the host itself stays native.
Can I open Windows FL Studio projects on the Mac version? The project file format is identical. You can move a .flp file between operating systems and it will open, provided the same third-party plug-ins are installed on both machines. Stock instruments and effects translate perfectly. Sample paths may break if the folder structure differs, but the browser's locate function finds missing files quickly.
Does the Producer Edition include all the instruments I hear about in tutorials? It includes a large set — Sytrus, Harmor, Maxx, and the full mixer with effects — but some instruments like Harmor and Gross Beat are separate downloads or part of the All Plugins bundle. Tutorials that rely on those may require additional installation. The built-in FLEX synth and its new sound search from the 2026 release cover a lot of ground for a producer starting out.
Will my MIDI controller work straight away? Most class-compliant controllers appear without setup. The 26.1.6 update improved detection, so plugging in a keyboard or pad controller triggers a notification and an enable option. Controllers with deep DAW integration, like the Akai Fire, now default to their proper scripts. Generic MIDI mapping still works through the "link to controller" right-click on any parameter.
Step sequencer notes won't appear in the playlist timeline
Painting patterns in the wrong place. The step sequencer and the playlist are separate areas. A new user often clicks steps into the channel rack and expects them to appear in the playlist timeline. Patterns must be placed as blocks in the playlist — the channel rack builds the pattern content, the playlist arranges it over time. Until that distinction clicks, projects stay silent or loop a single bar endlessly.
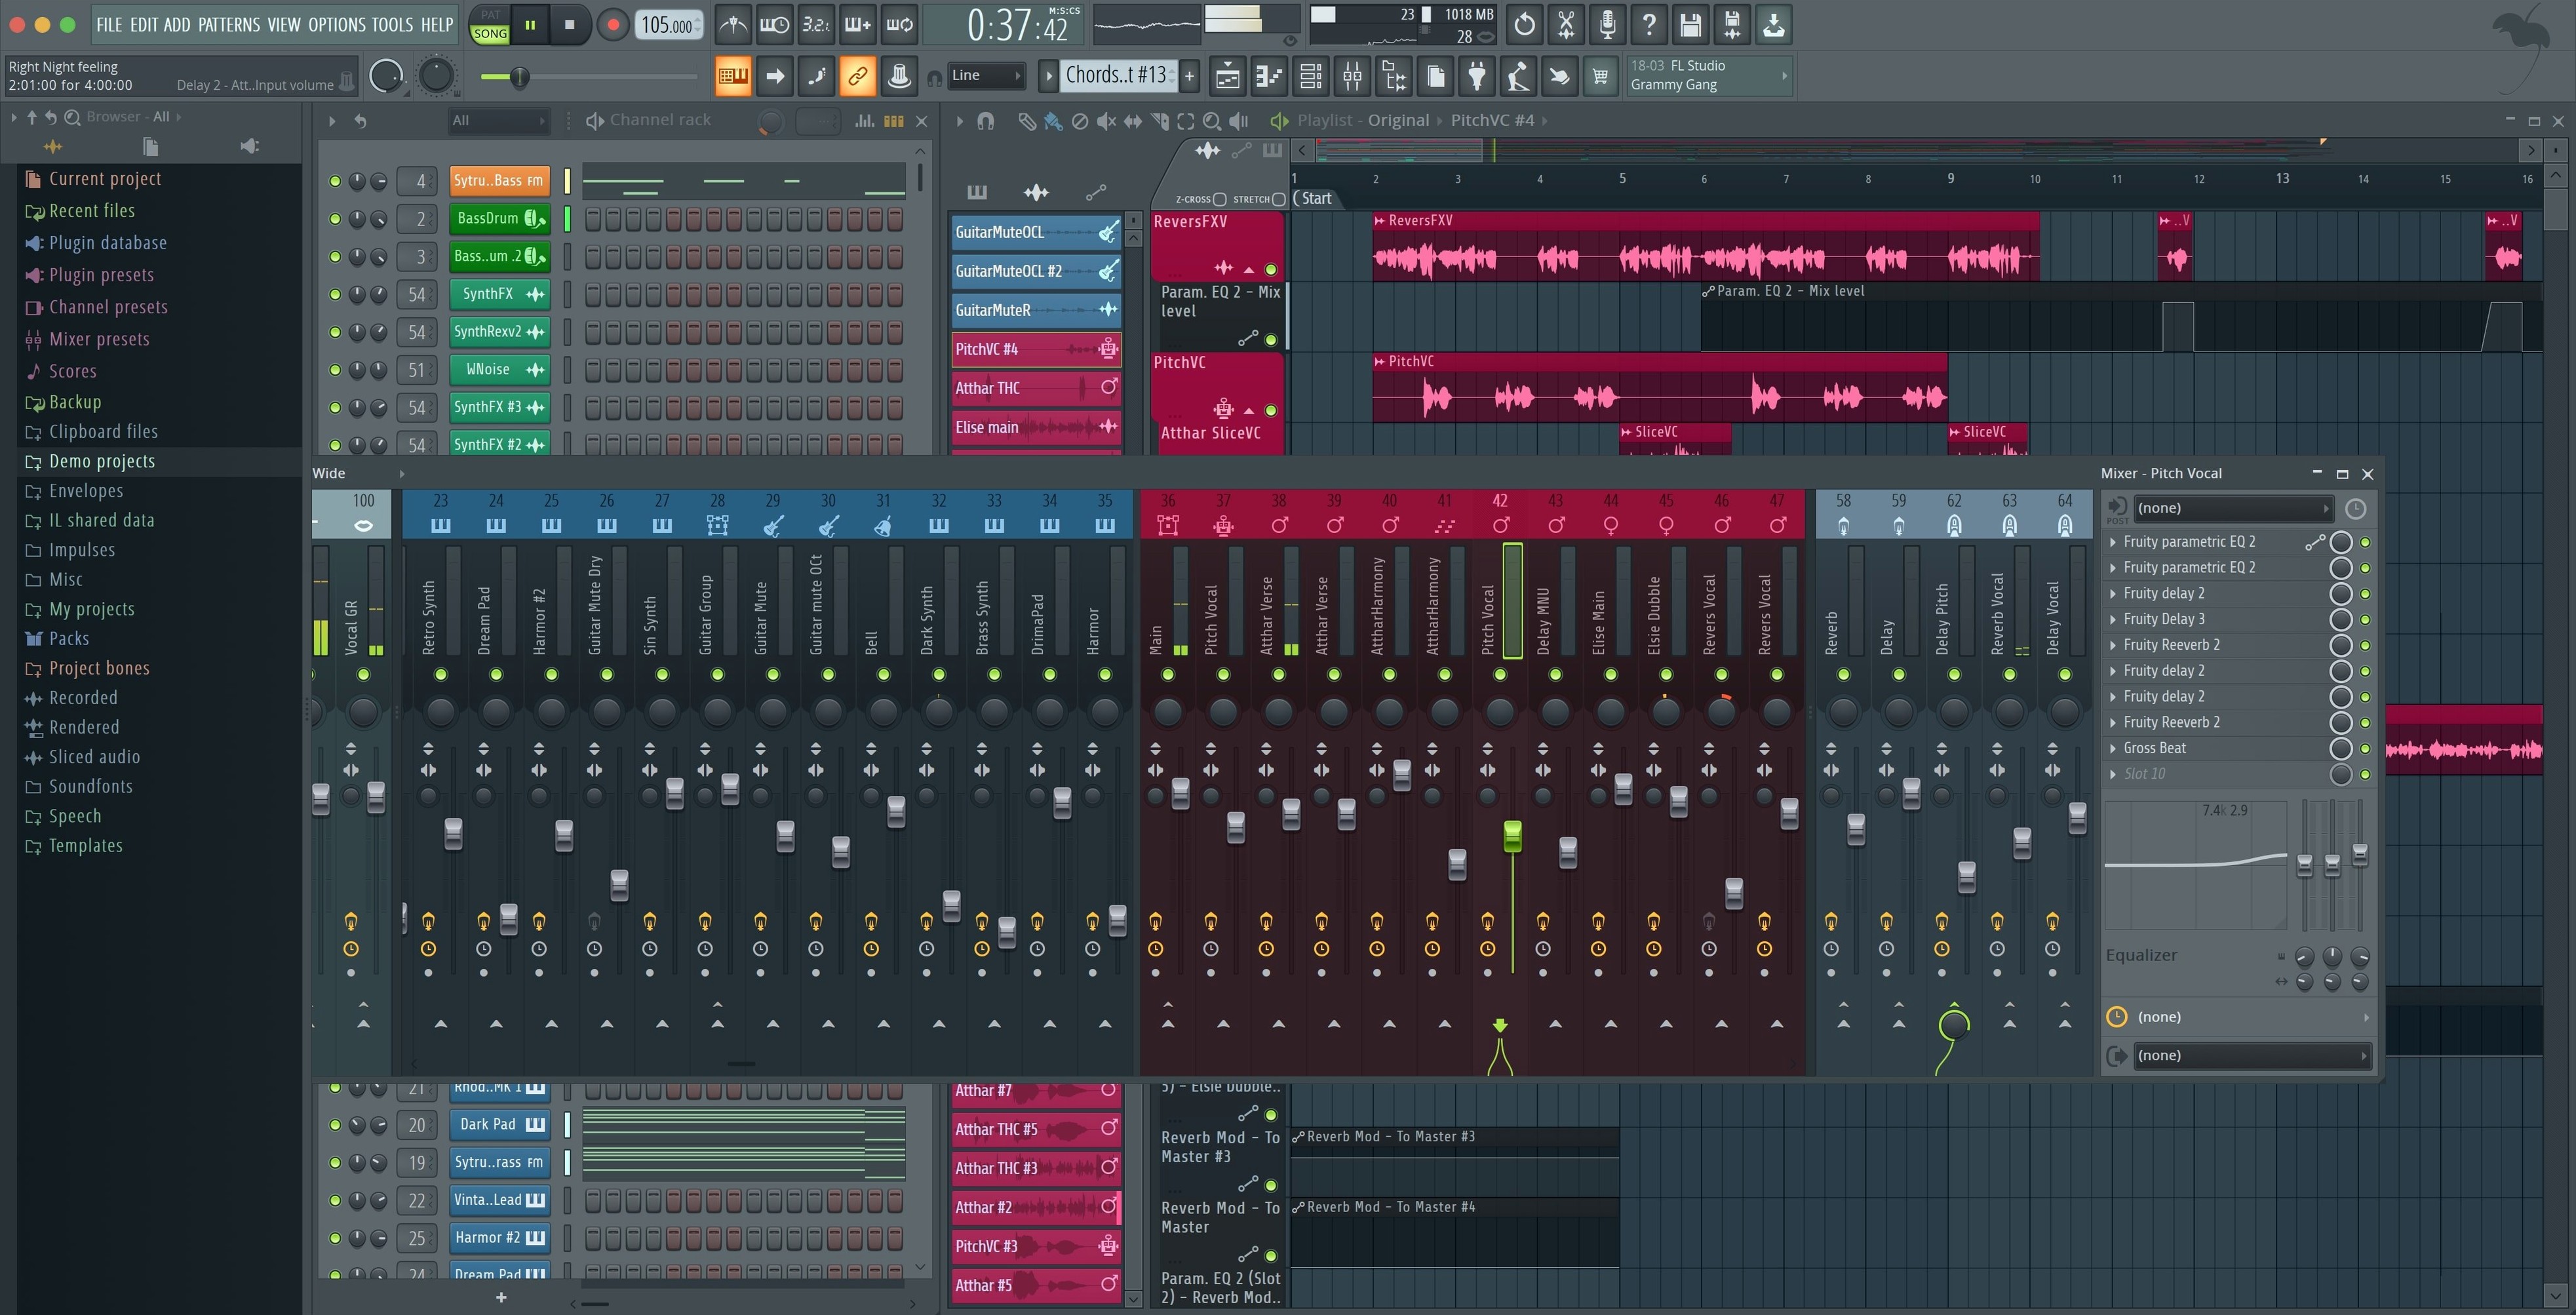
Ignoring the mixer routing. Every channel in the rack defaults to the Master track. Hearing a kick drum and a bass line fight for the same space leads a beginner to reach for plug-ins on the Master instead of routing each sound to its own mixer insert. Assigning a channel to a mixer track is a deliberate step — click the channel, then click a mixer insert. Without this, effects apply to everything at once, and mixing becomes guesswork.
Recording audio without setting an input. FL Studio does not assume which microphone or line input you want. A blank audio track in the playlist will not capture anything until you select an input on its mixer insert. The input dropdown sits at the top of the mixer channel strip. Skipping this step produces silent recordings, and the waveform display stays flat.
Leaving the snap setting on "Line" for everything. The default snap snaps notes and clips to the grid. For natural-sounding hi-hats, shakers, or a vocal chop that should sit slightly ahead of the beat, switching snap to "None" or "1/4 beat" lets you place hits where they feel right, not where the grid demands. New producers often leave snap on and then wonder why their drums sound stiff.
Not saving a template. FL Studio opens with a blank project every time. Building a template with your preferred mixer routing, a few empty patterns, and a return track with reverb cuts the setup time for every new project. It takes five minutes to configure once and saves that time repeatedly. The "Save as template" option sits in the File menu and is easy to overlook during the first weeks of learning the software.