Aspecten
 Download (661 MB)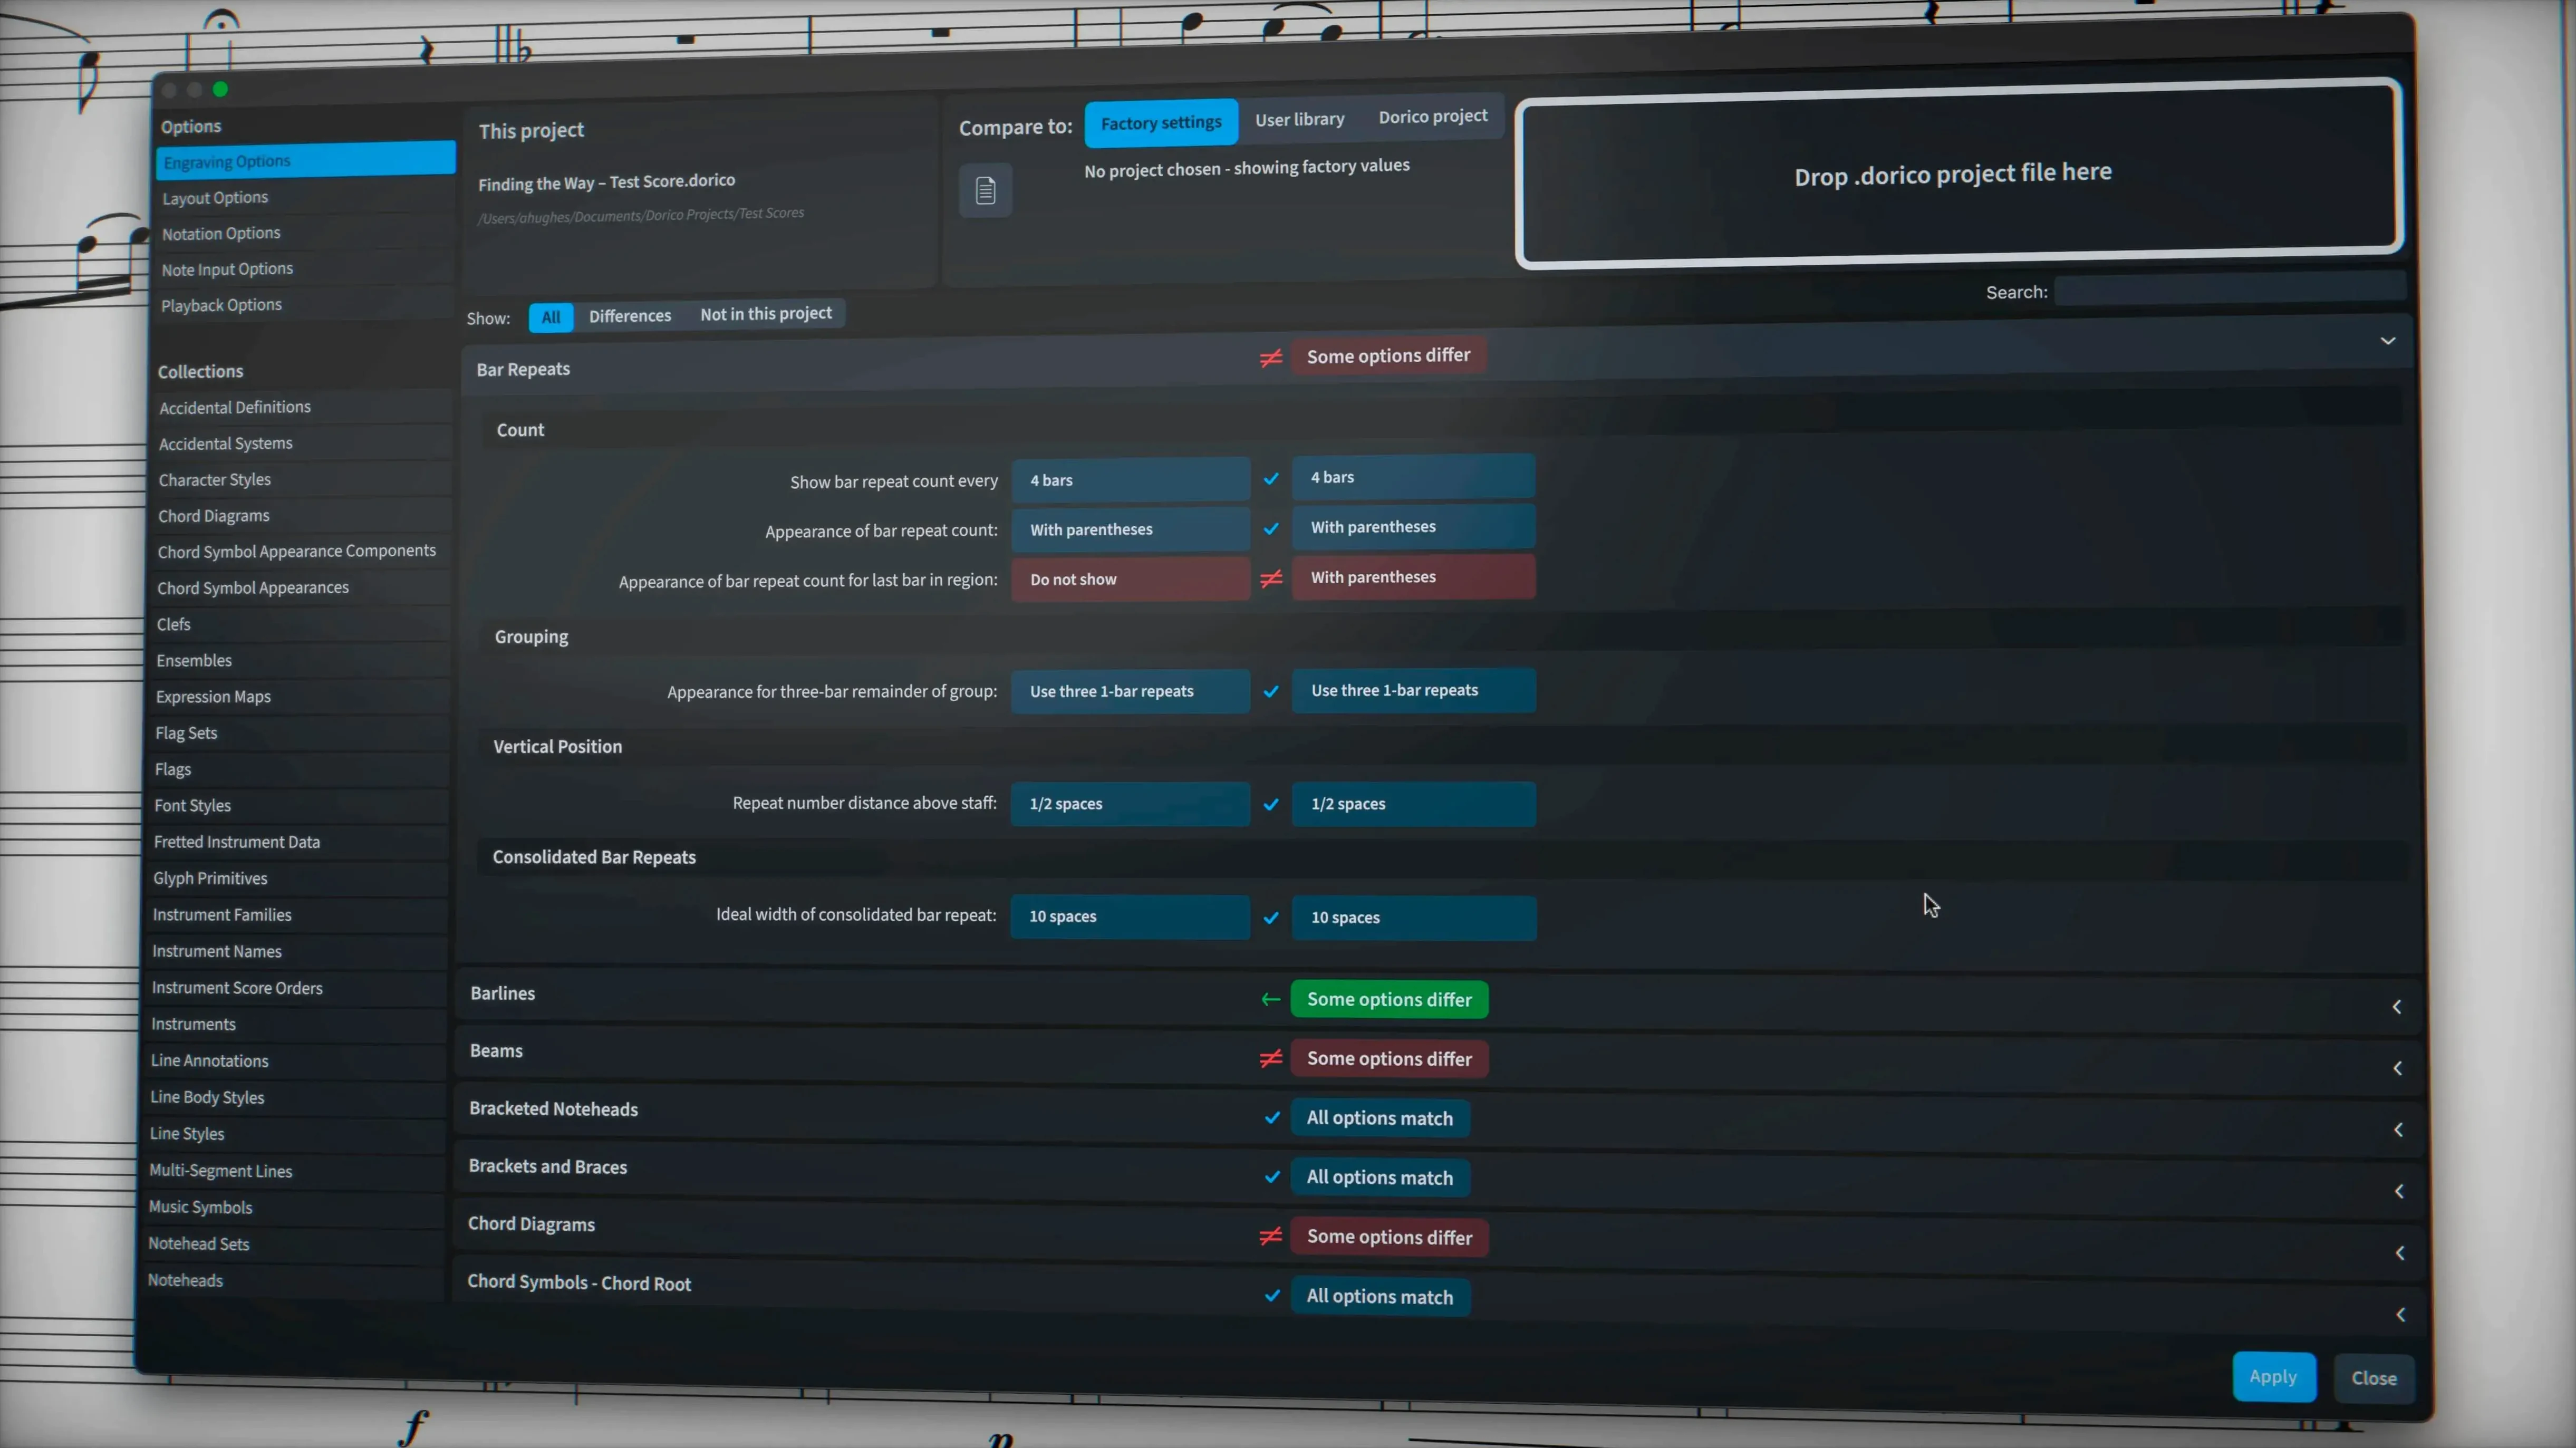
Dorico Pro is a music notation application for composing, arranging, engraving and playback.
Preparing a score for print
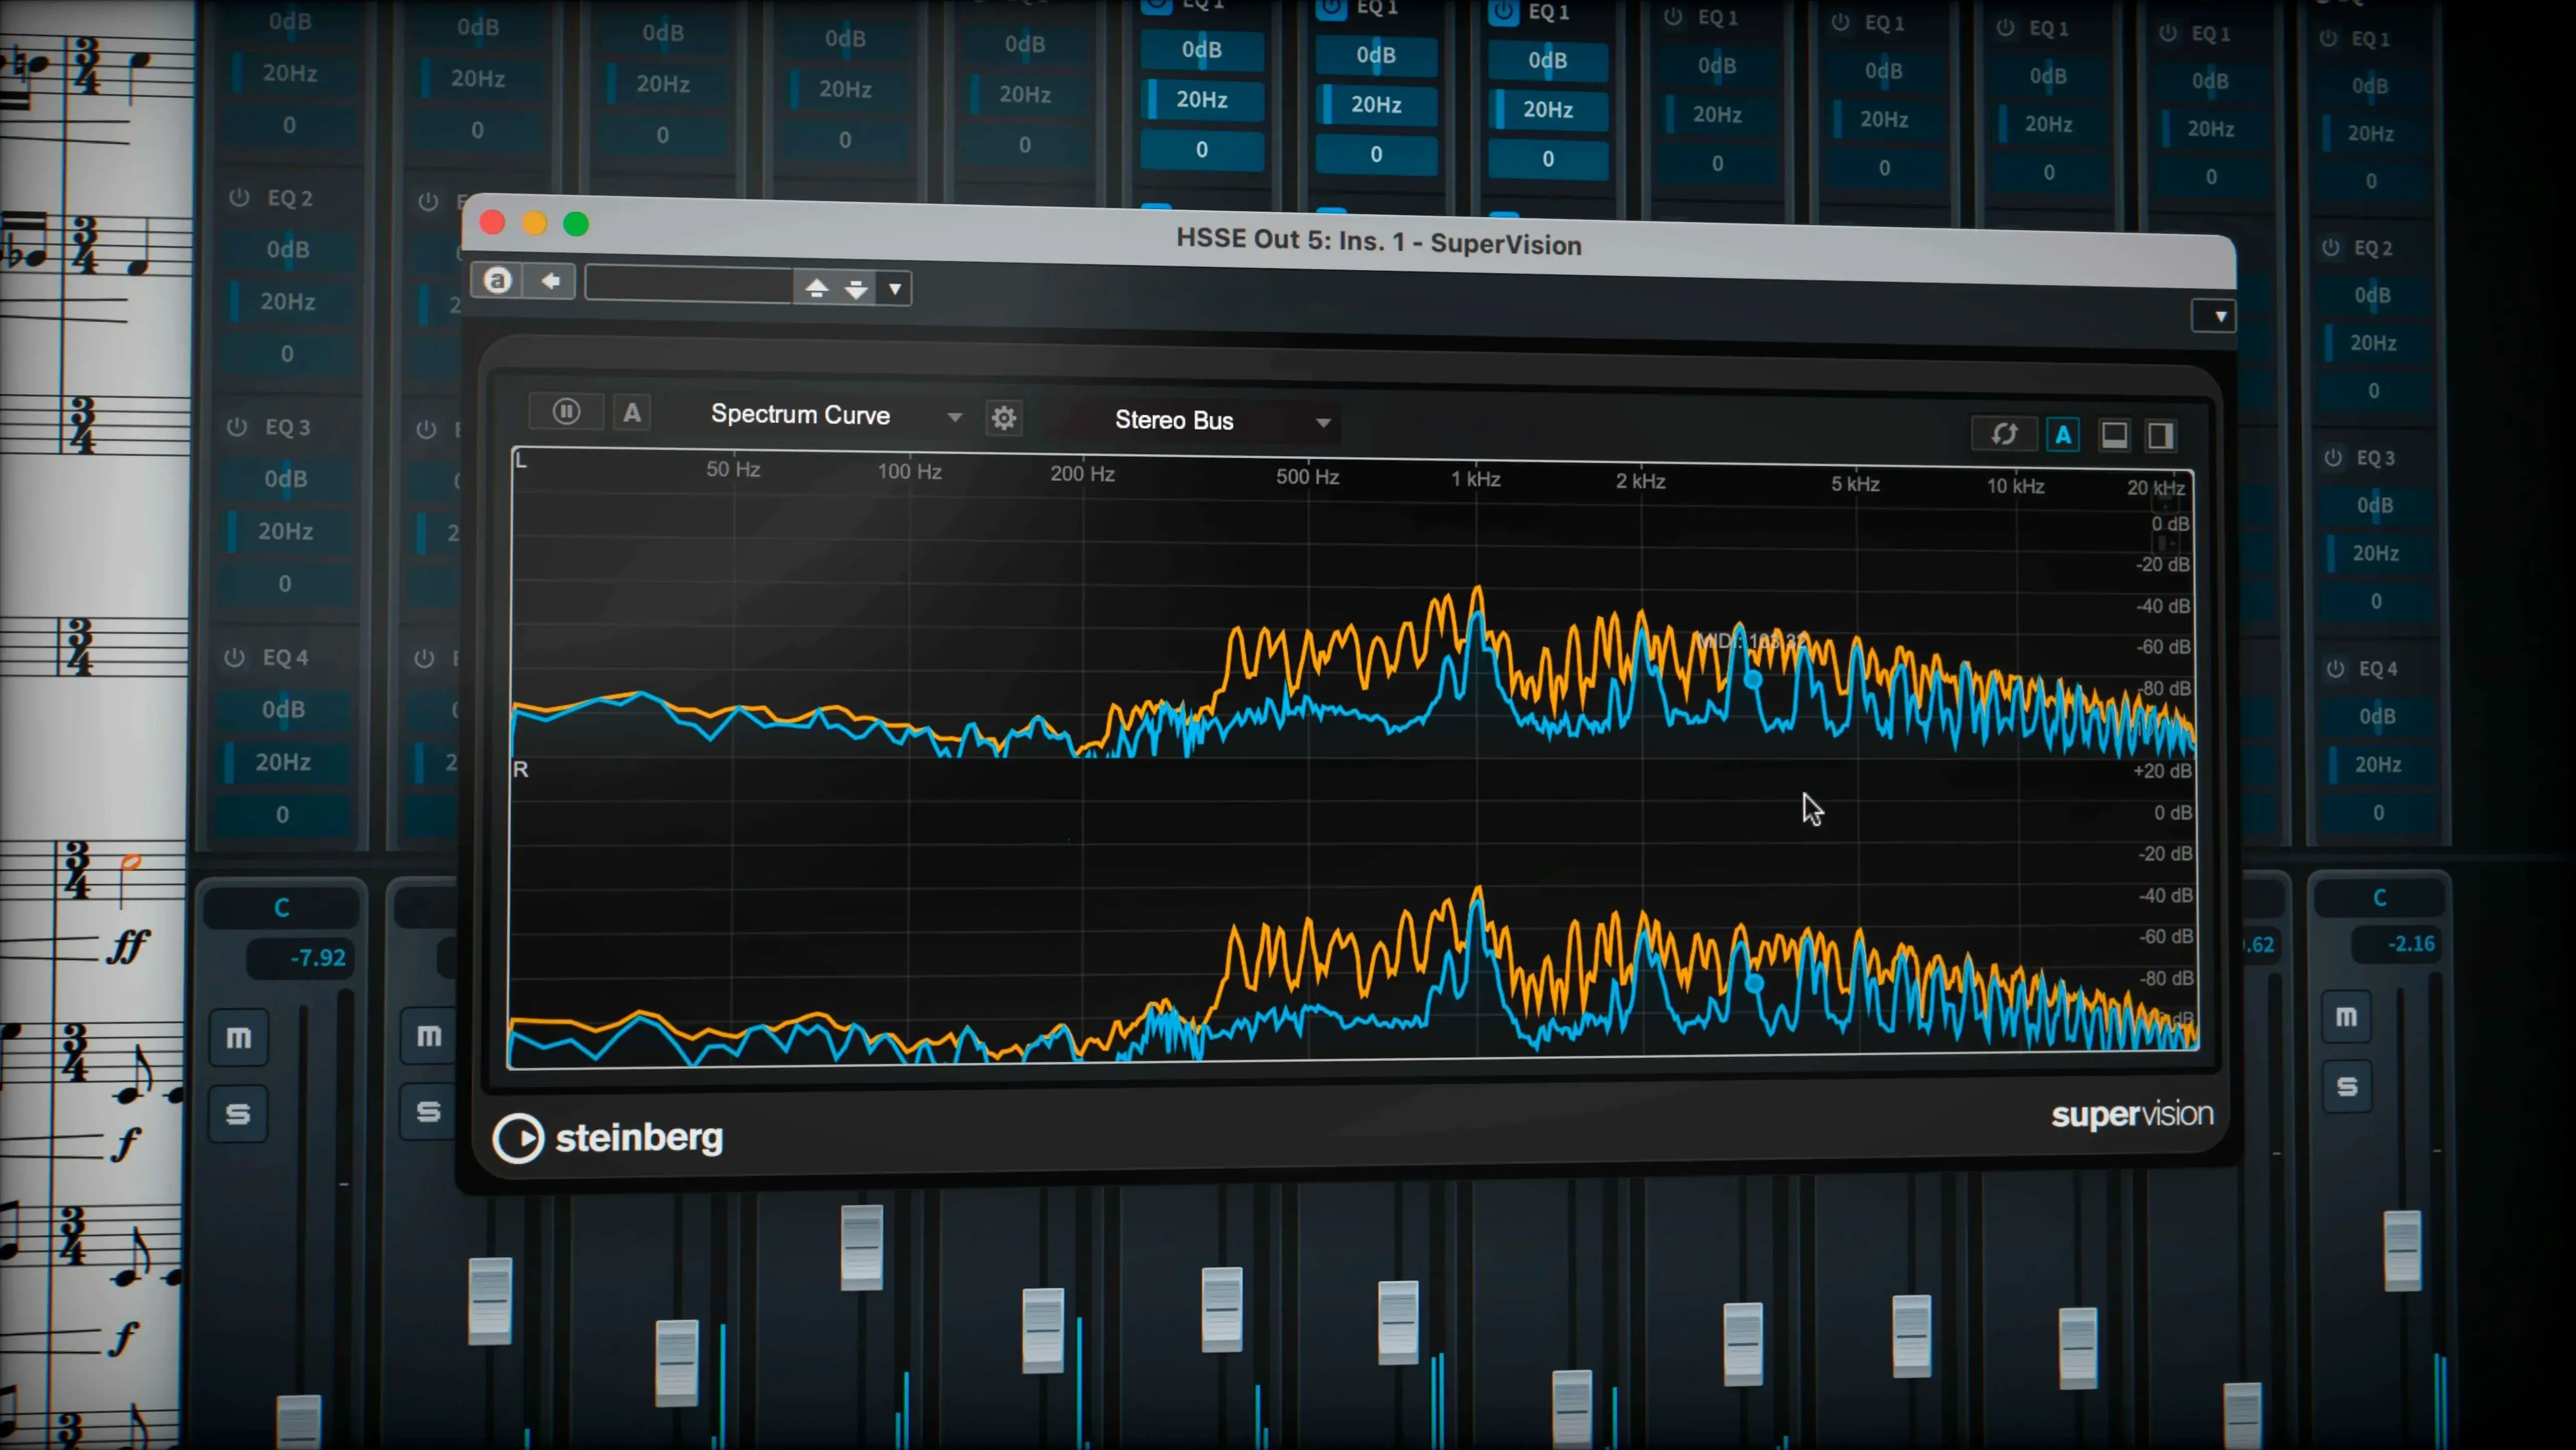
Engraving and publishing tasks rely on support for complex chord symbols, percussion notation and non-piano staves. The package includes almost 1,500 built-in sounds so playback can be auditioned directly inside the project.
Drawing a wiggly glissando
A glissando line can take the traditional trill wiggle glyph or adopt a line style from the project. A style property lets you override the appearance of individual lines without changing the project defaults.
Editing notes in the piano roll
The sequencer-style MIDI editor gives a piano-roll view for adjusting note positions and durations. The current update improves handling of hidden notes, which helps keep the view tidy during detailed edits.
Dorico alongside a DAW and the macOS clipboard
Most composers run Dorico Pro next to a DAW rather than as a replacement for one. A common arrangement is to sketch piano drafts in Dorico, export a MusicXML skeleton, then build the production in Logic Pro or Cubase. Coming back the other way, MIDI recorded freely into a DAW can be tidied up in Dorico’s piano roll and re-engraved as readable notation for live musicians. Because the application writes standard MIDI files and MusicXML, the exchange does not lock you into a single ecosystem.
The macOS clipboard bridges smaller tasks. You can copy a system of notation as PDF from the print pane and drop it straight into Keynote for a lecture slide, or paste a bar-count list into a Numbers spreadsheet to plan rehearsal calls. Dorico does not talk to Shortcuts natively, but Automator shell scripts wrapped around the command-line export options can batch-generate parts for a whole folder of projects.
Rule‑based layout versus manual object placement
In daily use, the biggest difference between Dorico Pro and Sibelius is how layout decisions land. Sibelius expects you to place objects manually; Dorico works from a rule set first and lets you override second. A conductor’s score that takes half a morning of dragging in Sibelius often resolves itself within a few minutes in Dorico, though the trade-off is that a layout you dislike can feel opaque to untangle until you learn which engraving option controls it.
MuseScore 4 has closed the engraving gap noticeably, especially with its new typesetting engine. It handles collision avoidance and part extraction well for conservatoire-level work. Where Dorico Pro pulls ahead is in high-density contemporary notation: tuplets across barlines, stemless music, microtonal accidentals and independent voice playback. MuseScore can produce all of these, but often requires more manual hacks, whereas Dorico treats them as native concepts.
Finale is no longer developed as of late 2024, which makes a direct feature comparison less useful. Longtime Finale users moving to Dorico typically find the first fortnight disorienting because the underlying model — a semantic, flow-based structure rather than a graphical canvas — asks for a different way of thinking. Once the mental shift happens, tasks like respacing a full score after changing the page size become practically instant.
Independent voice playback arrives in the Track Inspector
More than forty fixes and small enhancements landed in the 6.2.30 maintenance release, and several of them affect routine work directly. Independent voice playback for instruments routed to Cantai can now be switched on from the Track Inspector in Play mode, which means a viola divisi passage finally sounds balanced without routing each voice to a separate channel manually. Hidden notes no longer cause erratic behaviour in the piano roll, so cleaning up a dense contrapuntal sketch feels less fragile.
On the export side, sustain and sostenuto pedal lines now travel with the file, which matters when you send a piano piece to someone opening it in another application. Tuplet brackets and numbers hidden through engraving options had been dropped during MusicXML export; that is now fixed. For anyone who regularly passes scores between Dorico and a notation-to-DAW workflow, these corrections remove a handful of small but persistent irritations.
Grant full disk access so the sound library loads
The installer is straightforward — unpack, drag to Applications, and follow the included activation guide. Give the application full disk access in System Settings right away; Dorico reads its sound library from /Library/Application Support/Steinberg and a sandbox restriction can cause silent playback failures that are easy to mistake for a broken installation.
Spend the first session creating a short project from a blank template rather than opening an imported score. A single-flow piano piece with four bars is enough. The goal is to learn where the five key modes live — Setup, Write, Engrave, Play, Print — and what each one is for. Newcomers from other notation software often try to tweak staff spacing while still in Write mode, which fights the automatic layout engine. Switch to Engrave mode for any visual adjustment, and expect the first few layout edits to feel indirect until the logic clicks.
If you plan to use third-party sample libraries, install one VST 3 instrument early and route a single staff to it. Dorico Pro includes thirty VST 3 processors and almost 1,500 built-in sounds, so a full orchestral palette is already present, but testing a familiar Kontakt library or Spitfire player confirms the plug-in path works before you build a large template.
Enable note audition to catch rhythmic mistakes sooner
Open Preferences from the Dorico menu and turn on Play notes during note input if it is off. This is not on by default on a fresh install, and silent step-time entry makes rhythmic mistakes harder to catch. Under Note Input and Editing, set the default spelling for accidentals to match your preferred house style — sharps-upward for string players, flats for brass — so you are not respelling every chord manually.
In Engraving Options, increase the Minimum gap between staves by one or two spaces if you work with vocal scores that carry lyrics. The factory default is tight and works well for orchestral full scores, but lyrics beneath a single-staff part can crowd the next system. A small nudge here saves repeated manual staff spacing later.
For playback, visit the Play menu and enable Use low-latency audio driver only when recording MIDI input; leave it off for playback, as it can stress the CPU on larger projects. If you use a Bluetooth audio device, set the sample buffer to 512 samples or higher in the Device Setup pane to avoid crackling during tutti passages.