Aspecten
 Download (558 MB)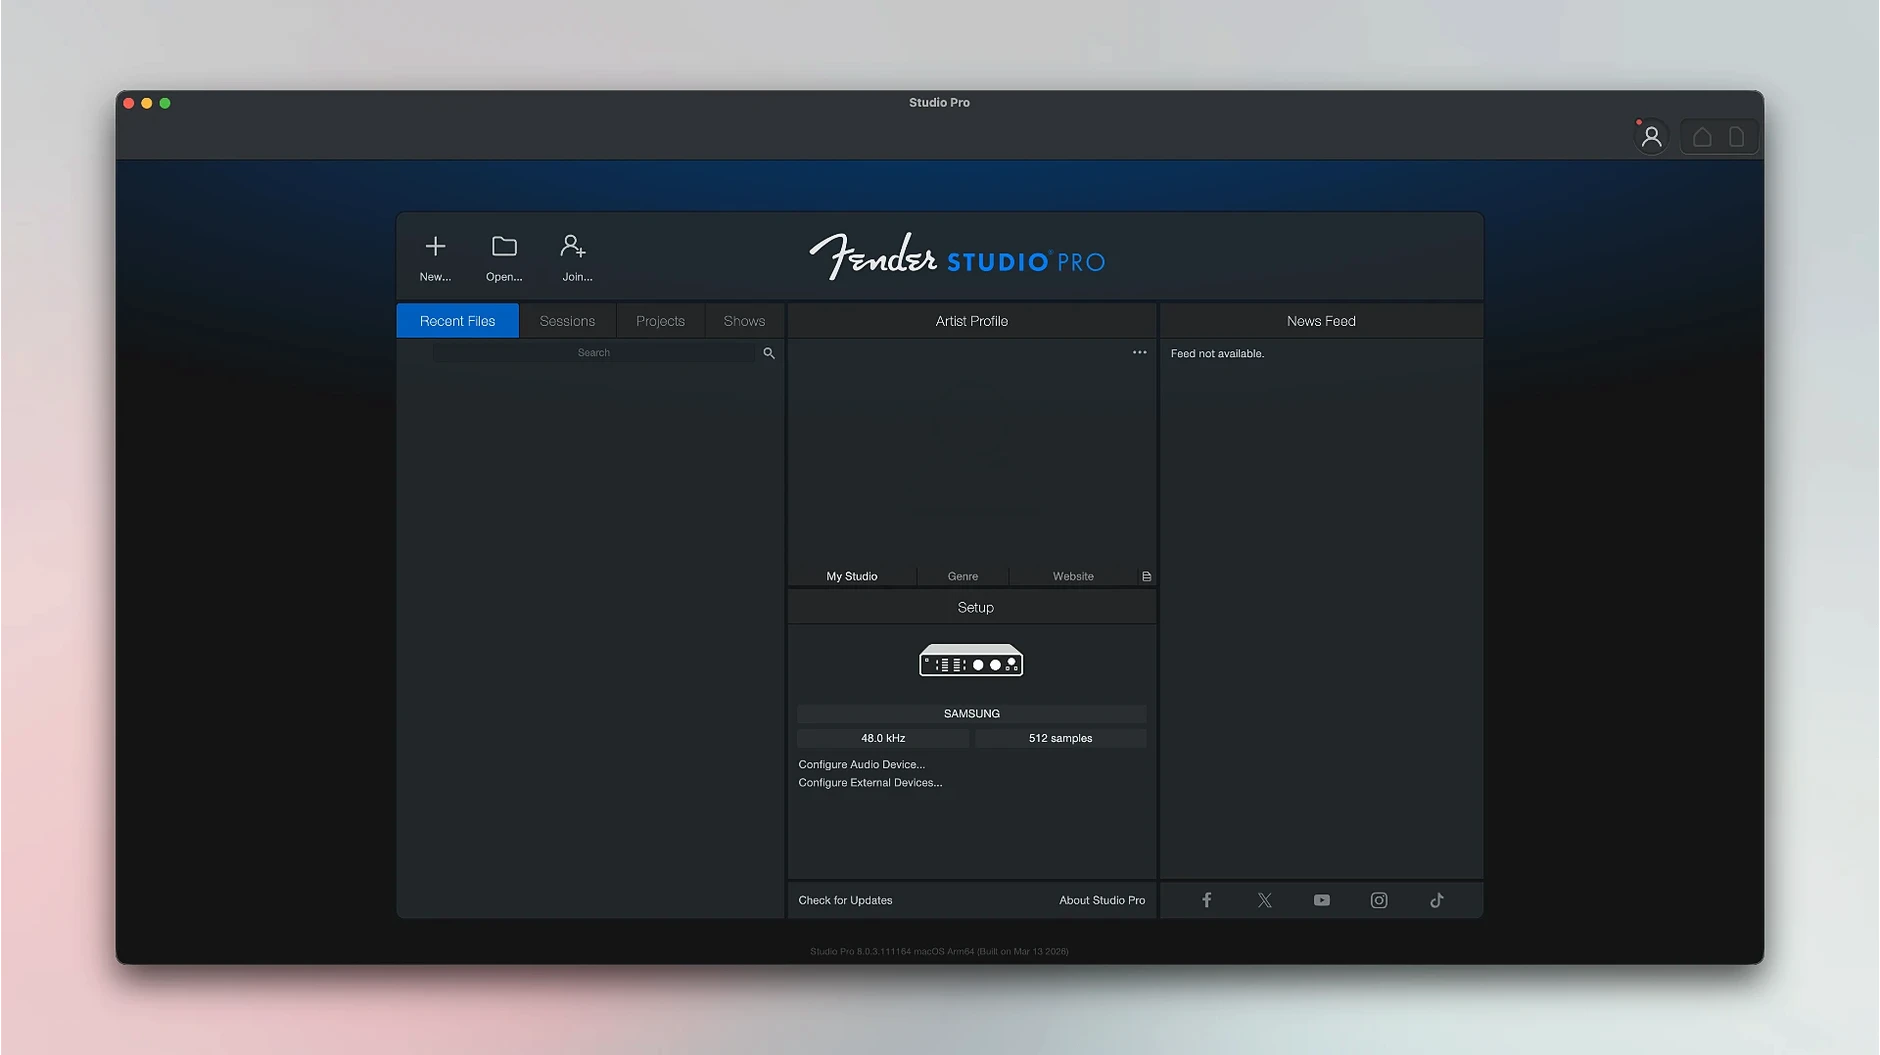
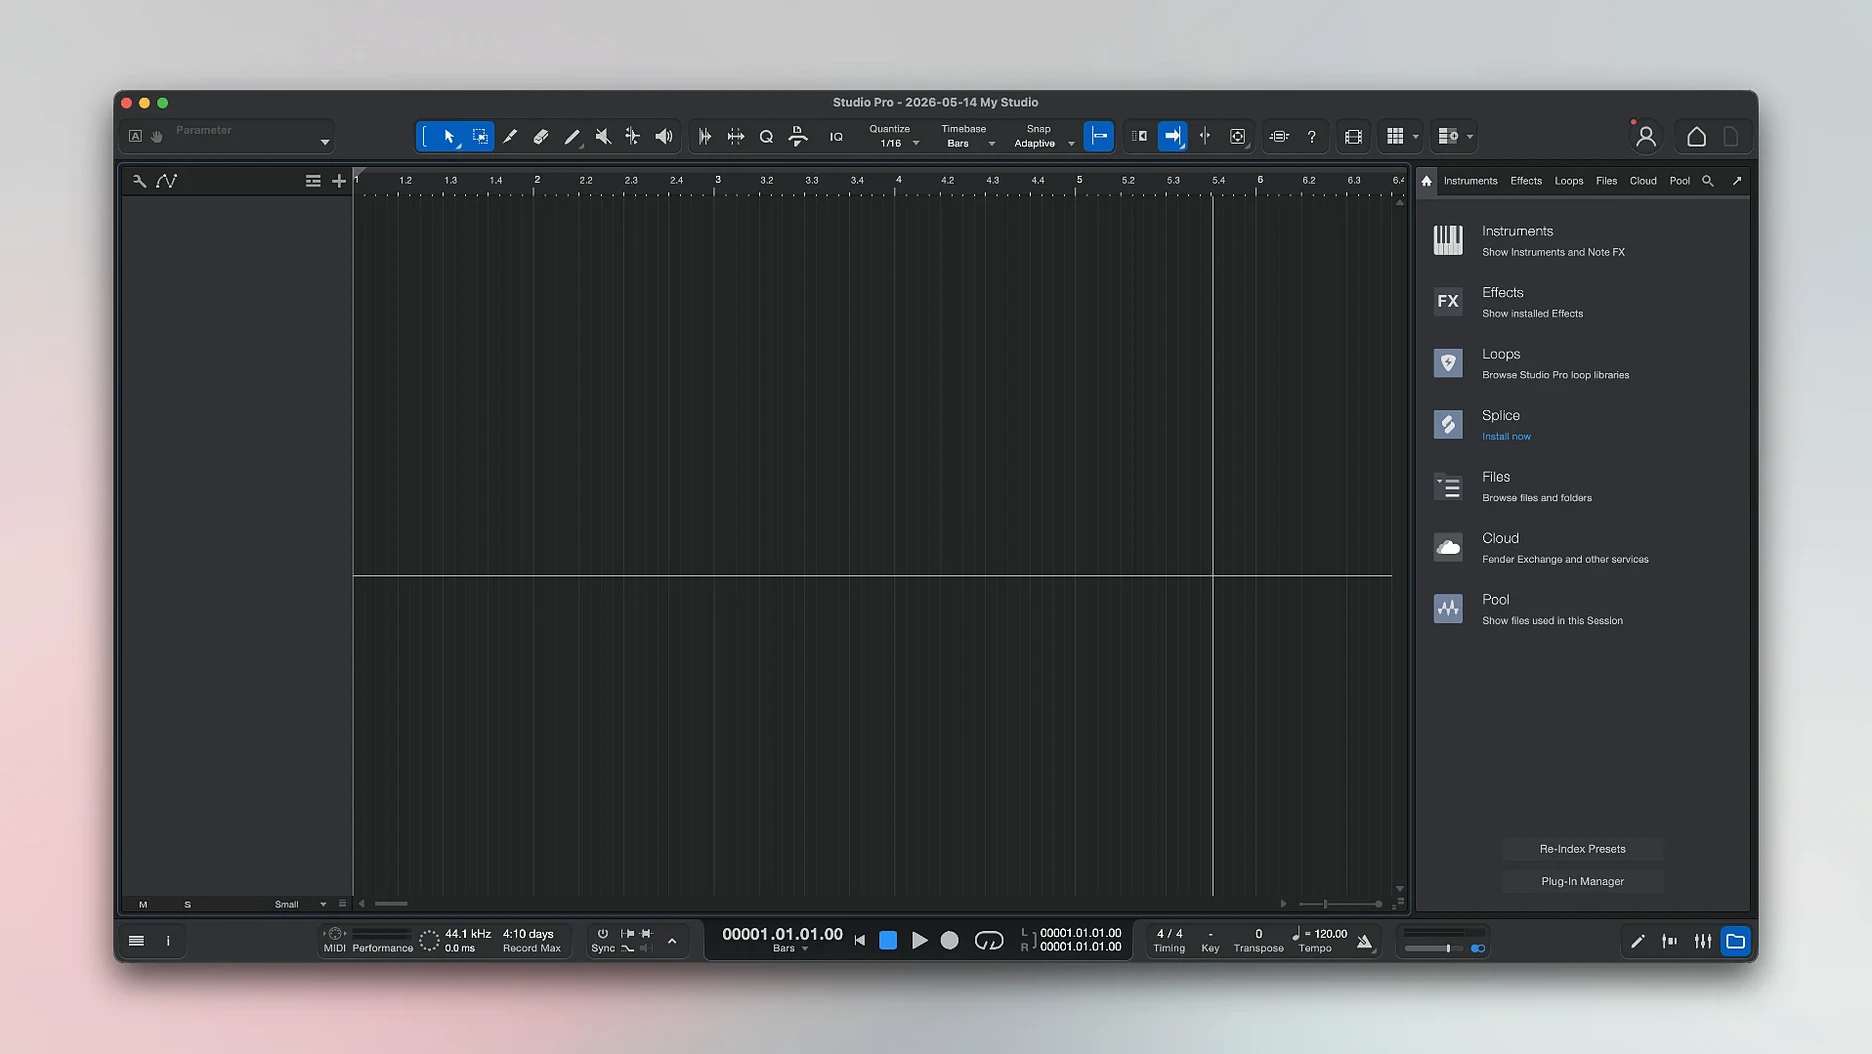
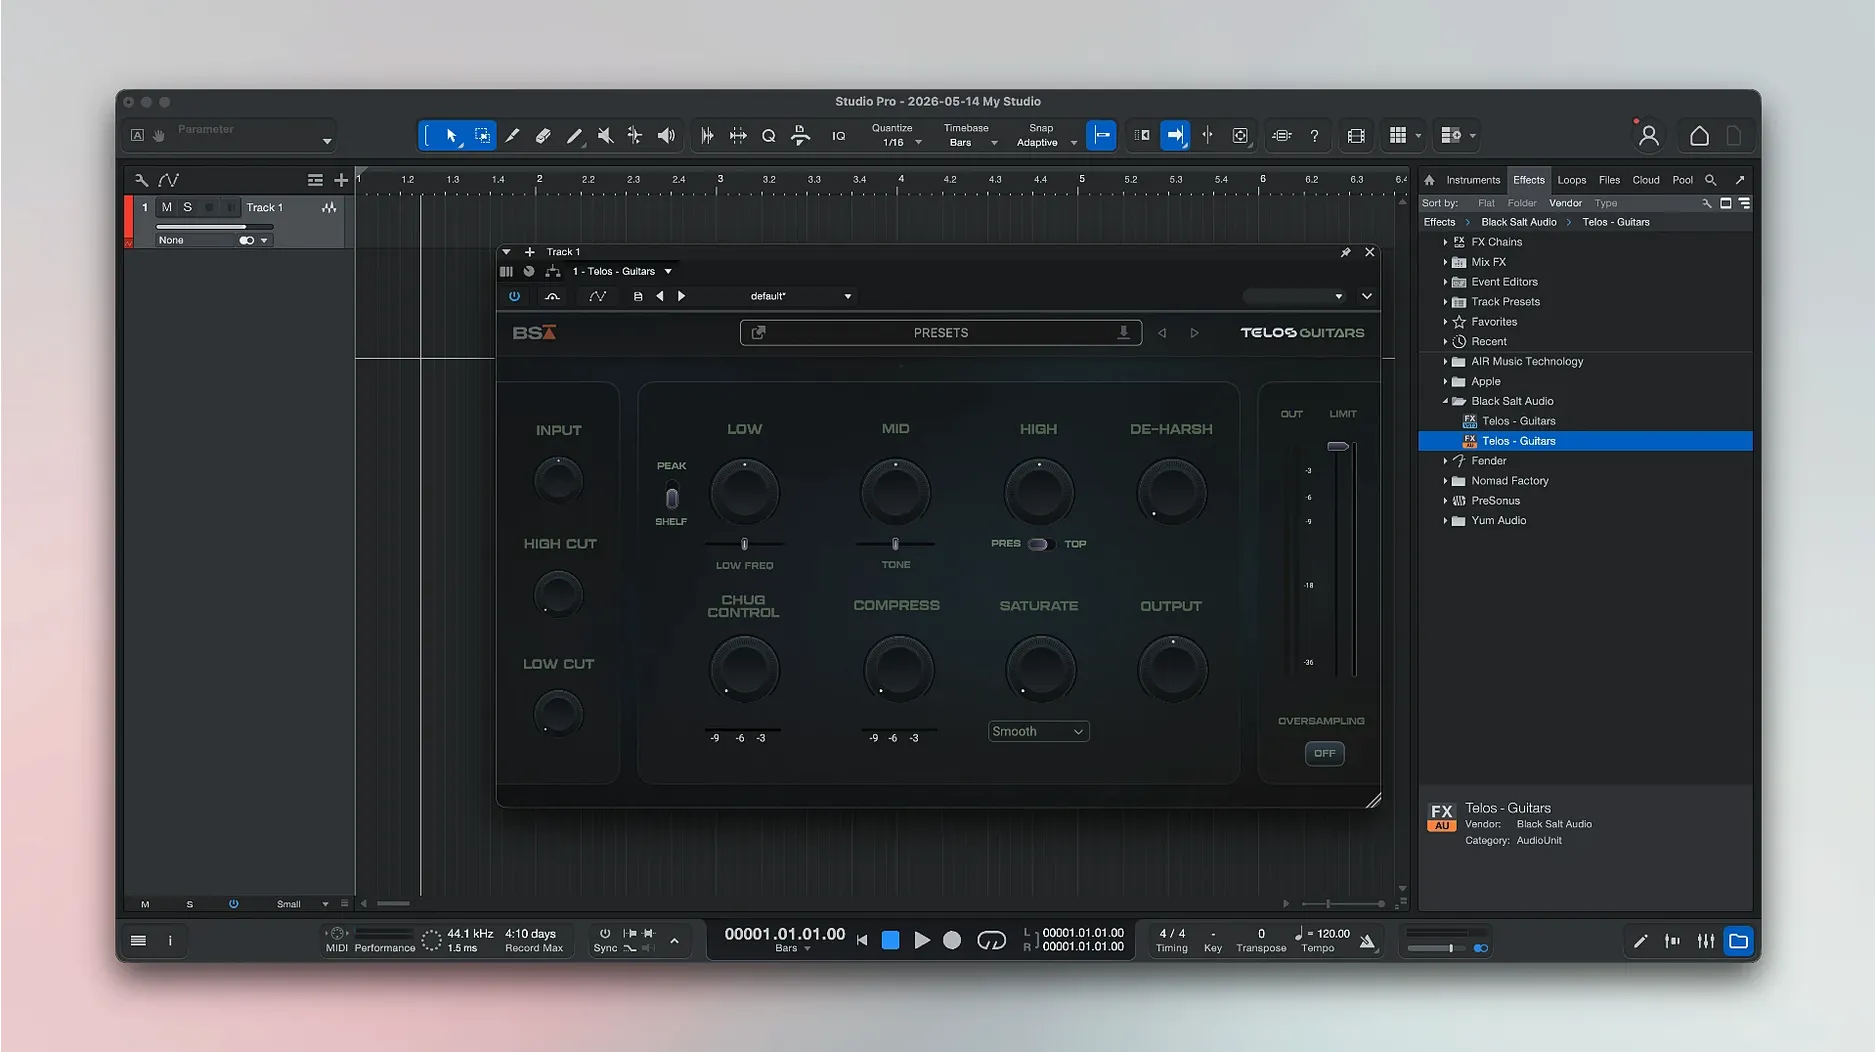
If you have used PreSonus Studio One, the workflow in Fender Studio Pro will feel immediately familiar. It shares the same underlying engine but arrives tuned specifically for guitarists and bassists, bundling Fender-branded amp models, effects pedals and virtual instruments. Rather than list every feature, following one realistic task — recording a rhythm guitar idea, shaping it with an amp and pedal chain, and bouncing a quick mix — shows where the tool fits.
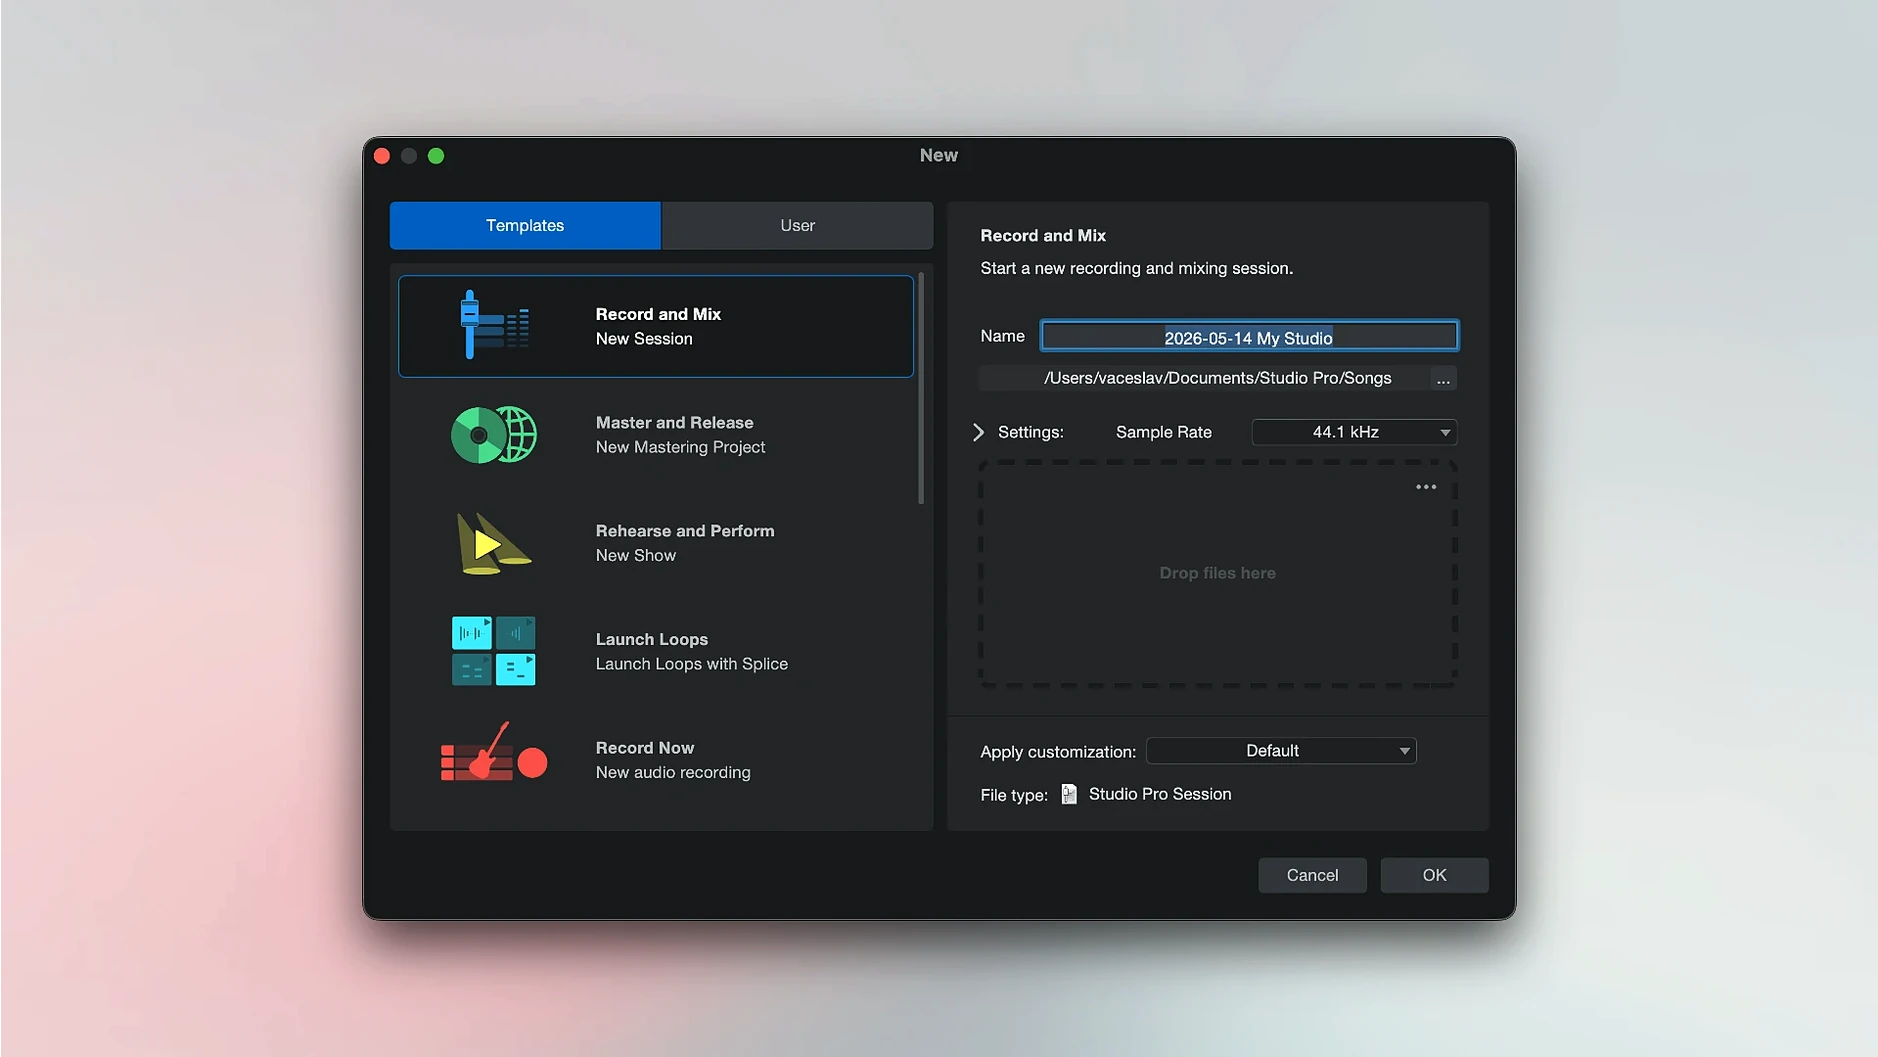
- Create a new song and set the tempo. Arm an audio track and record a dry guitar part through a Fender Mustang or Rumble interface.
- Open the Launcher and add a Fender amplifier plug-in. Browse presets to find something close to the tone you want, then adjust the virtual knobs.
- Stack effect pedals before the amp in the insert chain. Drag them to reorder, as you would on a physical pedalboard.
- Use the chord suggestion feature while composing to see possible harmonies for the recorded part, which helps when writing a bassline or second guitar layer.
- Balance levels, pan tracks and add a touch of reverb on a send. Enable Direct Monitoring if you track more parts to hear the processed signal with low latency.
- Select the section on the timeline and export it with the Audio Batch Converter, which now compensates plug-in latency for tighter timing.
What sets Studio Pro apart from a general-purpose DAW is how quickly you move from a clean recorded signal to a finished guitar sound without hunting for third-party amp sims. The Freeze Instrument Track function added in version 8.1.1 also helps when your session grows and you need to reclaim CPU resources on a laptop.
Session files open fast enough to skip the small talk
On Apple Silicon Macs, Fender Studio Pro opens in under ten seconds and loads session files at a pace that keeps a tracking session rolling without awkward pauses. The interface draws immediately when switching between the Arrange view and the Mix console, even with twenty or thirty tracks carrying insert effects. Intel machines run it capably too, though freeze becomes a more practical habit once track counts climb past forty.
Memory use sits around 600–800 MB for a modest twelve-track project with a handful of Fender amp plug-ins active. Add Superior Drummer or a sampled piano alongside the built-in instruments and the figure nudges toward 1.2 GB, which leaves breathing room on 8 GB or 16 GB Macs. Disk streaming for audio files is well-behaved; recording eight simultaneous inputs at 48 kHz produces no dropouts on recent hardware, and the waveform redraw keeps up during live comping passes.
The amp simulations themselves are light. A single instance of a Mustang or Rumble plug-in adds roughly two percent CPU load on an M1 core. Stacking a pedalboard of five effects before the amp bumps that to four or five percent. Practically, this means you can run a full band session with amp sims on every guitar and bass track without freezing, even on an older MacBook Air. Larger plug-in chains from third-party developers — convolution reverbs, linear-phase EQs — will shift the math, but the Fender-native components stay lean.
Long sessions stay stable. Crash logs from daily use are rare; the autosave system keeps versions quietly, and a corrupted plug-in tends to produce a clear error message rather than a hard quit. One area that occasionally shows a beachball is loading very large SoundFont libraries into the bundled sampler, but the pause is brief and does not cascade into timeline glitches.
The Launcher is actually your fastest path to a template
New users often open Studio Pro and treat the Launcher as an optional extra rather than the fastest way into a task. The Launcher is not simply a splash screen — it houses templates, recent songs and the Freeze Instrument Track command. Skipping it means manually setting up routing that a template would have handled in one click.
A second common misstep is recording with heavy amp processing active on the input channel without enabling Direct Monitoring. The result is noticeable latency between the pick attack and the monitored sound, which throws timing off. Beginners blame the software or their interface when the fix is a single toggle in the audio setup.
Another pattern: inserting effects directly on an audio track instead of using sends for time-based effects like reverb and delay. The mix quickly becomes muddy because each track carries its own wet signal. Studio Pro does not enforce a particular routing philosophy, so the habit is easy to form. Setting up a send takes thirty seconds and pays off at mixdown.
Chord suggestion is sometimes misunderstood as a transcription tool. It works best as a creative prompt while composing, not as a precise analyser of complex jazz voicings. Beginners who feed it a distorted barre chord and expect an instant harmonic breakdown will be disappointed. Used lightly — dropping in a clean arpeggio and seeing what the engine suggests — it sparks ideas reliably.
Finally, some users overlook the Audio Batch Converter entirely. They export stems one by one from the timeline, unaware that the batch tool handles the same task faster and with plug-in latency compensation now built into version 8.1.1.
Amp models that mirror the physical circuits you already use
Guitarists and bassists building a home studio around a Mustang or Rumble interface are the obvious fit. The hardware integration runs deeper than a generic ASIO connection; the amp models are tailored to the same circuits the physical products emulate, and the preset library covers everything from glassy clean tones to high-gain stacks. Someone who owns a Fender amp and wants a silent practice or recording setup without buying further software will find Studio Pro covers the core need immediately.
Songwriters who record in layers — laying down a rhythm guitar part, then a bassline, then a vocal scratch — benefit from the chord suggestion and audio-to-MIDI conversion. The workflow keeps a single idea moving forward without switching to a notation program or manually tapping out a bass part on a keyboard. The Launcher template system also suits the songwriter who opens the computer with a specific goal: "track a verse idea," "work on last night's demo," "bounce a rough mix for the band." Each can have its own preconfigured starting point.
Producers migrating from Studio One will find the transition almost trivial. The mixing console, comping tools and automation lanes work identically. What changes is the out-of-the-box sound palette, which leans into Fender's instrument heritage rather than the more neutral toolkit of a general-purpose DAW. For someone already comfortable with the Studio One environment, Studio Pro functions as a drop-in with a guitar-focused instrument rack preloaded.
Educators teaching recording fundamentals also get a legible environment. A single-window layout means students are not chasing floating palettes across the screen, and the signal flow — input, insert effects, sends, output — maps clearly to the hardware they connect.
Direct Monitoring blocked automation until version 8.1.1
The most frequent support question involves the Mustang and Rumble plug-ins not responding to automation when Direct Monitoring is active. Version 8.1.1 fixed this, so verifying the update is installed resolves it. Users running older builds will see the plug-in parameters jump only on playback, not during a live monitored pass.
Audio Batch Converter latency compensation is another fix that landed in the current version. Before 8.1.1, exporting stems from a session with heavy plug-in chains could produce timing offsets of a few milliseconds between tracks. The compensation now aligns exported files properly. If alignment still feels off, check that the plug-ins themselves report their latency correctly to the host — a rare quirk with some older VST3 builds.
Some users report that the Freeze Instrument Track command in the Launcher does not appear for third-party instruments. That is by design; the Launcher freeze targets Fender-native virtual instruments. Freezing third-party instruments still works from the track inspector, exactly as it does in Studio One. The Launcher simply adds a quicker access point for the built-in library.
Interface recognition glitches happen when the Mac's Privacy and Security settings block the Fender hardware driver. After installation, the system may show a prompt to allow the extension. If the prompt is missed, the fix is to open System Settings, navigate to Privacy and Security, and permit the blocked software. A restart of the application follows.
Plug-in scanning on first launch takes a minute or two. If the scan hangs, removing the AU cache file from the user Library folder forces a clean rescan. This is standard behaviour for any AU host and not unique to Studio Pro, but it catches newcomers who installed third-party freeware that conflicts with the validation process.
Workflow: building a bass-and-drums demo from a guitar riff
Suppose you have a four-bar guitar riff recorded dry into an audio track. The goal is a rough rhythm section — bass and drums — underneath it, all within Studio Pro, without leaving the application.
- Select the riff clip and open the chord suggestion panel. The engine analyses the audio and proposes a chord progression. Accept the closest match; even if it misses a passing chord, the basic harmonic structure will be usable.
- From the Launcher, add an instrument track with the Fender bass virtual instrument. Drag the chord suggestion results onto the bass track header. Studio Pro creates a MIDI region that follows the chord changes, generating a simple root-note bassline.
- Open the MIDI editor and shift some notes to follow the riff's rhythmic accents. A few manual adjustments make the bassline lock with the guitar rather than sound like a generic generation.
- Insert a Rumble amp plug-in on the bass track. Choose a preset with mild compression and a touch of drive; the amp voicing adds weight without overwhelming the low end.
- Add a drum instrument track using the bundled Impact XT sampler. Load a kit that suits the genre and tap out a kick-and-snare pattern on a MIDI keyboard or draw it in the piano roll. Quantise to about 70% strength to keep the feel relaxed.
- Group the drum channels to a bus and apply gentle bus compression with the built-in compressor. A 2:1 ratio with 3 dB of gain reduction tightens the transients without choking the room sound.
- Balance all three elements — guitar, bass, drums — in the Mix console. Pan the guitar slightly off-centre and keep bass and kick centred.
- Select the four-bar loop on the timeline, open the Audio Batch Converter and export a 48 kHz WAV with dithering off. The batch converter's latency compensation ensures the exported file has sample-accurate alignment between the three parts.
- Play the bounce on a different system or headphones to check translation. Adjust the bass amp drive if the low end feels thin, then re-export.
The whole process — from raw riff to a balanced demo with bass and drums — takes around twenty minutes once the workflow is familiar. The Fender-specific tools handle the guitar and bass tones without outside plug-ins, and the batch export with latency compensation means the final file needs no manual realignment in a separate editor.