Aspecten
 Download (924 MB)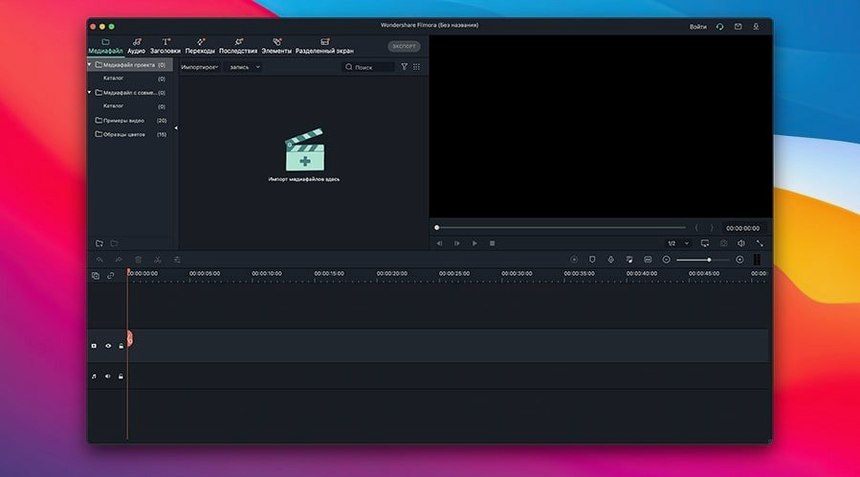
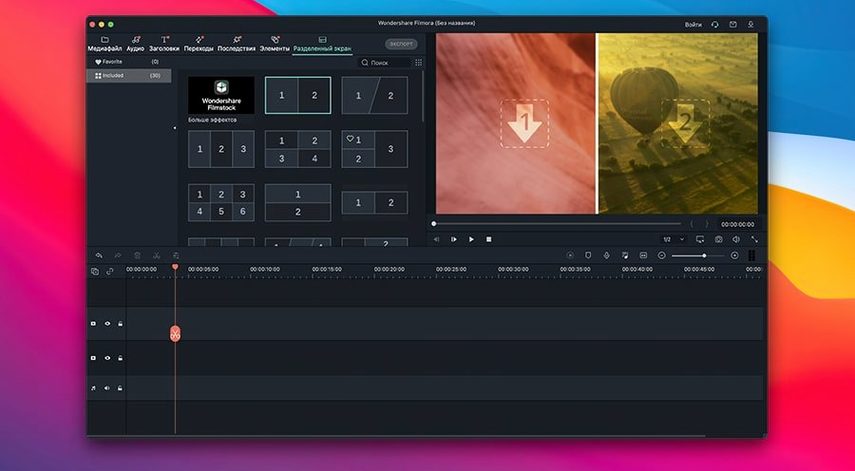
Version 14.8.17 continues on the same foundation as recent releases, with no stated changes in the developer notes. The questions people ask before installing it, however, remain practical and unchanged.
Native Apple Silicon support skips Rosetta
Yes. Wondershare states that Filmora supports Apple M1 through M4 chips, so it runs natively on current Mac hardware without relying on Rosetta translation.
Which interface languages are available?
The app includes sixteen languages. Russian, German, French, Japanese, Korean, Dutch, Portuguese, and Arabic are among them, alongside English, Spanish, Italian, Romanian, Turkish, Simplified Chinese, and Traditional Chinese.
Direct uploads to YouTube from the export dialogue
Filmora can export a completed video in multiple formats directly to a computer, and it also supports uploading to popular internet services from within the export dialogue.
What kind of built-in effects does it offer?
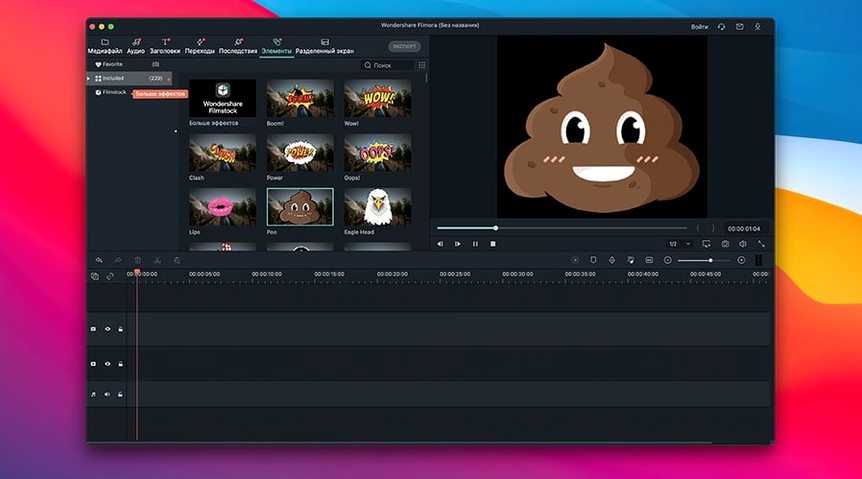
The editor ships with transitions, filters, overlays, and a collection of other effects. It also handles HD footage and includes tools for splitting a video into separate clips during editing.
Set hardware acceleration before your first large import
New users often jump straight into the timeline and start cutting. A few quieter steps early on make the next weeks smoother.
Check the performance preference before importing anything large. Filmora defaults to hardware acceleration when the Mac supports it, but on some machines — particularly older Intel models or those with less VRAM — switching to software rendering for previews avoids stuttering during playback. The setting lives under Preferences > Performance and takes effect after a restart of the app.
Create a project folder structure outside Filmora first. A plain folder containing subfolders for source footage, audio, stills, and exports keeps things findable later. The app does not enforce this, and beginners who dump everything onto the desktop spend far too long hunting for a clip they imported three days ago.
Spend ten minutes with the keyboard shortcuts panel. Filmora lists them under the Help menu, and learning even five — split at playhead, ripple delete, undo, zoom to fit timeline, and play/pause — cuts editing time noticeably. The default shortcuts are not printed on the interface, so the panel is the only reference until memory sets in.
Resist the urge to apply a filter on day one. Instead, place a few clips on the timeline, trim them, add a simple crossfade transition, and export a short test file. This confirms the entire pipeline works before any real work goes in. A surprising number of export problems trace back to a codec mismatch that shows up only at the final step, and catching it with a thirty-second test clip is painless.
If the app feels sluggish when scrubbing through 4K footage, right-click the media in the project bin and choose Proxy > Create Proxy File. Filmora generates lower-resolution stand-ins that make timeline navigation responsive again, and they switch back to full resolution at export automatically.
Merging tripod ceremony and handheld candid clips
Consider someone who films weddings part-time — a photographer expanding into video, not a full-time editor. They arrive home with two cameras' worth of footage: a DSLR on a tripod for the ceremony and a handheld mirrorless for candid moments during the reception. The combined clips total roughly ninety minutes, and the deliverable is a four-minute highlight reel set to a licensed track the couple chose.
This person needs speed more than advanced grading. Filmora suits that. They import both card dumps into the project bin, then use the Auto Beat Sync feature to map the chosen track's rhythm onto the timeline. The app places beat markers automatically, and they drag ceremony clips onto alternating markers, interspersing reaction shots from the handheld footage.
The colour from the two cameras does not match. The tripod footage is cooler; the handheld footage leans warm. Rather than grading clip by clip, they apply a LUT from the built-in library to a new adjustment layer that sits above the entire timeline. A quick tweak to the layer's opacity blends it enough that the mismatch softens without looking overprocessed. The couple's skin tones stay plausible, which is all that matters to a non-technical client.
Titles come next. They pick a clean lower-third template from the Titles browser, drop it over the first clip, and type the couple's names. The template's animation plays once and fades — no keyframing required. For the closing shot they overlay a slow zoom-in preset from the Motion tab, which saves building a custom Ken Burns effect from scratch.
Export settings are straightforward. They choose H.264 at 1080p, 24 fps, with a bitrate of 16 Mbps — a balance between upload speed and image clarity that has worked for their past deliveries. The export dialogue shows an estimated file size of roughly 300 MB, which fits within the couple's sharing preference for a cloud link.
This editor is not aiming for a festival cut. They want a clean, emotionally coherent reel delivered before the couple returns from the honeymoon. Filmora's template-driven workflow lets them finish in a single evening, and that is the metric they care about.
Anatomy of a working session
A session typically starts with the project bin. The editor opens a saved project, and Filmora restores the timeline, the bin contents, and the last-played position. The first few minutes are organisational: renaming clips that arrived with camera-generated filenames like DSC_0487.MOV to something readable — Ceremony wide shot, Toast reaction — by clicking the filename in the bin and typing.
With clips named, the editor drags the main interview file onto the timeline. The waveform expands in the audio track, and they scan visually for pauses, false starts, or coughs. To remove a section, they place the playhead at the start, press M to set a marker, move to the end of the unwanted segment, and press Cmd+B to split. A right-click on the offending section and Ripple Delete closes the gap instantly — no manual dragging of later clips to fill the space.
B-roll goes onto track two, above the interview. The editor lowers the B-roll clip's audio to zero in the audio mixer panel, keeping the interview audio dominant. They trim the B-roll's start and end by dragging the clip edges, watching the preview window for a natural cut point — a blink, a gesture, a shift in subject.
A transition between two B-roll clips feels abrupt, so they open the Transitions browser, filter by Dissolve, and drag a cross-dissolve onto the edit point. The default duration is one second; they hover over the transition edge on the timeline and drag to shorten it to fifteen frames for a snappier cut that still reads as smooth.
Halfway through the session, the editor realises the project needs a colour adjustment. Rather than exit to a separate grading module, they open the Color tab in the inspector. The White Balance picker — an eyedropper tool — clicks on a neutral grey area of a clip, and the temperature shifts. A slight bump to saturation and a gentle S-curve applied via the tone panel give the footage more presence without pushing it into unnatural territory.
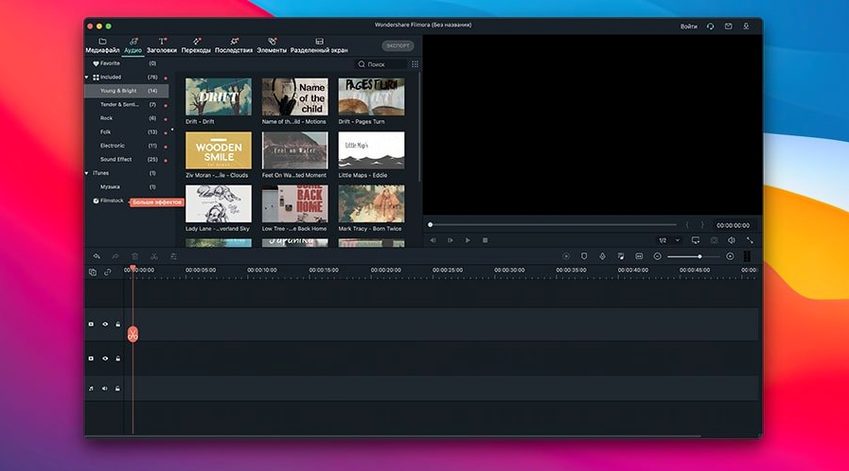
Audio levels fluctuate between clips. The editor opens the audio mixer, plays the timeline, and watches the level meter. They set a target of roughly −12 dB for speech, adjusting clip gain individually by selecting a clip and dragging the audio gain line up or down directly on the timeline waveform. A compressor effect from the Audio Effects library sits on the master audio track, smoothing the remaining peaks.
The session ends with an export. The editor presses Cmd+E, sets the format to H.264, chooses a preset that matches the intended platform, and clicks Export. While the progress bar fills, they clean up the project bin — removing unused media via File > Remove Unused Media — so the next session opens faster and with less clutter.
Stacking clips across multiple tracks avoids timeline chaos
One mistake shows up repeatedly: editing on a single track for everything. Filmora supports multiple video and audio tracks, and newcomers who stack interviews, B-roll, titles, and sound effects all on track one quickly create a timeline that is nearly impossible to adjust. Placing separate elements on separate tracks — dialogue on track one, B-roll on two, titles on three — makes the structure visible and changes straightforward.
Another frequent misstep is ignoring the proxy workflow. A beginner imports 4K footage directly, then wonders why playback stutters and the preview window lags. The footage itself is fine; the machine is simply choking on full-resolution decoding during editing. Creating proxy files early, or enabling automatic proxy generation in preferences, avoids this entirely.
Applying effects to the timeline by double-clicking them is a habit that leads to clutter. Each double-click adds the effect to the clip under the playhead, and beginners often do not notice that they have stacked three colour adjustments and two sharpening filters on a single ten-second clip. The inspector panel lists all applied effects, and clearing duplicates from there restores both performance and the intended look.
Exporting without checking the timeline boundaries is another classic. A stray frame or an unintended gap at the end of the timeline results in a video that finishes with three seconds of black silence. Setting the out-point with the End marker, or simply zooming out to see the full timeline before pressing export, catches the problem.
Beginners also tend to skip the audio mixer entirely, adjusting volume by dragging clip handles on the timeline. This works for coarse level-setting but makes consistent mixing across dozens of clips nearly impossible. The mixer panel gives a unified view of levels and lets the editor set relative balances that hold across the whole project.
Finally, some users assume Filmora saves everything automatically. It does save project files, but it does not create backups unless the user enables auto-save in preferences and sets an interval. A crash after two hours of unsaved work is avoidable with a five-minute trip to the preferences window on day one.
Soft exports traced to low default bitrate
Exported video looks softer than the preview. This usually comes down to export bitrate. The default preset for some formats uses a bitrate lower than the source footage's data rate, and compression artefacts appear in detailed areas — leaves, fabric textures, fast motion. Raising the bitrate manually in the export settings, or choosing a higher-quality preset, restores sharpness. For 1080p H.264 footage, a target bitrate of 16–20 Mbps is a reasonable starting point; 4K exports need proportionally more.
Audio drifts out of sync on long clips. This can happen when the source file uses variable frame rate, common with screen recordings and some smartphone footage. Filmora expects constant frame rate, and VFR material confuses the timeline sync. The fix is to transcode the problematic clip to a constant frame rate format before importing. HandBrake or a similar utility handles this, and the re-encoded clip stays in sync throughout.
The app quits unexpectedly during export. Long exports push the machine harder than editing does, and overheating or memory pressure can trigger a crash. The workaround is to split a long timeline into two or three sections and export them separately, then join the resulting files with a quick concatenation pass. This reduces the sustained load and often sidesteps the thermal threshold that caused the crash.
Transitions between clips stutter on playback. If hardware acceleration is enabled and the GPU is struggling, certain GPU-accelerated transitions can hitch. Switching to software rendering in preferences often smooths this out, at the cost of slightly slower final export. The setting can be toggled back to hardware acceleration just before export if speed matters more than real-time preview smoothness.
Imported media shows as black or "media offline". This typically occurs when the source files live on an external drive that has been disconnected or renamed since the project was last opened. Reconnecting the drive and reopening the project resolves it. If the drive letter or name changed, Filmora prompts to locate the missing files manually — pointing it to the correct folder restores all linked media at once.
Filmora refuses to import a specific file format. While the app supports a broad range of containers and codecs, some less common formats — particularly older AVIs with legacy codecs or MKV containers — are not recognised. Converting the file to MP4 with H.264 video and AAC audio, using a tool like the re-encode function mentioned above, makes it importable. The quality loss from a single high-bitrate transcode is negligible for most editing purposes.