Aspecten
 Download (86 MB)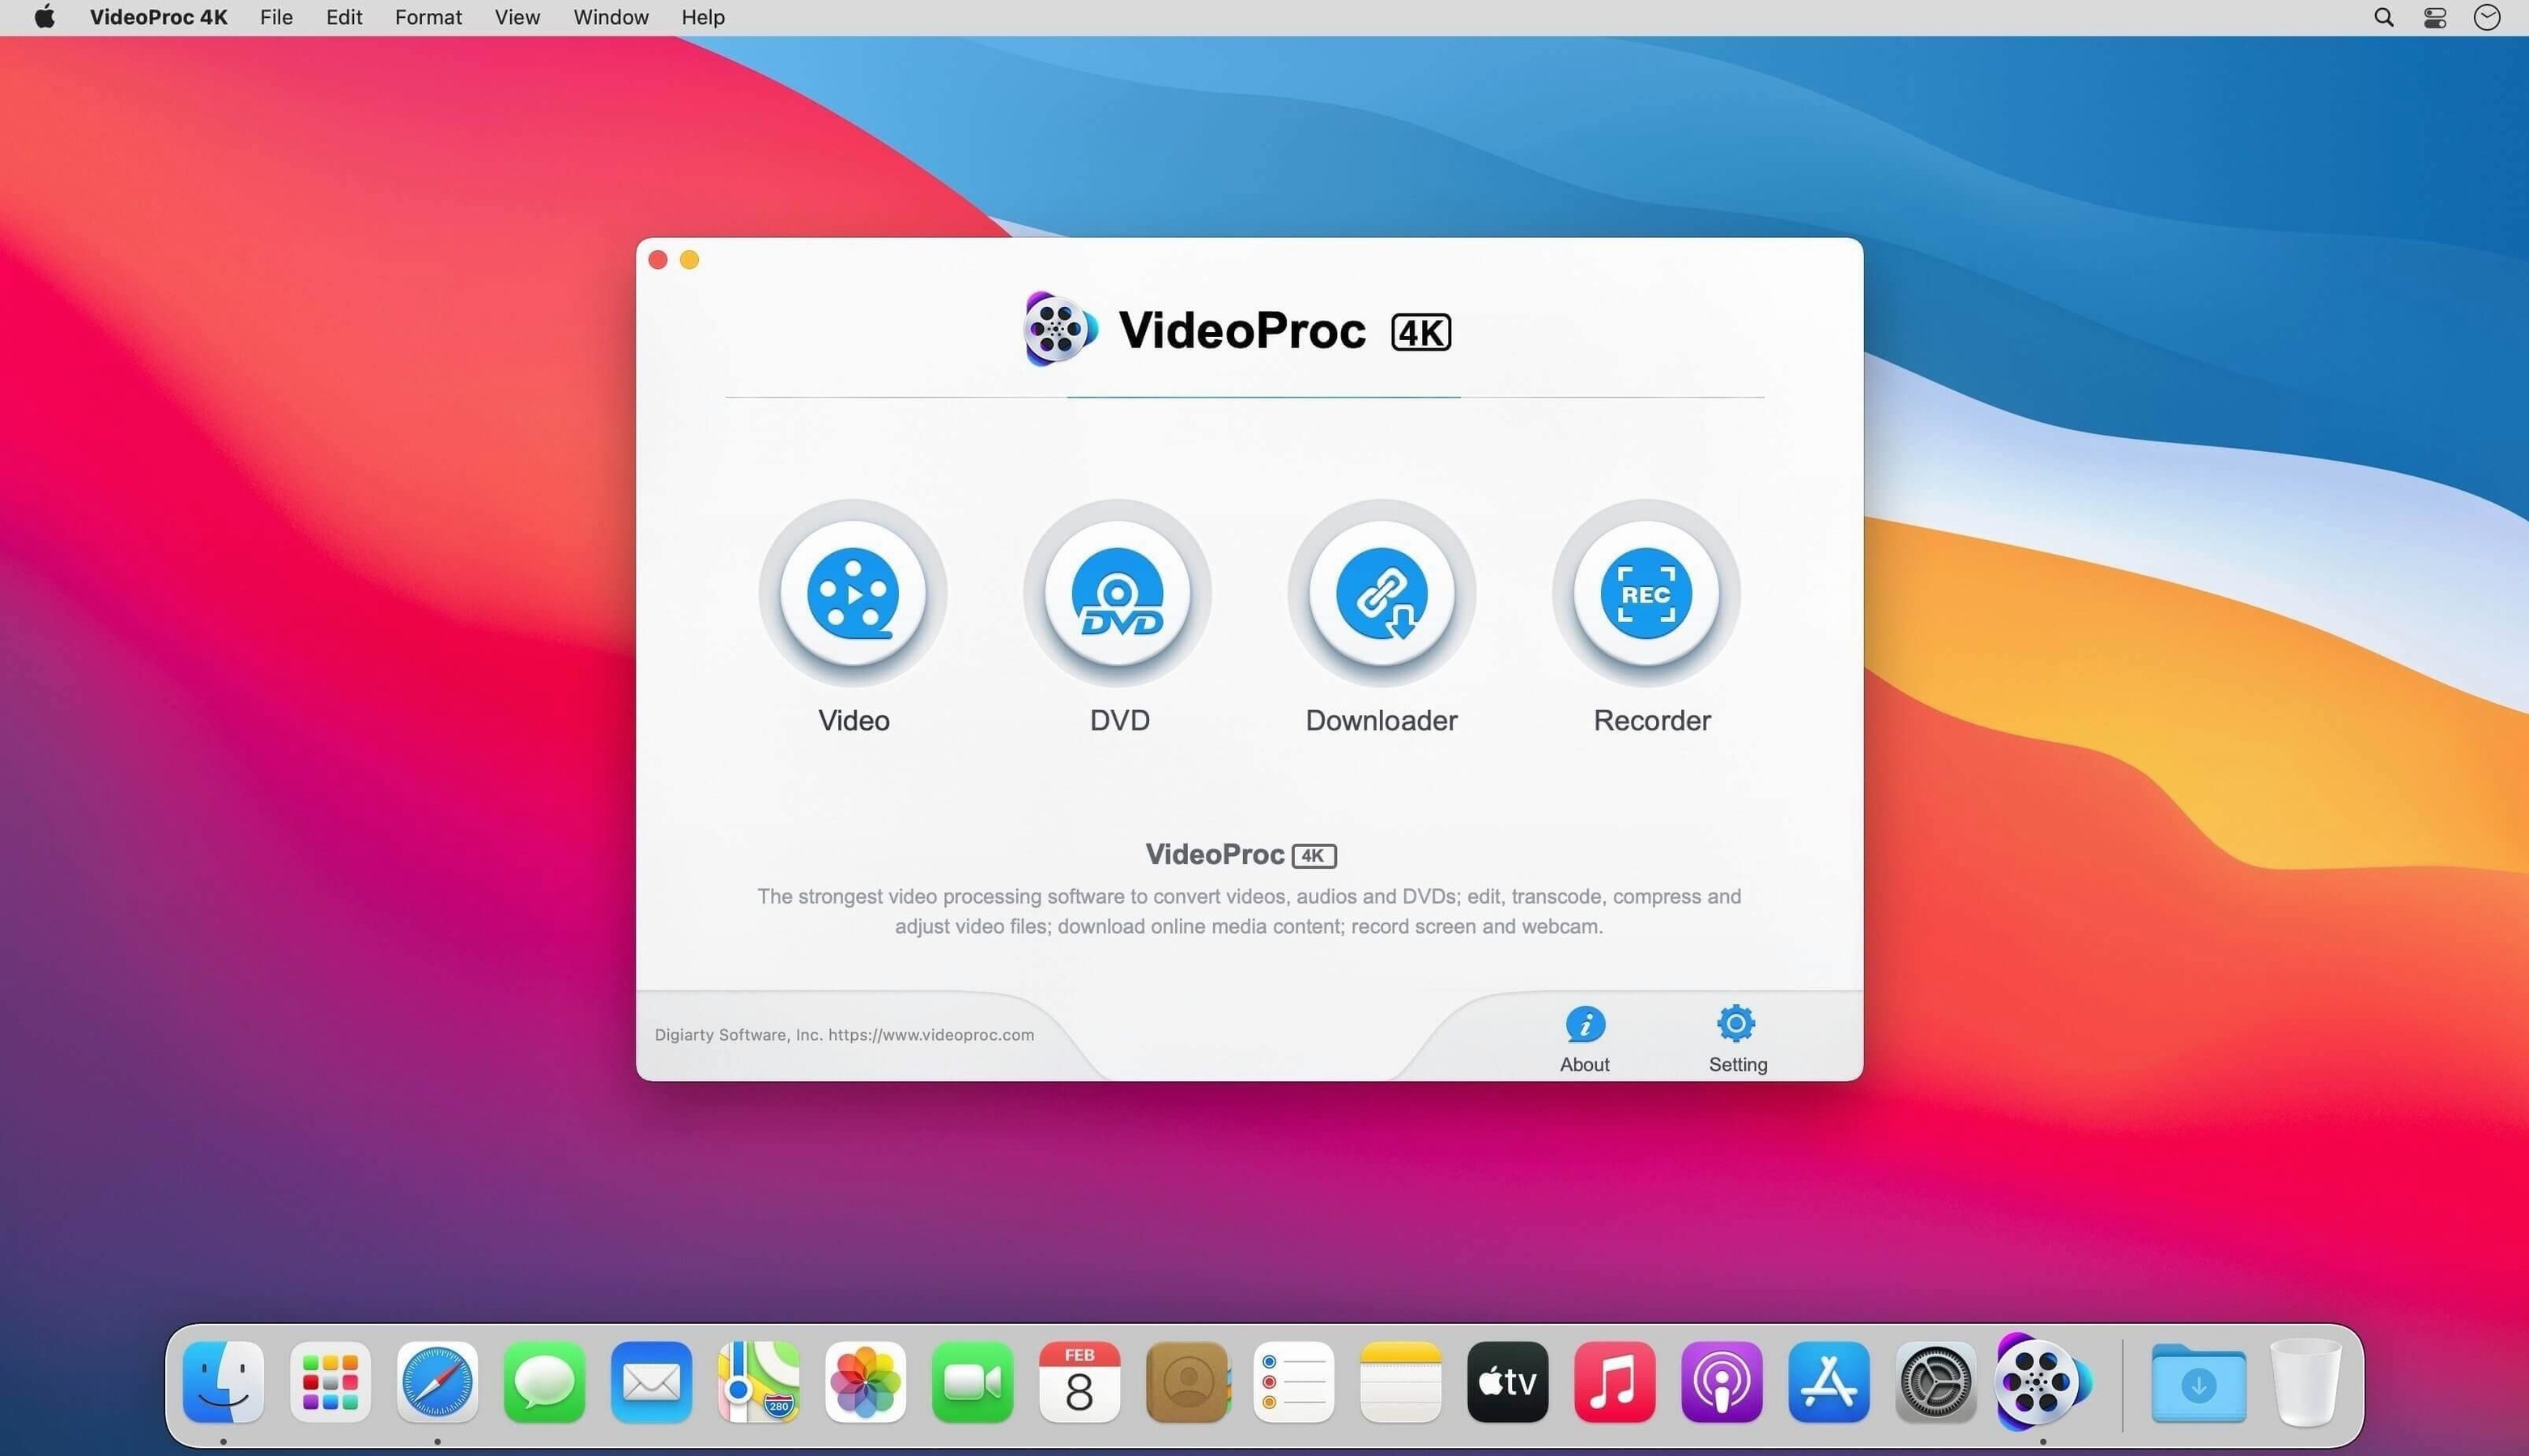
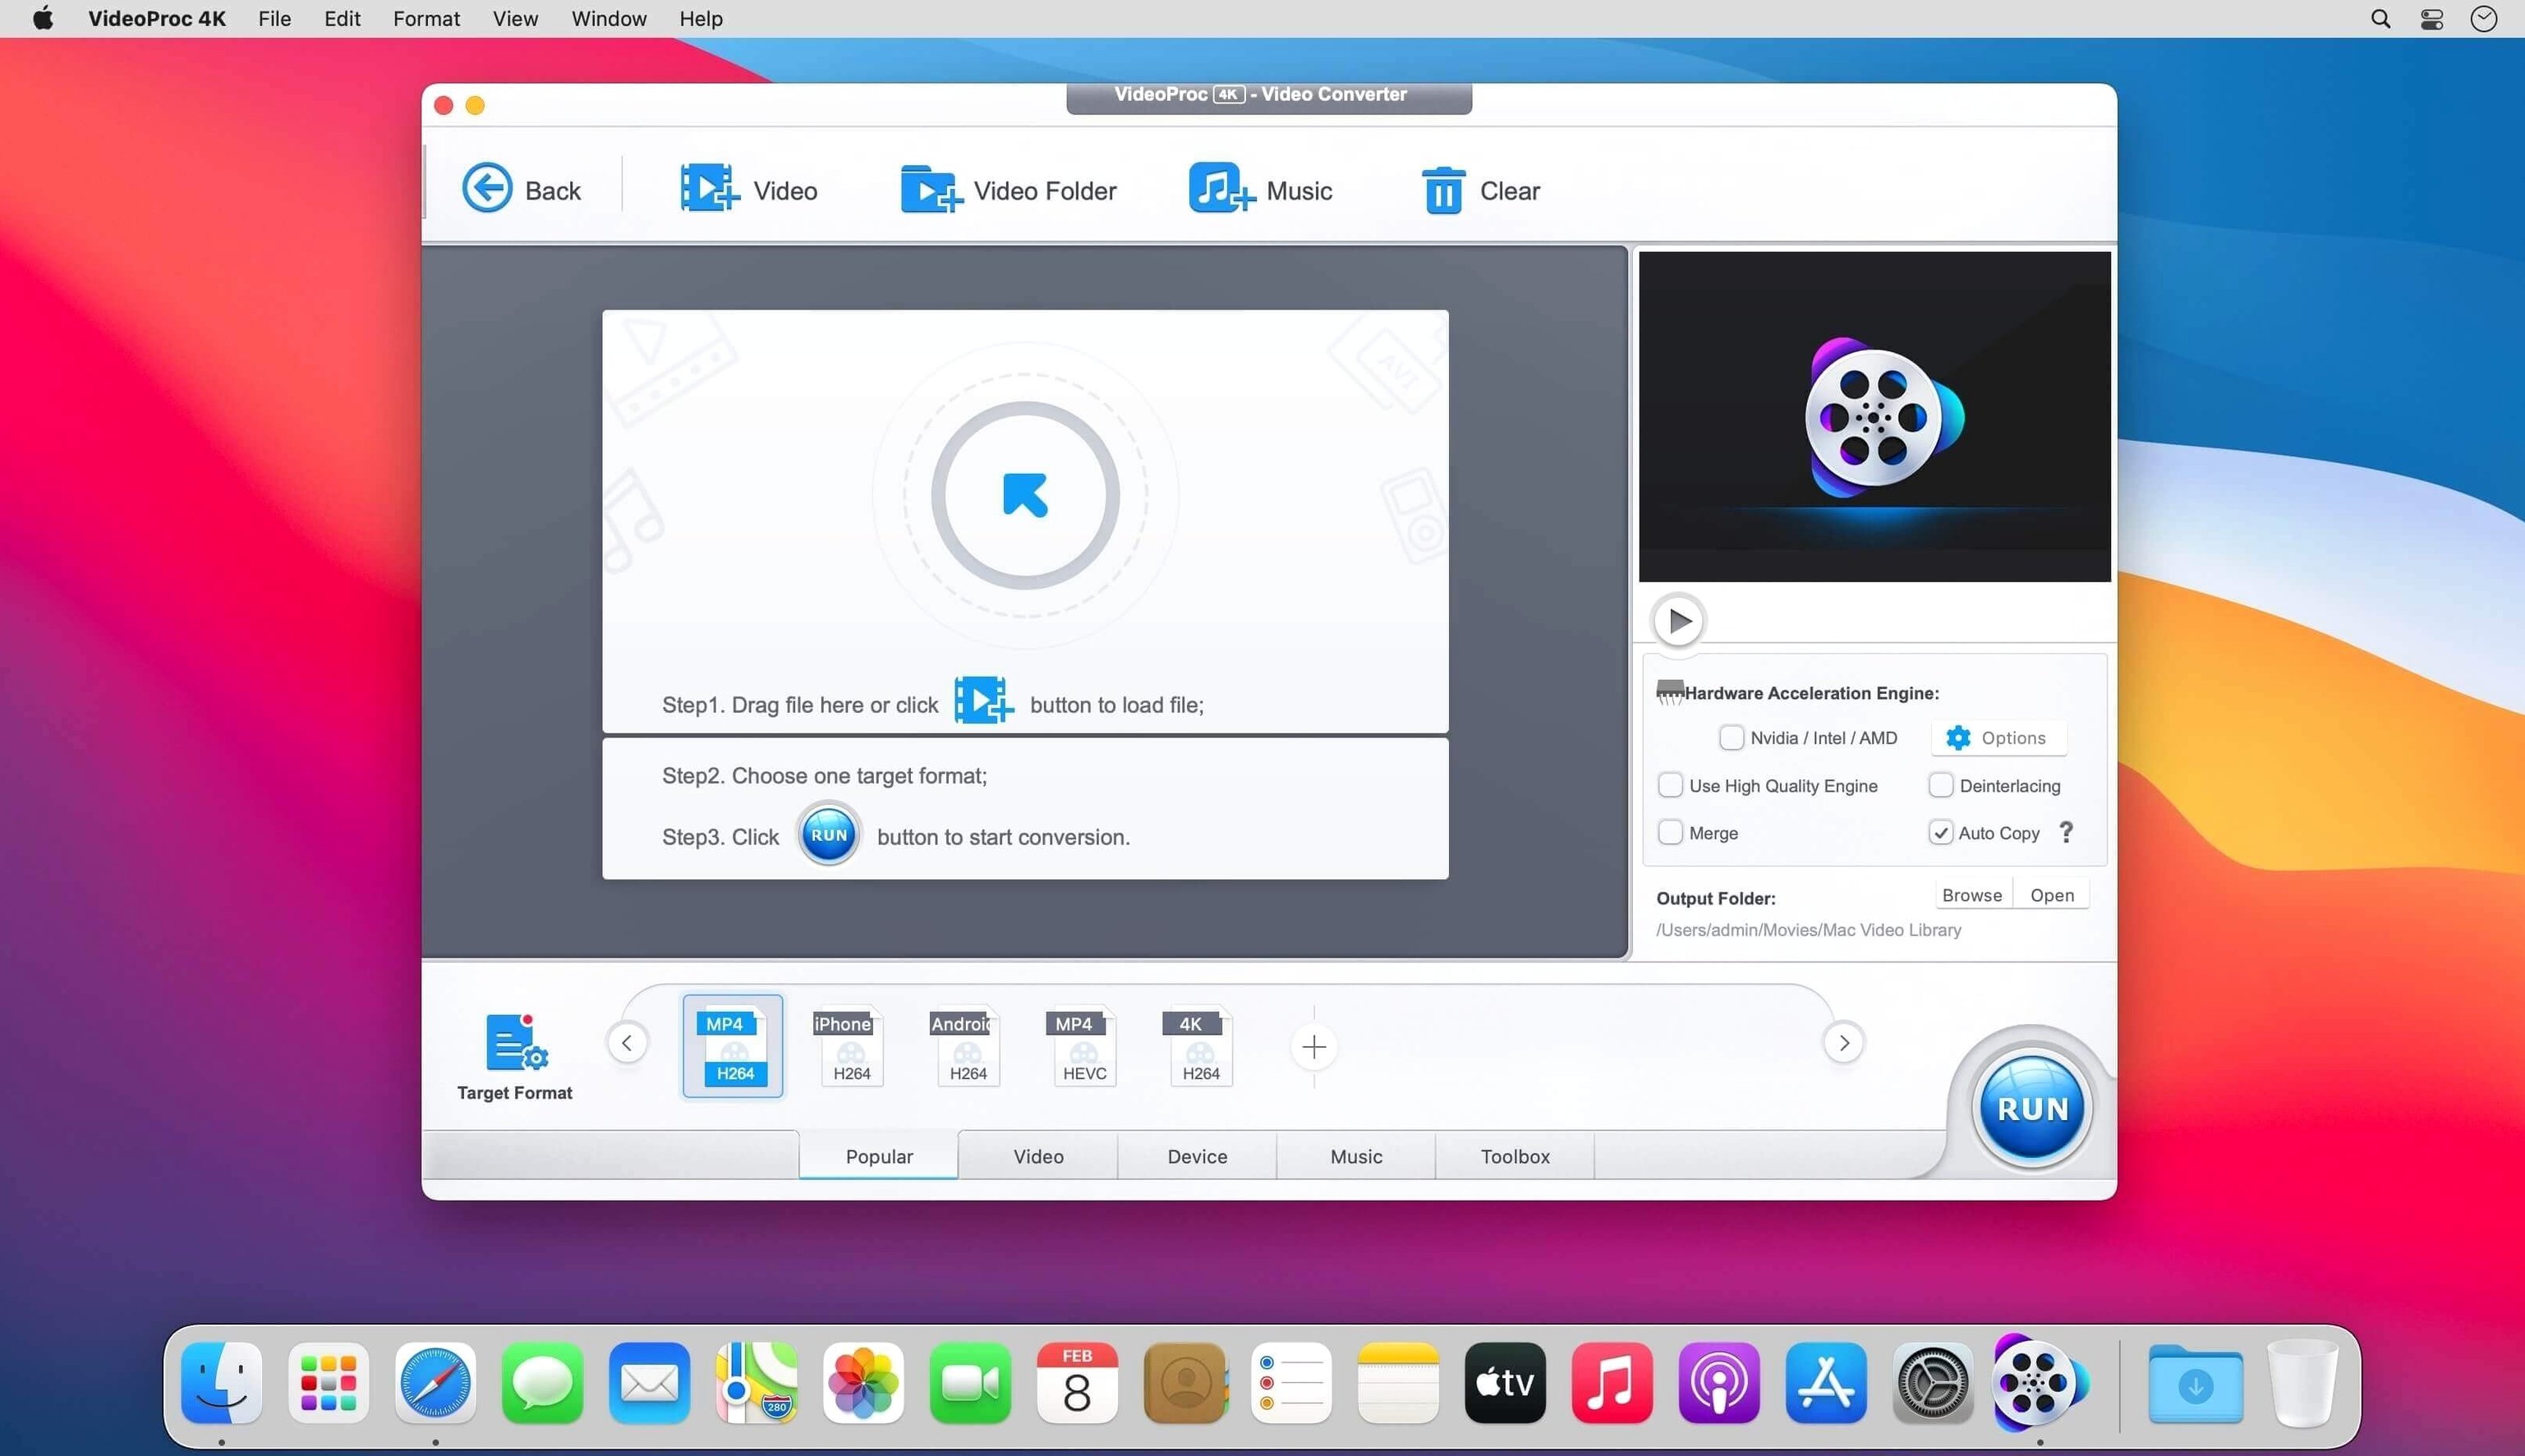
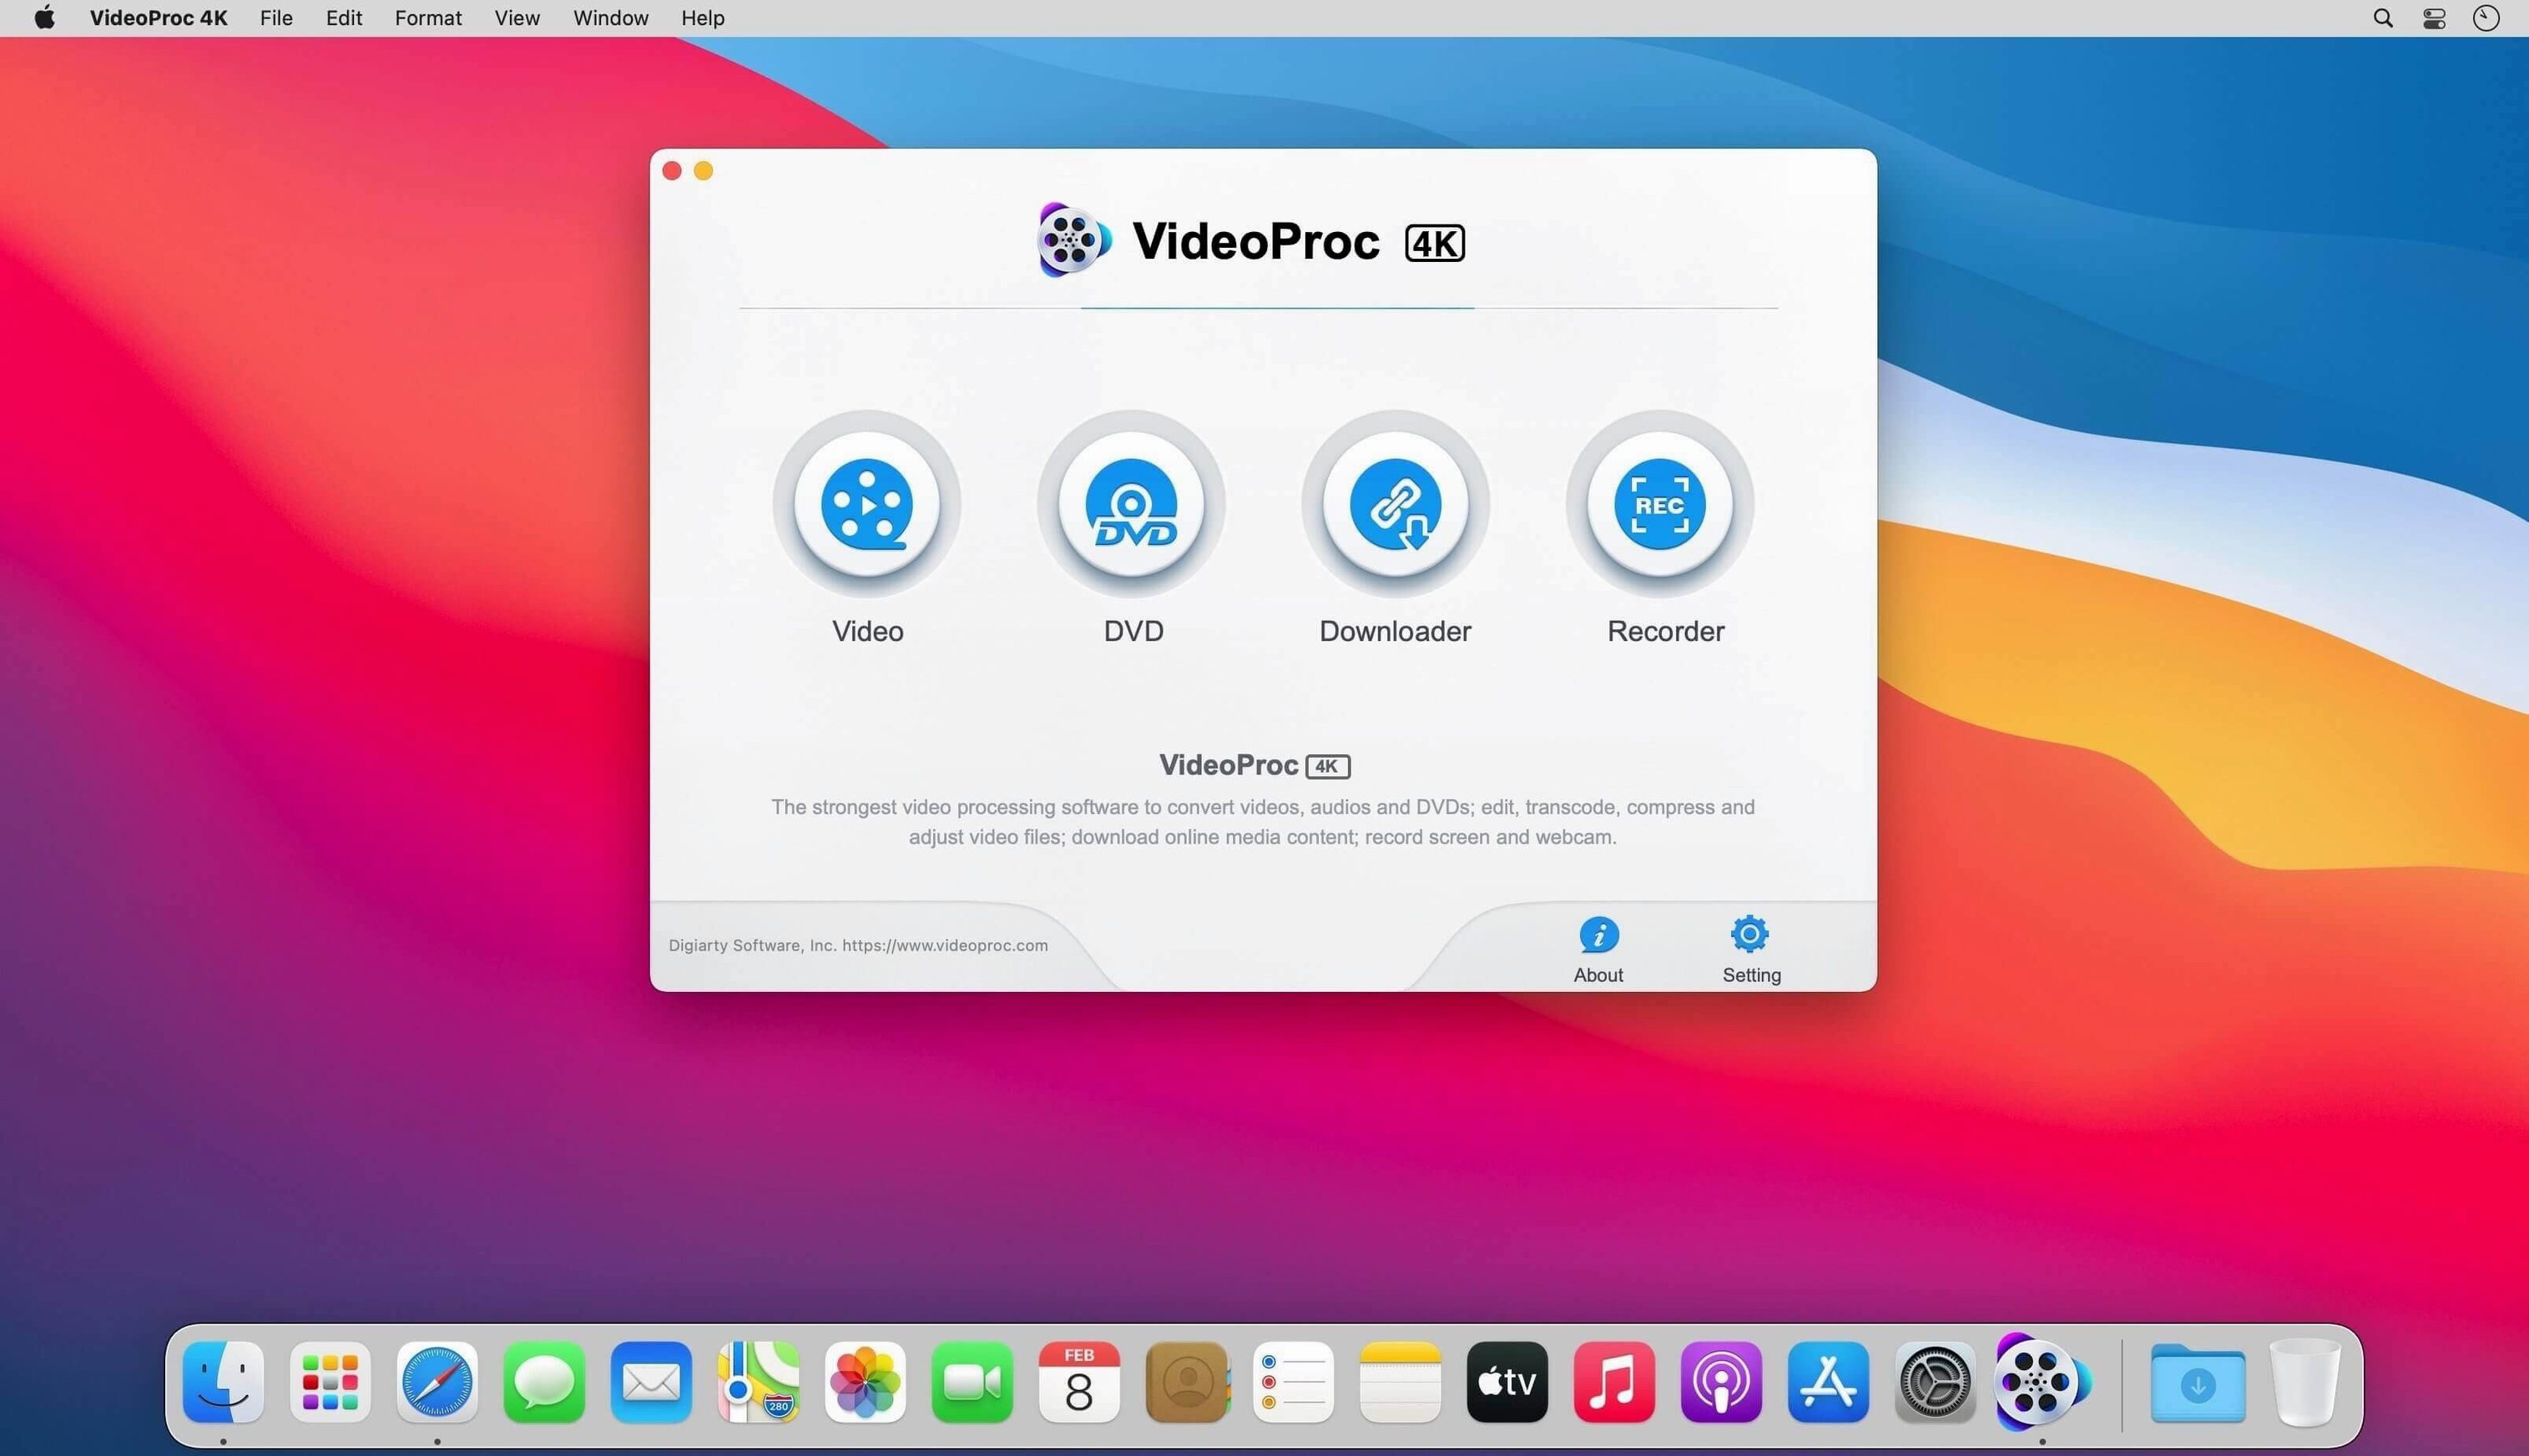
Video Super Resolution is the module you reach for when footage shot on an older camera or pulled from a drone needs to fill a higher-resolution timeline without turning to mush. It sends the frame through a trained model rather than a simple interpolation filter, and on an Intel Mac with a supported GPU the processing stays reasonably brisk.
- Load the source file — the app reads media from iPhones, Android devices, cameras, drones and GoPro caddies without fussing about wrapper formats.
- Choose one of the 370 codecs as a destination and set the container. The Mac build is 64-bit Intel x86, so the encode path leans on whatever hardware acceleration is available.
- If the source needs refinement, open the Frame Interpolation tool to smooth motion or step into the Image AI module for still-frame corrections before the final encode.
- Start the queue. GPU acceleration handles the heavy parts of both conversion and editing, which keeps the machine usable for other tasks while the job runs.
What makes VideoProc Converter worth investigating beyond a stock transcoder is that the AI modules are not just tick-box extras — Super Resolution and Frame Interpolation each address a real post-production headache, and the codec range means you can turn almost any camera original into a sensible editing codec or delivery format without a chain of intermediate apps.
Toggle hardware acceleration for your Mac’s chipset
A few defaults inside VideoProc Converter deserve attention before you drop the first file onto the timeline. The hardware acceleration toggle lives under Preferences > General and is enabled out of the box. On an older Intel Mac with a discrete GPU that has not seen a driver update in a while, switching it off and running a short test encode can reveal whether software encoding is actually stabler for your particular chipset.
Next, check the Output folder path. The default points to the system Movies directory, which quickly becomes a mess once batch jobs start piling up. Point it at a dedicated project folder on a drive with plenty of headroom — the Super Resolution module writes large temporary frames during analysis, and a cramped boot volume will slow everything.
Under Conversion > Default video codec, the preset is usually H.264. If your timeline lives in Final Cut or Resolve, switch the default to ProRes 422 — you will save yourself a re-encode later. The same screen lets you set the default audio codec to PCM when working with editing-grade intermediates, which avoids the compressed-audio-in-timeline annoyance that plagues many transcoded dailies.
One checkbox that is easy to miss: Keep original folder structure in the batch-import panel. When you feed the app a card dump with a DCIM tree, leaving this unchecked flattens everything into one directory. For drone and GoPro shoots where folder names carry date or clip-number information, ticking it preserves context you will want during the edit.
Test conversion on a 30-second clip you already know
Start with a small, known file rather than a two-hour timeline export. A thirty-second clip from a GoPro or a drone works well — you already know what the footage looks like, so any oddities introduced during conversion stand out immediately. Run it through three different codec presets and compare frame edges at 400% magnification. That single exercise teaches you more about the encoder behaviour than reading the manual.
Keep the Preview panel open during the first few sessions. The frame snapshot function, tucked into the toolbar, lets you grab stills at the current processing stage and drop them onto a reference track in your editor. When you later apply Super Resolution to a batch, comparing those snapshots against the originals gives you a calibrated sense of how much the model is actually recovering — useful when a client asks whether the upscale was worth the render time.
If the app feels sluggish during UI interactions, toggle the thumbnail generation setting down to Low quality. The media browser builds previews aggressively by default, and on a machine without a fast SSD it can become the bottleneck long before the encoder does. The thumbnails remain legible, just less crisp, and the timeline scrubbing gets noticeably snappier.
For anyone working with footage from multiple cameras, spend ten minutes building a preset for each source: one for iPhone HEVC, one for DJI D-Log M, one for GoPro flat profiles. Name them plainly — iPhone_to_ProRes, DLogM_to_Rec709 — and the batch workflow later becomes a matter of selecting clips and applying the right preset rather than reconfiguring parameters every time.
Conform 60 mixed log and Rec.709 clips for editing
You return from a morning shoot with sixty clips split across a drone and a mirrorless camera. The drone footage is 4K H.265 10-bit log; the camera produced 4K H.264 with a baked-in Rec.709 profile. Both need to land in a 1080p timeline for a quick-turnaround edit, and the drone log clips need a colour transform before anything else.
The first step is ingestion. You mount both SD cards, launch VideoProc Converter, and drag the DCIM folders from each card onto the media bin. The app parses the folder trees quickly — file names, durations and codec details populate in under a minute. You select all the drone clips, apply the DLogM_to_Rec709 preset you built earlier, and queue them. While they process, you select the camera clips, pick a straight H.264-to-ProRes preset at 1080p, and add them to the same queue. The batch panel now shows two groups with different settings, and you start the lot with one click. GPU acceleration keeps both encode jobs moving in parallel, and the fan on the machine barely ramps.
Halfway through, you spot a clip where the drone wobbled on a gust of wind. You pause the queue, isolate that file, and open the Frame Interpolation tool. The shaky section contains only twelve frames; you let the module generate intermediates and scrub through the result in the preview pane. The motion smooths out enough to be usable, so you drop the processed version back into the batch as a new entry and resume the queue.
By the time the edit session begins, all proxies and transcoded masters sit in their project folders, colour space transforms are baked into the intermediates, and the one shaky clip no longer needs stabilisation in the timeline. The whole session — ingestion, preset application, a small frame-interpolation detour, and batch export — runs inside forty minutes for roughly forty minutes of source material.
A workflow for archiving drone footage
Archival workflows ask for a different approach than edit-prep. The goal is long-term storage: a compact, high-quality master that preserves the original log profile and metadata while shrinking the file size enough to make a multi-terabyte library affordable. VideoProc Converter handles this well once you set up the parameters deliberately.
Start with the DJI or GoPro originals still on the card. Import them into the app and select HEVC as the output codec with a quality slider around 85–90%. The key is in the advanced encoder settings: set the GOP length to match the source frame rate exactly — one keyframe per second for 30 fps footage — and enable Preserve metadata in the output options. Without that checkbox, the GPS coordinates and camera parameters embedded by the drone vanish during the transcode, and they are precisely the data you want in an archive.
For the audio track, pass-through is the safest choice. The low-bitrate AAC stream that comes off most consumer drones does not benefit from re-encoding, and keeping the original stream avoids generational degradation. The file container should be MP4, not MOV; most archive cataloguing tools index MP4 metadata more reliably, and the format is less likely to need a proprietary decoder decades from now.
Before committing the whole batch, run one clip through and inspect the result in a tool that reads EXIF and XMP metadata. Confirm that the altitude, camera serial number and colour profile tags survived the encode. Once verified, queue the entire card and let the batch run. A typical 64 GB card from a DJI Air series shrinks to around 18–22 GB at these settings, and every frame remains in its original log colour space, ready for a future grading session where you might want that latitude back.
The archived files then go to a NAS or a cold-storage drive, and the card gets formatted for the next flight. Having a single app handle the compression, metadata preservation and codec choice without chaining three utilities together keeps the archival pipeline tidy — and tidy pipelines are the ones you actually stick with when the shoot count climbs.