Aspecten
 Download (111 MB)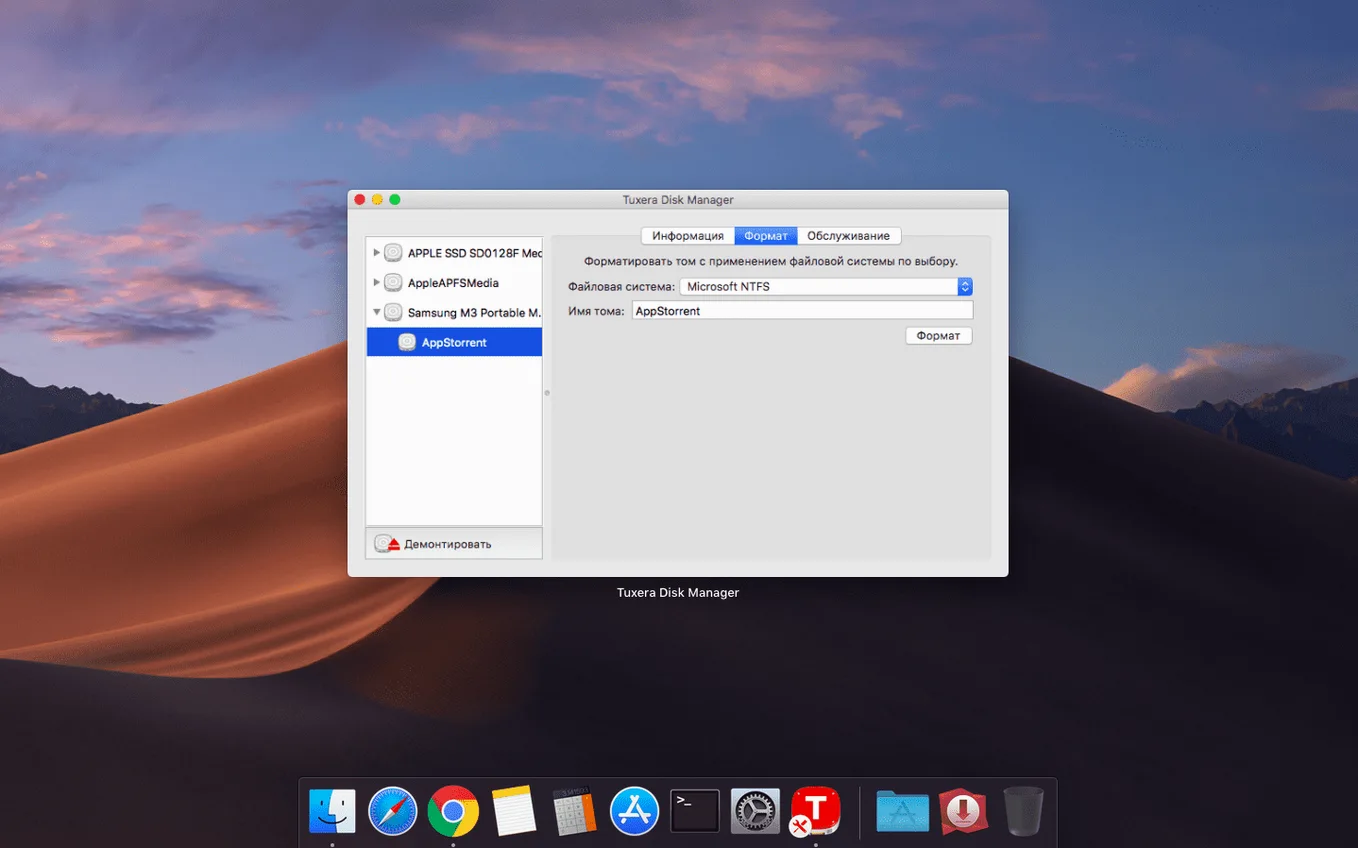
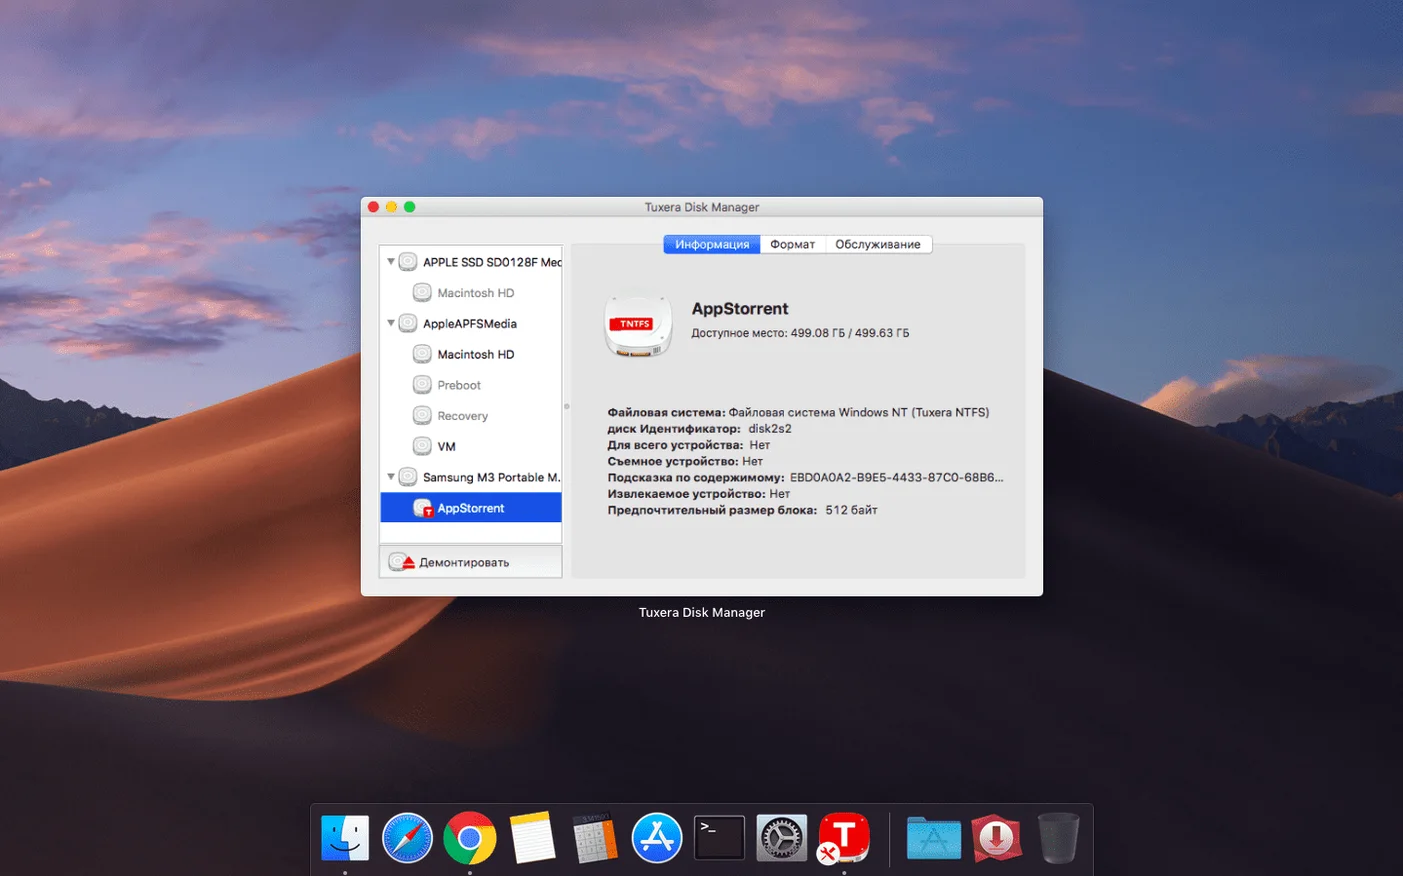
Tuxera NTFS runs on any Mac with OS X 10.9 or later, across both Intel and Apple Silicon machines. For someone new to the driver, the first half-hour is about confirming that the core promise holds: plugging in a Windows-formatted USB drive and finding it behaves like any other writable volume. These steps walk through that first encounter.
- Connect a USB drive formatted in Windows. The drive mounts automatically in Finder, showing up with full read and write permissions rather than the usual read-only NTFS mount.
- Create a new folder on the NTFS drive. Right-click inside the Finder window, choose New Folder, and give it a name. This confirms writing works without delay.
- Copy a file from the Mac desktop to the drive. The transfer completes at the drive's native speed, and the date and time stamp on the copied file is correct as of version 2023.1.
- Open a file stored on the NTFS volume, make a small edit, and save it directly back. The changed file remains intact when the drive returns to a Windows PC.
- Use Disk Utility's counterpart inside Tuxera to format a spare USB stick as NTFS from the Mac. The resulting volume is readable on a PC without extra steps.
Once these basics are working, the driver settles into the background. The main thing to watch is that the drive appears as writable each time it is connected; if it does, the driver is handling the translation between macOS and NTFS without further input.
Transfer rates stay close to native when copying to external SSD
In practice, Tuxera NTFS adds little overhead you would notice. The driver sits between macOS and the connected drive, translating file system calls. When you copy a large folder of mixed files to an external NTFS SSD, transfer rates stay close to what the same drive achieves with a native macOS format. A sustained write of a 20 GB video file to a spinning USB 3 hard disk tends to hover around the drive’s mechanical ceiling, not around a software bottleneck. Read speeds are similarly predictable; opening a folder with several thousand small images does not feel heavier than it does on an APFS volume.
Memory use is modest and stable during long sessions. The background process, typically listed as TuxeraNTFS in Activity Monitor, rarely climbs above 40 MB of RAM even with two or three NTFS volumes mounted at once. CPU activity spikes briefly when mounting a drive or when macOS indexes its contents for Spotlight, but it drops back to near zero within seconds. On an M1 MacBook Air running macOS Sonoma, leaving a 1 TB NTFS external drive connected overnight produced no gradual memory creep and no wake-from-sleep issues the next morning.
One area where the driver earns its keep is in mixed-platform households. Moving a project drive between a Windows editing rig and a Mac laptop several times a day remains uneventful. Drives mount within five seconds of connection and eject cleanly when you drag them to the Trash or use the Finder eject button. The driver also handles unexpected disconnections better than the built-in read-only NTFS support; a drive yanked without ejecting is far less likely to produce a corrupted index when you plug it in again, because Tuxera flushes writes more aggressively to the disk. On the rare occasion a volume does need checking, the built-in repair tool runs quickly from within the preference pane.
Windows hibernation or fast-startup can lock a volume
One early misstep is assuming the driver works for every drive the moment it is installed. Tuxera NTFS enables writing from the macOS side, but it cannot fix a volume that Windows left in a hibernated or fast-startup state. If a drive was last used on a Windows machine with Fast Startup enabled, the NTFS volume may carry a dirty flag that blocks mounting. The Mac sees the drive but refuses to mount it, and the error message does not explain the cause. Shutting Windows down fully — holding Shift while clicking Shut Down — before unplugging the drive prevents this entirely.
Another common error is formatting a new drive as NTFS from the Mac and then wondering why a Windows PC claims it needs formatting. This usually happens when the user picks an allocation unit size that Windows considers unusual, or when the drive was not safely ejected after formatting. Sticking with the default allocation unit size Tuxera suggests during the format dialogue avoids the first problem; the second is solved by a clean eject right after the format finishes.
Some newcomers try to install the driver while a third-party NTFS tool is still active. Having two NTFS drivers on the same system creates conflicts: drives may mount unpredictably, or one driver may lock the volume so the other cannot touch it. Removing the old driver completely — not just disabling it — before installing Tuxera gives the cleanest result. The same applies to leftover kernel extensions from long-uninstalled NTFS utilities; a quick check in System Information under Extensions can reveal remnants worth clearing.
A subtler mistake involves Spotlight. By default, macOS indexes every mounted volume for search. On a large NTFS drive with millions of small files, the initial indexing can slow the drive to a crawl for an hour or more. Users often interpret this as the driver being slow when the culprit is Spotlight. Adding the NTFS volume to Spotlight's privacy list in System Settings stops the indexing and returns the drive to full speed immediately.
Kernel extension approval often hides in Privacy & Security
A drive that mounts as read-only despite the driver being installed usually points to one of three things. First, a trip to System Settings > Privacy & Security confirms the kernel extension was allowed; sometimes the approval prompt appears only after the first restart, and missing it leaves the driver partially inactive. Second, checking whether the drive itself has a physical write-protect switch eliminates a simple hardware cause. Third, running a quick repair from the Tuxera preference pane catches any minor NTFS metadata corruption that macOS interprets as a reason to mount read-only.
An error stating that a file is "in use" when you try to move or rename it is often caused by Quick Look or Spotlight holding a file handle. Pressing Space on a file in Finder triggers a preview that sometimes locks the file for a few seconds after the preview window closes. Waiting briefly or using the Terminal to list open files on the NTFS volume usually identifies the hung process. Killing that process in Activity Monitor releases the lock without a restart.
When a drive mounts but files with long names or non-Latin characters appear as gibberish, the problem is encoding. Windows and macOS sometimes disagree on how filenames with Cyrillic, Arabic or CJK characters are stored. Tuxera handles most of these correctly, but files created by very old Windows versions may use a legacy encoding that needs manual conversion. Copying such files to the Mac desktop, renaming them, and copying them back to the NTFS volume writes the names in a modern encoding both systems understand.
Slow write speeds that do not match the drive's capability are often a cable or port negotiation issue, not a driver fault. Testing the same drive on a different port or with a different cable rules out the hardware variable. Once hardware is excluded, disabling NTFS compression for newly written files — an option tucked in the driver's advanced settings — can lift write throughput noticeably on older spinning drives.
Disable caching forces immediate writes for drives unplugged without ejecting
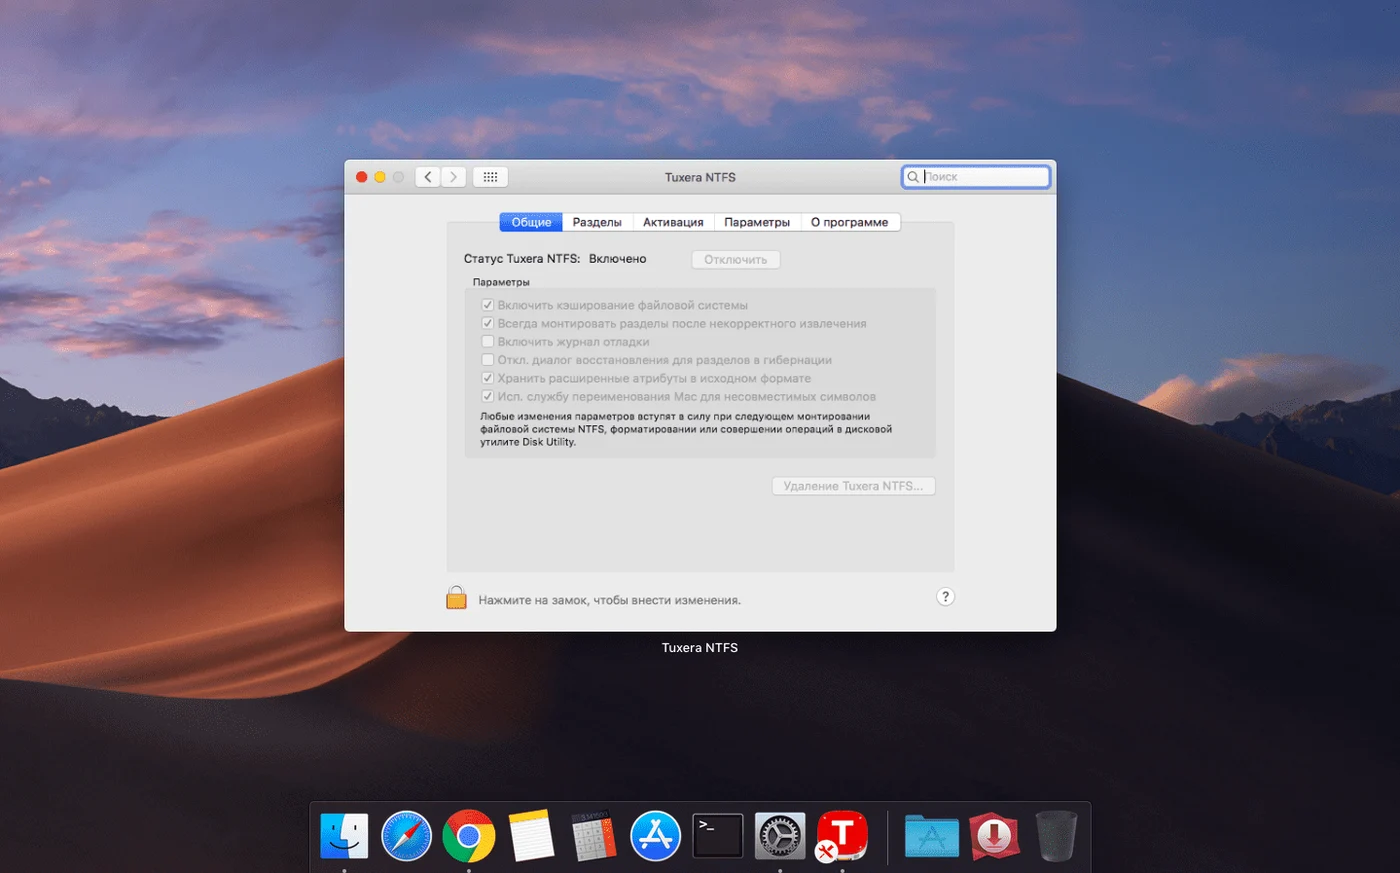
The preference pane holds a few items that are not immediately obvious. A checkbox labelled “Disable caching” can be toggled to force immediate writes to disk. For drives that are frequently unplugged without ejecting, this reduces the chance of data loss, though it also lowers peak write speed slightly. It is a trade-off worth knowing about if you work with removable media in a hurry.
Right-clicking an NTFS drive on the desktop and holding Option reveals a diagnostic menu item that skips the preference pane and runs a quick consistency check. The same menu offers a “Mount as read-only” override, useful when you want to guarantee no writes touch a drive you are using for forensic copying or data recovery.
The format tool inside the preference pane remembers your last-used volume label, which saves a few keystrokes when you routinely format several USB sticks with the same naming scheme. It also supports creating NTFS disk images directly — not just formatting physical drives. A sparse bundle NTFS disk image grows as you add files, which is handy for storing Windows-friendly file archives on a Mac-formatted backup disk without partitioning.
From the Terminal, the utility tuxera_ntfs gives scriptable control over mounting and unmounting volumes. A simple tuxera_ntfs –list shows all connected NTFS volumes with their mount points and health status. Automator workflows or shell scripts that need to mount a specific NTFS drive, copy files, and eject it can rely on these commands instead of clicking through Finder.
Set update checks to a frequency you can live with
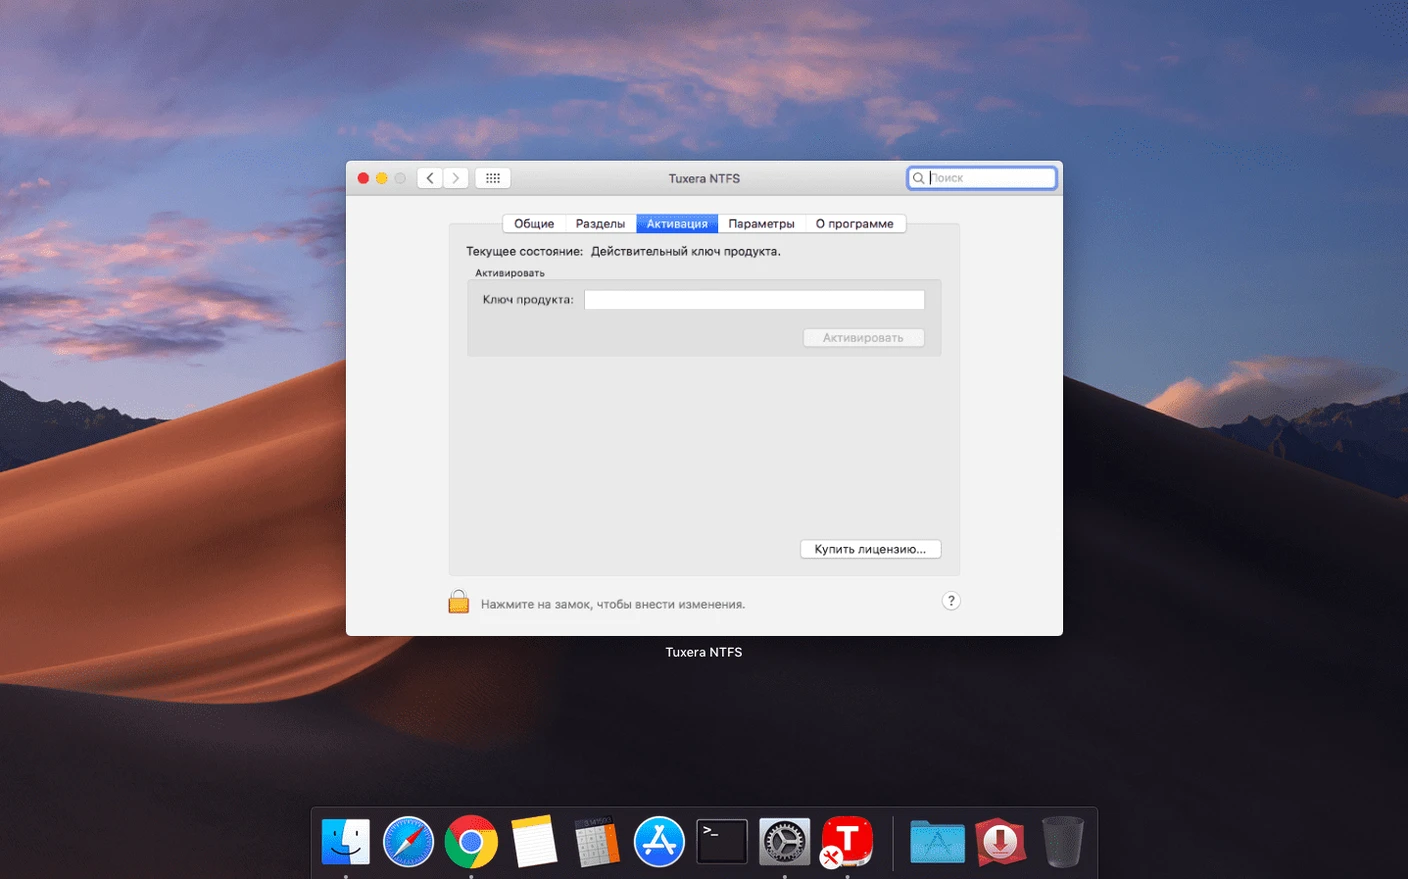
Right after installing, opening the Tuxera NTFS preference pane and unchecking “Automatically check for updates” is not necessarily wise, but checking that updates are set to a frequency you can live with is. The driver rarely prompts, and when it does, accepting the update preserves activation across the new build.
The “Enable extended attributes” setting controls whether macOS metadata — Finder tags, resource forks, and the hidden .DS_Store files — gets written to the NTFS volume. For a drive that travels only between Macs, leaving this on is fine. For a drive that regularly returns to a Windows environment, switching it off keeps the volume cleaner and avoids littering Windows Explorer with dot-underscore pairs.
If you often work with virtual machines, the “Optimise for VM” toggle is worth enabling. It adjusts the locking policy so that the hypervisor and macOS are less likely to step on each other’s file operations when a virtual disk image sits on the NTFS volume. Parallels Desktop and VMware Fusion users running Windows guests from an external NTFS drive will notice fewer stale file handle errors with this option on.
Finally, the “Mount at login” list in the preference pane lets you nominate specific NTFS volumes that should attach automatically when you sign in. Drives used for Time Machine alternatives or regular backup scripts benefit from this, since a missed mount at login can cause a backup job to fail silently. Adding the drive by its UUID rather than its volume name avoids confusion when two drives share the same label.