Aspecten
 Download (6 MB)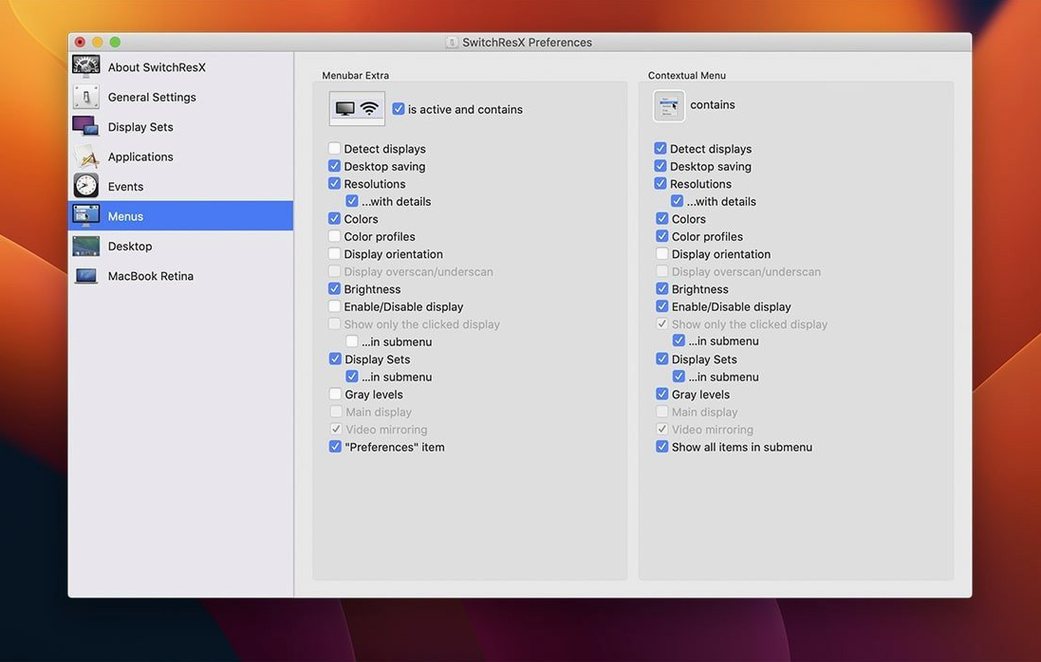
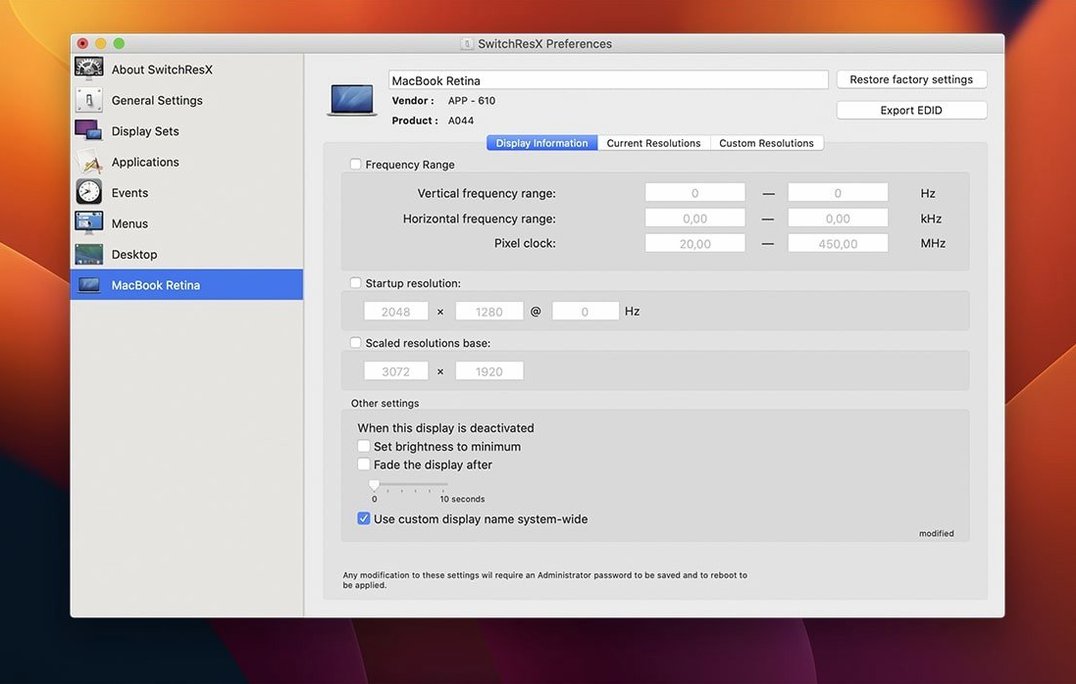
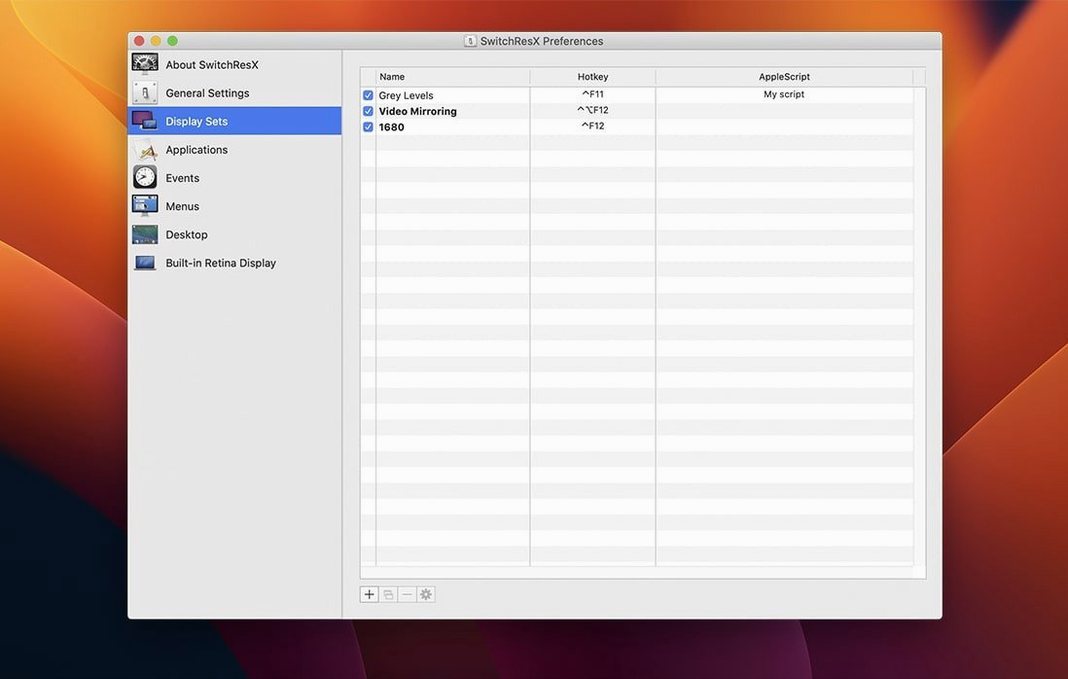
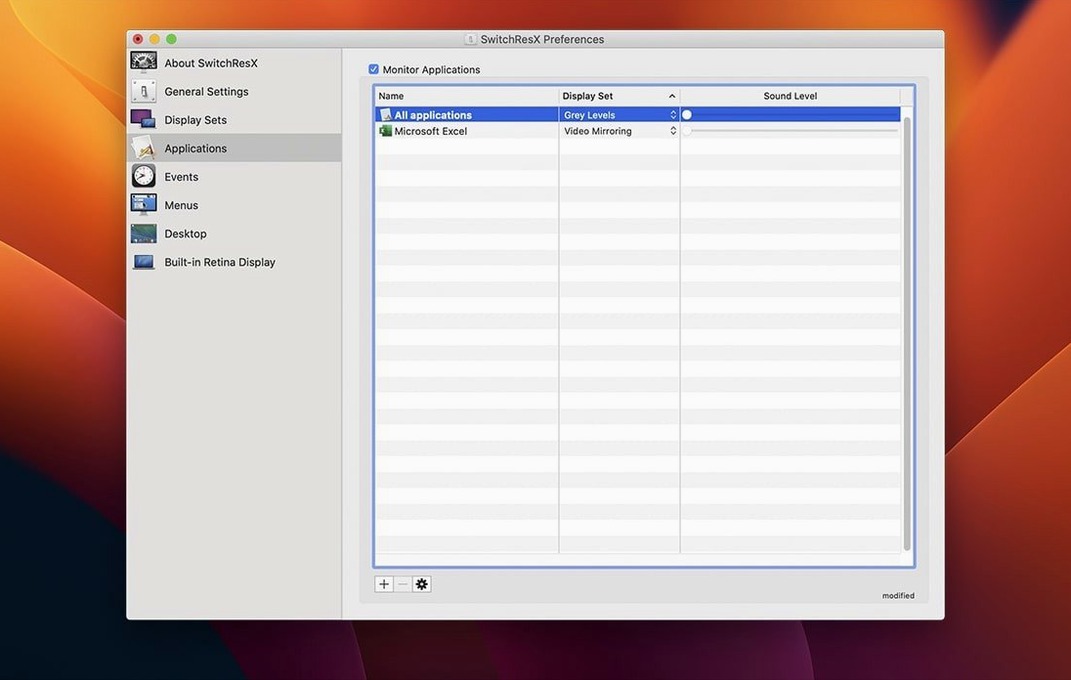
Photographers calibrating a reference monitor, developers connecting a Mac to an oversized HDTV for testing, and anyone who finds the standard macOS resolution picker too limited turn to SwitchResX. It sits quietly in the background until you need a resolution or colour profile that the system preferences do not offer.
| Aspect | Detail |
|---|---|
| Current version | 4.14.2 (released 2025-10-23) |
| Mac support | Intel and Apple Silicon |
| System requirement | macOS 10.10 or later |
A sensible first step is to open the Display Information tab. It lists every display your Mac knows about, including ones currently unplugged, and shows the exact EDID data. From there, create a custom resolution with the plus button. The interface asks for pixel dimensions, scan rate and timing parameters, then lets you save the result as a new entry that appears in the macOS menu bar or System Settings. Another early habit worth forming is linking a resolution to a colour profile via a Display Set. You can, for example, pair a 2560×1440 HiDPI resolution with a calibrated D65 profile for editing work, and switch between setups with a single click or an AppleScript.
When the default resolution list falls short
SwitchResX is not a tool most Mac users need. For someone working on a single built-in display with default scaling, macOS already covers the essentials. The utility earns its place when the standard resolution list falls short.
Photographers and video editors who keep a second monitor for full-screen previews get immediate value. They can define a resolution that precisely matches the output format — 2048×1080 for a DCI scope preview on a 4K panel, for instance — and tie it to a calibrated colour profile. Switching between an editing layout and a client-ready preview becomes a single menu bar click rather than a trip through System Settings.
Users connecting Macs to televisions and projectors form another natural audience. HDTVs often report incomplete EDID information to the Mac, leaving macOS to guess at compatible resolutions. SwitchResX lets you specify the exact timing parameters the display actually supports, avoiding overscan and aspect ratio distortion. Presenters who move between conference room projectors with different native resolutions can save a Display Set for each venue and recall it instantly.
Developers testing applications at non-standard sizes — 1280×800 on a 1440p screen, or a square 1:1 canvas for an iOS widget — appreciate the ability to define a custom resolution once and activate it only when the relevant application launches. Gamers who want to run an older title at a specific scaled resolution that macOS hides from the picker also find the hooks they need.
In short, the utility suits anyone whose workflow requires a resolution macOS does not show, or who switches display configurations often enough that the built-in controls become a time sink.
BetterDummy's spiritual successor versus the veteran
SwitchResX is not the only tool that extends macOS display handling, but it occupies a distinct niche. The two most common alternatives are BetterDisplay and the open-source utility Display Menu. Each takes a different approach.
BetterDisplay (formerly BetterDummy) focuses on HiDPI management and virtual displays. It excels at enabling crisp text scaling on low-resolution monitors by creating a dummy display that mirrors at a higher resolution and downscales. SwitchResX can also create HiDPI modes, but BetterDisplay handles the dummy-display trick more smoothly for users who simply want sharper fonts on a 1440p monitor. Where SwitchResX pulls ahead is custom timing parameters, EDID overrides and application-based resolution switching. BetterDisplay does not let you define a resolution with exact pixel clock and porch values, nor does it tie profiles to specific apps.
Display Menu is a lightweight utility that places a resolution switcher in the menu bar, offering a cleaner version of what System Settings already shows. It is fast, simple and free, but it does not create new resolutions or manage colour profiles. It shows only what macOS already detects. For users who merely want quicker access to the default resolution list, Display Menu is enough. The moment you need a mode that the system does not advertise, SwitchResX becomes the tool of choice.
A fourth option worth mentioning: some advanced monitor control tools like Lunar handle brightness and input switching well, but they do not touch resolution definitions. SwitchResX remains the deepest option for resolution and timing customisation, at the cost of a busier interface and a steeper learning curve.
A workflow: adding a custom HiDPI mode for a 1440p external display
Consider a setup where a MacBook Pro connects to a 27-inch 2560×1440 external monitor. macOS offers the native 2560×1440 resolution and a scaled 1920×1080 HiDPI mode, but the scaled option makes interface elements too large for comfortable work. A 2304×1296 HiDPI mode would be a better fit — enough screen real estate without tiny text — but it is not listed.
Here is how to add it, step by step.
- Open SwitchResX and select the external monitor from the left-hand display list. Click the Custom Resolutions tab.
- Click the plus button and choose Custom Resolution. In the dialog that appears, set the horizontal pixels to
4608and the vertical pixels to2592. This is double the target logical resolution, as required for HiDPI. - Leave the scan rate at the monitor's default (typically 60 Hz) and keep the timing set to CVT-RB unless you know the display requires a specific standard. Click OK.
- Mark the new resolution as HiDPI by checking the corresponding box in the list. Without this, macOS treats it as a standard low-resolution mode.
- Save the changes. SwitchResX prompts for a logout or a restart of the display daemon. Choose the daemon restart for a quicker test.
- Once the display returns, the new 2304×1296 (HiDPI) option appears in the SwitchResX menu bar dropdown and in System Settings under the scaled resolutions list. Activate it and check text sharpness and UI sizing.
If the monitor shows a black screen or garbled output, the timing parameters need adjustment. Open the custom resolution entry again, switch from CVT-RB to manual timing, and match the pixel clock and porch values from the display's EDID, visible in the Display Information tab. This extra step is uncommon with modern monitors but useful for older panels and some projectors.
No more settings churn with no display attached
Version 4.14.2 arrived in late October 2025 with a handful of fixes that address long-standing papercuts. One of the more noticeable: the app no longer repeatedly saves and updates its own settings when no display is attached. In earlier builds, users who undocked a MacBook and left it running without an external monitor sometimes found the preference file touched unnecessarily, which could trigger syncing tools or backup jobs.
Another fix covers displays that appear in macOS with a blank or missing name — a situation that occurs with certain USB-C hubs and KVM switches. Previously, such displays could cause the resolution list to misbehave or fail to populate. Version 4.14.2 handles unnamed displays gracefully, so the custom resolution panel works even when macOS fails to report a human-readable identifier.
A third change tightens up Display Set deletion. Deleting a set that another set references no longer leaves orphaned links. For users who create several sets for different workstations, this removes a minor source of confusion when switching between them.
On Apple Silicon Macs, the update also allows quitting the Dock process when disabling a display programmatically. While this is a narrow technical change, it matters for those who use AppleScript to reconfigure displays: the script can now fully release a display without the Dock hanging onto a reference, making automated workspace transitions more reliable.