Aspecten
 Download (17 MB)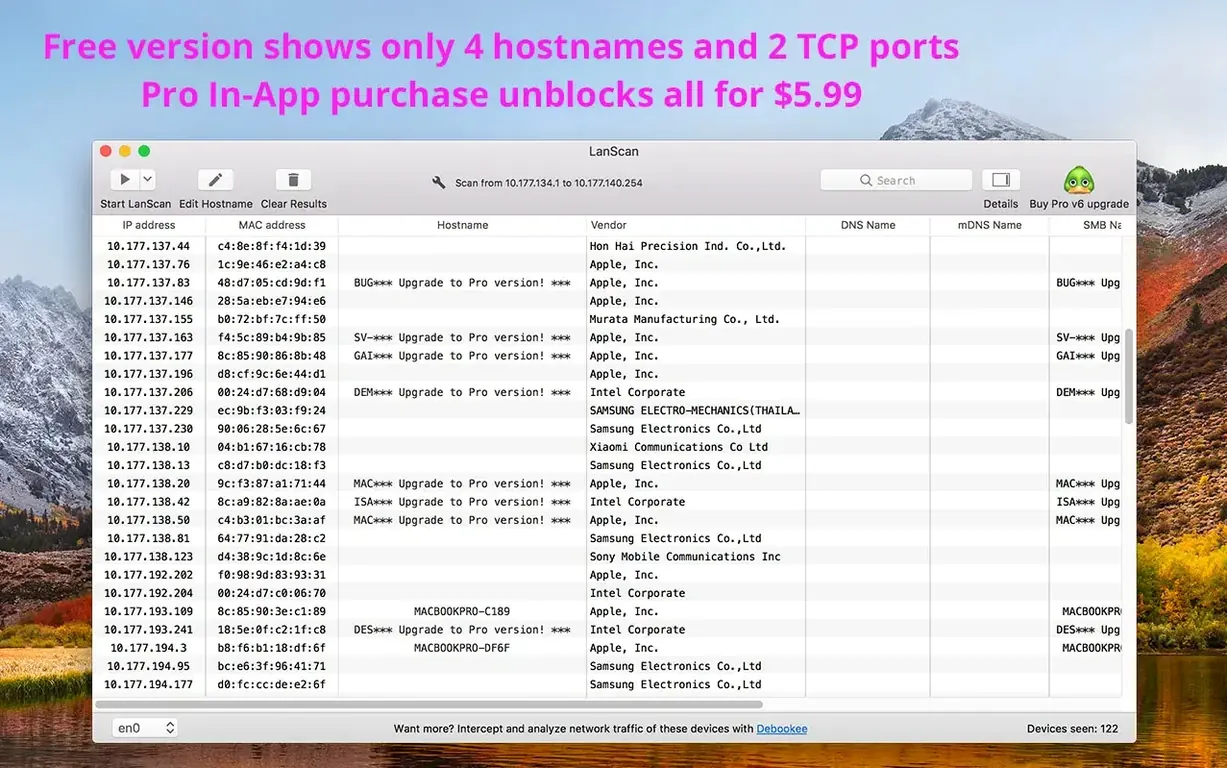
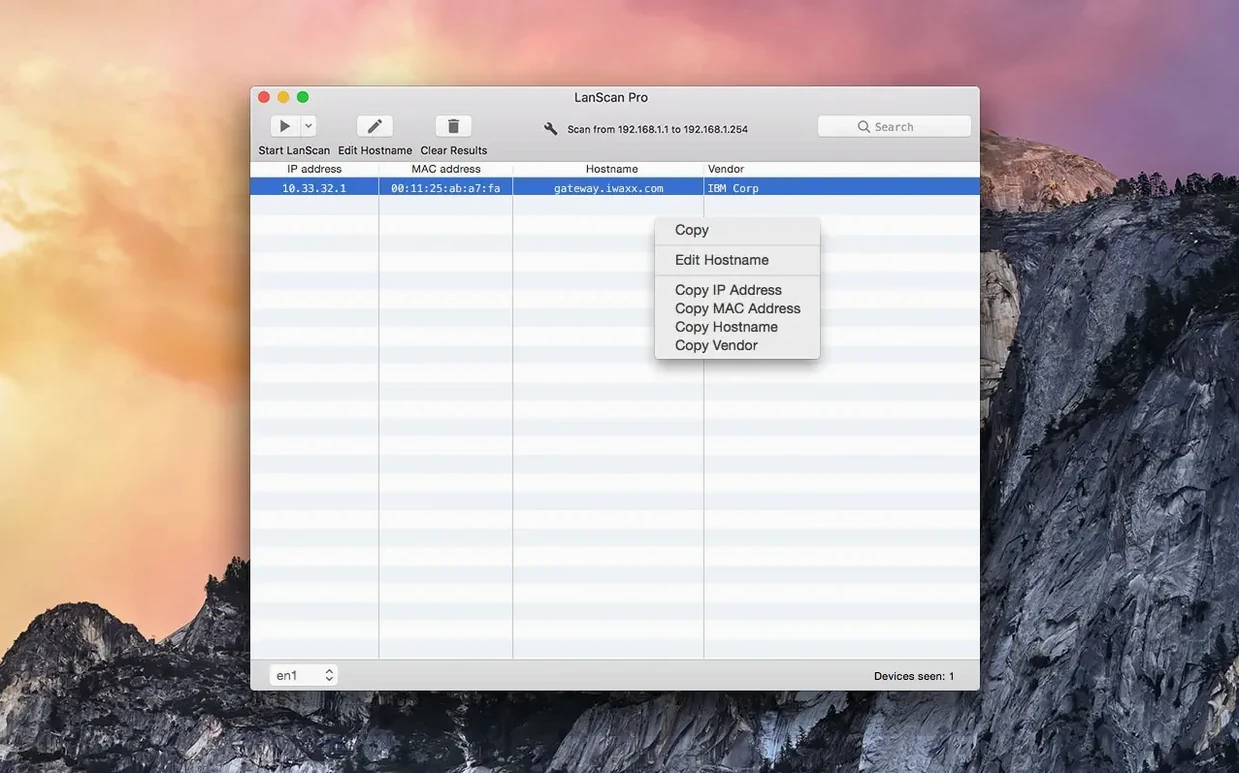
If you have used Apple’s Wireless Diagnostics or a simple terminal ping sweep to map a network, LanScan feels like the next rung on the ladder — the same kind of discovery, but laid out in a proper column view with more detail per device. The current version opens with the same approach it has used for a while: it automatically detects your active interfaces, from AirPort and Ethernet to virtual adapters, and presents them in a list. You pick one, define an IP range (from a single address up to the full IPv4 space), and start the scan.
Scanning in steps
- Launch LanScan and it lists every detected interface. Select the one connected to the network you need to inspect.
- Set the IP range. The slider and fields let you narrow a scan to a few dozen addresses or widen it across subnets.
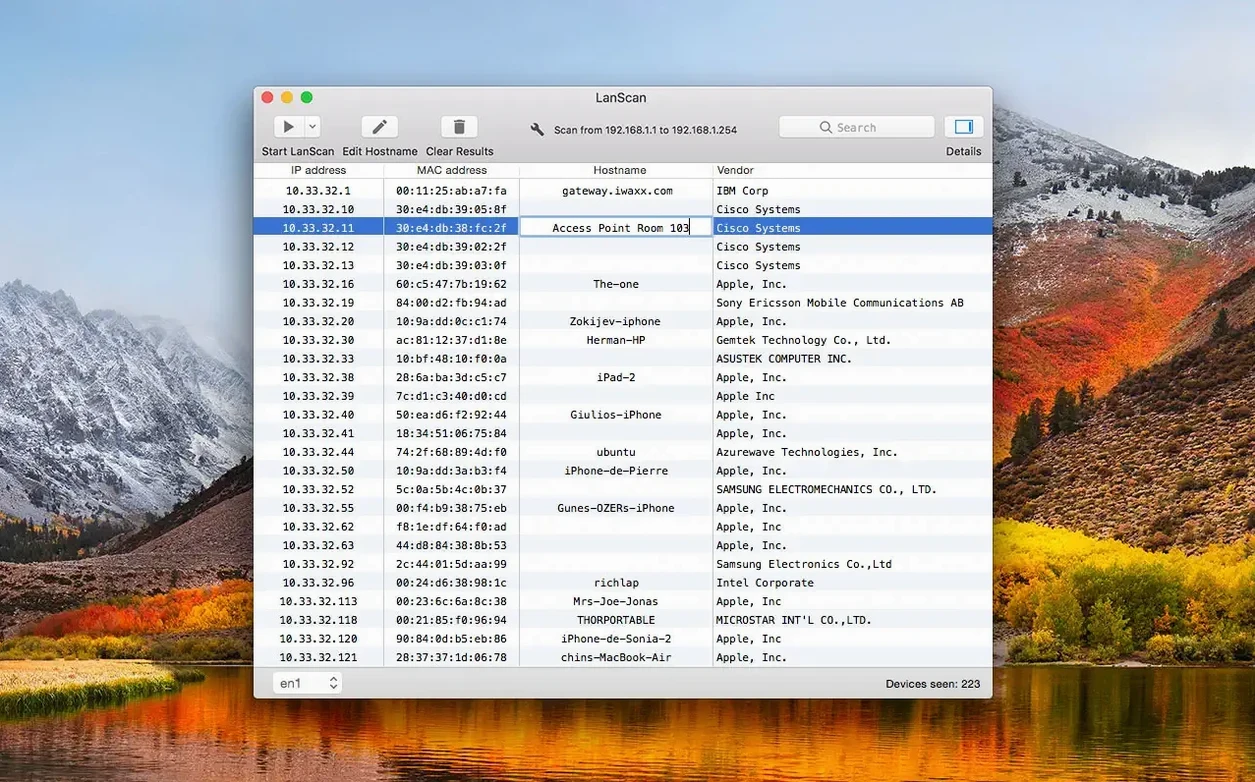
- Press Scan. The window populates row by row with IP, MAC address, vendor, and host names.
- Click any device to add a custom comment. LanScan stores it locally for later reference.
- Right-click a row to open a custom URL in your browser — useful for reaching a device’s admin page directly from the results.
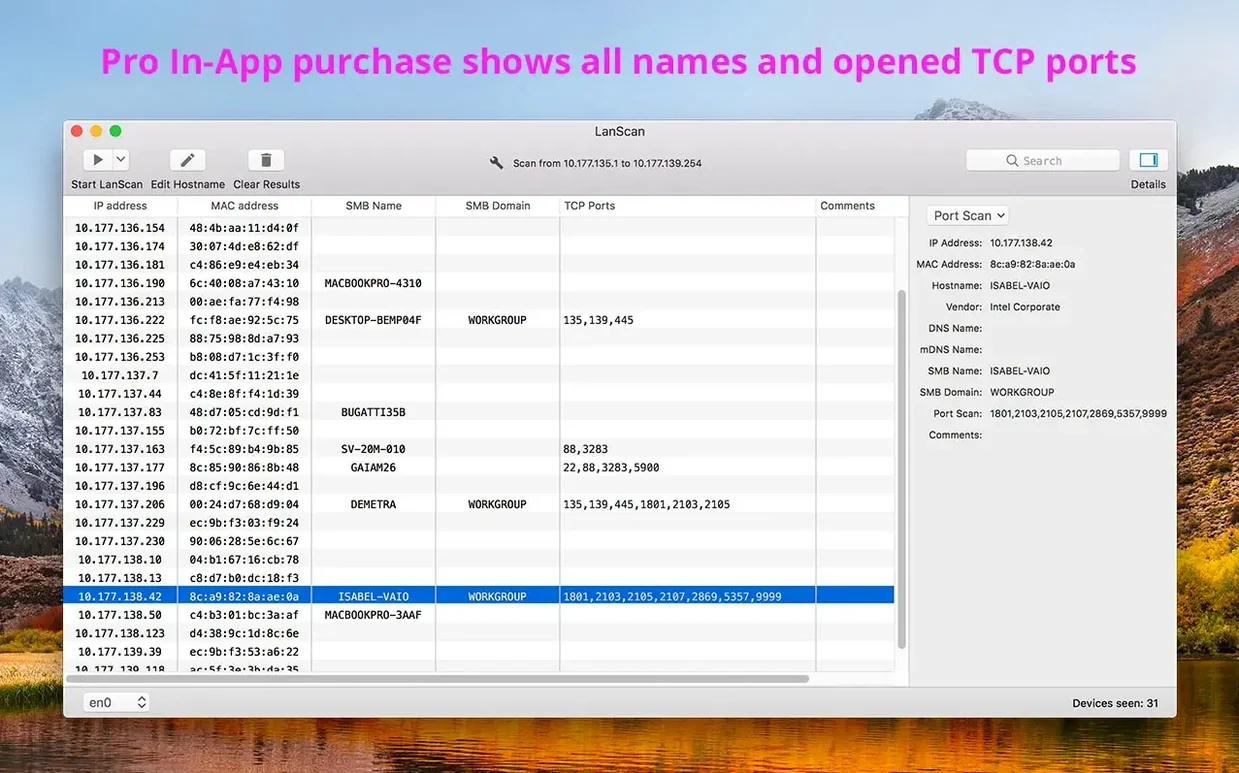
Host name resolution draws from DNS, mDNS, and SMB, and the app can display up to four names for a single device. If an SMB domain is configured on your Mac, LanScan detects it automatically. You can edit host names by hand and adjust each column’s alignment to suit your reading. The architecture supports Apple Silicon and 64-bit Intel Macs running macOS 11 or later, and the interface stays in English. No new features appeared in version 8.2.17; the tool remains what it has been for a while — a straightforward scanner that gets out of your way once the results are on screen.
Whether LanScan requires a kernel extension or special privileges
A scanner that touches every device on a network naturally raises a few sensible questions. The most common is whether LanScan needs special privileges to do its work. It does not ask for a kernel extension or a low-level firewall bypass. Local subnet scanning relies on ARP packets, which the operating system allows from any user-level process. Scans across wider public ranges use Ping, SMB, and mDNS — again, nothing that requires root. You install it, open it, pick an interface, and go.
Another question is whether the app talks to a remote server or phones home with scan data. It does not. Results stay on your Mac. The developer, iwaxx Sarl, builds the app as a standalone tool with no telemetry and no cloud synchronisation. The CSV export exists so you can move data where you need it, not so the app can upload anything silently.
People also ask about the macOS version requirement. The developer states macOS 11 as the minimum, though the App Store listing shows 12.0. In practice, anyone on Big Sur or later can expect the app to run, provided they are on a 64-bit Intel or Apple Silicon machine.
Forgetting to check which network interface is selected before scanning
The first slip is not checking which interface LanScan has selected before pressing Scan. The app auto-detects every active adapter — AirPort, Ethernet, Thunderbolt bridges, virtual interfaces from VPN clients or virtualisation software — and it often picks the first one in the list. If you are connected to a guest Wi‑Fi network but meant to scan the wired office subnet, you will spend a minute staring at the wrong set of IP addresses. A quick glance at the interface dropdown avoids that entirely.
Another beginner move is scanning the full IPv4 space on a slow or busy network and then wondering why the app seems stuck. LanScan places no hard limit on the number of addresses it will probe, and a /0 range is technically possible. On a local subnet with ARP, the scan finishes in seconds. Across public ranges with Ping and mDNS, each probe waits for a timeout before moving on. Narrow the range to what you actually need — a /24 or even a /16 — and the progress bar moves at a pace that makes sense.
A subtler mistake involves host name expectations. LanScan can show up to four names per device, drawn from DNS, mDNS, and SMB. But if none of those services return a name for a given IP, the column stays blank. New users sometimes assume a blank host name means the scan missed something, when in fact the device simply does not advertise one. Editing the name by hand or adding a comment clears up the mystery for the next scan.
A firewall like Little Snitch blocking outbound ARP requests
One snag that surfaces now and then is a scan that finds far fewer devices than expected. The usual culprit is a firewall on the Mac itself — Little Snitch, LuLu, or a corporate endpoint agent silently dropping outbound ARP or ICMP packets. Temporarily disabling the firewall, or adding LanScan to its allowlist, confirms whether that is the cause. If you are scanning a public range and getting sparse results, check that your router is not blocking Ping from your Mac’s IP. Some managed switches and access points suppress ARP broadcasts between wireless clients as a privacy measure; in those cases, a wired connection to the same subnet often reveals the full device list.
A second snag involves virtual interfaces cluttering the dropdown. Hypervisors, Docker, and VPN clients create adapters that LanScan detects and lists like any physical interface. Selecting one by accident leads to a scan of an empty or irrelevant subnet. If you have a long list, look for the interface with a familiar IP prefix — usually the one that matches your router’s address. The adapter name itself (en0, en1, bridge0) gives a clue if you know your Mac’s network layout.
Export quirks are rare but worth knowing about. CSV files use commas as delimiters and wrap fields that contain commas in double quotes. If a vendor string includes a comma — “Cisco Systems, Inc.” is a common example — the exported CSV opens cleanly in Numbers and Excel but can look misaligned in a plain text editor. That is expected behaviour, not a bug. If you plan to parse the CSV with a script, set your parser to handle quoted fields and you will have no trouble.
Choosing which columns appear in the scan results view
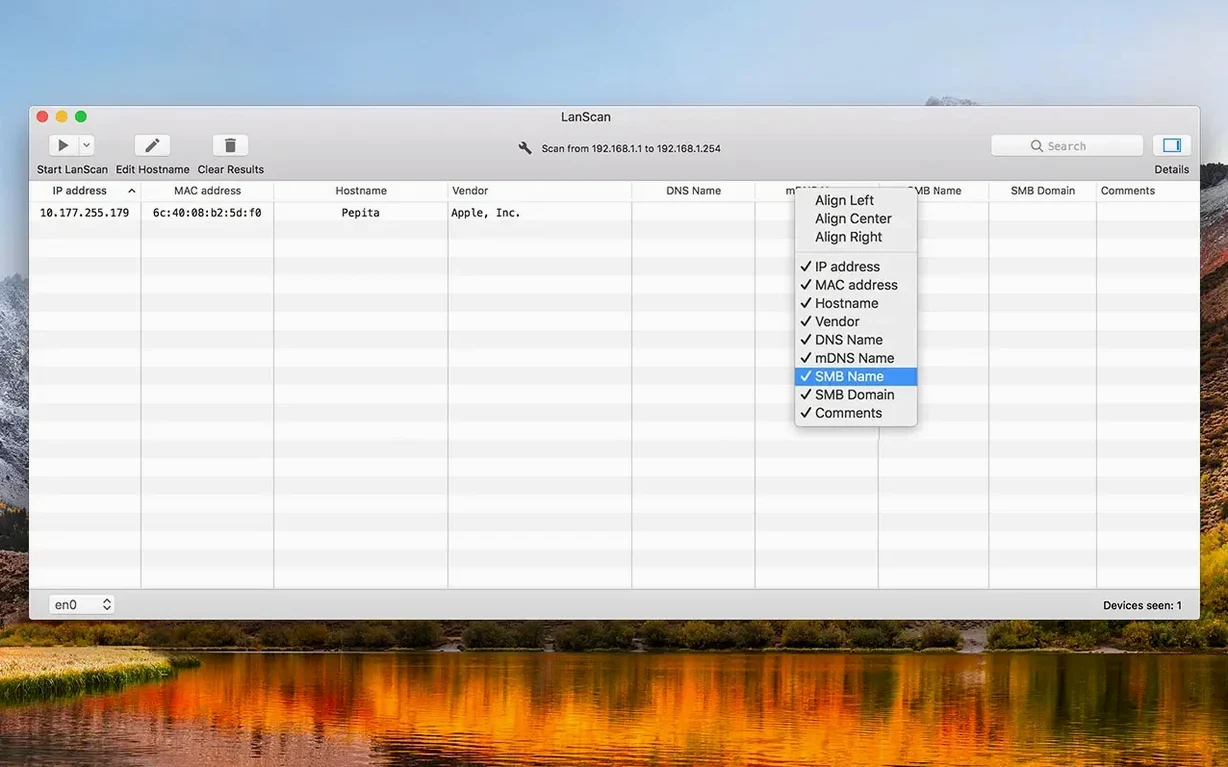
LanScan keeps its preferences minimal, but a few adjustments make the tool fit your habits better. Open the View menu and decide which columns you need. The default set shows IP, MAC, vendor, and the first host name. If you routinely work with SMB domains or mDNS names, enable the extra host name columns — up to four are available. Hiding columns you never consult shrinks the window and speeds up scanning the list with your eyes.
Column alignment is a small touch that pays off in daily use. IP addresses align naturally to the left, but MAC addresses look tidier centred or right-aligned depending on your taste. Right-click any column header and pick an alignment; LanScan remembers it across launches. While you are there, resize the vendor column. The default width truncates longer manufacturer names, and dragging it wider saves a click on every row.
If you scan the same subnet repeatedly, skip the range slider and type the start and end addresses directly into the fields. LanScan accepts CIDR notation in the range box — typing 192.168.1.0/24 expands to the full subnet. That small habit cuts the setup time to a few keystrokes. Finally, consider where you keep the CSV exports. LanScan does not enforce a default folder, so pick a directory that your notes or inventory script already watches, and you eliminate the step of moving files after every scan.