Aspecten
 Download (7 MB)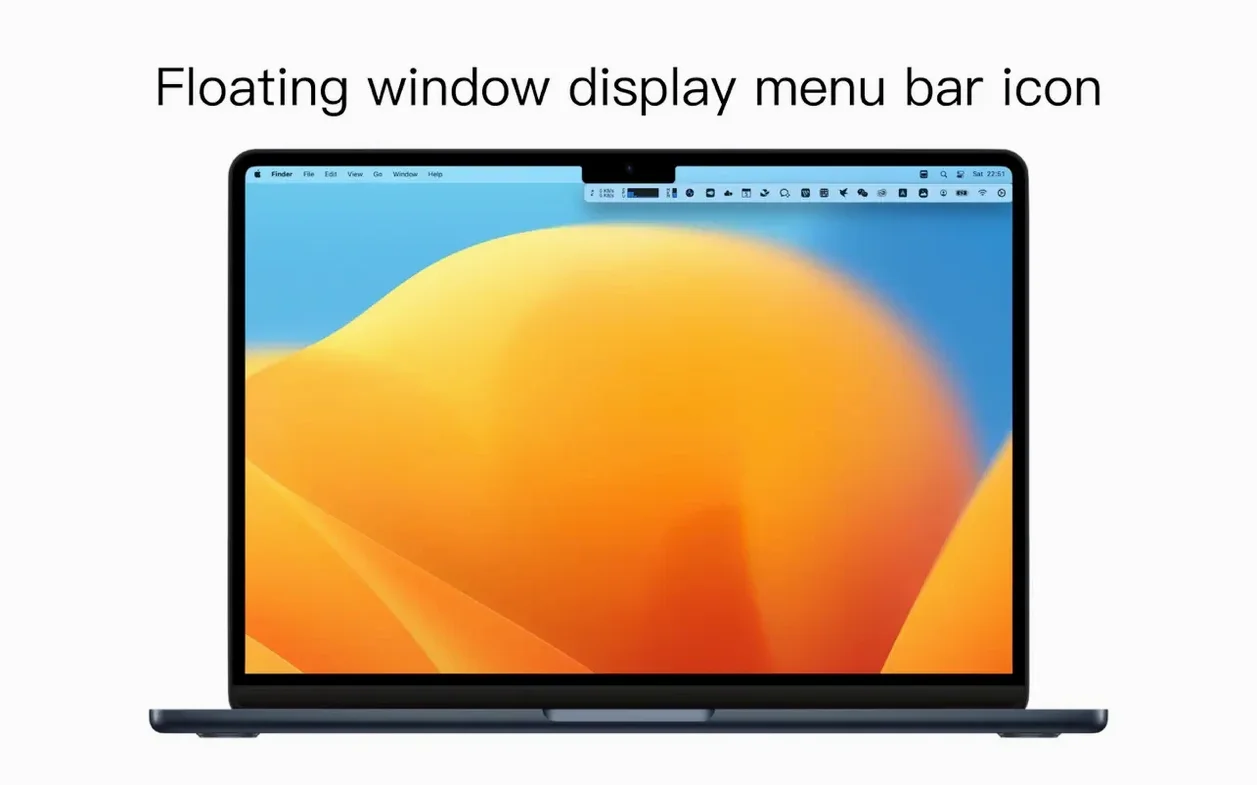
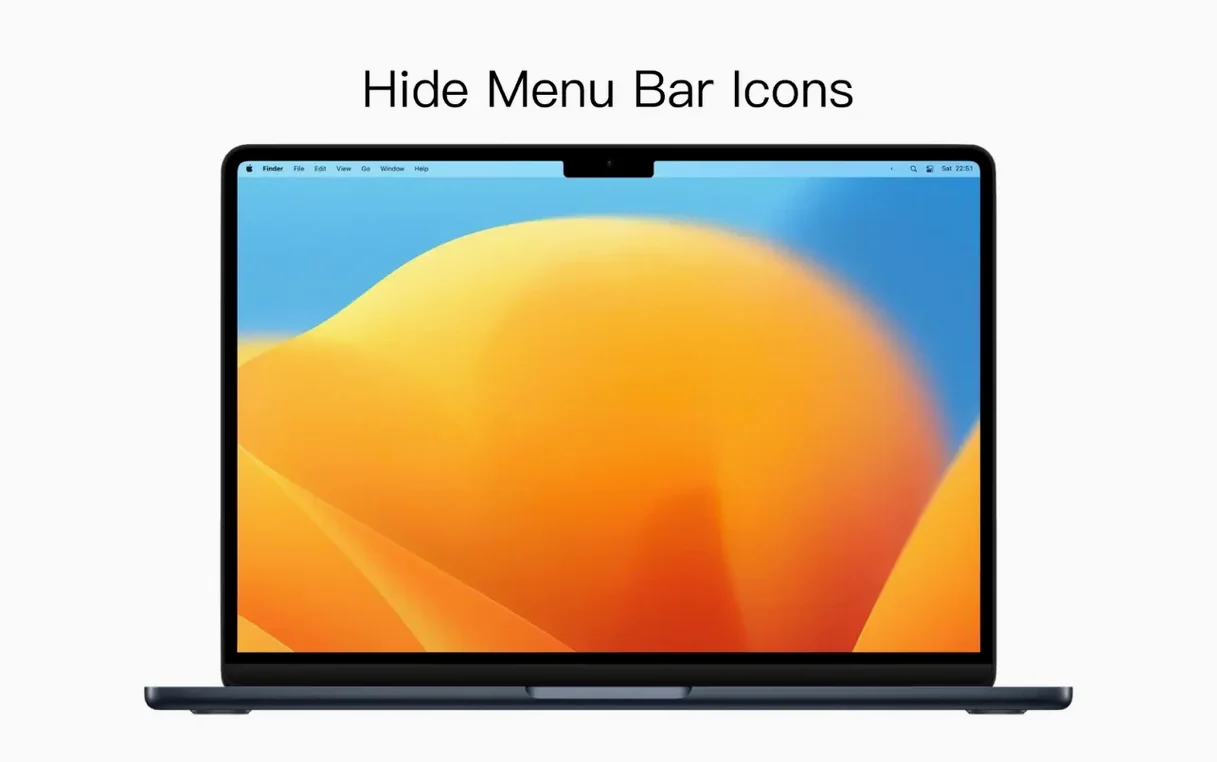
Scroll In Hidden Icons. That is the control iBar places in your menu bar to begin taming the clutter. Rather than letting every utility stake a claim on that strip of screen, the tool hides the less-used ones behind a single, tidy fold.
How does it handle the growing number of icons?
It separates icons into two zones: a set that stays visible and a collapsible area that scrolls into view with a click. You decide which apps belong where by dragging their icons across the separator bar.
What happens when you need a hidden icon quickly?
Clicking the scroll area expands the hidden section. The icons slide out in their original order, you click the one you need, and the panel tucks itself away again. No keyboard shortcut to memorise, just a direct mouse action.
How does iBar fit into a multi-monitor setup?
Each display with a menu bar gets its own instance of the control. You can set separate visibility rules per screen, so the menu bar on your main display stays clean while a secondary monitor shows a fuller set of indicators.
A couple of settings to adjust straight away
After the first launch, open the preferences and look for the Launch at Login toggle. Turning it on avoids the small annoyance of remembering to start iBar manually after each restart. The app sits quietly in the background once enabled, so there is little reason to leave it off.
Right below that, the Scroll Direction setting is worth a moment of attention. By default, hidden icons appear when you scroll down over the menu bar, but you can flip it to scroll up if that matches your muscle memory from other Mac interfaces. A few test scrolls with your usual mouse or trackpad will tell you which way feels less like a deliberate act.
Also check the Auto-hide delay slider. The default value keeps the hidden icon panel open long enough for a considered click, but shortening it by a notch or two makes the panel feel snappier when you are just glancing at an indicator. Setting it too short, though, can lead to the panel vanishing while you are still moving the pointer towards an icon.
A typical working session, step by step
You sit down with a laptop that has a camera notch eating into the centre of the menu bar. Bartender or another manager is not installed; iBar is already running from the previous day.
Your menu bar shows the clock, Wi‑Fi, battery percentage, and three app icons you placed in the visible zone. Everything else — a clipboard manager, a cloud sync indicator, a VPN toggle, a bluetooth battery monitor — is folded behind the Scroll In Hidden Icons control.
You need to pause the VPN briefly. Rather than fishing through System Settings, you scroll over the menu bar. The hidden panel slides out horizontally. The VPN icon is second from the left, exactly where you left it. A single click disconnects the session. You move the pointer away and the panel retracts after the delay you set earlier.
Later, you install a new menu bar utility. Its icon appears in the hidden zone by default, because iBar treats every newly detected icon as hidden until you drag it into the visible area. You decide the new utility belongs in plain sight, so you hold the Command key, click its icon, and drag it past the separator. The visible zone grows by one; nothing else shifts.
Small conveniences worth knowing
- Command-drag to rearrange. Holding the Command key while dragging any icon lets you reposition it inside the visible or hidden zone without accidentally triggering the app. The same modifier works for moving icons across the separator.
- Option-click to reveal all temporarily. An Option-click on the scroll control shows every hidden icon at once, even those you rarely need. Useful when you cannot recall exactly which collapsed icon belongs to which background task.
- Right-click to skip the panel. A right-click on the iBar menu bar entry opens a short menu with preferences and a quit option, so you never need to hunt for the app in the Applications folder just to make a quick adjustment.
- The notch-aware spacing. On notched MacBooks, iBar automatically offsets the hidden-icon panel so it never disappears behind the camera housing. No manual calibration is required; the layout respects the screen geometry from the moment it loads.