Aspecten
 Download (290 MB)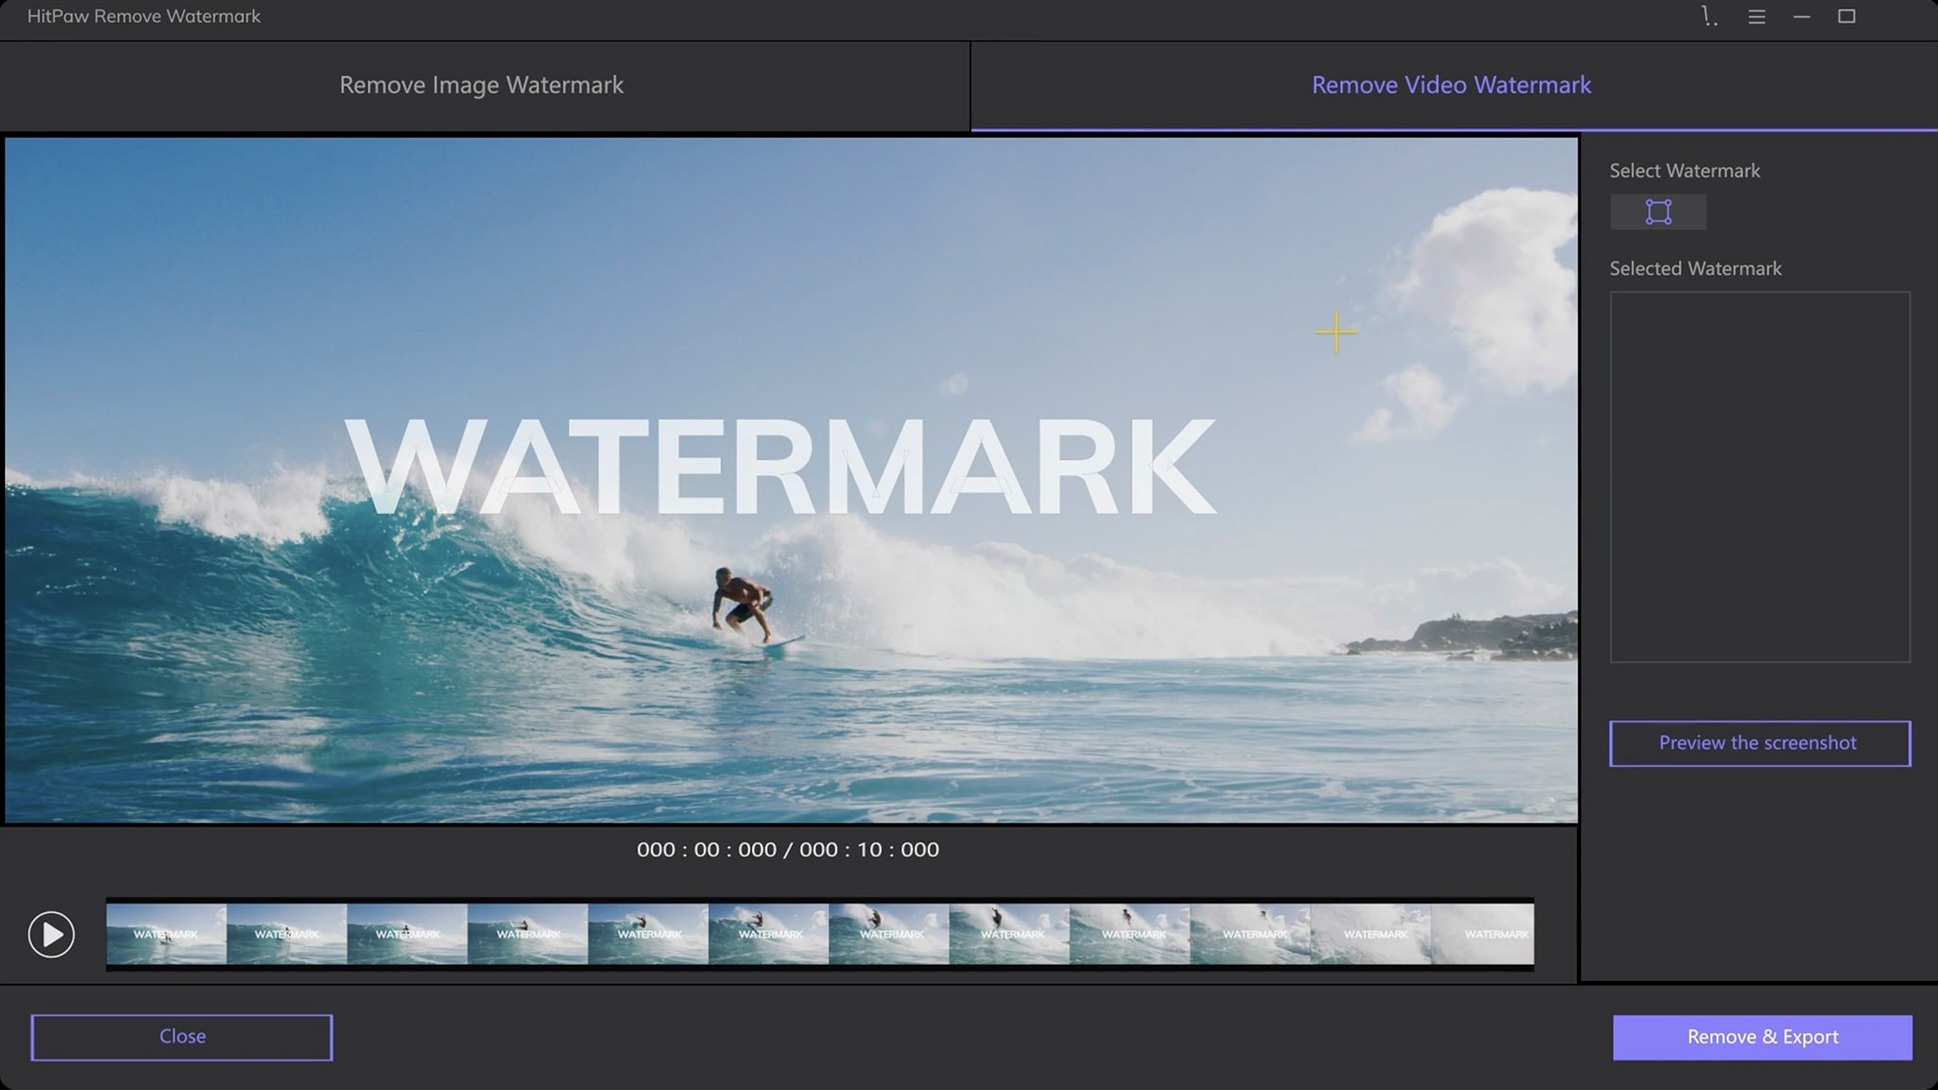
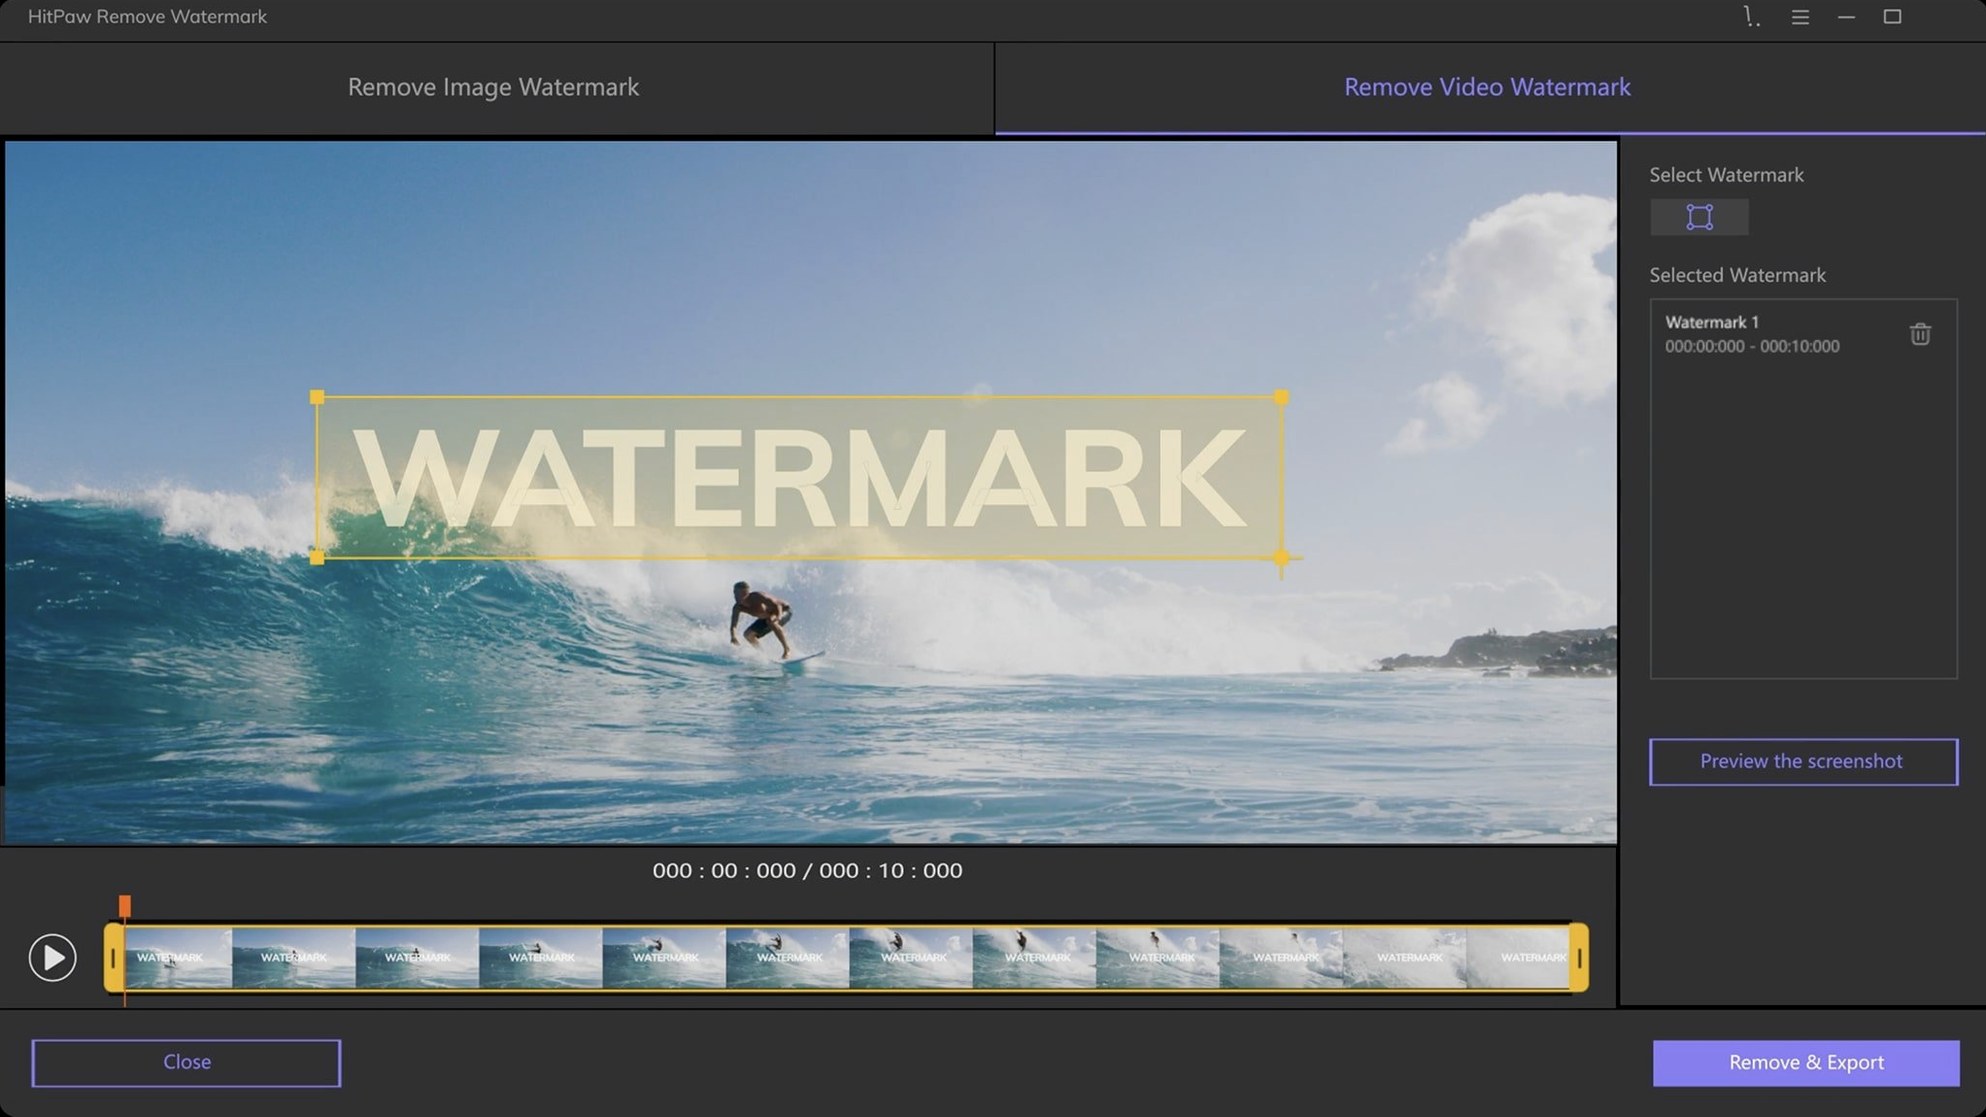
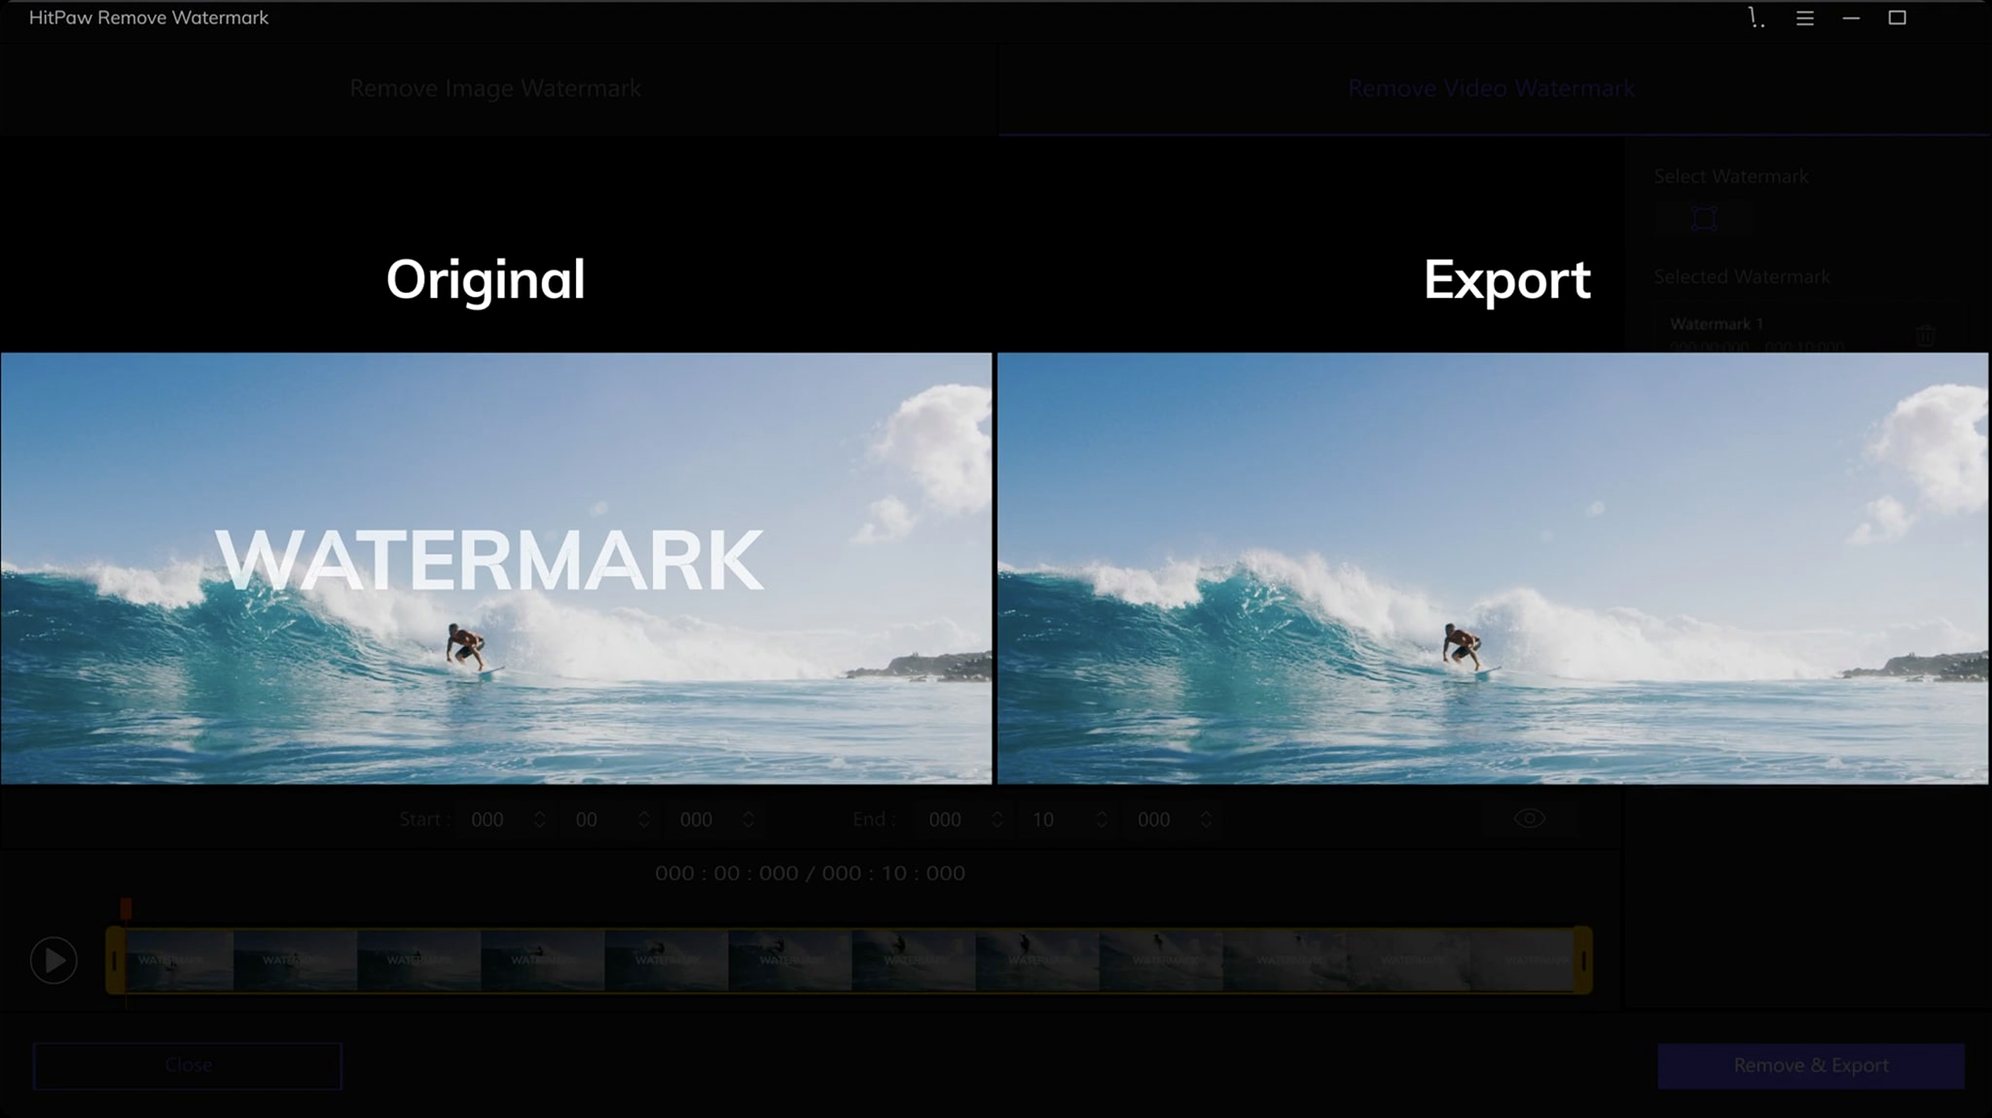
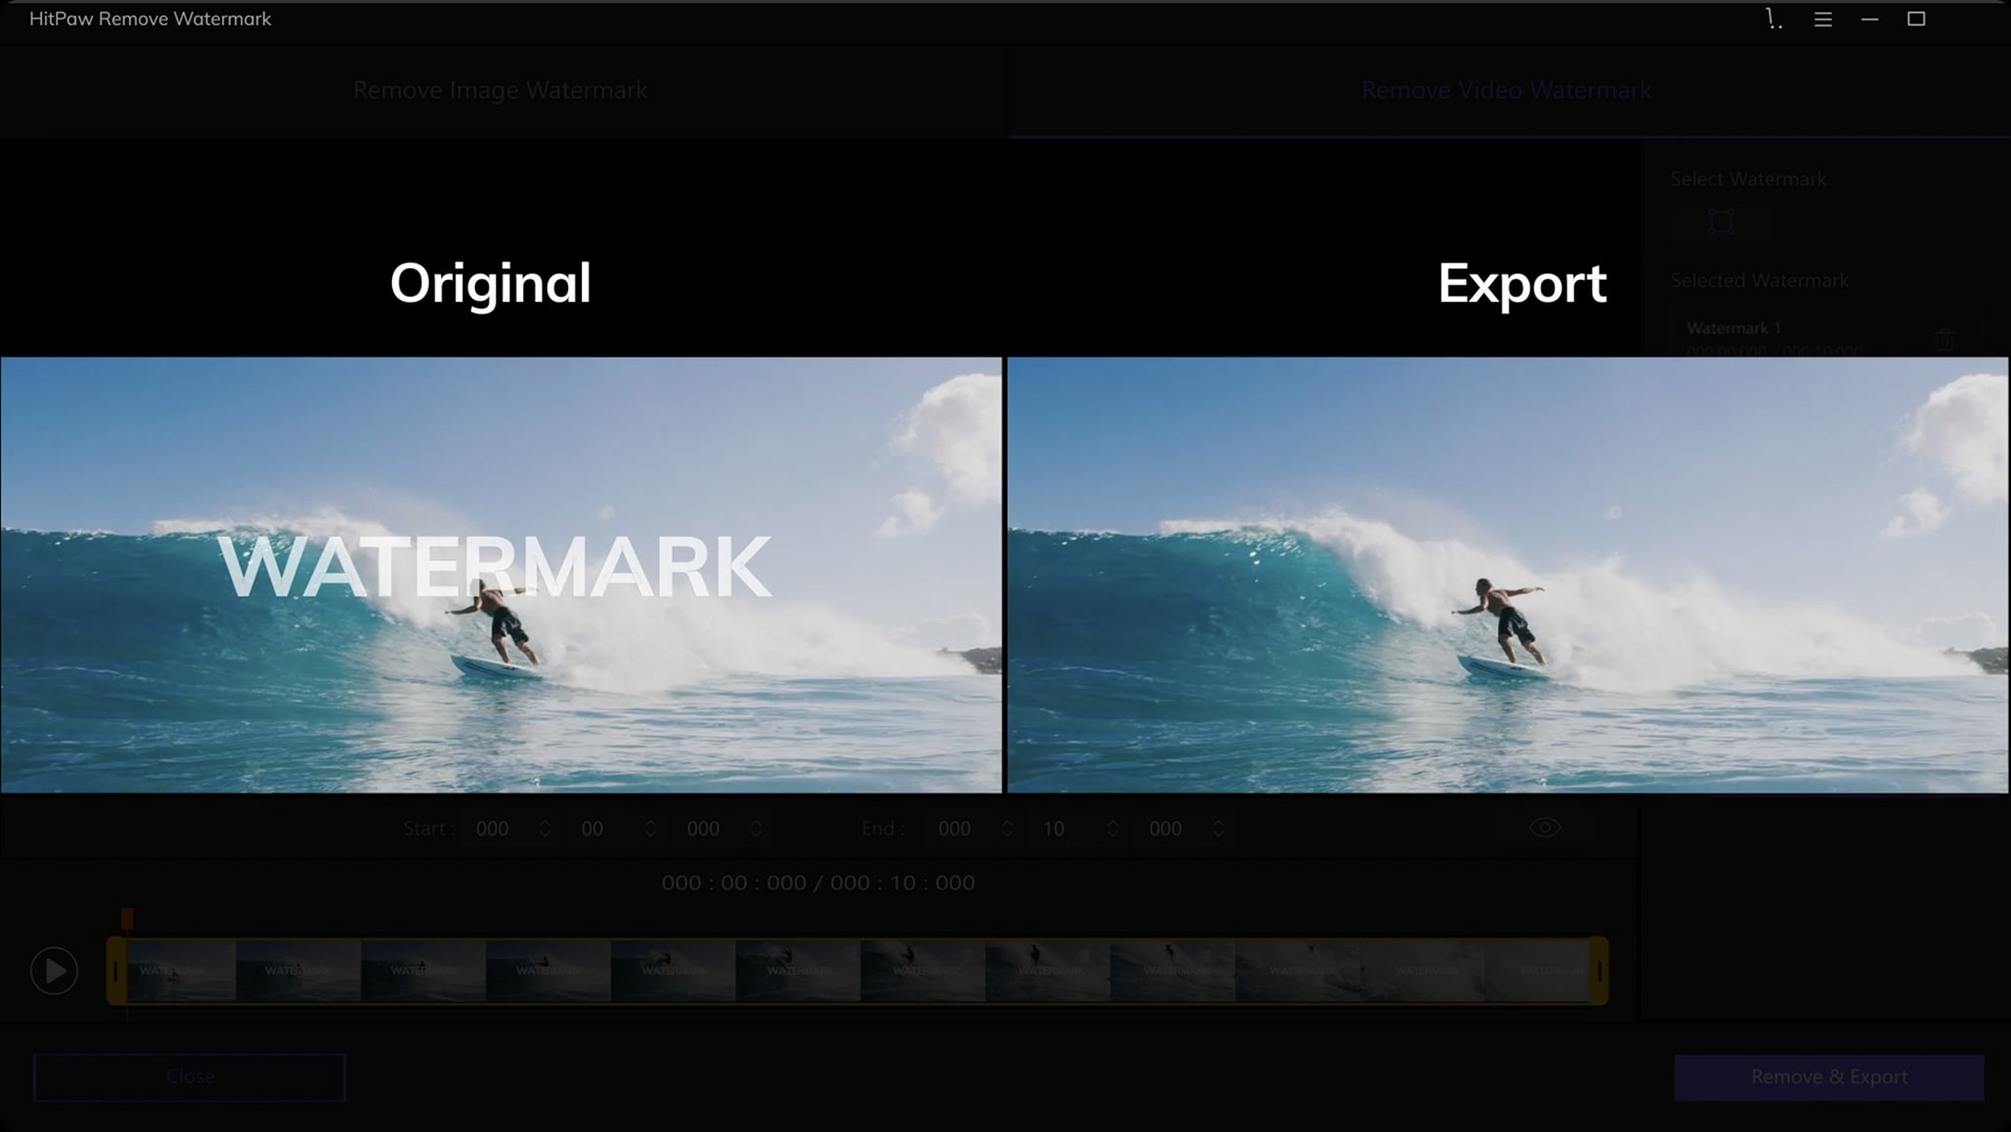
The smooth filling mode works best on simple backgrounds where a watermark sits against a flat colour or gradient. The tool samples surrounding pixels and blends them across the marked area. For busier backdrops, you might switch to texture repair or edge filling, each suited to a different kind of interference. Before installing, a few practical points are worth checking.
- The Mac version runs on Intel machines and asks for macOS 10.13 or later; it is a separate product from the Windows offering.
- Importing source images uses drag-and-drop. Video watermark removal is also part of the feature set.
- Three removal modes are provided: smooth filling, edge filling, and texture repair. Results depend heavily on the footage or image underneath the mark.
- Interface languages span Russian, English, German, Spanish, Italian, Korean, Portuguese, French, Czech, and Japanese.
- Version 2.4.7 arrived on 2025-09-12 with no listed changes to the toolset.
The app is focused on a single job—clearing watermarks from stills and video frames—and the three fill methods give you some control over how the repair blends in. It does not handle every obstruction equally well, particularly when the mark covers complex detail, but for straightforward removals it keeps the process fairly direct.
Small conveniences worth noting
Several shortcuts sit just outside the obvious workflow. The selection tools each have a keyboard toggle — R for rectangle, T for triangle, F for freeform — and tapping the key cycles through sub-options within the same shape family. Holding Shift while dragging a rectangle constrains the selection to a square, useful when the watermark itself has fixed proportions. The freeform tool accepts Option-click to add a new point without closing the selection, which makes tracing irregular marks less jumpy.
The preview window refreshes only on command. Pressing Space triggers a quick render of the selected area before you commit to the full export, saving time when you are trying different removal modes on the same spot. A small thumbnail of the last three previews stays in the sidebar; clicking any of them reverts the working area to that state. The sidebar also remembers your last-used fill mode per session, so switching between images does not reset the dropdown every time.
Start with a still image, not a video
The immediate impulse is to drag in a video and highlight the first watermark you see. That works, but a quieter first step helps. Start with a still image — a PNG or JPEG with a logo on a plain background — and run through all three removal modes on the same mark. Smooth filling handles flat colours well. Edge filling preserves hard lines near the mark. Texture repair attempts to reconstruct repeating patterns. Knowing which mode suits which kind of background saves trial and error later when you move to video frames.
Video files load frame by frame. The app does not track a watermark across a whole clip automatically, so each frame the mark occupies needs its own selection. A practical early habit is to step through the timeline with the arrow keys and place selections on a handful of keyframes, then check the continuity. If the background shifts between frames — a panning shot, for instance — the same removal mode may not hold. Testing three or four frames early on reveals whether you need to change modes mid-sequence.
The drag-and-drop import extends beyond the main window. You can drop files directly onto the Dock icon while the app is closed, and it launches with the import dialogue ready. If the file is a video, the first frame opens automatically as the working view. For users who keep image folders open in Finder, this cuts out the file-picker step entirely.
Override the output format to PNG for transparent edges
The default output format for images mirrors the source format, but the preferences pane lets you override this to PNG for stills. PNG preserves transparency at the edges of your selection, which matters if you plan to overlay the cleaned image on a new background later. The setting lives under Preferences > Export and takes effect on the next save.
Video export defaults to the original codec and resolution. If you work primarily with short clips destined for editing timelines, switching the default to ProRes 422 in the same preferences panel avoids an extra transcode step later. The trade-off is larger file sizes, so for quick previews or sharing, H.264 remains the leaner choice. The preference sticks between sessions, so you set it once.
A less visible setting controls the sampling radius for smooth filling. The default value of 20 pixels suits most jobs, but raising it to 40 or 60 pixels via the slider in the Advanced tab gives the algorithm more source material when a watermark sits near the edge of a frame or against a complicated gradient. Lowering it to 10 pixels tightens the sampling for small, sharp marks. The slider is easy to overlook because the tab label does not suggest anything beyond basic housekeeping.
Export as ProRes for Final Cut Pro or Resolve
HitPaw Watermark Remover does not include a timeline editor, so a typical workflow pairs it with a dedicated video editor. Export the cleaned clip as ProRes and drop it straight into Final Cut Pro or DaVinci Resolve; the file lands without extra rendering. For image work, the PNG output slots directly into Photoshop or Affinity Photo layers. The app does not register as a plugin, but the file-format consistency keeps the handover friction low.
macOS Quick Look works on exported stills and videos from within Finder, so you can check results without opening a separate viewer. The app also respects the system-wide Dark Mode setting, which is a small comfort during late-evening sessions. If you use Spotlight, the app name and its associated file types are indexed, meaning you can search for a recently exported PNG by name and open it from the search results without navigating folders.
For those who work across multiple Macs, the preferences file sits in the standard ~/Library/Preferences folder. Copying it to another machine transfers your export settings, default removal mode, and sampling radius preferences. The app itself is self-contained, so moving the .app bundle to a different Intel Mac keeps everything intact. Those searching for a hitpaw watermark remover mac setup often overlook this portability, but it proves handy when switching between a desktop and a laptop.
One further integration worth knowing: the app responds to the macOS Share menu for exported files. After saving a cleaned image or video, right-clicking the file in Finder and selecting Share lets you hand it off to Mail, Messages, or AirDrop without opening another application. The feature relies on standard macOS extensions, so any app that registers as a Share destination appears in the list automatically.