Aspecten
 Download (487 MB)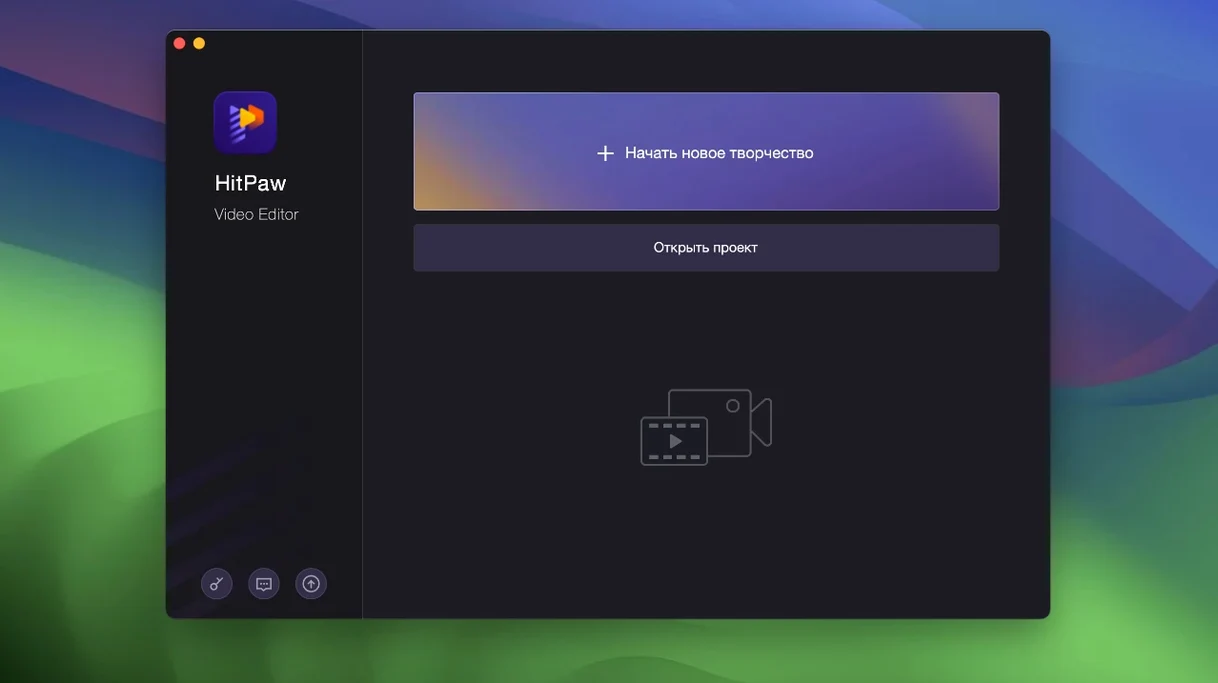
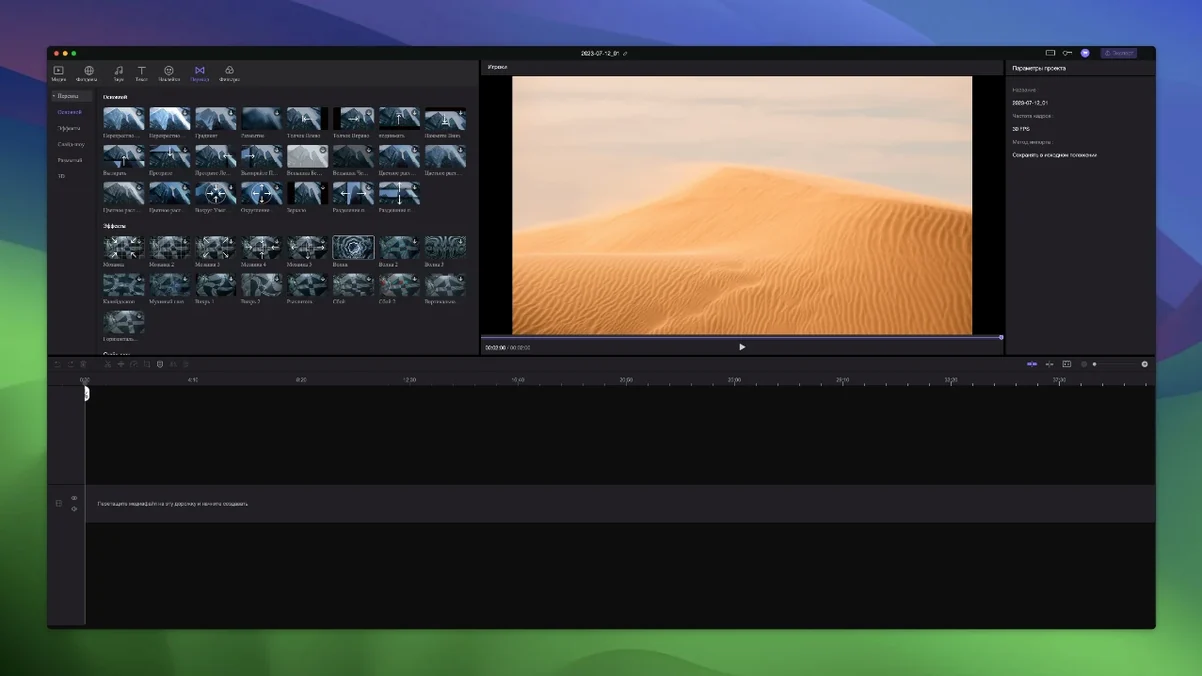
Version 2.6.0 of HitPaw Edimakor arrives with no listed changes, which keeps the focus on what the application already offers. Edimakor is a Mac video editor with basic editing tools alongside AI-powered features, and its system requirements are modest enough for older hardware.
| Detail | Value |
|---|---|
| Current version | 2.6.0 |
| Developer | HitPaw |
| Minimum macOS | 10.15 Catalina |
| Architecture | Intel |
Compatibility is straightforward: the app requires macOS 10.15 Catalina or later and runs on Intel Macs. It supports up to macOS 26. Installation involves mounting the disk image, running the Open Gatekeeper friendly command, pressing Enter in Terminal to bypass Gatekeeper, and dragging the app to the Applications folder. The interface covers sixteen languages, including English, German, Dutch, Russian, Arabic, Hindi and Japanese.
On the editing side, Edimakor keeps related materials in sync: elements from other tracks attach automatically to the main video, and dragging the main video moves everything with it. Timeline timing is precise enough for positioning specific points. For anyone checking edimakor torrent compatibility before downloading, the requirements above are the practical starting point.
Importing clips into the three-part layout
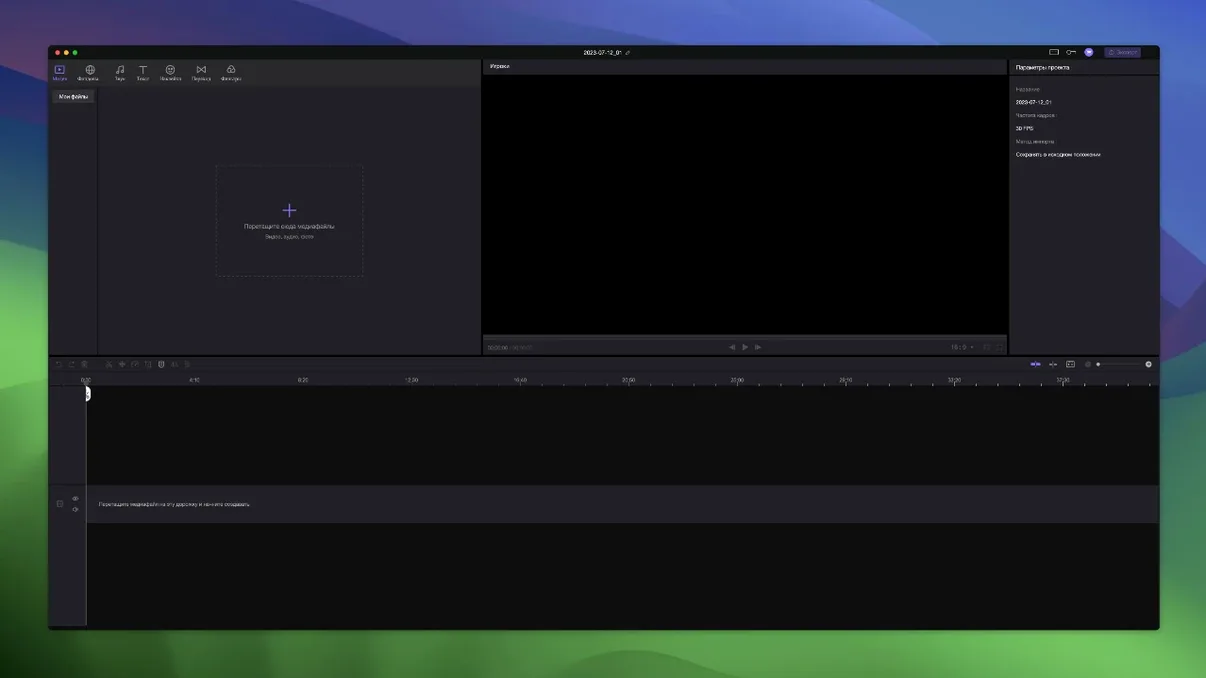
Open Edimakor and the main window settles into a familiar three-part layout: media bins on the left, preview in the centre, timeline below. I start by dragging a folder of clips into the media area. The import is quick, even with longer files.
I place the first clip on the main track. That becomes the anchor. When I add a second clip to a higher track as an overlay, it snaps to the same position and stays linked to the main video. Moving the main clip later in the session means the overlay moves with it, which saves a fair amount of re-alignment work.
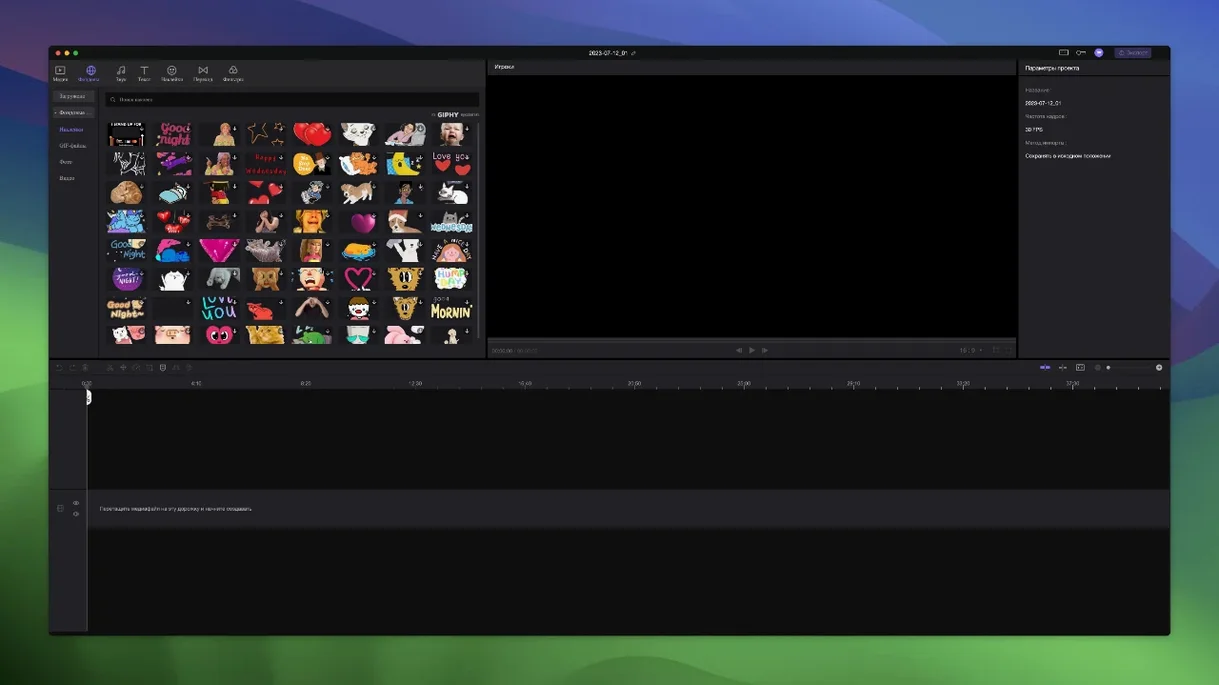
From there the session becomes a rhythm of trim, adjust, preview. I set the playhead with the timeline ruler, which is precise enough for frame-level placement. A title goes on track three, a sticker on track four, and a transition between the first and second main clips. Each addition appears in the preview without a long wait.
By the end, the timeline holds four or five tracks. Nothing has drifted out of sync, and the export takes a few minutes depending on length. The session feels closer to working with a conventional editor than with a purely AI-driven tool.
Turning a long recording into a short social clip
A practical use for Edimakor is producing a short social media clip from a longer recording. Here is one route through that task.
- Import the source recording into the media bin.
- Drag it to the main track. Trim the start and end to isolate the segment worth keeping.
- Add a second clip as an overlay for the intro. Since it attaches to the main video, any later adjustments to the anchor clip keep the overlay in place.
- Position the playhead at the moment the overlay should disappear and split the main track there if needed.
- Apply a transition between the intro segment and the body of the clip.
- Place a title card on a higher track, then move the main video slightly to test whether the title follows. It does.
- Mark the final frames, check the preview once, and export.
The whole sequence works without manual track locking or grouping. That attachment behaviour is the part worth getting used to early.
Keeping trims from shifting the whole timeline
The most common mistake is loading every clip onto the main track and then wondering why trims and cuts shift everything later in the timeline. Edimakor is more forgiving when related materials sit on separate tracks and attach to the main video.
Another is ignoring the Gatekeeper step during installation. On macOS, the app requires the Open Gatekeeper friendly command and a Terminal confirmation. Skipping that step leaves the app blocked. The install notes are short, but each step matters.
A third habit is overusing transitions and stickers because they are easy to reach. The timeline handles many tracks, but visual clutter grows quickly. A clean edit with one or two additions reads better than a timeline stacked with effects.
Finally, beginners sometimes expect every AI feature to work without input. Edimakor's editing still depends on manual placement and timing. The precise timeline is there for a reason; use it rather than waiting for the software to make decisions.
Automatic attachment between main video and layers
Edimakor suits creators who work with several layers per project and dislike locking or grouping tracks manually. The automatic attachment between the main video and other elements removes a step that other editors force on every timeline change. Vloggers, tutorial makers and short-form content producers fall into this group.
Users on older Intel Macs also benefit. The macOS 10.15 Catalina minimum means machines that cannot run current Apple-only editors still have a workable option. For anyone checking a HitPaw Edimakor crack before committing, the system requirements are worth a second look: Intel support is stated clearly and the app runs on Catalina and newer.
Multilingual teams get practical value from the interface too. Sixteen languages, including Dutch, Hindi, Arabic and both Chinese variants, mean the editor can match the language of the person using it rather than forcing English.
Edimakor is less relevant for users who need advanced colour grading or complex audio mixing. Those tasks sit outside its toolset. But for straightforward multi-track editing with a predictable timeline, it covers the essentials without demanding the newest hardware.