Aspecten
 Download (6 GB)
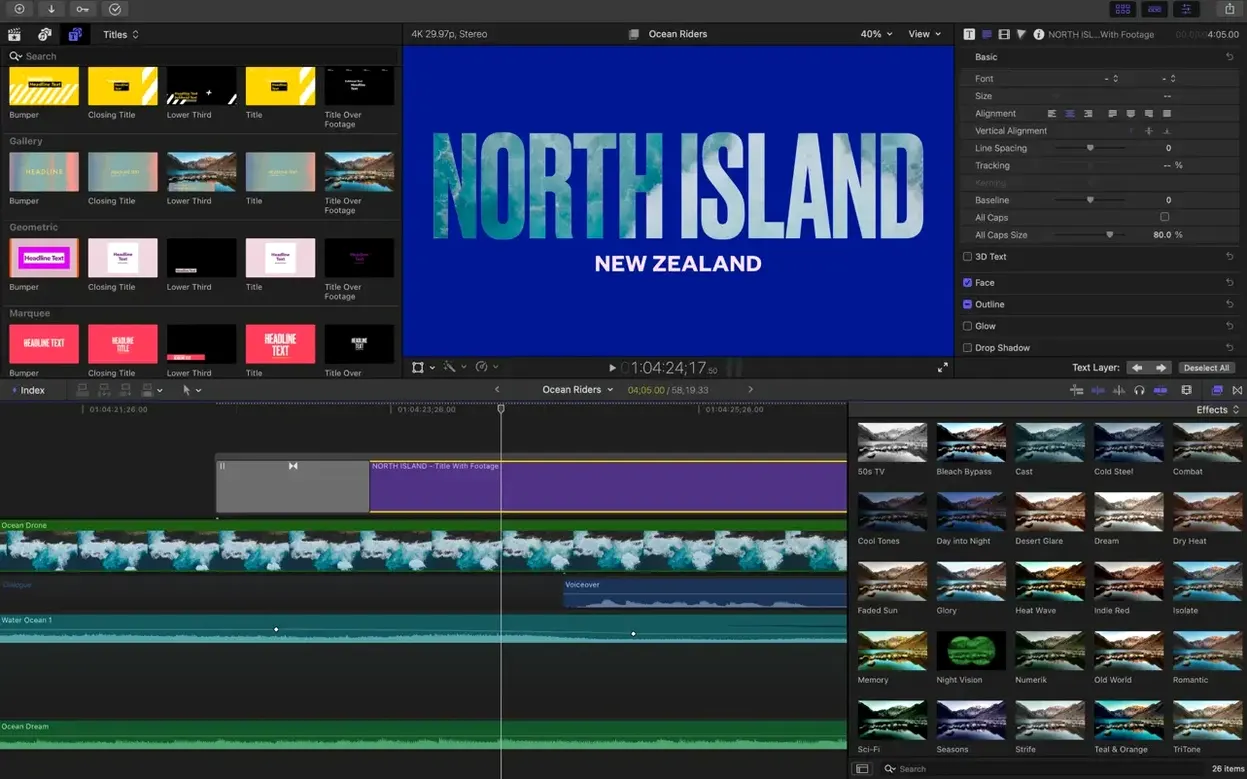
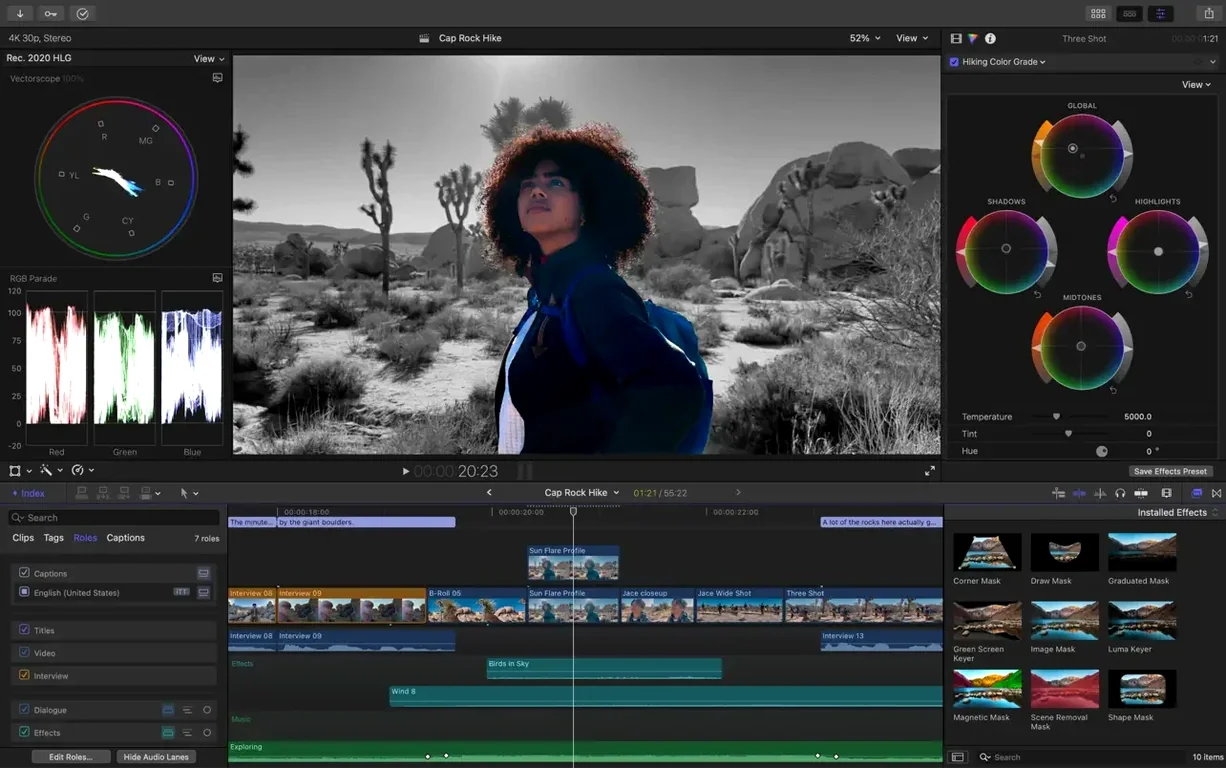
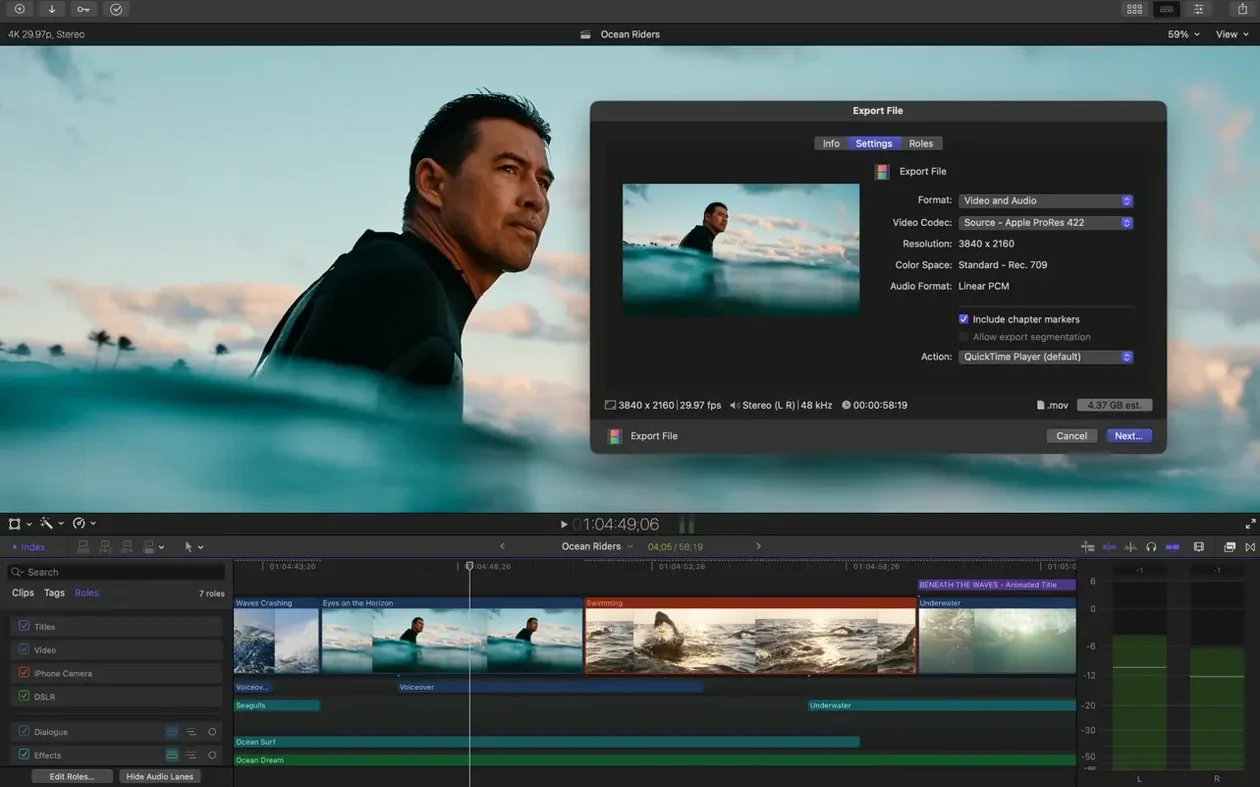
Edit Detection breaks a rendered file into its original shots. That is where a tidy-up job often begins.
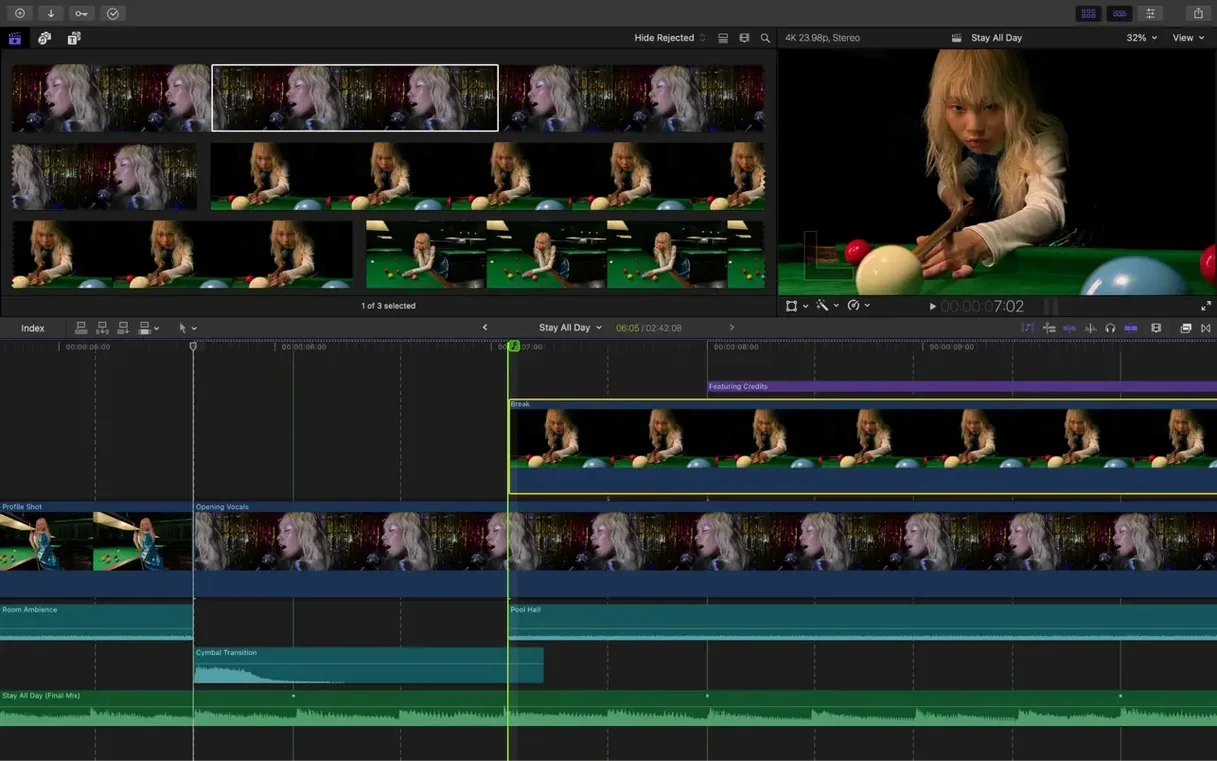
Magnetic timeline — the main editing space where clips connect without collisions, pushing later material forward as you trim or insert.
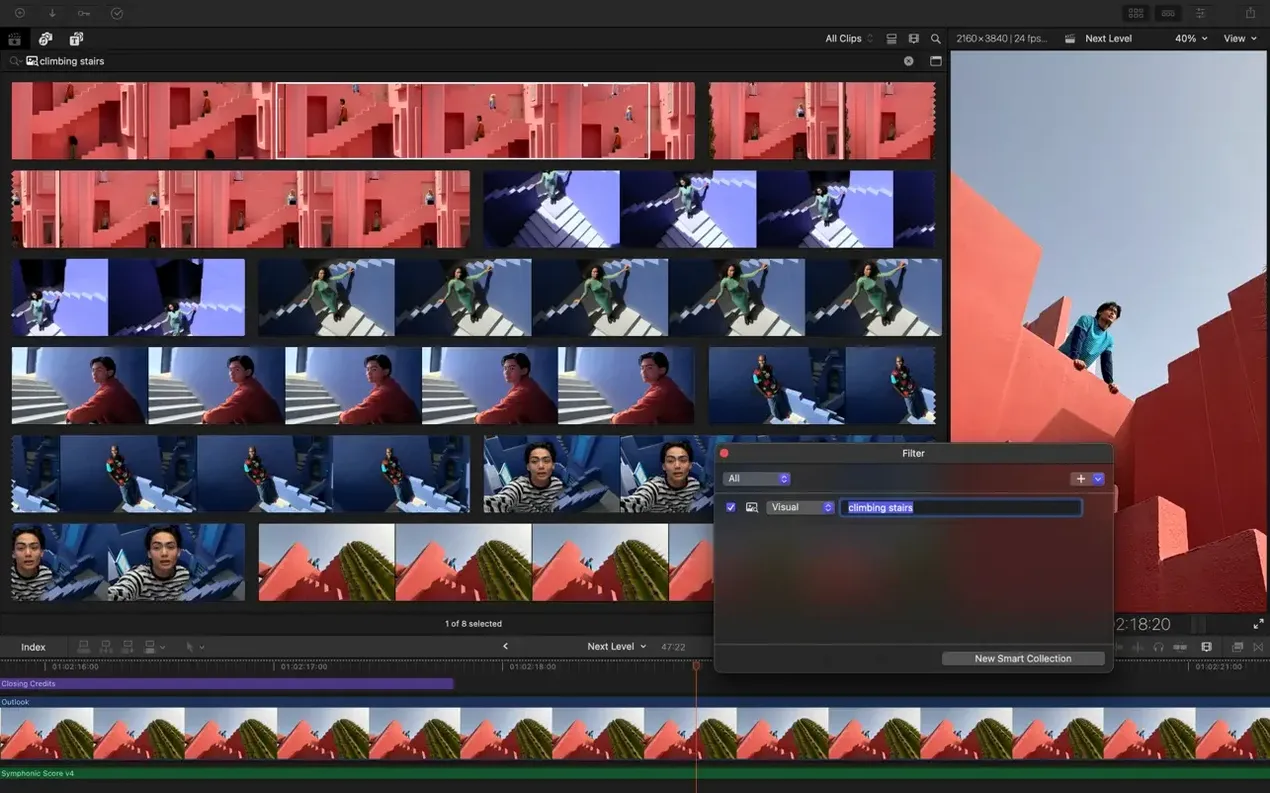
Keyword ranges — portions of a clip tagged with custom labels, gathered automatically into smart collections for fast retrieval during assembly.
Auto Mask — an effect that isolates a recognised object, letting you brighten a face or desaturate a background without manual rotoscoping.
Take a short interview shot on two cameras. The first pass imports XAVC and H.264 files, then applies Match Color to the wide angle so it reads against the close-up. A keyword range marks every answer where the contributor mentions a specific product. From the timeline index, those ranges become chapter points.
Generating captions from the magnetic timeline is direct: the app writes hidden captions into the project, editable for timing and phrasing. Appearance adjustments sit in the inspector, with alignment and font weight controls that stay live as you trim. Export to ProRes preserves the caption track for later re-use. The whole edit stays in one library, with no round-tripping to a separate titling tool.
A short day with a corporate editor
A communications lead at a mid-sized charity sits down with footage from a fundraising event. Two camera operators captured the evening — a locked-off wide shot of the stage and a roaming camera that followed speakers and guests. The brief asks for a three-minute highlight reel with branded lower thirds and a clean caption file for social media.
She creates a new library on an external SSD, ticking the box to generate proxy media during import. The XAVC files from the roaming camera are large, but proxies keep scrubbing smooth on her MacBook Air. While the proxies build, she skims the wide-shot clip in the browser and drops keyword ranges onto any segment where a speaker addresses the room directly. Those ranges appear in a smart collection named Speaking moments before the proxies finish.
The multicam clip comes together from the two angles, synced automatically by audio waveform. She cuts between angles in the angle viewer, tapping number keys to switch, and the magnetic timeline absorbs every decision without knocking anything out of place. A branded lower third — built as a title template with the charity's logo — attaches to the first speaking clip and ripples forward as she tightens edits around it.
When the cut is locked, Generate Captions produces a full transcript inside the project. She adjusts three mistimed lines directly in the timeline, nudging caption boundaries where applause threw off the detection. The export preset sends a ProRes master to the charity's archive and an H.264 version to the comms team's shared folder, captions embedded.
Point the library to its own external cache drive
Before importing a single clip, point Final Cut Pro at a dedicated cache location. Open the library inspector, change storage locations to an external drive, and let the app manage media and cache separately from the boot volume. This single move prevents a full system disk and keeps libraries small enough to copy between machines.
Learn the three most-used keyboard shortcuts early. B activates the blade tool for a quick cut. A returns to the arrow, which selects and moves. Shift-Z fits the entire timeline in the window — the fastest way to regain orientation after zooming deep into a sequence. Press N to toggle snapping on or off; snapping keeps clips joined on the magnetic timeline, but switching it off lets you nudge a sound effect a frame at a time without dragging its neighbours.
Assign roles before you edit. In the browser, select all clips from a given camera or microphone and open the inspector's info pane. Change the audio role to Dialogue or Music or a custom role. When you later export, role-based stems appear as separate files — a dialogue-only WAV for the sound mixer, a music-minus version for the client, all from one export pass.
Use favourites instead of copying clips. Skim a long interview, press F on the usable sections, and those marked ranges appear in the Favourites collection. The original media stays intact, and the favourite ranges drag straight into the timeline as self-contained selections.
Relink a library after media files are moved
Media offline after moving a library. The library file stores references to media locations, not the files themselves. If you moved the original media folder, Final Cut Pro shows red frames and a missing-file warning. Right-click the library in the sidebar, choose Consolidate Library Media, and point the dialog at the new location. For future moves, use Consolidate before relocating — it copies everything into the library bundle and makes the whole project portable.
Playback stuttering on 4K material. Check whether proxy media exists. Open the viewer's view menu and switch from Optimised/Original to Proxy. If the option is greyed out, select the library, open File > Transcode Media, and generate proxies. On Intel Macs, also confirm that the library's storage location sits on a drive with at least 20 percent free space; a nearly full disk cripples render-cache performance.
Generated captions missing on export. The captions exist as a timeline role, not as burned-in text. In the export window, open the Roles tab, locate the captions role, and tick Include. For a self-contained file with visible captions, set the captions role to Burn rather than Passthrough.
Audio drifting out of sync on long clips. Variable frame-rate footage — common from phones, screen recordings and some DSLRs — confuses the magnetic timeline's timing engine. Transcode the troublesome clips to constant frame rate before import. Right-click the file in the browser, choose Transcode Media, and select Create optimised media. The new ProRes copy locks the audio in place.
Avoid one giant, unstructured magnetic timeline
Dragging everything into one giant timeline. The magnetic timeline is forgiving, but a single sequence with no structure becomes unwieldy. Break the project into separate projects inside the same library — one per scene, one per act, one for titles — and combine them later by copying into a master timeline. Each project retains its own undo history, so a wrong move in act three does not ripple back into act one.
Ignoring the audio lanes view. New editors often stack audio clips directly on the primary storyline, which ties volume adjustments to video edits. Double-click the audio waveform to expand audio lanes, then drag sound effects and music into their own lanes below the primary. Adjustments to those lanes travel with the clip, not with the video cuts above.
Applying effects to the whole clip instead of a range. Dragging a colour correction onto a five-minute clip affects the entire span. Select the clip, press R for the range tool, and drag across the segment that needs the correction. The effect applies only to that range. The same technique works for audio effects — isolate a single sentence that needs de-essing without touching the rest of the interview.
Leaving the library on the internal drive. A week of editing produces render files measured in tens of gigabytes. When the internal drive fills, exports fail silently or the system beachballs. From day one, set the library's media and cache locations to an external SSD with enough headroom for the project's expected size, plus half again for renders.
Workflow: cutting a social-media teaser from a long-form edit
A finished ten-minute interview sits in a project. The brief asks for a sixty-second vertical teaser with captions and a branded end card. The whole process stays inside the library, with no new imports.
Duplicate the project. In the browser, right-click the finished project and choose Duplicate Project As. Name the copy Teaser – vertical. The duplicate references the same source media, so no extra disk space goes to file copies.
Change the format. Open the project settings from the inspector and switch the video format to a vertical frame — 1080x1920, square-pixel. Smart Conform analyses every clip and re-frames to keep visible faces and motion inside the new bounds. Review the result shot by shot; for a clip where Smart Conform missed, open the transform controls and shift the frame manually.
Rough-cut to sixty seconds. Skim the timeline and use the blade tool to cut around the three strongest soundbites. Delete the rest. The magnetic timeline closes the gaps automatically. At this point the project runs about ninety seconds — too long, but close.
Tighten with precision. Switch to the trim tool by pressing T. Roll the start and end of each soundbite by a few frames, watching the audio waveforms for natural breath points. Aim for a brisk rhythm: each clip under ten seconds, transitions under four frames. The timeline counter reaches sixty-two seconds.
Add an end card. Drag a generator — Custom under the Titles and Generators sidebar — onto the primary storyline. Give it three seconds. In the inspector, replace the placeholder text with the brand tagline and set the background to the brand colour. A fade-to-colour transition eases the last soundbite into the card.
Generate and burn captions. With the whole timeline selected, choose Edit > Captions > Generate Captions. The app transcribes the speech. Skim through and correct the two or three words it misheard — usually brand names or acronyms. In the captions inspector, switch the font to match the brand guide and increase the size for vertical viewing. In the export roles tab, set the captions role to Burn.
Export for platform. Choose File > Share > Apple Devices from the H.264 tab, then adjust the resolution to 1080x1920. Tick the captions inclusion box. The exported file lands on the desktop, ready for upload, with visible captions and the brand card. The entire process, from duplicate to final export, takes under twenty minutes.