Aspecten
 Download (107 MB)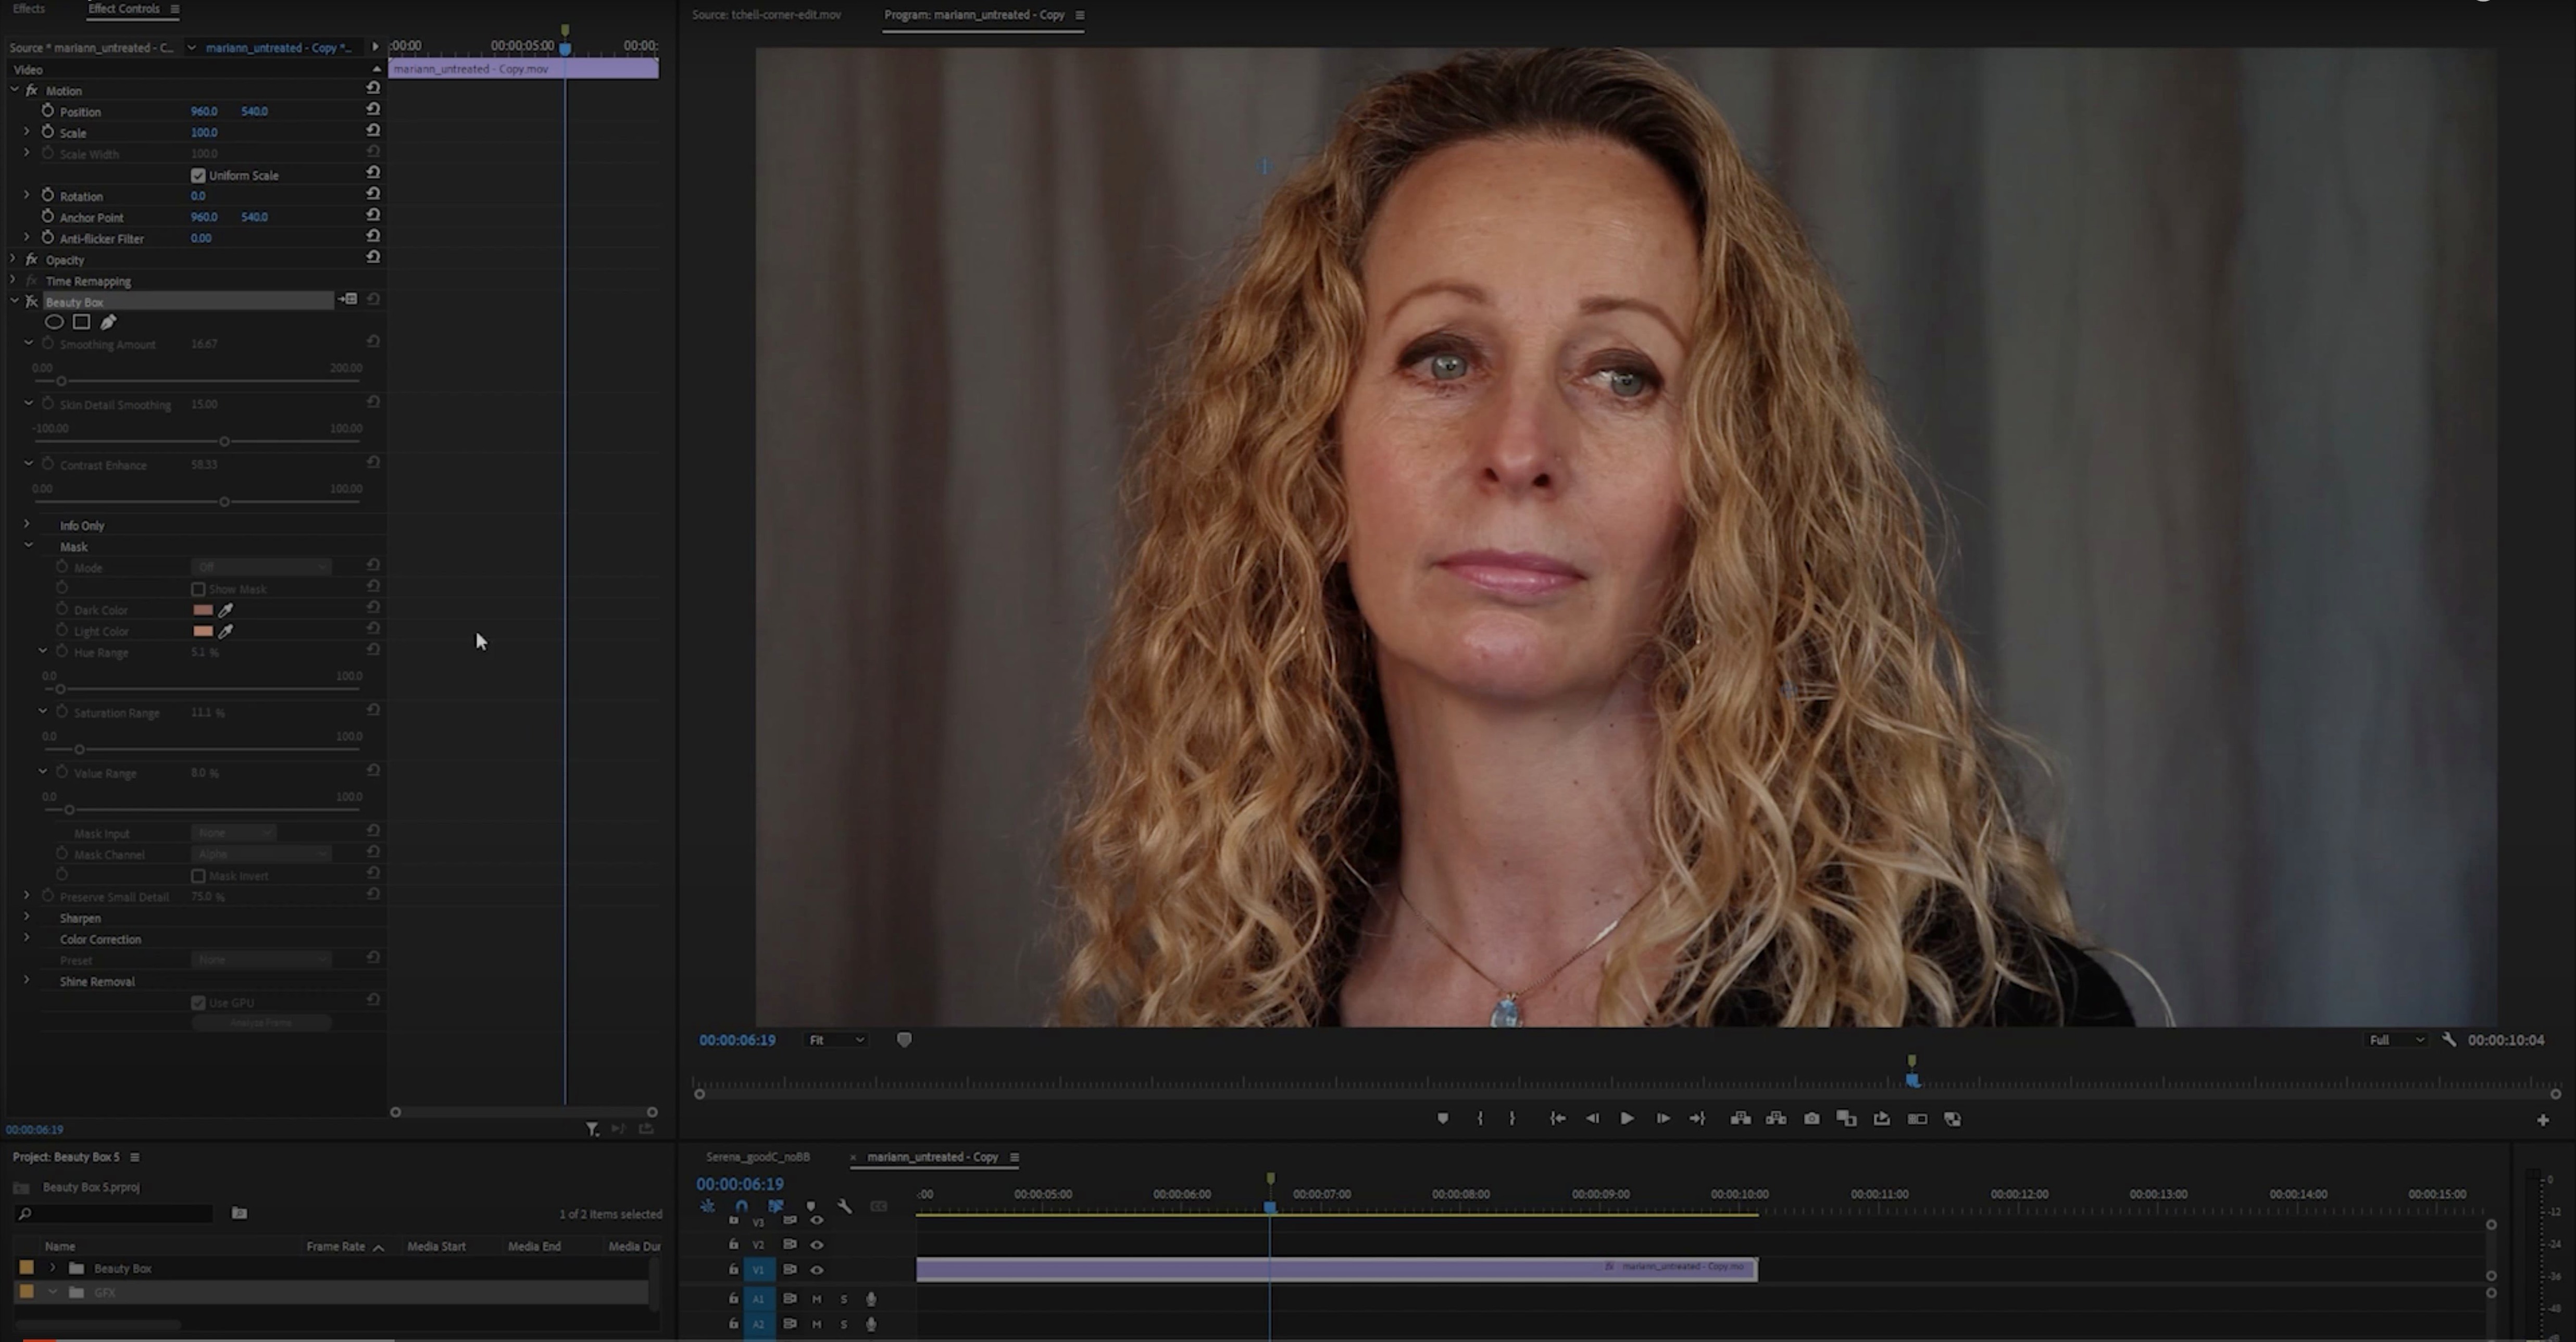
Portrait and wedding photographers tend to reach for this plug-in early in a session, once the raw conversion is done and the file is open in Photoshop. It acts as a dedicated clean-up pass, targeting skin smoothing and blemish removal before any broader colour grading or creative work takes place. The plug-in operates on its own layer, which keeps the retouching non-destructive and lets you dial back the effect with opacity if the default calculation feels too heavy. In a typical workflow, it sits after frequency separation setups or ahead of dodge and burn refinement, handling the repetitive spotting that would otherwise eat into the morning.
| Detail | Note |
|---|---|
| Developer | Digital Anarchy |
| Current version | 6.0.5 |
| Architecture | ARM and x86 64-bit |
Version 6.0.5 maintains support for both Apple Silicon and Intel Macs. The plug-in runs its analysis on the active pixel layer and masks its smoothing automatically, so you spend less time painting selections by hand. It identifies skin tones and works to even out texture while keeping eyes, lips and detail edges sharp. One thing to watch is that on complex backgrounds with skin-like tones, the automatic masking can drift; a quick manual check of the generated mask is a sensible step before moving on to the next image. The interface language is English.
No standalone app, just a Photoshop plug-in
Beauty Box Photo lives inside Photoshop and stays out of the way elsewhere. It does not appear as a standalone application, so you will not find it in Launchpad or the Applications folder as a clickable icon. It registers as a Photoshop filter, available under the Filter menu once the installer has placed the plug-in file in the correct Adobe directory.
Because it works on a duplicated layer, the smoothing result plays nicely with any adjustment layers stacked above it — curves, hue/saturation, selective colour — without the retouching interfering with tonal edits. The plug-in also cooperates with third-party panel systems like the Beauty Box script for batch processing, though the standard version operates one image at a time. If you use Lightroom, there is no direct plug-in bridge; the workflow involves sending a TIFF or PSD to Photoshop, running the filter, saving, and letting the edited file stack alongside the original raw in your catalogue. Round-tripping works as you would expect with any external editor call.
On the macOS side, the plug-in makes use of Metal-compatible GPU acceleration where available, which keeps the preview responsive on newer machines. It also hooks into Photoshop’s smart filter architecture: apply it to a smart object and the smoothing becomes re-editable. You can double-click the filter name in the Layers panel later and tweak the settings without rebuilding the mask from scratch. The generated mask data stays embedded in the PSD, so the file remains self-contained when you archive it or hand it off to a retouching colleague.
Smoothing the background layer locks you in
The most frequent early error is applying the plug-in directly to the background layer. Without a duplicate, the smoothing is baked in and irreversible once the file is saved and closed. A quick Cmd+J before opening the filter costs a few megabytes of layer data but saves a re-edit later.
Another common slip is leaving the mask acceptance too broad. The automatic skin detection works well on even lighting, but it can grab patches of warm-toned clothing, wooden furniture or sandy backgrounds. Beginners who skip the mask preview step often notice the problem only after flattening, when a jacket sleeve looks oddly plastic. Switching the plug-in to mask view — a small toggle in the interface — and brushing out stray areas with a soft black brush on the layer mask takes under a minute per image and prevents the tell-tale over-smoothing that gives plug-in retouching a bad name.
Some newcomers also set the smoothing amount by looking at the preview zoomed to fit the screen. At 25% or 33%, fine texture loss is barely visible. Zooming to 100% on the cheek and forehead areas gives a truer read of what the filter is doing. A setting that looks natural at full resolution often feels too strong when printed, so checking at actual pixel size is a habit worth forming early.
Finally, there is the temptation to let the plug-in do everything. Beauty Box handles the broad smoothing pass well, but it is not a replacement for spot healing on prominent blemishes or for manual cloning on stray hairs across the face. Running the plug-in first, then doing targeted clean-up on a new blank layer above it, produces a more convincing result than cranking the settings to hide everything in one go.
Workflow: evening out skin on a bridal portrait
Start with a raw file converted in your converter of choice — neutral profile, no sharpening or noise reduction applied yet — and opened in Photoshop as a 16-bit TIFF. Duplicate the background layer and name it Skin Smooth. With that layer active, open Beauty Box Photo from the Filter menu.
The plug-in analyses the image and presents a default mask over the detected skin areas. Toggle the mask view to check coverage. On a bridal portrait with a warm wooden backdrop, the mask may bleed onto the background in the corners. Grab a black brush at 50% opacity, exit mask view, and paint over the affected areas on the layer mask the plug-in generates. Switch back to the normal view and set the smoothing detail slider to preserve texture in the highlight areas of the cheeks. A value around 40–50% often keeps pores visible without the skin looking untouched.
Apply the filter, then add a curves adjustment layer clipped to the Skin Smooth layer. Pull the midpoint up slightly to lift the skin brightness without affecting the eyes or lips. Below that, keep a blank layer for manual spotting — clone stamp set to Current & Below — and remove any remaining stray hairs or distinct blemishes that the smoothing pass left behind. Save the layered PSD, then flatten a copy for the client delivery folder.
Retouching a bride’s close-up, coffee in hand
Nine in the morning, coffee still warm. The raw files from Saturday’s wedding are already culled and the keepers have basic exposure adjustments applied in the raw converter. You open the first close-up portrait in Photoshop. The bride has lovely skin already, but the morning light picks up a little texture on the forehead and some redness around the nose. You duplicate the background, rename the layer, and launch Beauty Box from the Filter menu.
The preview renders quickly — the GPU fan stays quiet — and the automatic mask settles across the face, skipping the eyes and mouth cleanly. You zoom to 100%, check the forehead texture, and nudge the smoothing down by ten points. The mask view confirms the neck and décolletage are covered, and a quick brush on the layer mask pulls the effect back from the veil edge where the tulle was starting to soften. You apply the filter, add a clipped hue/saturation layer to dial down the redness a touch, and save. The whole pass takes under three minutes.
You move to the next file, a group shot with four faces. The plug-in detects all four skin areas in one analysis pass. The masking on the groom’s stubble is a little patchy — expected — so you reduce the smoothing on his jawline with a soft brush on the mask. A quick check at print size, and the file is ready for the next stage. By ten-fifteen the batch of forty close-ups is through the first retouching pass, and you switch to the wider environmental shots where skin work is less critical. The morning feels productive without the repetitive strain of manual spotting.