Aspecten
 Download (6 MB)
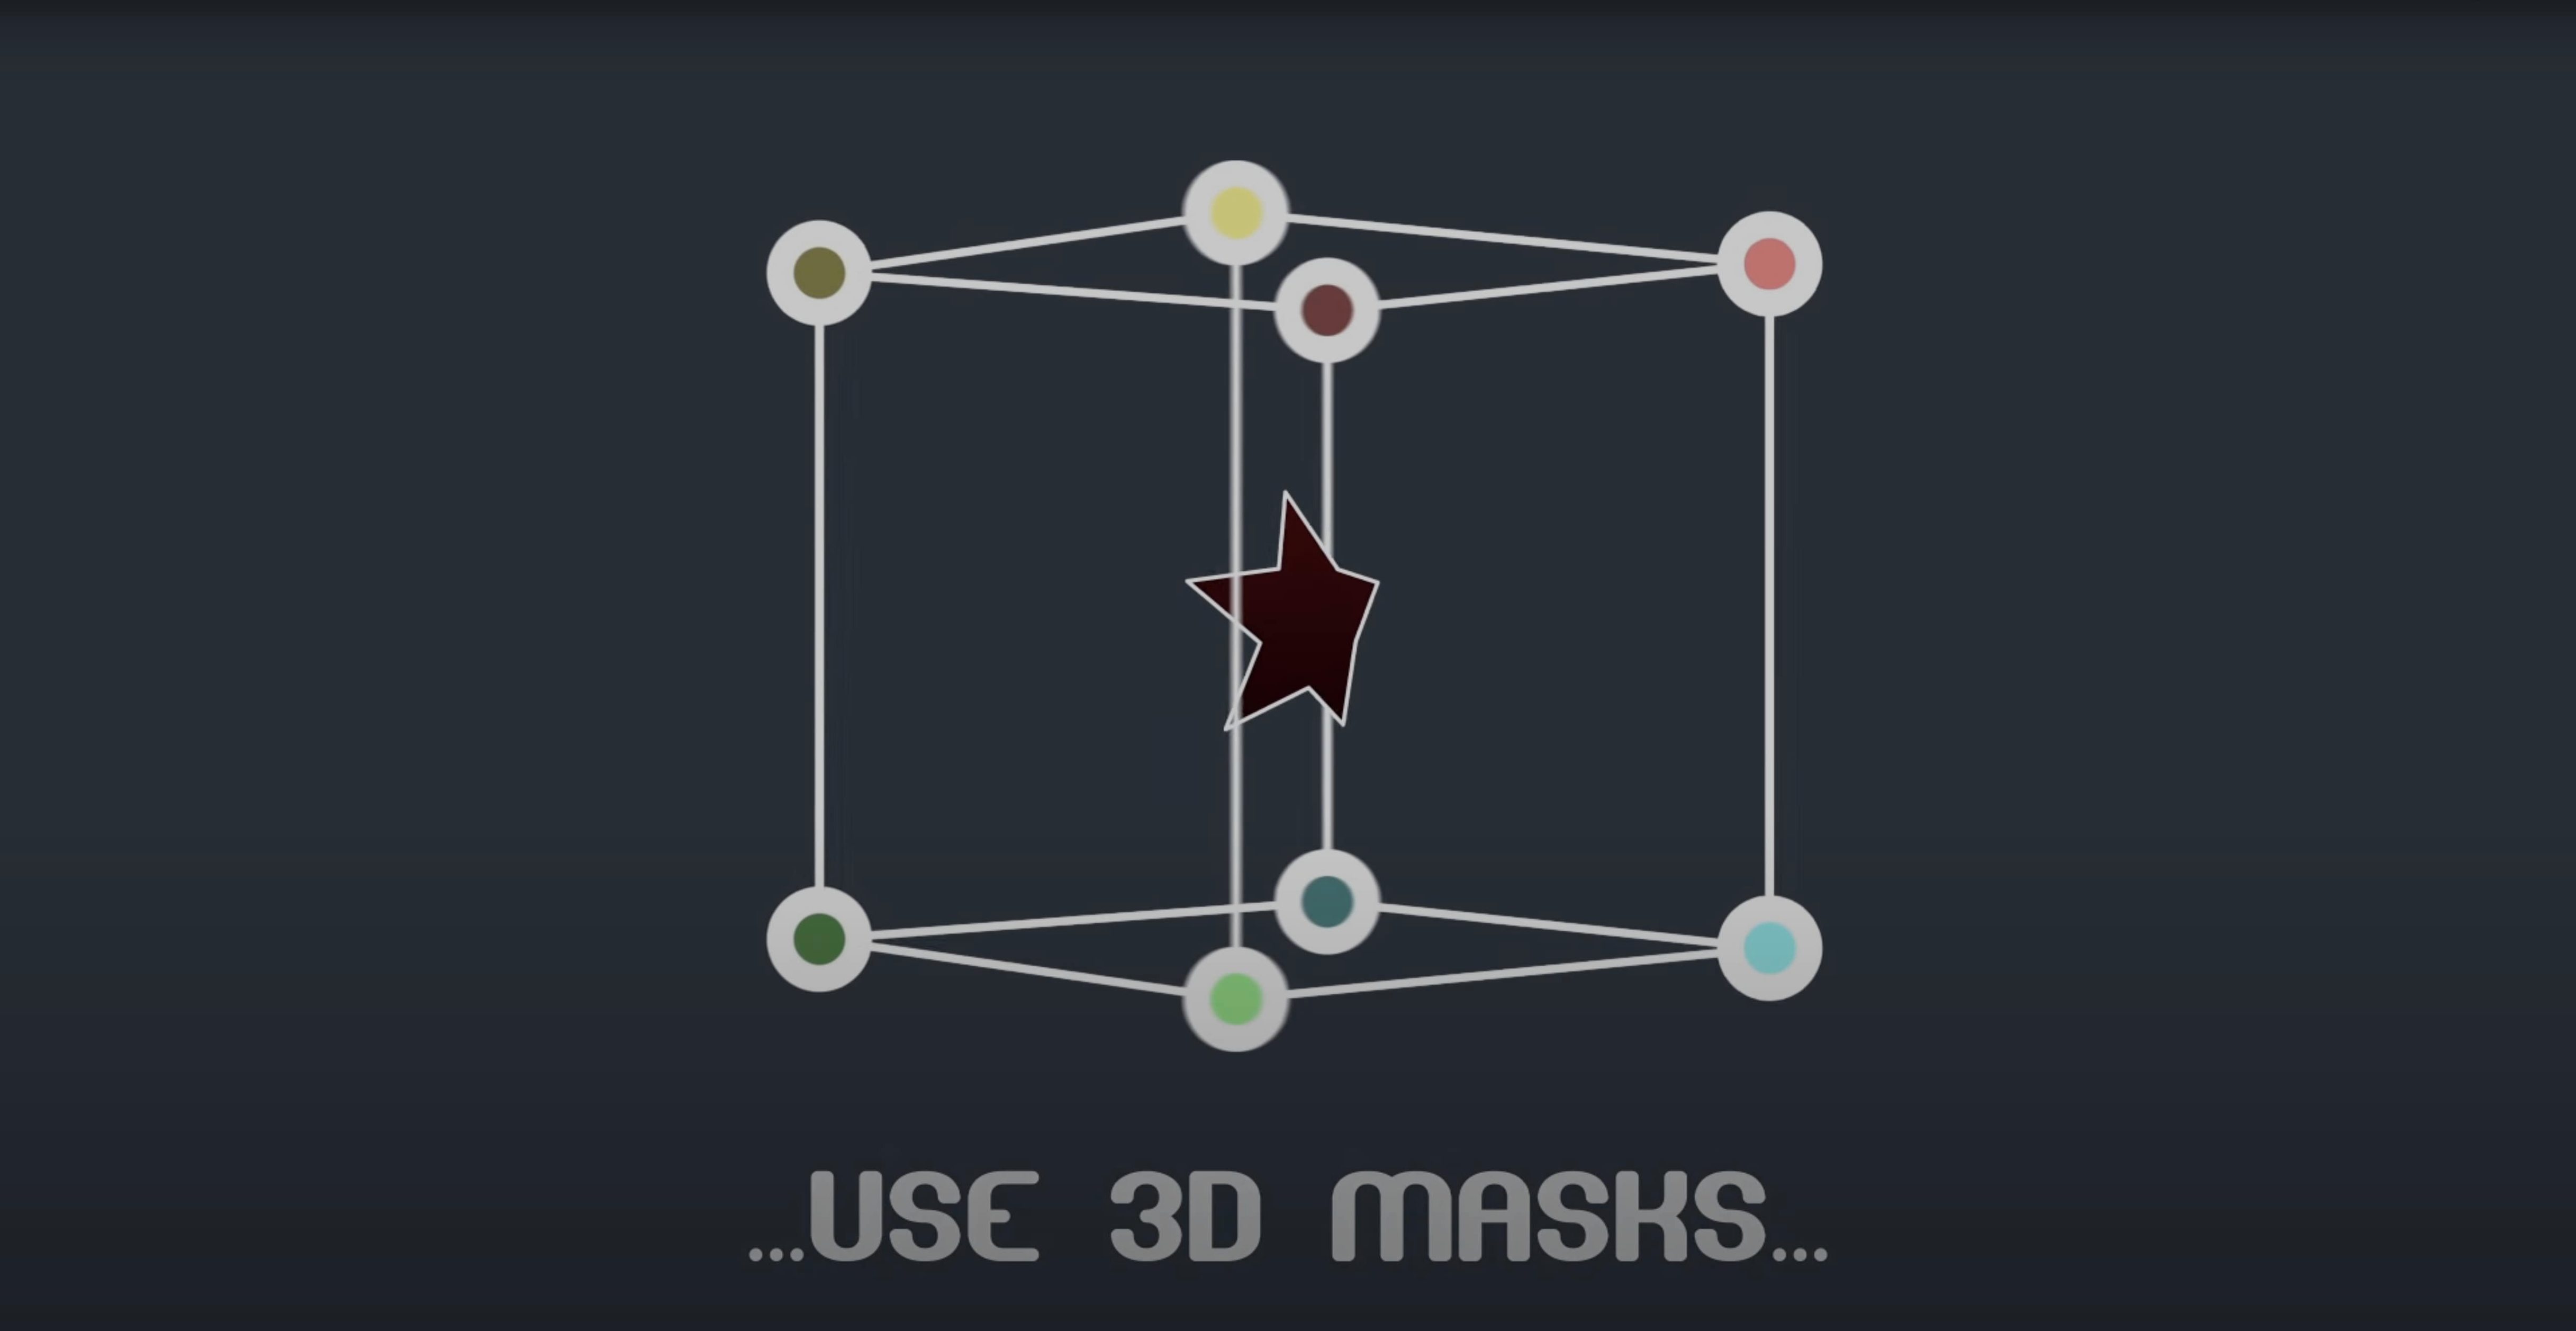
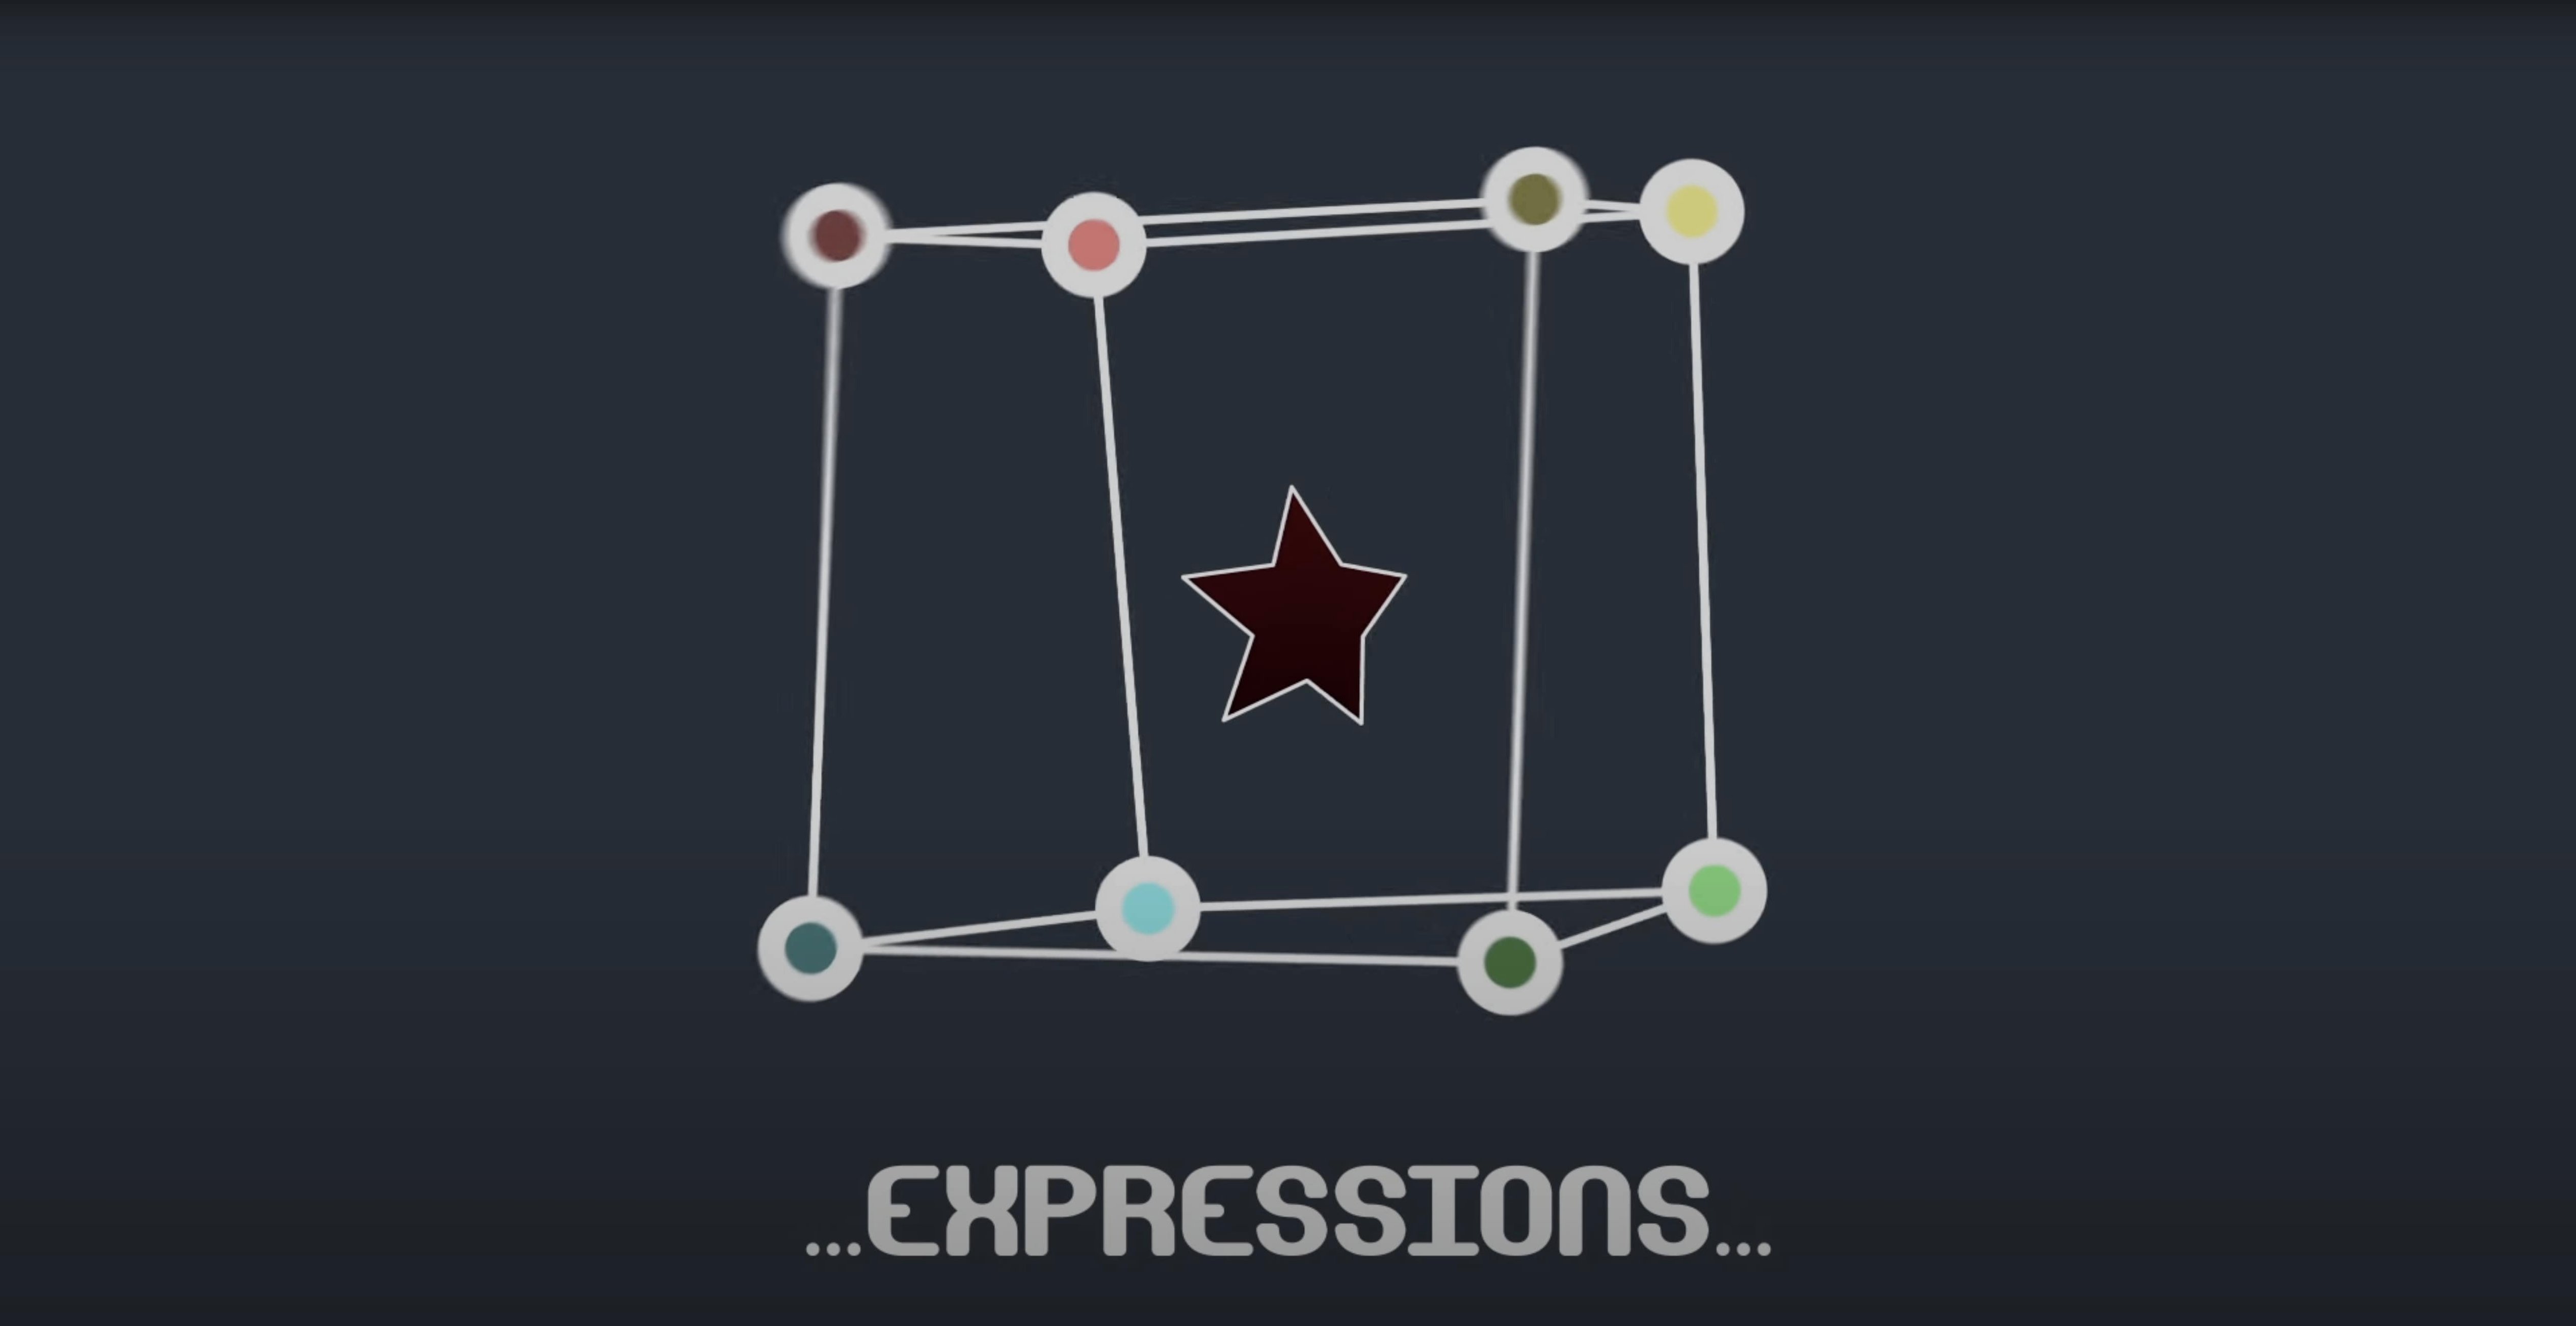
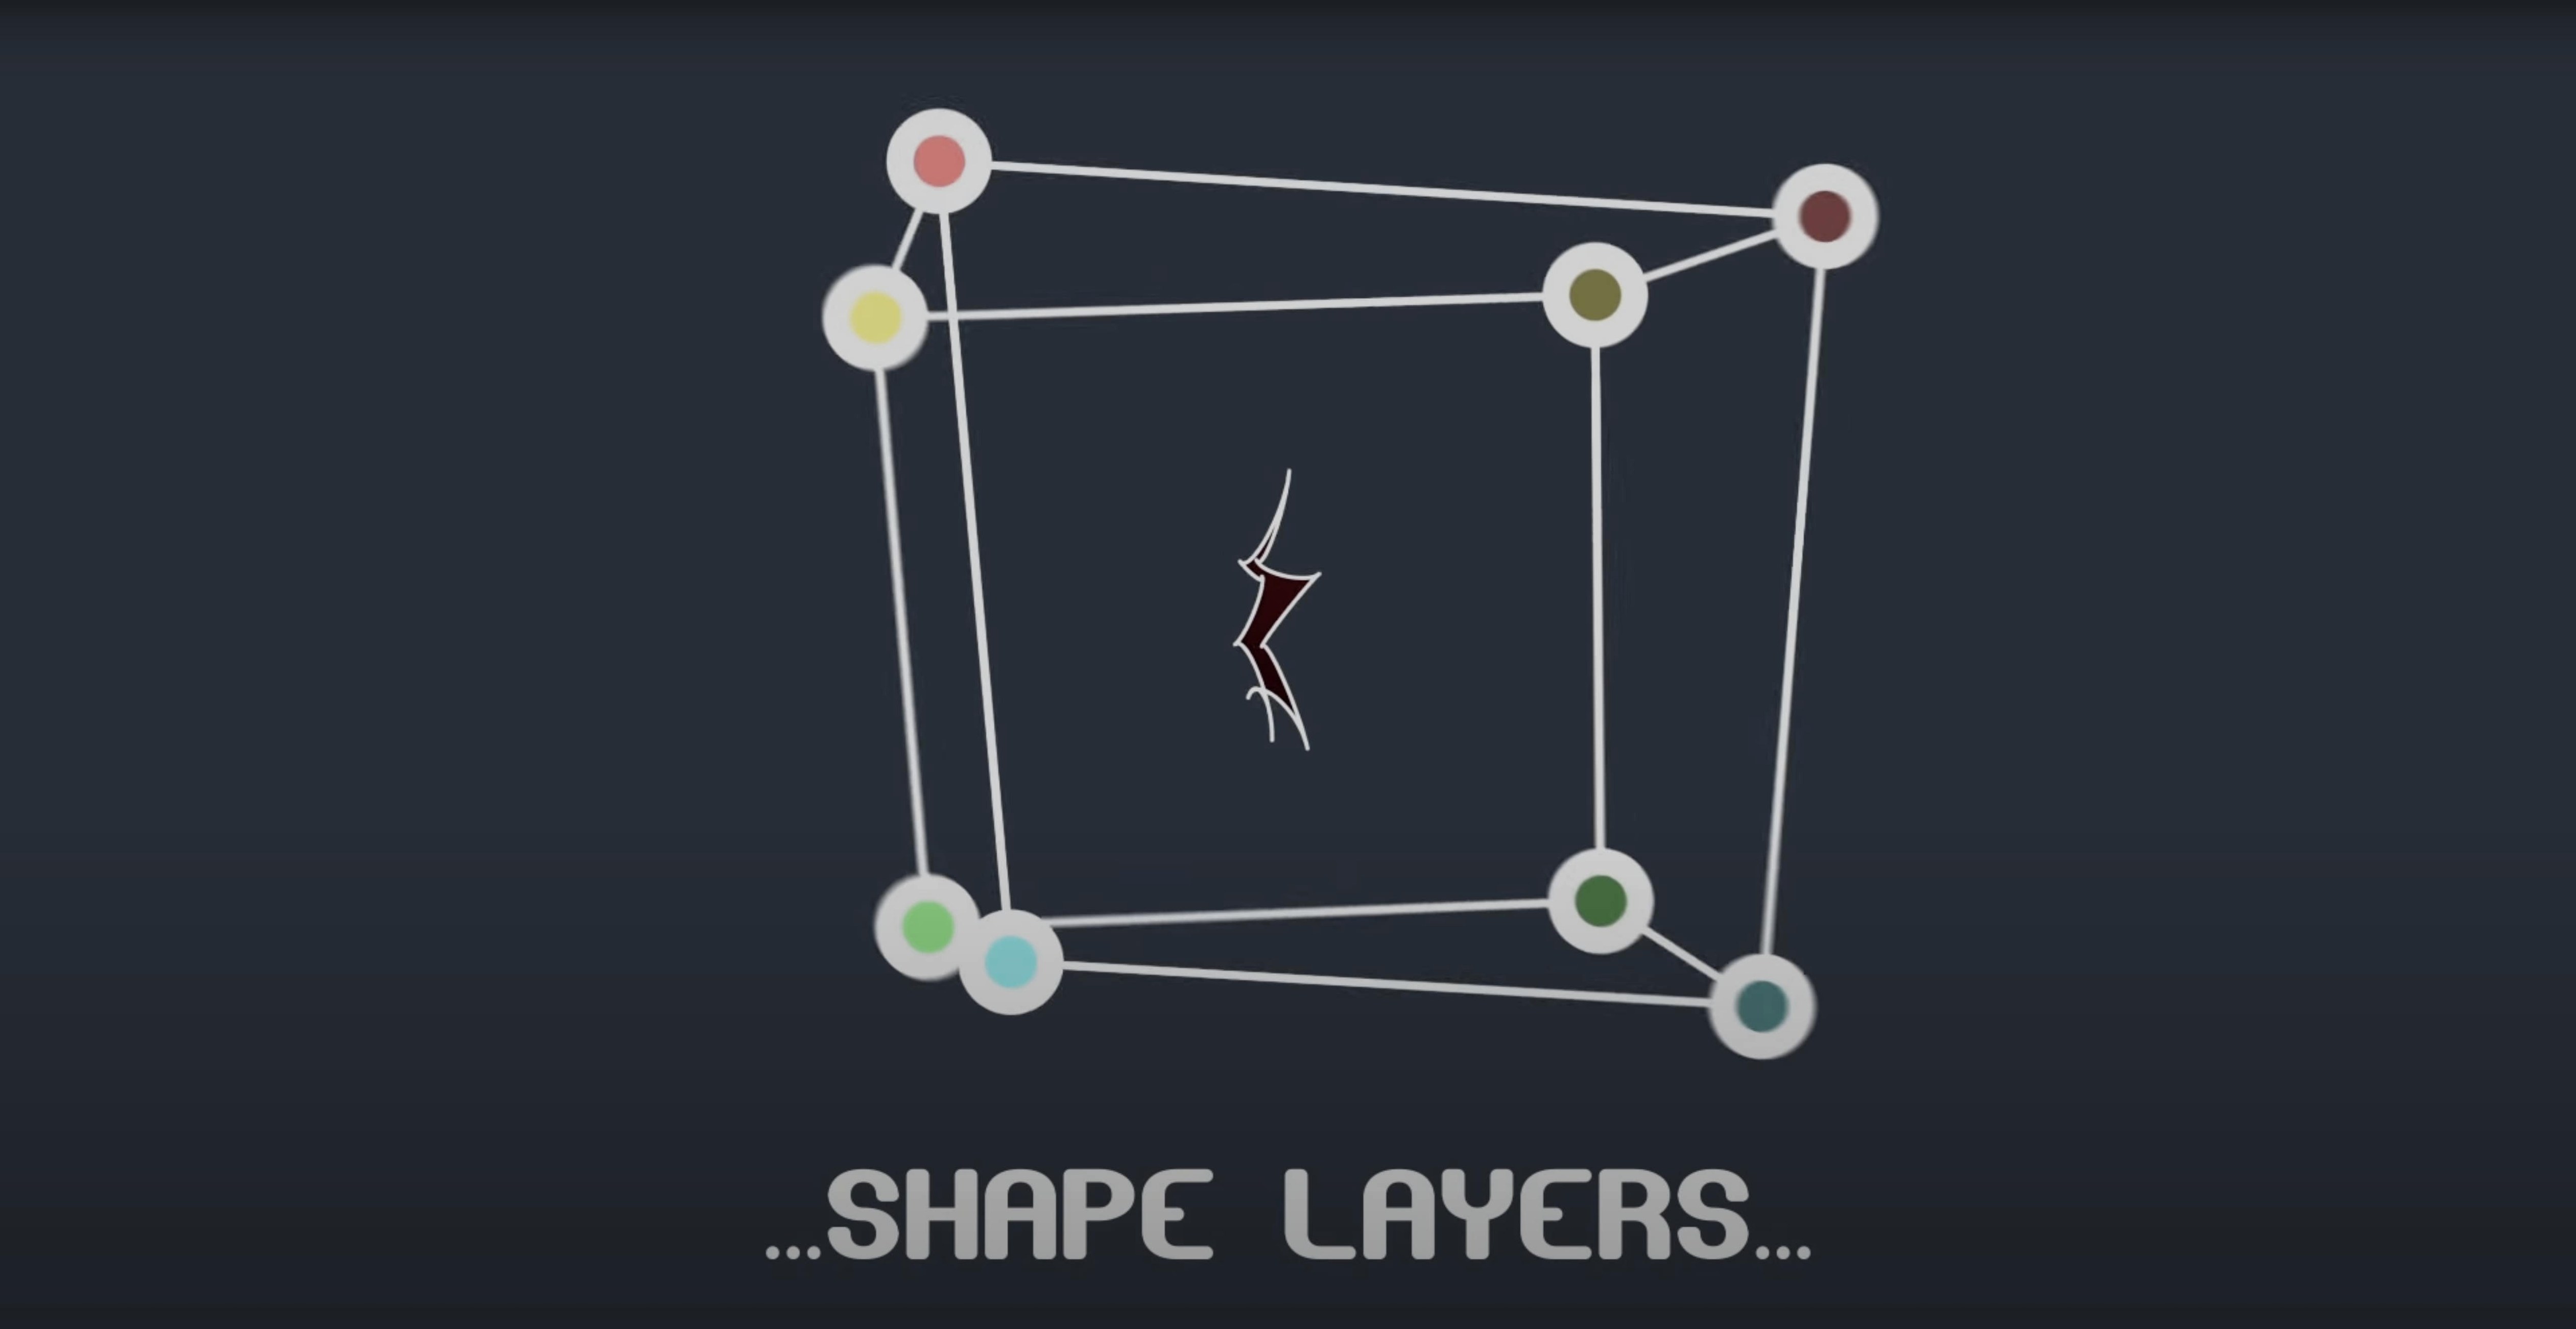
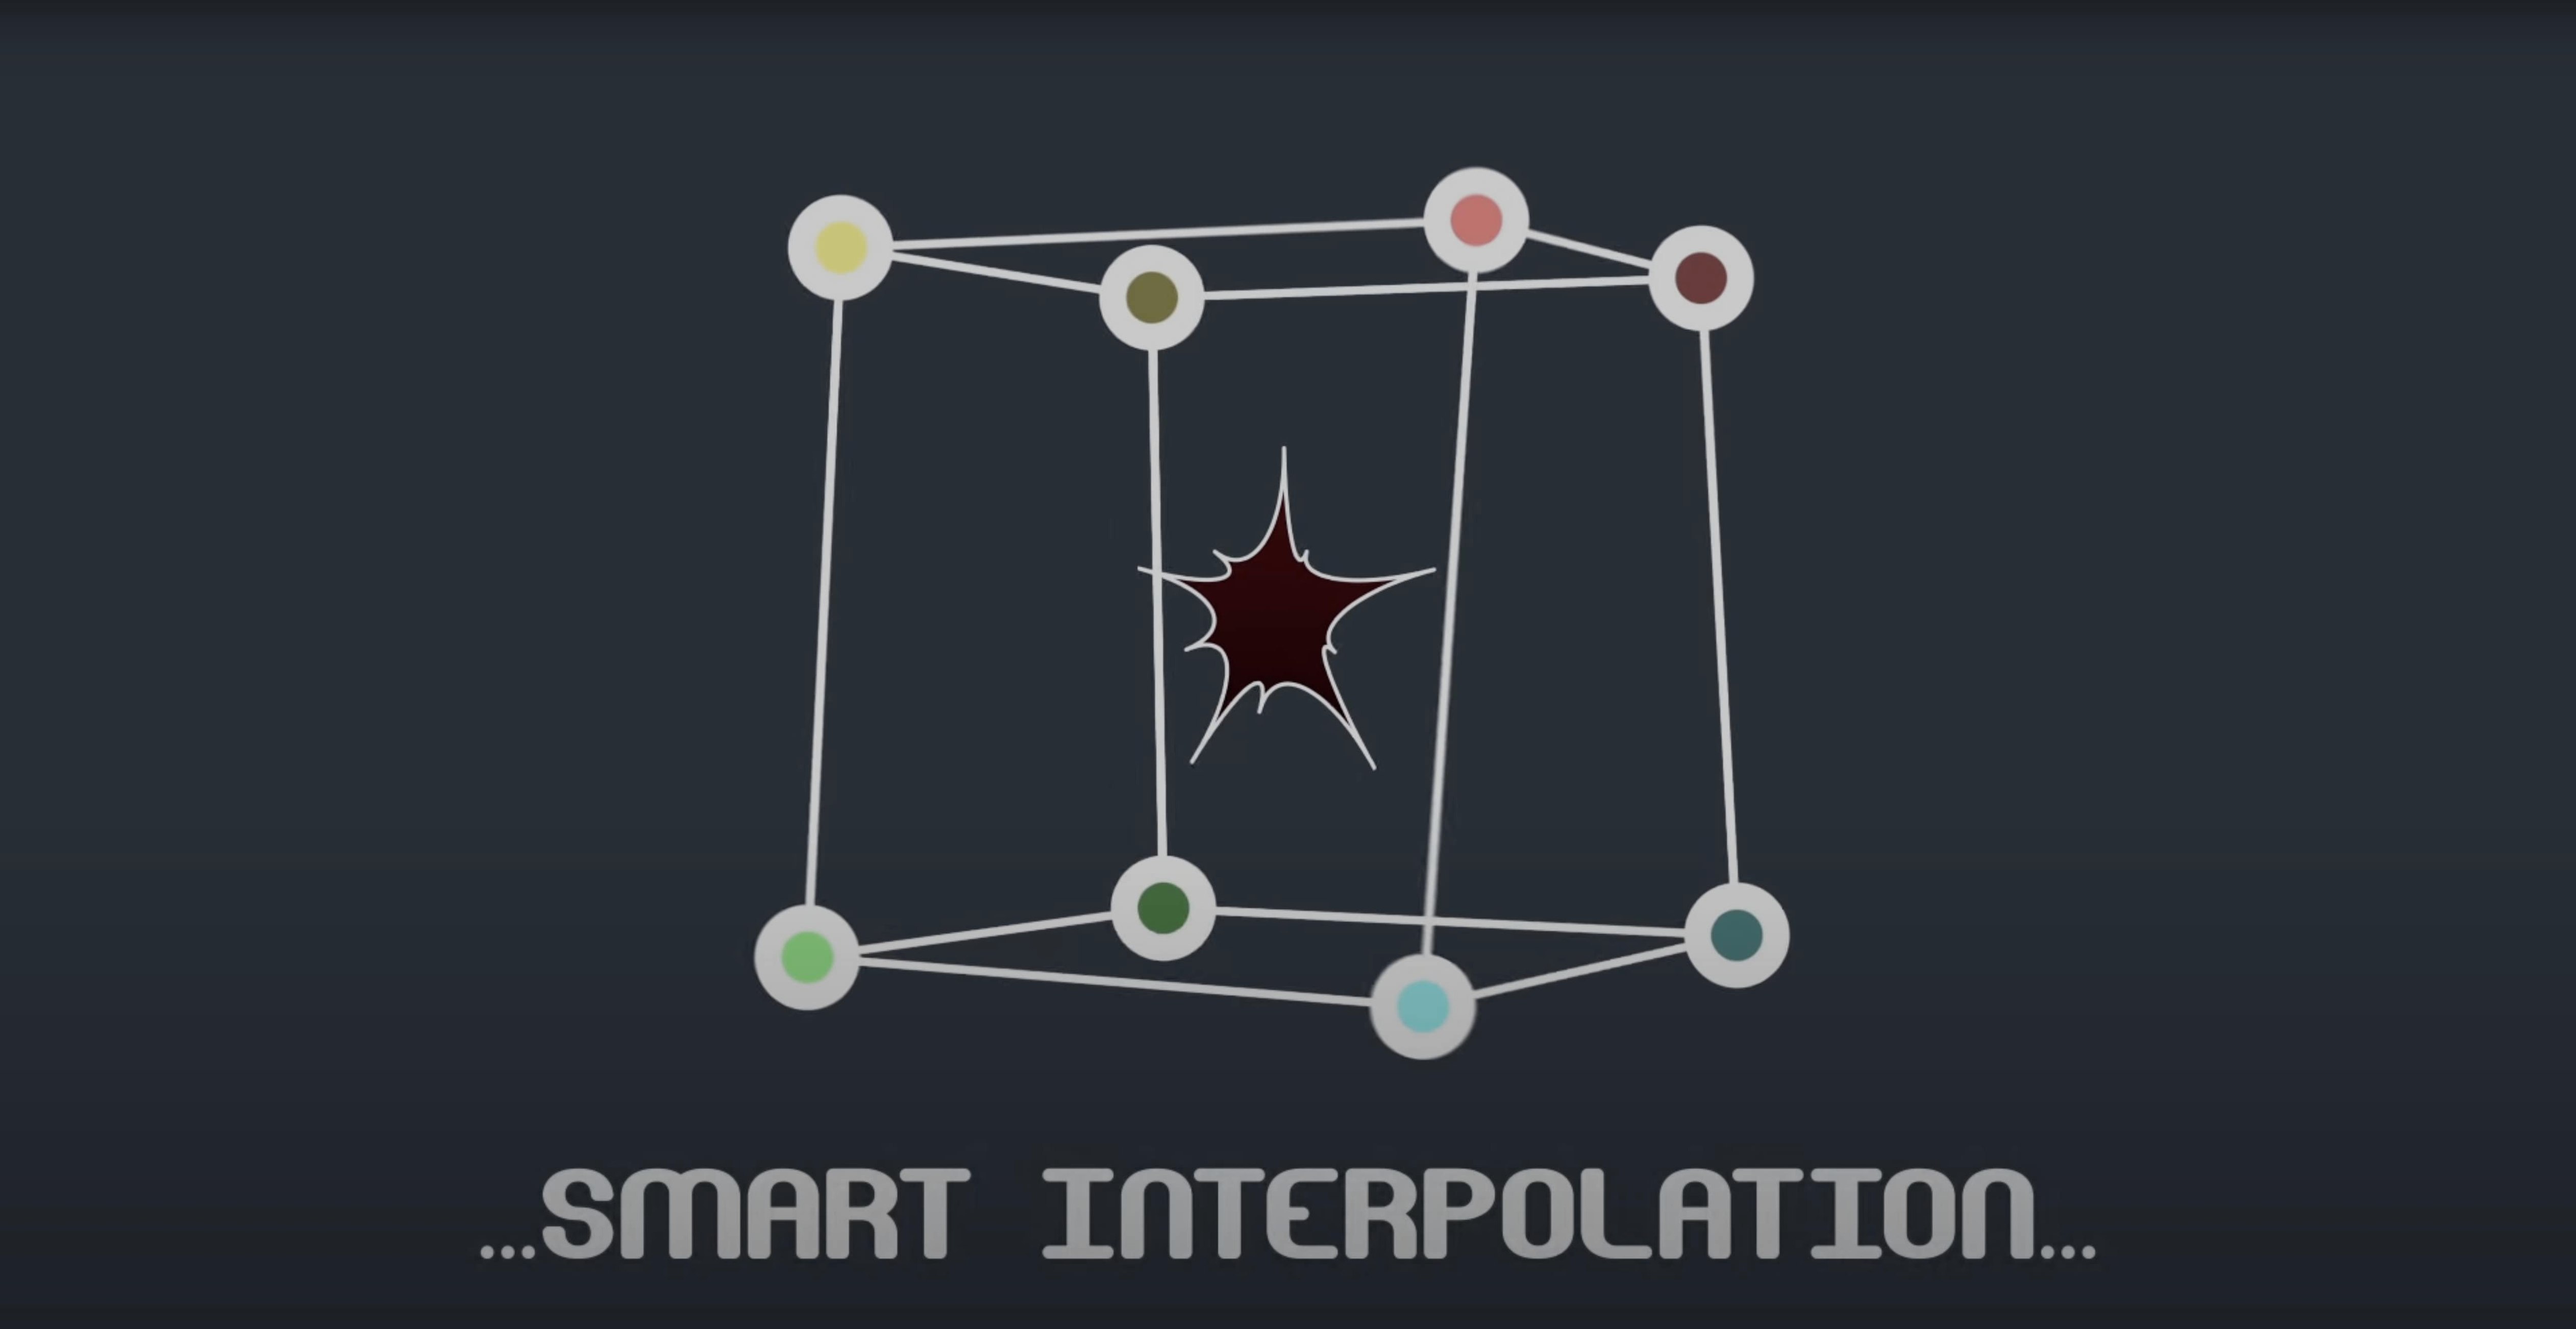
If you have used After Effects' built-in Mask Renderer to extract path data, Mask Avenger covers that ground but goes several steps further. Where Mask Renderer reads a whole path, Mask Avenger lets you address individual vertices and their tangents with the same level of control a shape layer offers.
Vertex-only moves vs. separate tangent tweaks
- Vertex-only mode — moves points without tangent handles, useful when you need position to follow a null but want the curve shape to stay put.
- Full tangent control — adjusts incoming and outgoing handles separately. A mask can ease in and out like a keyframed property.
- Interpolation anchor — intelligent interpolation based on centre of gravity or an independent key anchor point, keeping motion distributed naturally across vertices.
- Path reading — reads position and orientation data from any point along a mask path, feeding it to other layers via expressions.
Native pen tool and keyframes still drive the mask
Because the plugin uses native After Effects masking functions, masks remain editable with the standard pen tool. Keyframes, easing, and expressions all behave as expected, even in 3D space. A mask driven by Mask Avenger can also be applied to a shape layer, bringing roto-style animation into a parametric environment without converting paths manually. The result is a tighter link between mask animation and the rest of a composition's motion, with fewer workarounds.
Start with three vertices on a solid
A fresh install of Mask Avenger sits quietly in the Effects menu, but the first few hours reveal where it helps most. Begin with a simple mask on a solid layer — three or four vertices, nothing elaborate — and apply the effect. Open the effect controls and tick Vertex Only to keep things manageable while you learn how the plugin reads your mask. Pick-whip one vertex to a null and drag the null across the screen. The vertex follows. That alone replaces a handful of manual keyframes on a typical day.
Next, duplicate the layer and switch to full tangent control on the copy. Adjust one tangent handle and scrub through the timeline. The difference between the two modes becomes clear within a few minutes, and from there you can decide which approach a given shot actually needs. A common early mistake is enabling every checkbox at once on a dense mask — the interface does not prevent it, but After Effects will feel heavier. Add controls per vertex only where a vertex needs them.
Keep the Freeze mode switch in mind from the start. If a project will travel to a colleague who does not own the plugin, toggle it on before handing over the file. Frozen masks bake into standard AE paths and continue to render normally. Toggle it off when you return to the master project, and all expression links pick up where they left off.
Apple Silicon fix for silent vertex-data failure
Version 2.7.5 addressed a specific incompatibility on Apple Silicon Macs. Before the fix, M1 and M2 machines could encounter a silent failure where the plugin would load but refuse to read vertex data from certain mask shapes — particularly masks with more than a dozen points. The update resolved that, bringing native ARM performance to the full feature set without Rosetta. For studios that transitioned to Apple Silicon early, this was the update that made Mask Avenger usable again in daily production.
Earlier 2.x releases laid groundwork that shapes everyday use now. The pick-whip expression for tracker points arrived before 2.7, letting a single vertex latch onto a track point without scripting. The intelligent interpolation mode — switching between centre-of-gravity weighting and an independent anchor — also predates the M1 fix. In practice, the centre-of-gravity mode works best for organic shapes that stretch and contract, while the independent anchor suits mechanical masks that rotate around a fixed pivot. Knowing which mode a shot calls for shortens the trial-and-error phase considerably.
The integration with the Free Transform mask tool matured across several 2.x updates. Once a mask is under Mask Avenger control, Free Transform operations respect the per-vertex settings rather than overriding them — a detail that earlier versions did not always handle when tangents were active on selected vertices.
Overlooked shortcuts and conveniences
Several small features sit just outside the main control panel and go unnoticed even after weeks of use.
- Shape layer passthrough — the option to apply a Mask Avenger mask to a shape layer lives in a submenu rather than the main effect controls. Right-click the mask property group and look for it under the Mask Avenger scripts. Once applied, shape layer operators like Repeater and Trim Paths work on the driven mask as if it were a native shape path.
- Null linking without expressions — the integrated script that links mask vertices to null layers does not require touching the expression editor. Select the mask, run the script, pick the null, and the wiring completes in the background. The expression remains editable later if needed.
- Path orientation readout — the ability to read orientation data from any point along a mask path is not limited to the start or end. Dragging the sample point parameter while watching a linked layer rotate reveals how tangent direction changes along the curve, which is helpful when a layer needs to travel along a mask and stay tangent to it.
- Freeze as a preview toggle — beyond its sharing purpose, Freeze mode doubles as a quick way to see what a mask looks like without plugin influence. Flicking it on and off during animation work highlights which vertices carry the heaviest expression load.
Workflow: linking a roto mask to a moving subject
Consider a shot where a car door needs a masked highlight that follows the panel as the car moves through frame. Start with a mask drawn around the door panel on the first frame. Apply Mask Avenger and leave tangent control off — the curve shape can stay fixed while vertices track the motion.
Place four null layers at the corners of the door panel and parent them to a tracked point or a manually keyframed guide. With the mask selected, run the null-linking script and pick each vertex to its corresponding null. Scrub through the timeline and watch the mask deform as the nulls move. Where a vertex drifts, adjust the null keyframes rather than the mask itself — the mask stays expression-driven and clean.
Switch one vertex to full tangent control if the door panel edge flexes during the shot. Adjust the incoming tangent to match the curve at that frame and keyframe only the tangent handles. The vertex position continues to follow the null, so the two control levels stay independent.
Once the mask tracks correctly, apply the result to a shape layer via the right-click script. Add a Fill and a slight blur, and the highlight sits precisely on the panel. If the shot later goes to a finishing artist without Mask Avenger, enable Freeze mode before export. They receive a standard After Effects project with baked masks, and no plugin dependency travels with the file.