Aspecten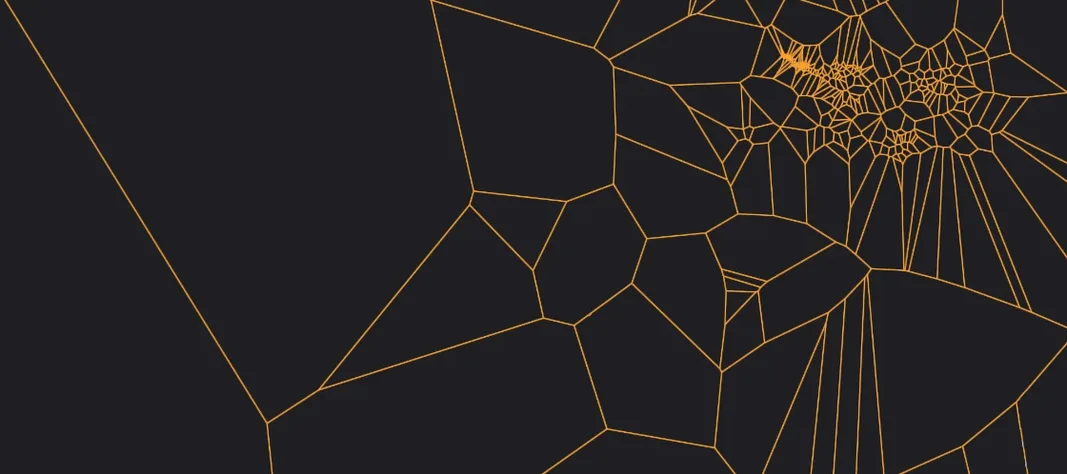
 Download (117 MB)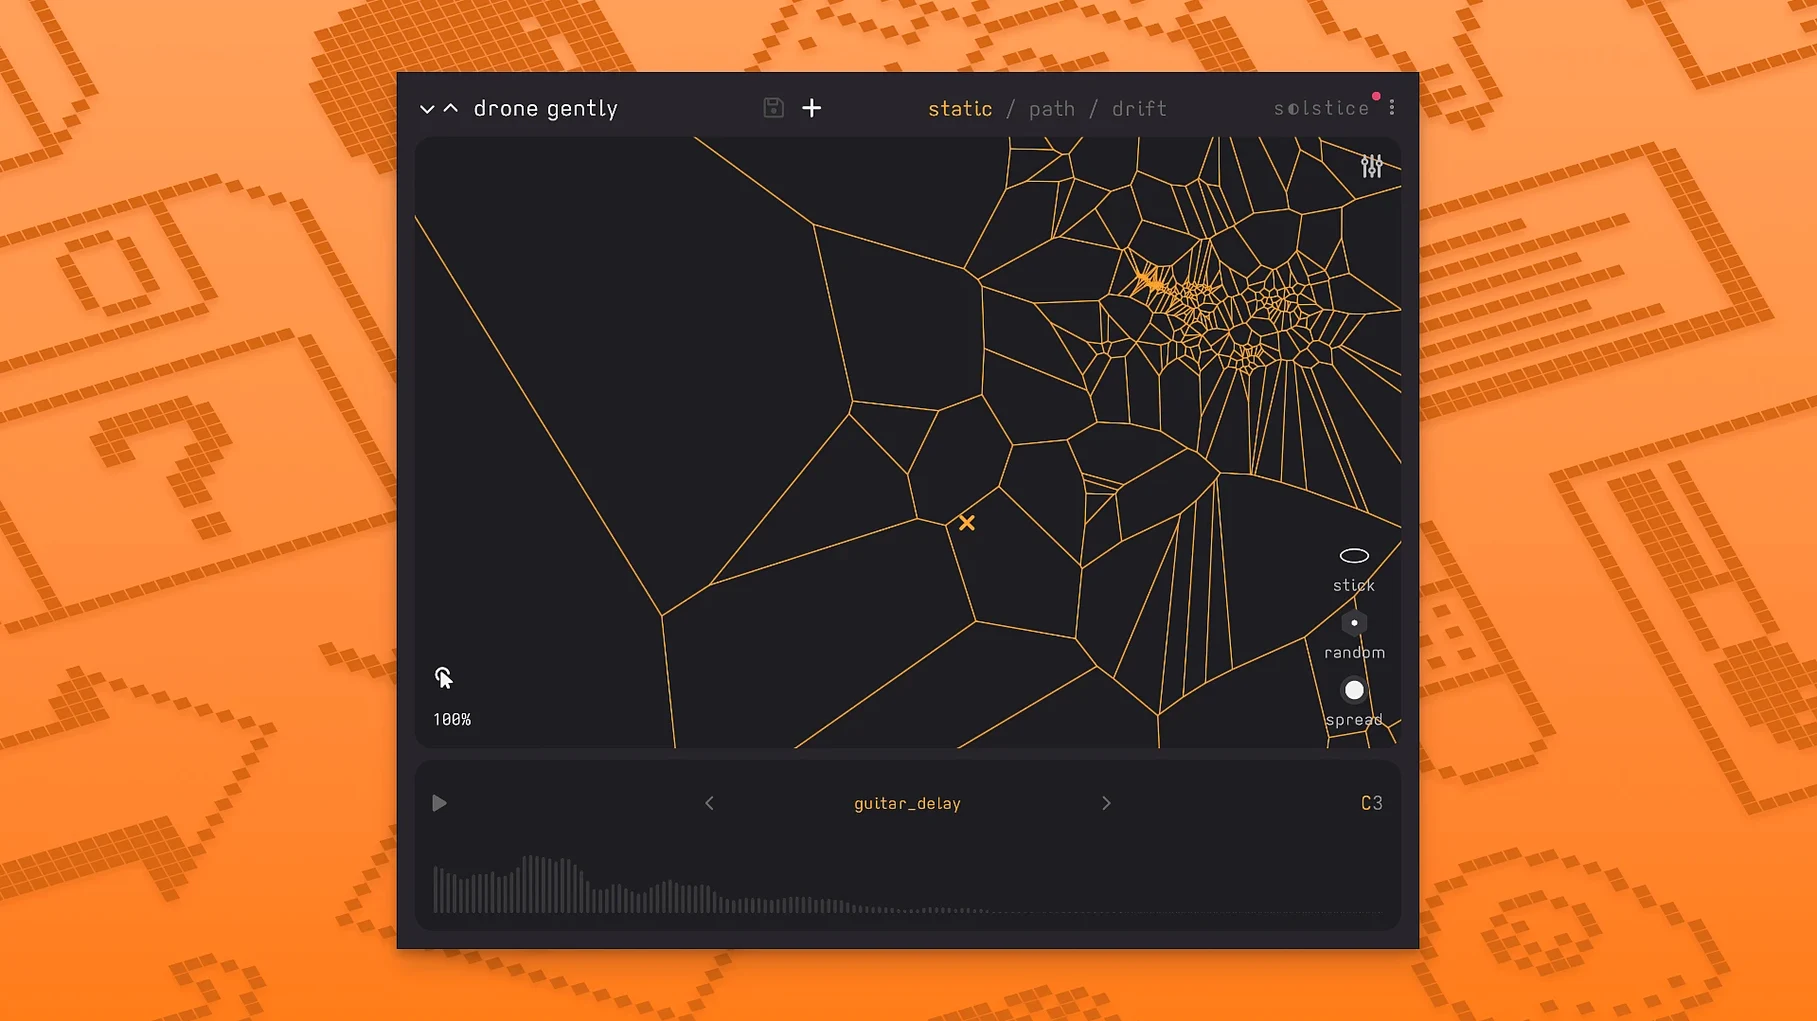
Version 1.2.0 brings Basic MPE support, MTS-ESP tuning, and five new spectral effects. Solstice takes a single sample, analyses it, and spreads its timbral character across a two-dimensional map. Click a point to play the corresponding tone; let an automated path drift across the map to generate unpredictable patterns.
Turning a field recording into a playable timbre palette
- Turning a short field recording into a broad palette of playable timbres.
- Touch controllers and MPE devices, now that Basic MPE support is present.
- Microtonal work — MTS-ESP support arrived in 1.2.
- Hosts that load VST3 or Audio Unit plug-ins on macOS 12 and later.
Single-sample concept with Apple Silicon and macOS 12 minimum
- Apple Silicon and 64-bit Intel are both supported, but the minimum system is macOS 12.
- The interface language is English only.
- The concept starts from a single sample — it is not a multi-sample library loader.
The spectral effects added in 1.2 — texture, tilt, flutter, stretch, and bloom — each push the sound in a different direction, from subtle pitch wobble to smeared harmonic washes. Auto root note detection takes the guesswork out of mapping, and the saturation and glue stages let you tighten up the output before it leaves the plug-in.
Cursor snap and other details outside the main workflow
Several details in Solstice sit just outside the main workflow, and first-time users often overlook them. The map cursor snaps to zero when you double-click the centre region, which is useful after a long drift has pushed playback into an extreme corner of the timbral space. Holding Shift while clicking a point on the map locks the playback position; releasing it frees the cursor again. That is not mentioned in the main overlay, yet it turns the map into a kind of static wavetable selector when you need to hold a single grain of the sample.
The automation path panel has a small randomise button tucked beside the speed slider. It reshapes the drift curve without altering the overall speed or range, so you can cycle through variations of an aleatoric pattern without redrawing the path by hand. Another quiet addition: right-clicking anywhere on the map copies the current cursor coordinates to the clipboard. Paste those values into a DAW automation lane, and you can script precise map movements that sync to your arrangement.
The spectral effects each have a mix lock toggle — a tiny padlock icon next to the wet/dry slider. Engage it, and the mix stays constant while you scroll through texture, tilt, flutter, stretch, and bloom presets. This makes A/B comparisons between effect types far quicker than adjusting the blend each time.
Dragging in struck wine glasses for a glassy backdrop
Imagine a producer opening a project that needs a shifting, glassy backdrop. She drags a three-second recording of struck wine glasses onto the Solstice window. The analysis takes roughly a second. The map populates: brighter strikes cluster toward the upper right, duller thuds gather near the lower left, and a thin bridge of mid-range overtones connects the two regions.
She inserts Solstice on an instrument track in Logic, arms the track, and clicks a point in the bright cluster. A sharp, ringing tone sounds. She drags slowly toward the lower-left zone. The timbre darkens as the cursor crosses the map — not in stepped changes, but in a continuous spectral fade. She records the movement as MIDI note data, letting the map position act as the modulation source.
With the basic phrase recorded, she opens the automation path panel and draws a slow figure-eight curve across the middle of the map. She sets the drift speed to a quarter-note and lets it loop. The wine-glass tones now wander on their own, never quite repeating. She adds a touch of the flutter spectral effect to introduce a shallow, irregular pitch waver, then dials in a small amount of reverb modulation to smear the stereo field. The saturation stage, set to around 30%, warms the glassy edges without breaking them. Twenty minutes after dropping in the sample, she has a textural layer that would have taken hours to cut and crossfade manually.
Start with a familiar piano note or vocal fragment
Spend the first session with a sample you know intimately — a single piano note, a vocal fragment, or a clean synth stab. Familiar timbres make it easier to hear what the map is doing. Load the sample, then click around the map without any effects active. Listen to how the same source material changes character simply because of where Solstice places the playback window in the spectral analysis. The relationship between map position and timbre is not always linear, and learning to predict it takes a little ear training.
Once the mapping behaviour feels readable, introduce one spectral effect at a time. Stretch is a good starting point; it slows the internal playback rate without introducing artifacts, so you can hear how the map regions expand and contract under time manipulation. After stretch, try texture, which layers subtle harmonic grain onto the signal. Avoid stacking all five spectral effects on day one — their interactions can mask what each one contributes.
Auto root note detection works best on samples with a clear fundamental pitch. Test it first on a monophonic instrument note, not on a full mix or a noisy field recording. Once you trust its accuracy, you can rely on it when pitching the map output to fit a key. If you work with microtonal scales, enable MTS-ESP early and confirm your host sends tuning data correctly. A quick check with a simple sine-wave sample and a known scala file will confirm the routing before you build a complex patch around it.
Map resolution and other preference pane adjustments
The default state after installation works, but a few adjustments make the plug-in fit different workflows better. Open the preferences pane — accessible from the gear icon in the top bar — and consider these changes:
- Map resolution. The default is balanced for CPU load, but raising it one step gives smoother cursor transitions, especially on longer samples. On an Apple Silicon Mac, the performance penalty is negligible.
- Cursor glide. Set to zero by default, which snaps the playback position instantly. Increasing glide to around 30 ms softens map jumps and makes automated path changes sound less abrupt. For ambient work, values between 50 and 80 ms create a portamento-like blur between map regions.
- MPE pitch bend range. With Basic MPE support active, the default bend range is set to 48 semitones. Narrow it to 12 or 24 if your controller feels unwieldy at the full range, or widen it to 96 if you want to sweep the map across extreme pitch distances.
- Reverb modulation depth. The reverb ships with modulation at half depth. Reducing it to around 20% tightens the tail for percussive material; pushing it above 70% suits long, evolving pads. The control is new in 1.2 and easy to overlook because it lives inside a collapsible section of the reverb panel.
- Glue threshold. The glue stage comes after saturation in the signal chain. Its default threshold is set conservatively. Lowering it by 3–5 dB brings more of the signal into the compression zone, which helps when the map output varies widely in level across different regions.
If you use a touch controller or an MPE device, pair it early. Solstice maps polyphonic pressure and per-note pitch bend to the cursor position and effect parameters respectively. A quick test with a light press versus a firm press on a pad will show how much expression the plug-in reads without additional MIDI mapping. The MPE implementation is called Basic for a reason — it covers the essentials, not every dimension of the specification — but it responds cleanly to slides and pressure changes.