Aspecten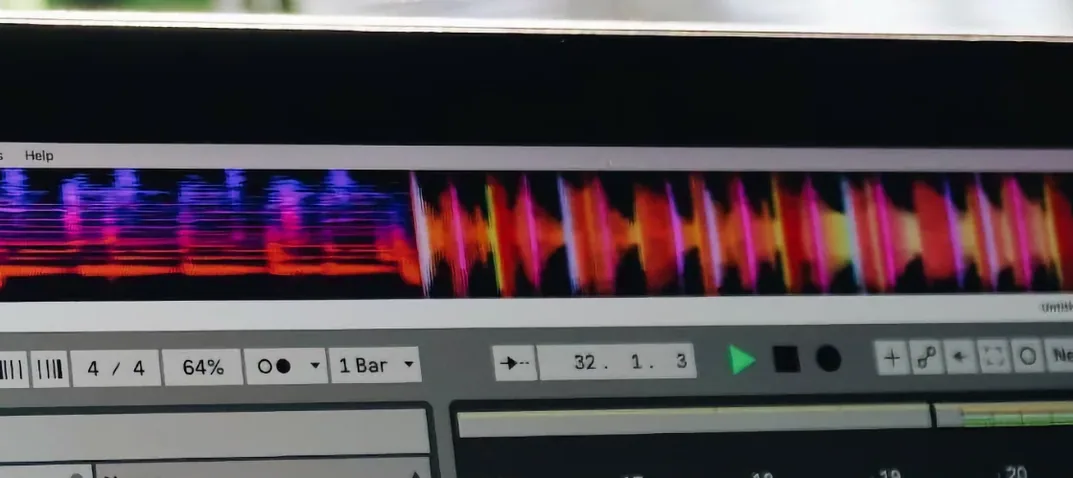
 Download (103 MB)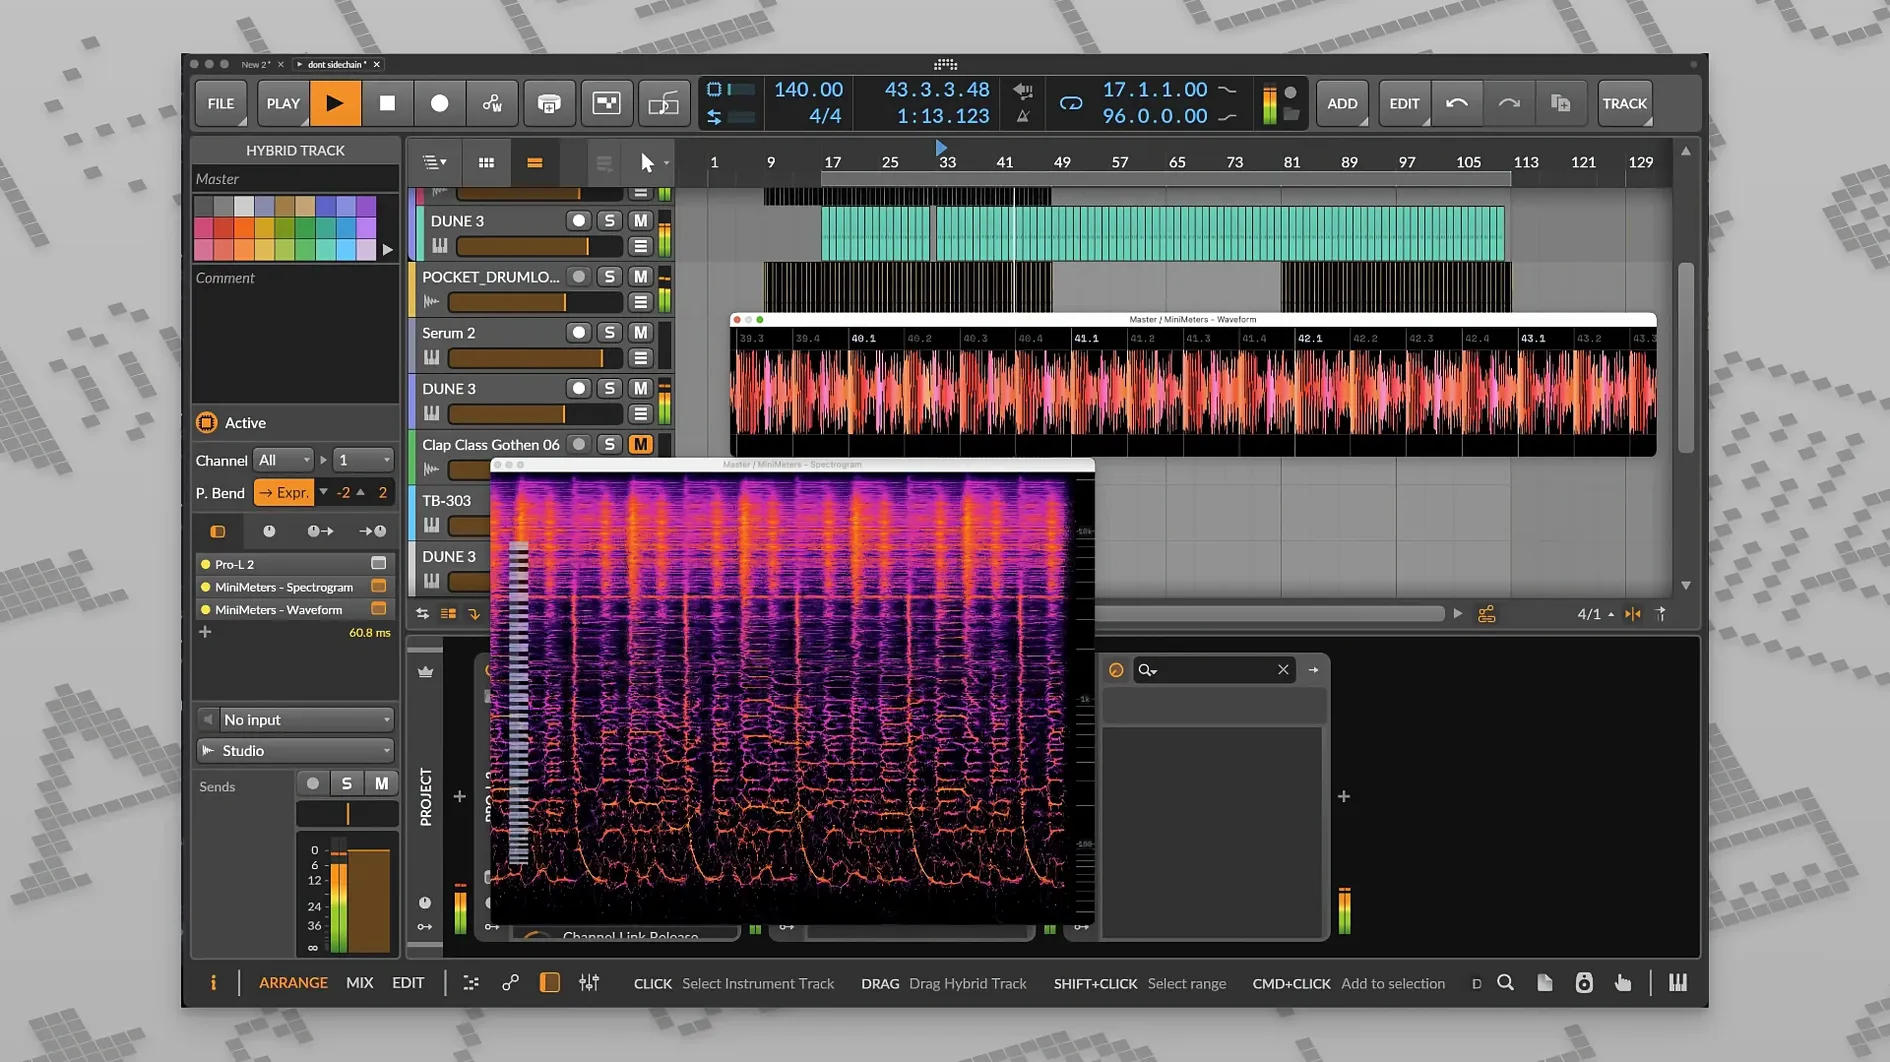
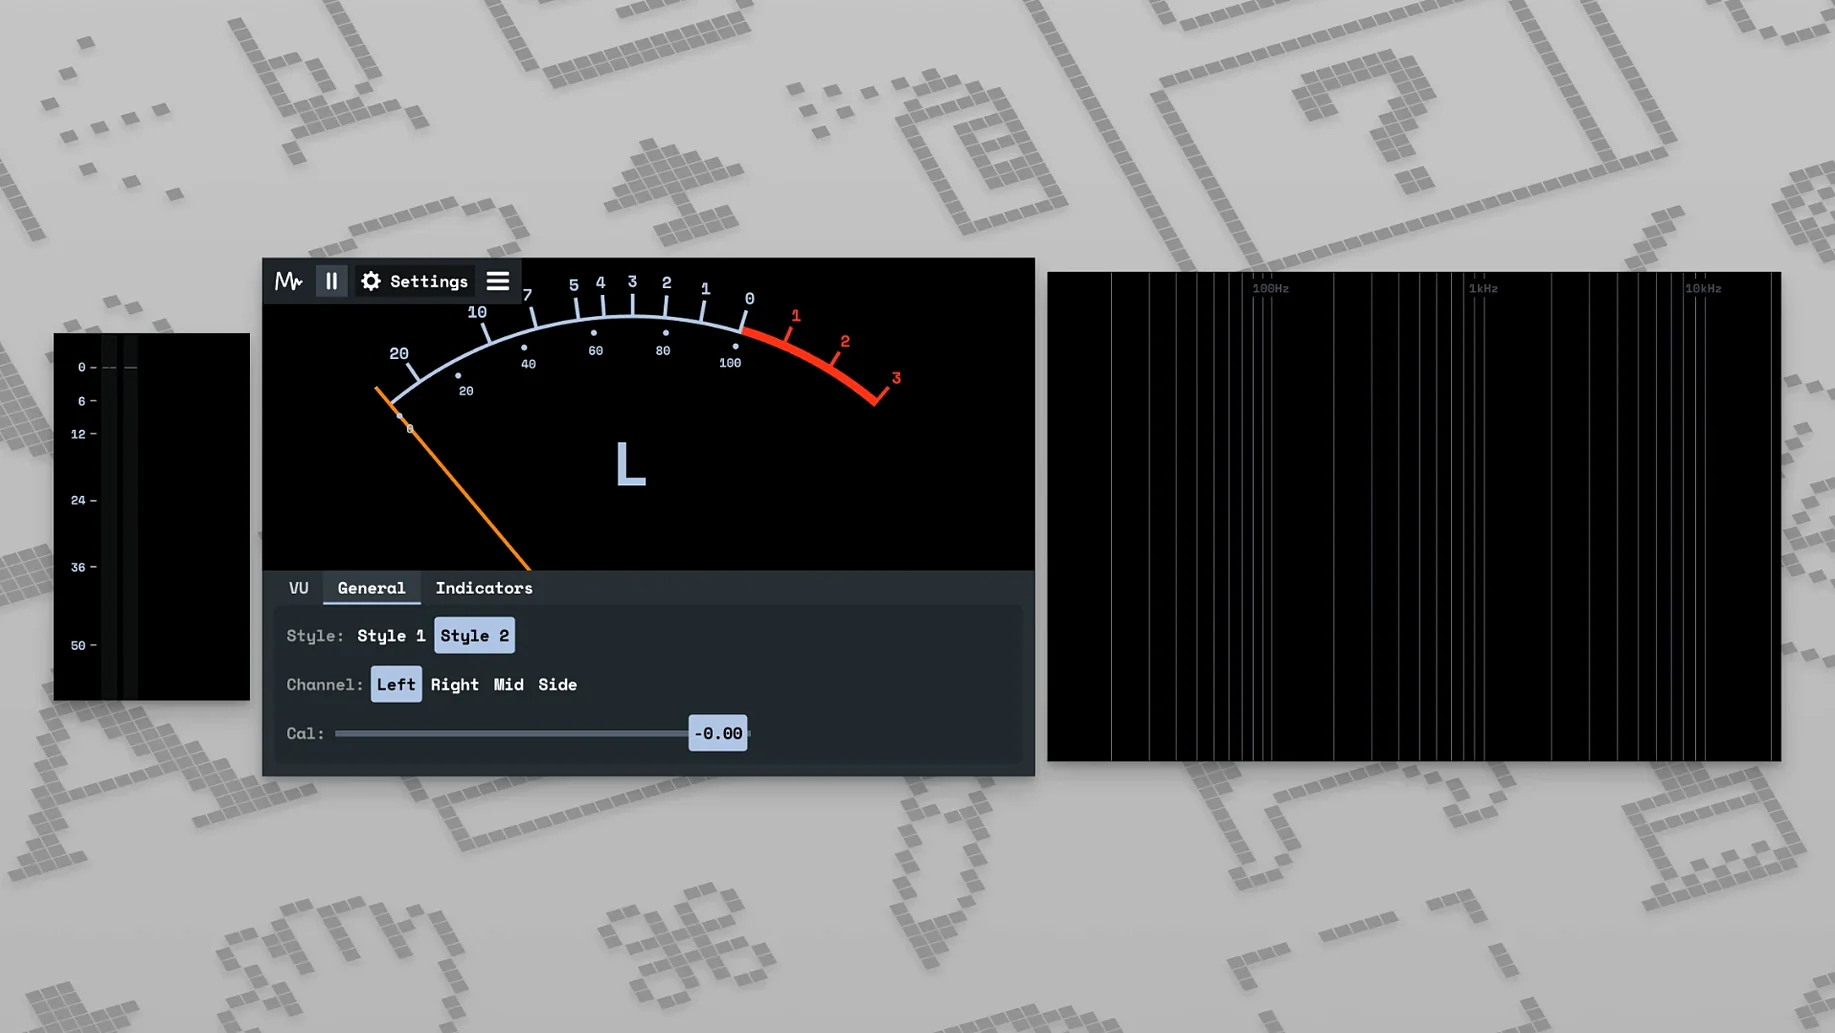
MiniMeters runs on macOS 10.15 or newer and supports Intel and Apple Silicon Macs. It operates as a standalone application for system audio and as a plug-in for a DAW, with the MiniMetersServer utility handling the routing from your session to the meter display.
Visual feedback for gain staging, stereo balance and reference checks
- Checking gain staging across individual tracks, buses and the master output
- Comparing your mix to reference material with a consistent set of visual tools
- Spotting stereo balance shifts that are easy to miss on headphones
- Keeping a compact meter window open on a second display during long sessions
A single plug-in package with server-based routing
- The plug-in format is a single package; check your DAW's compatibility before relying on it in a project
- Server-based routing adds a small setup step the first time you connect it to a session
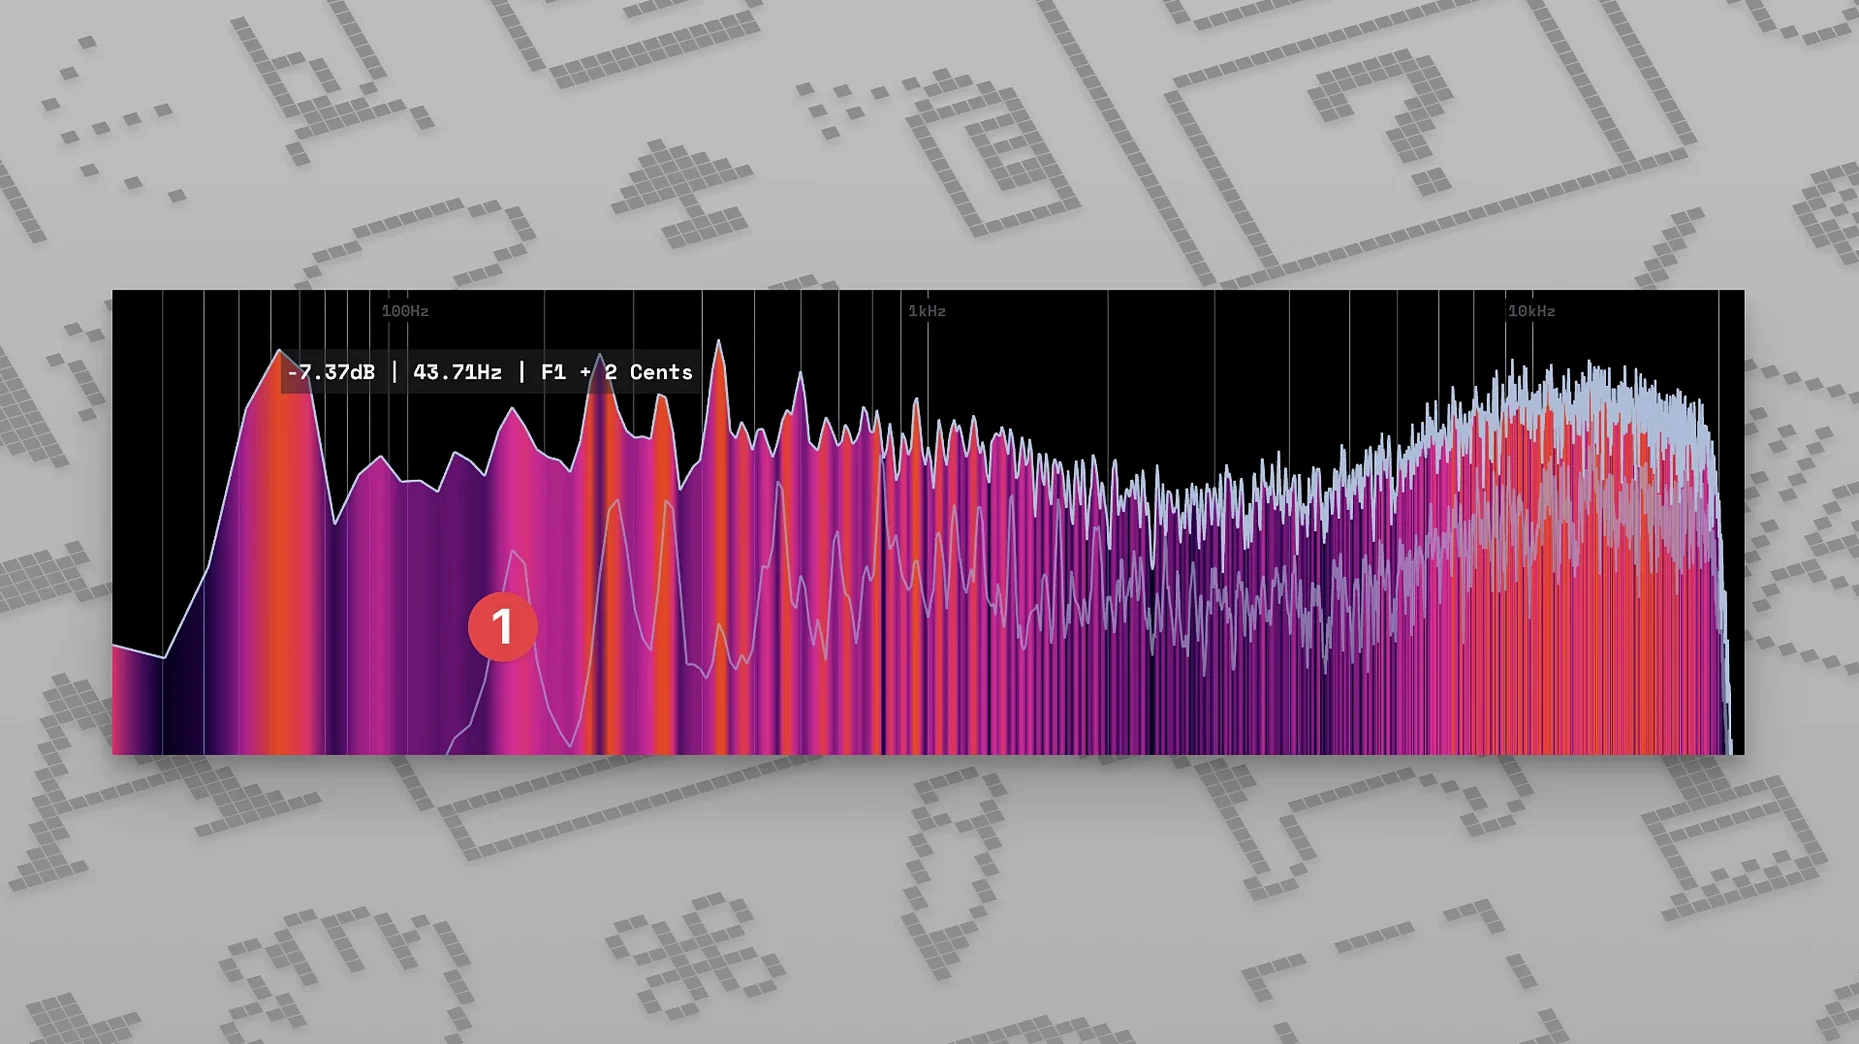
The main view combines a waveform display, a frequency spectrum and a stereo meter. Seeing them together makes it practical to catch clipping, frequency build-up and channel imbalance without switching tools. In a mastering context you can place it after the final limiter to confirm peak levels and stereo width at a glance.
How MiniMeters fits with other tools and macOS features
MiniMeters isn't a DAW plug-in in the conventional sense. It doesn't load directly onto a track as an AU or VST3 insert. Instead, the MiniMetersServer application sits between your DAW and the meter window. You drop the server component onto a track, bus or master channel, and the standalone MiniMeters app receives the signal and draws the visuals. This separation has practical benefits: the meter window stays open and responsive even when your DAW is hidden, and it can run on a second display without dragging your session's GPU load along with it.
Because macOS treats MiniMeters as a standard application, it works with Spaces and Mission Control like any other window. You can assign it to a specific desktop, keep it floating above a full-screen Logic Pro session, or tuck it onto a secondary monitor. The system audio input mode also lets you meter anything playing on the Mac — a YouTube reference, a Spotify stream, a video editor's output — without routing cables or installing extra loopback software. This is one area where the standalone nature genuinely helps: you can compare a mix against a commercial release from any source and see the numbers side by side.
The server plug-in format covers VST3 and AU on macOS, which means it slots into most major DAWs without fuss. In Logic Pro, Ableton Live, Reaper and Bitwig, the server shows up as an effect insert. In Pro Tools, where MiniMetersServer isn't an AAX plug-in, you'd need a wrapper or an AU-to-AAX bridge, which limits its usefulness in that environment. Once the server is inserted and the MiniMeters app is open, the connection is automatic — no manual port configuration or IP address entry needed.
A persistent visual companion, not a full analysis suite replacement
MiniMeters suits a particular mindset: someone who wants visual feedback without opening a full-featured analysis plug-in every time. It's not a replacement for iZotope Insight or the FabFilter Pro-Q analyser. It's a companion that stays visible while you work on other things.
Mixing engineers on a single screen benefit from the compact window. On a MacBook display, screen space is tight, and a floating MiniMeters window tucked into a corner gives constant level and stereo feedback without covering the mixer or arrangement view. The window can be resized small enough to fit beside the faders in Logic or Ableton, yet the waveform and spectrum remain readable.
Mastering engineers with dual monitors get the most from the full set of modules open at once. A dedicated display for meters — LUFS, spectrum, stereo balance, waveform — means the main screen stays free for the DAW or audio editor. Because the MiniMeters app runs independently of the plug-in host, you can close your DAW, open a different reference player, and the meters keep running from system audio.
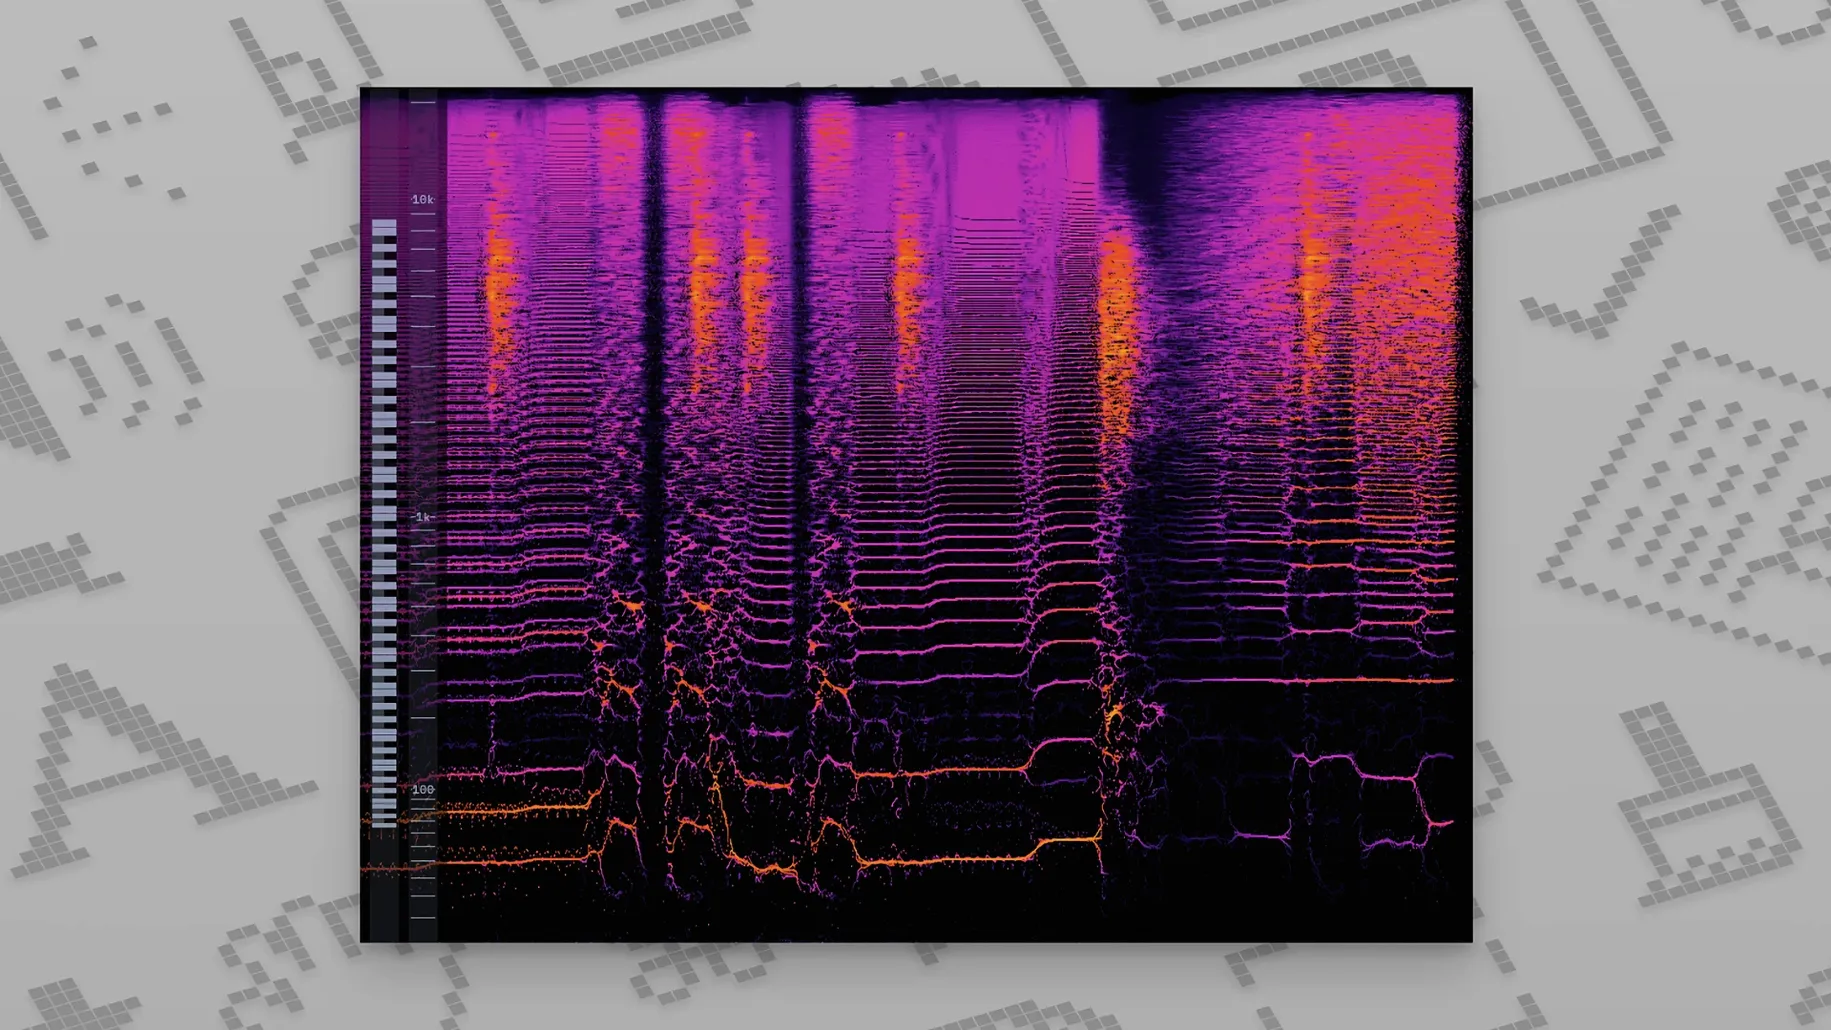
Bedroom producers checking gain staging find the LUFS and peak meters useful as a quick sanity check. It's easy to push levels too high when working on headphones, and having a short-term LUFS readout visible at all times helps catch that early. The spectrogram mode, added in v0.8.0, is particularly handy for identifying resonances that build up over a section of a track.
Checking dense indie mixes on the monitor FX chain in Reaper
A mastering engineer receives a five-track EP from an indie band. The mixes are dense, with layered guitars and synth pads that fill the midrange. She opens the first track in Reaper, inserts MiniMetersServer on the monitor FX chain, and positions the MiniMeters window on her second display with the LUFS meter, stereo meter and spectrum visible.
Within seconds the spectrum shows a persistent bump around 280 Hz that appears across all five tracks — likely the band's rehearsal room acoustics baked into every recording. She pulls up the spectrogram view to confirm the bump is constant rather than transient. The stereo meter reveals that two tracks lean noticeably left during the choruses, something the band hadn't mentioned. She makes a note to address the balance before applying any broad EQ moves. The integrated LUFS readout tells her the average loudness sits around -17 LUFS, giving her a clear target for the final limiter.
Workflow: loudness matching for a reference track comparison
Comparing your mix to a commercial track only makes sense if both play at the same perceived level. Otherwise the louder one always sounds better. Here's a step-by-step workflow using MiniMeters to loudness-match before critical listening.
- Set MiniMeters to system audio input mode from the source menu in the top bar.
- Open the LUFS meter module. Make sure both short-term and integrated readouts are visible.
- Play the loudest section of the reference track — typically the final chorus — from any desktop audio source: Apple Music, a WAV in QuickTime, or your DAW's media browser.
- Watch the short-term LUFS reading during the chorus. Note the value, say -9.2 LUFS integrated.
- Switch back to your DAW. Insert MiniMetersServer on the master channel and reopen your own mix.
- Play the loudest section of your mix. Adjust the master fader or the input gain on your final limiter until the short-term LUFS reading roughly matches the reference.
- Once levels are matched, keep the LUFS and stereo meters visible on a second display or in a corner of the screen.
- Now A/B between the reference and your mix. The visual feedback from the spectrum and stereo meter works as a cue — if your mix shows a much narrower stereo field or a duller high-frequency slope, you can see it and hear it simultaneously.
This routine takes about a minute once you've done it a few times. The key advantage is that MiniMeters stays on screen while you switch between applications, so you're not constantly opening and closing an analyser inside the DAW.
Switch the LUFS meter to EBU +18 scale
The default layout shows the waveform, spectrum and stereo meter stacked vertically. That works for a first impression, but a few changes make the tool more useful day to day.
Switch the LUFS meter to EBU +18 scale. The default scale can look cramped if you work at quieter levels, which is common in dialogue editing or acoustic music. The +18 setting spreads the range and makes small changes easier to read. Find this in the LUFS module settings by right-clicking the module header.
Enable the spectrogram in the spectrum module. The spectrum alone shows you what's happening right now. The spectrogram adds a time dimension — a scrolling waterfall that reveals frequency trends over seconds or minutes. It's invaluable for spotting intermittent problems like a snare ring that only occurs on certain hits. Turn it on from the spectrum module's context menu.
Adjust the window opacity. In the application preferences, you can make the MiniMeters window semi-transparent. On a single-display setup, this lets you see your DAW's mixer or timeline through the meter window, which reduces the friction of constantly moving or minimising it. Set opacity somewhere between 70 and 85 percent for legibility without obstruction.
Pick a dark colour theme that matches your DAW. The interface offers several colour presets, and choosing one that blends with your session's look reduces visual distraction. If your DAW uses a dark grey and blue palette, pick a similarly subdued MiniMeters theme rather than the high-contrast default.
Lock the server connection to a specific port. By default, MiniMetersServer finds the app automatically, but in studios with complex network setups or multiple machines, assigning a fixed port in the server preferences can prevent dropouts or confusion. This is rarely needed on a single Mac, but worth knowing if you meter across a networked audio setup.