Aspecten
 Download (928 MB)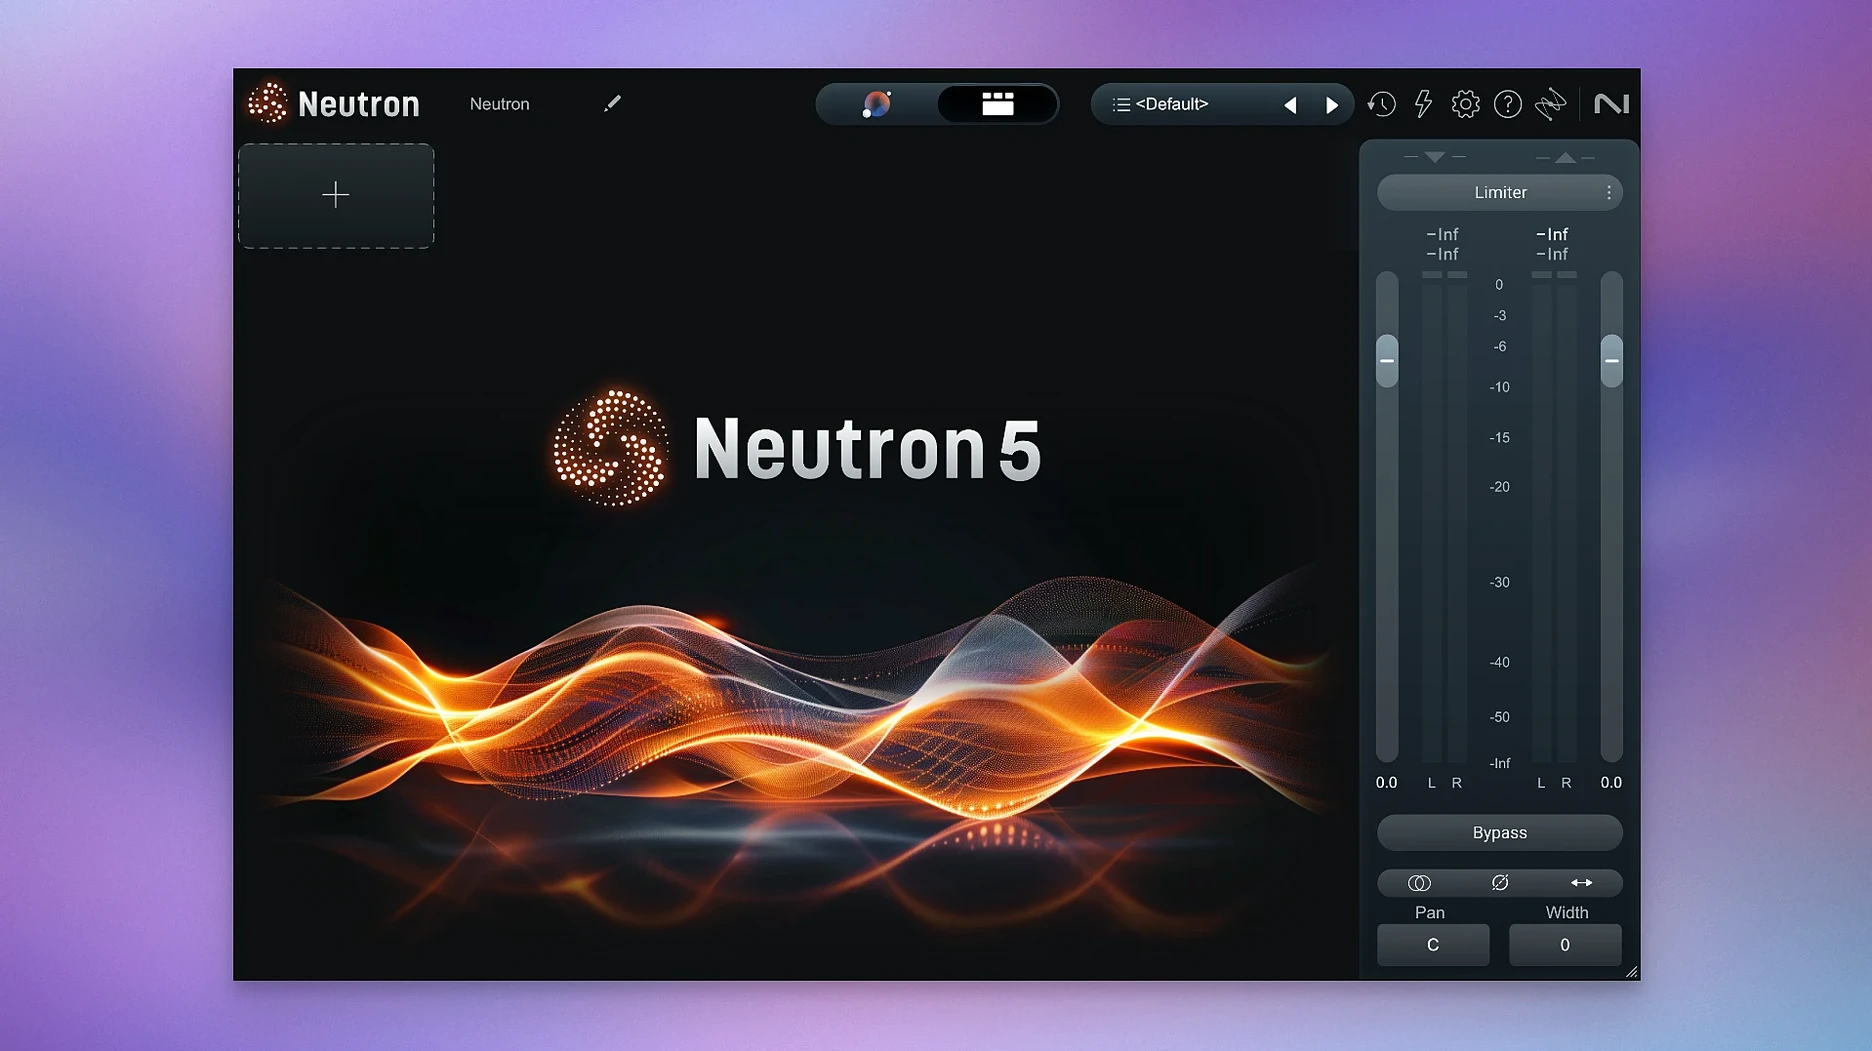
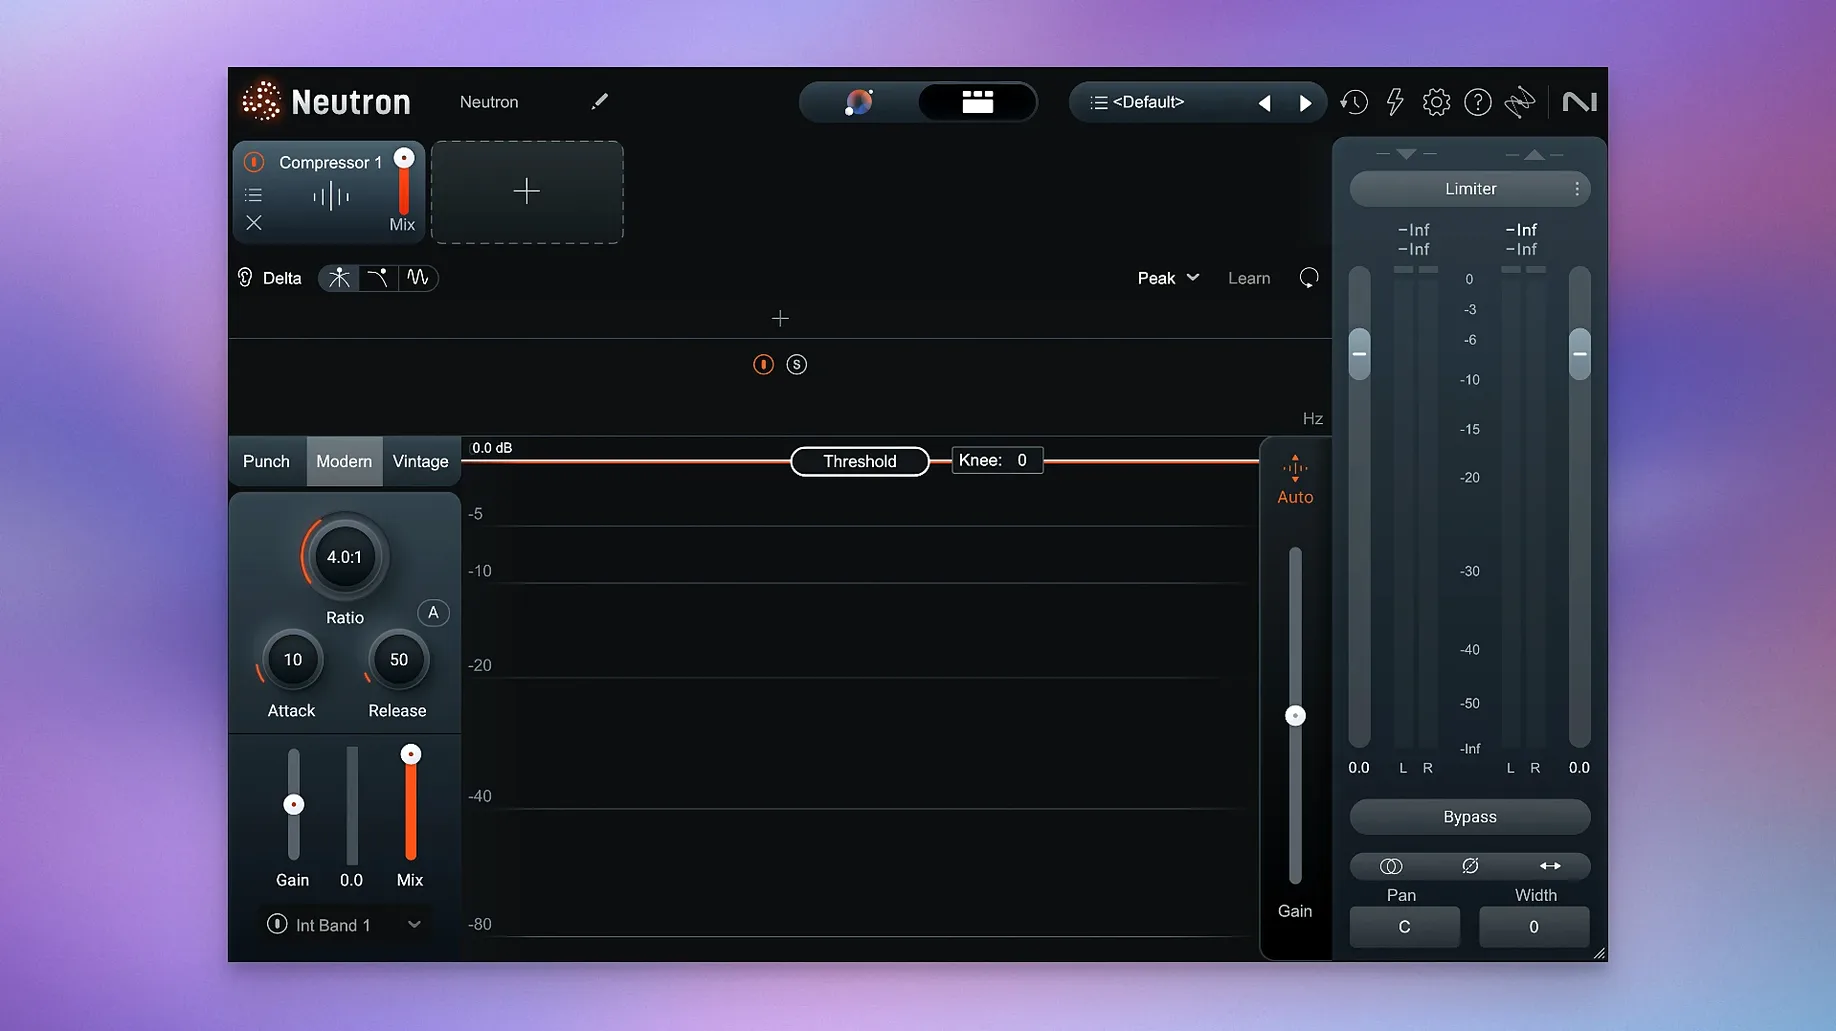
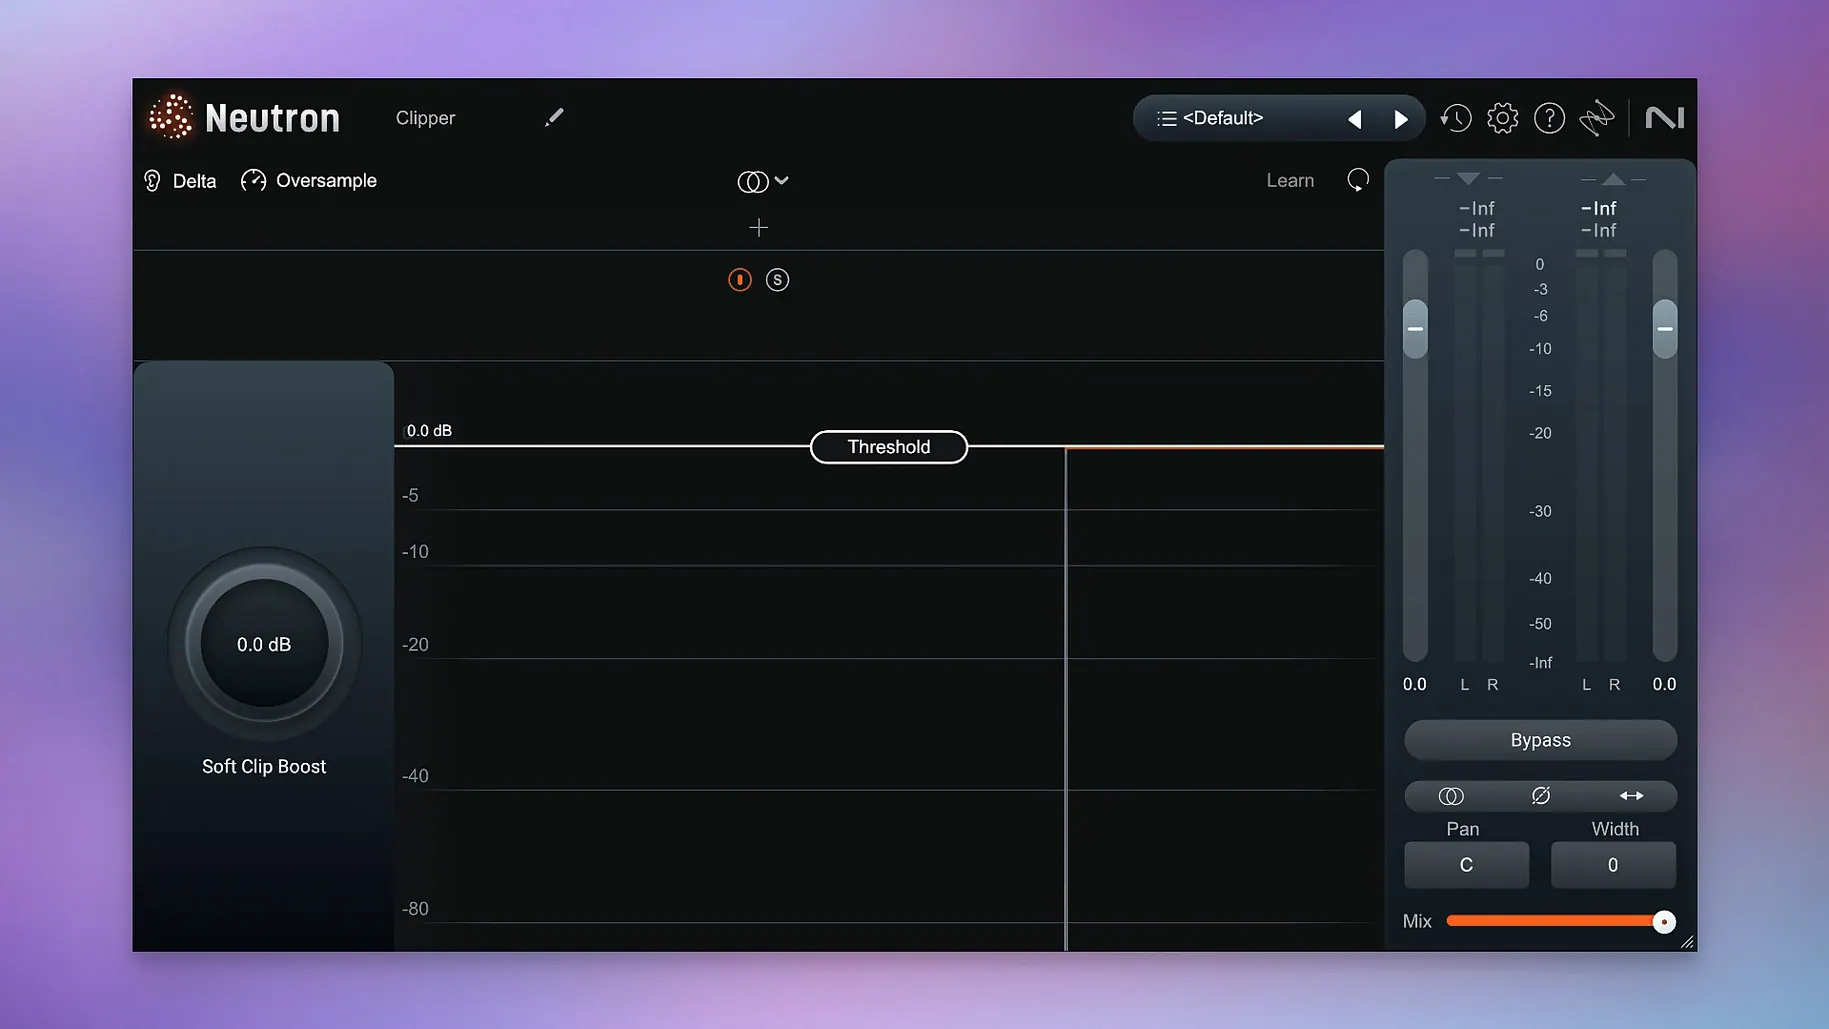
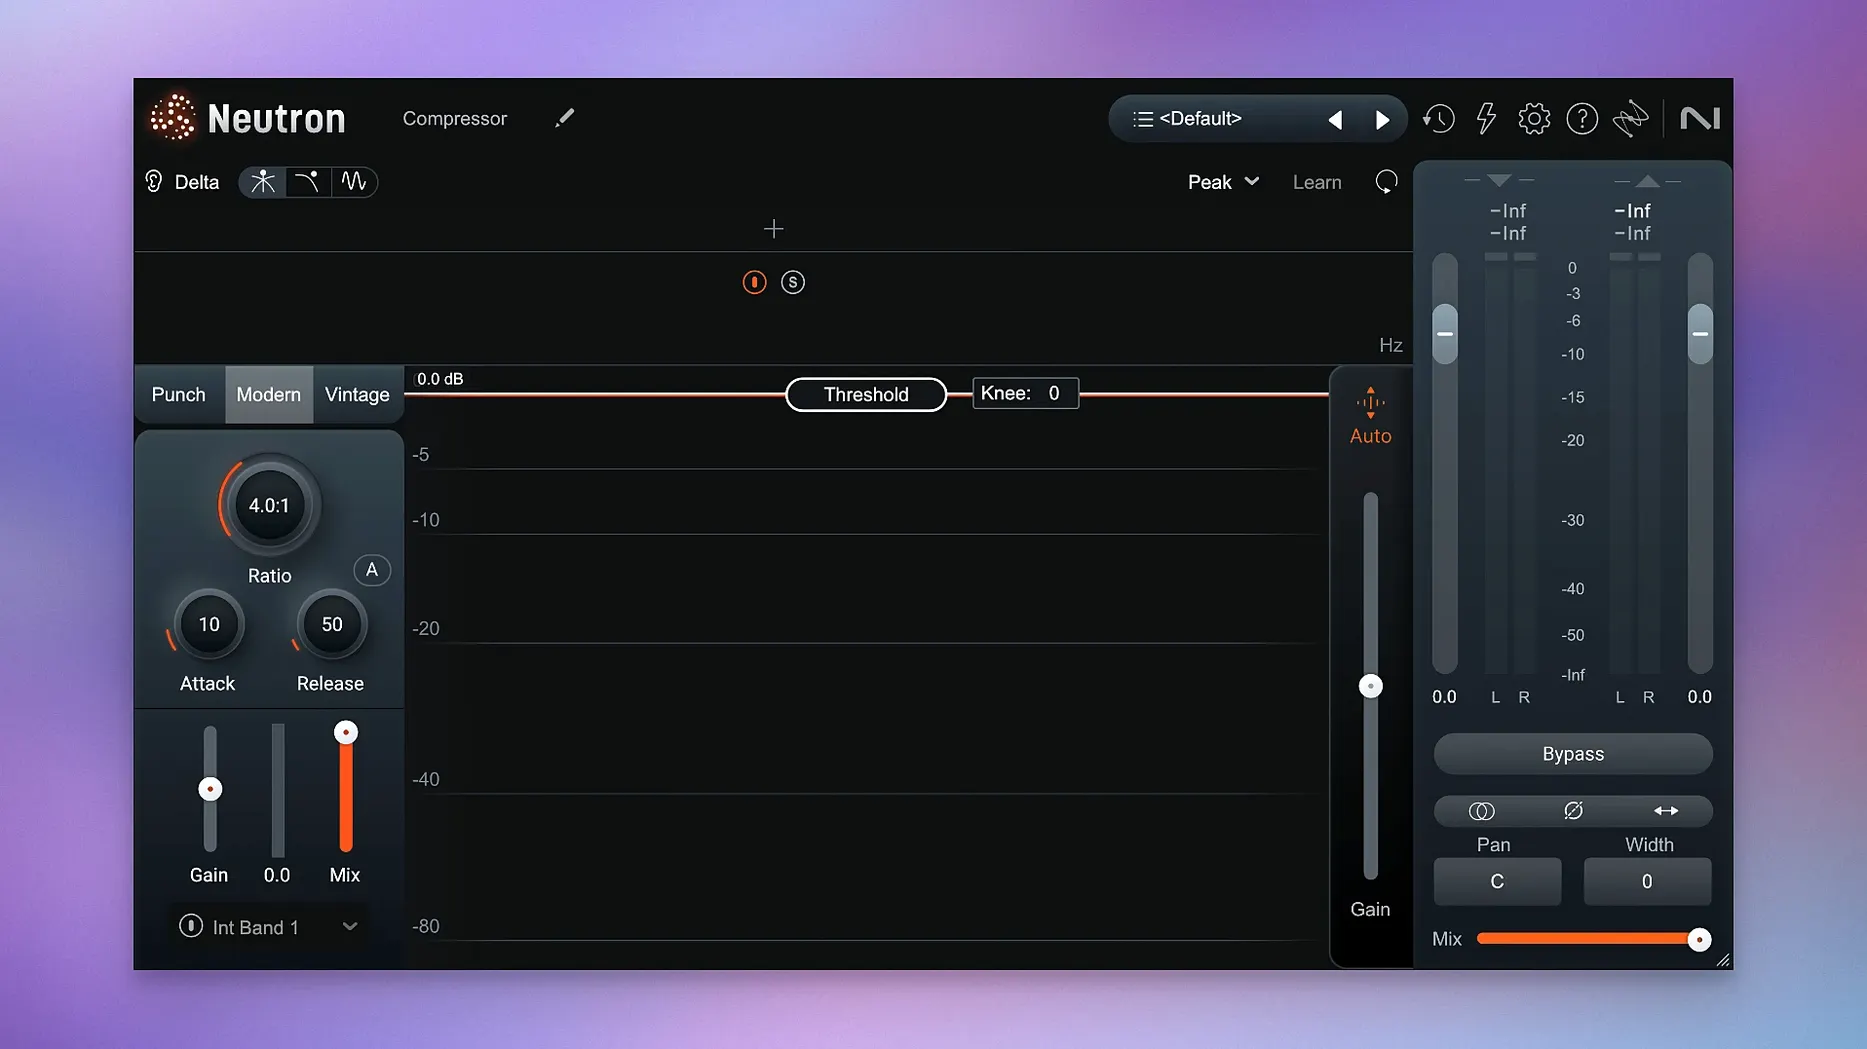
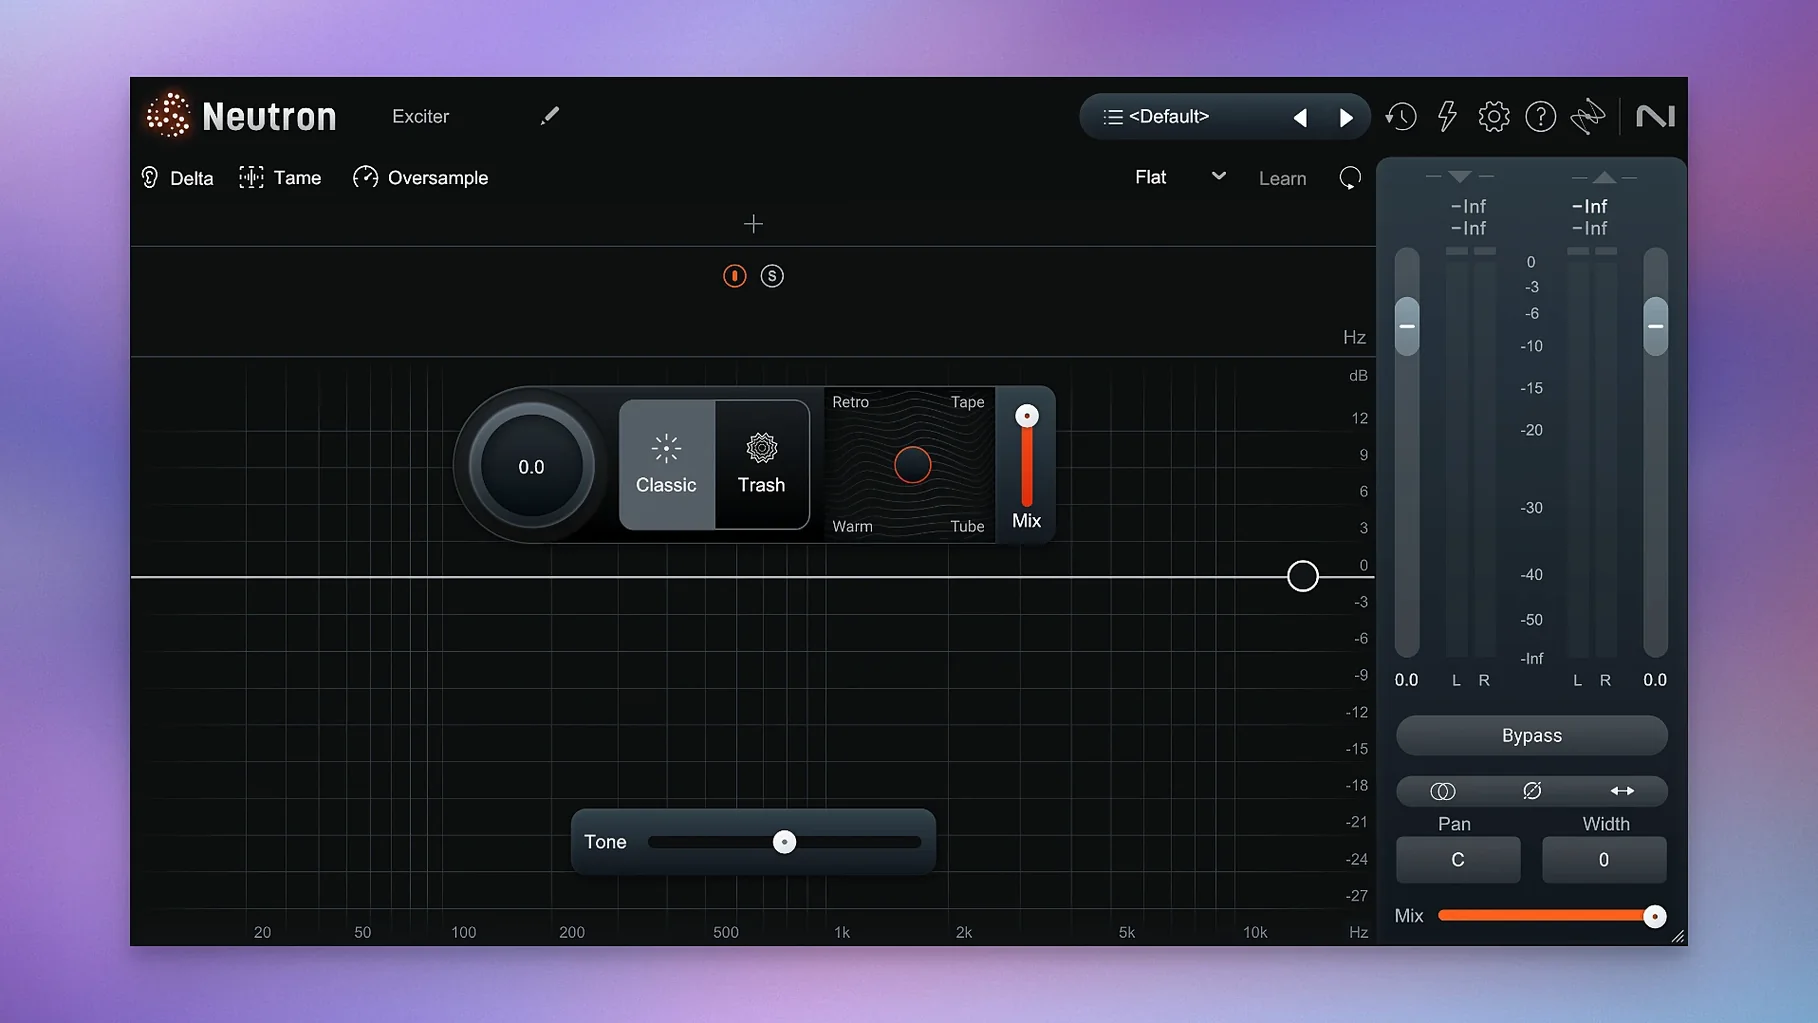
iZotope Neutron 5.2.0 is a plugin suite that uses AI-assisted analysis to suggest processing for individual tracks in a mix. The current version works through the controls as much as the algorithms.
Workflow through the controls
- Start with Mix Assistant. This redesigned control centre listens to your audio and proposes a signal chain. It places modules and sets starting parameters, giving you an intelligent sketch rather than a final sound.
- Inspect module by module. Each processing block—Equalizer, Compressor, Exciter, Gate, and others—can be auditioned in isolation using the Delta button. Clicking it plays only the difference the module is making, which makes subtle adjustments obvious.
- Check the Masking meter. The dedicated Masking module detects frequency collisions between your track and any other instance of Neutron in the session. Its visualisation highlights the competing area, and the controls let you carve out space without guessing.
- Apply Trash Mode for texture. When a track needs grit, the distortion options in Trash Mode add harmonic content. It sits inside the suite as a character control rather than a separate effect.
Throughout this sequence, the refreshed metering keeps gain staging and dynamics visible. Neutron combines eight processors behind a single interface, so the workflow moves from broad AI suggestions to precise, per-module decisions.
Mix Assistant proposes, you dispose—not a finish button
New users often treat Mix Assistant as a one-click finish button. The algorithm proposes a chain based on what it hears, but it has no sense of the song's emotional arc or the producer's taste. Accepting every suggestion without listening critically leads to clean but lifeless mixes—technically balanced, musically flat. The Assistant is a starting point, not a decision-maker.
Another common slip is stacking instances on every channel without checking what each one costs. Eleven modules per instance add up quickly on an older machine. A beginner who inserts Neutron across thirty tracks may find the session crawling before they have finished the first chorus. Using it on busses and key elements often yields better results than peppering it everywhere.
The Delta button sits in plain sight but remains underused. Some mixers tweak a compressor for minutes, chasing a feeling they cannot quite identify, when toggling Delta would show them exactly what the module is adding or removing. Hearing only the difference trains the ear faster than any tutorial.
Finally, the Masking module needs a second instance of Neutron on another track to function, and beginners sometimes miss that requirement. They open the Masking view, see no data, and assume the feature is broken. The fix is straightforward: insert Neutron on the competing track and select it from the dropdown.
Instrument profile and intensity slider shape every suggestion
The default view in Mix Assistant shows a simplified control panel. Switching to the detailed view reveals the instrument profile selector and the intensity slider—two controls that shape every suggestion that follows. Setting the profile to match the actual source material, rather than leaving it on a generic default, gives the Assistant a better chance from the first pass.
Inside the Equalizer module, the analyser defaults to a slow averaging window. For transient material like percussion or plucked strings, switching to a faster response time shows peaks that the smoothed view hides. The setting lives behind a small gear icon, easy to overlook during a first session.
The Compressor module ships with auto-gain enabled. While convenient, auto-gain can mask what the compression is actually doing to the dynamics. Turning it off during setup—and matching levels manually—makes before-and-after comparisons honest. Re-enable it later once the behaviour is dialled in.
Metering preferences deserve a look too. The refreshed meters can display peak, RMS, or both simultaneously. For gain staging across a full mix, the dual view saves constant toggling. Setting it once in the first instance and saving a user preset propagates the choice across the session.
A specific task: cleaning up a vocal that fights the guitars
Suppose a lead vocal and a pair of rhythm guitars occupy the same midrange pocket. The vocal feels buried, and pushing the fader only makes the whole mix louder without solving the clash. Here is a step-by-step approach using Neutron alone.
- Insert Neutron on the vocal track. Open Mix Assistant and select the Vocal profile. Let it listen to a section where the singer is in full voice. Accept the suggested chain as a baseline.
- Insert a second Neutron on the guitar bus. Run Mix Assistant again, this time with a Guitar profile. The chain will differ—likely more mid-scooping in the EQ and a faster compressor attack.
- Open the Masking module on the vocal instance. From the dropdown, select the Neutron instance on the guitar bus. The display now highlights the frequency zone where the two signals overlap—typically somewhere between 800 Hz and 3 kHz.
- Apply a narrow cut on the guitar bus. Use the Masking controls to reduce the guitars in the conflicting range. A cut of two to three decibels with a moderate Q is often enough. Toggle the Delta button to hear exactly what is being removed.
- Fine-tune the vocal EQ. Switch back to the vocal Neutron and make a small complementary boost in the same range, perhaps 1.5 dB. The combination—cut on one side, gentle lift on the other—clears more space than either move alone.
- Check the result in context. Solo neither track. Play the full mix and toggle the Masking bypass on the guitar Neutron. The vocal should now sit forward without the guitars sounding thin.
The whole sequence takes about five minutes once the muscle memory is there. The AI did the initial guesswork; the ears made the final call.
Carving a foreground out of a dense pop wall of sound
The project is a dense pop track: drums, bass, two keyboard parts, a lead vocal and backing harmonies. The arrangement is finished, but the mix is a wall of sound with no clear foreground. Neutron is the first tool reached for, not the last.
The session begins by inserting Neutron on the drum bus. Mix Assistant listens to eight bars of the loudest section and returns a chain with an Equalizer, Compressor, and Transient Shaper. The suggested EQ adds top-end air that the overheads were missing. The Compressor attack is a touch slow for the kick, so it is tightened by 15 milliseconds. The Transient Shaper gets a small bump on the attack slider—just enough to make the snare cut through without sounding processed.
Next is the bass. The Assistant places an Equalizer and a Compressor, but the bass still feels woolly against the kick. The Masking module is opened, pointed at the drum bus Neutron, and a two-decibel dip around 120 Hz is applied on the bass side. The low end immediately tightens. The Delta button confirms the cut is removing mud, not body.
The lead vocal gets the Vocal profile. The Assistant adds an Exciter for presence and a De-esser that catches sibilance cleanly. The Exciter's drive is pulled back slightly—the default was a bit fizzy on this particular microphone. The harmonies get a gentler version of the same chain, with a high-pass filter set higher to keep them out of the lead's way.
By the end of the hour, five instances of Neutron are running: drums, bass, keys bus, lead vocal, and backing vocal bus. The CPU meter on an Apple Silicon Mac sits at roughly 15 percent. The mix now has separation and depth. Trash Mode was never touched; the song did not call for it. That restraint is part of the workflow too—knowing when a tool is not needed.
Eight-module chain costs two to four percent of one core
On Apple Silicon, Neutron 5.2.0 loads quickly and runs without noticeable latency during playback. A single instance with a full chain of eight modules typically consumes between two and four percent of a single performance core, depending on how many modules are active and whether the Masking view is open. Older Intel machines fare worse under heavy load, as expected—a 2018 MacBook Pro with six cores may see spikes when Masking is calculating across multiple instances, though the maintenance update in 5.2.0 smoothed some of those peaks.
Stability has been uneventful. Over several weeks of daily use across projects of varying complexity, the plugin has not caused a single crash in Logic Pro or Ableton Live. The iLok fix in this version resolved a known issue with surround instances, and the authorization now holds across session restarts without re-prompting. The plugin recalls settings accurately when reopening projects, including Masking links between instances.
The interface remains responsive even during playback, with meters refreshing smoothly and controls moving without lag. Opening the Assistant View while audio is running causes a brief analysis pause of roughly one to two seconds—shorter than in version 4—after which the suggestions appear and playback continues uninterrupted.
Memory usage is modest for a suite of this scope. A typical instance occupies around 120 to 150 megabytes of RAM, making it usable in sessions that are already heavy with sample libraries. Those exploring alternative installation sources (searches for izotope mac crack or izotope neutron torrent occasionally surface version 5) can check that the build includes the iLok fix, and stability claims apply to the official 5.2.0 build. Similarly, queries like izotope neutron 5 crack or neutron 5 crack sometimes point to earlier releases where you can apply the surround-instance correction, and a izotope torrent may lag behind the current maintenance update. For daily work where stability matters, the patched version makes a practical difference.