Aspecten
 Download (14.5 GB)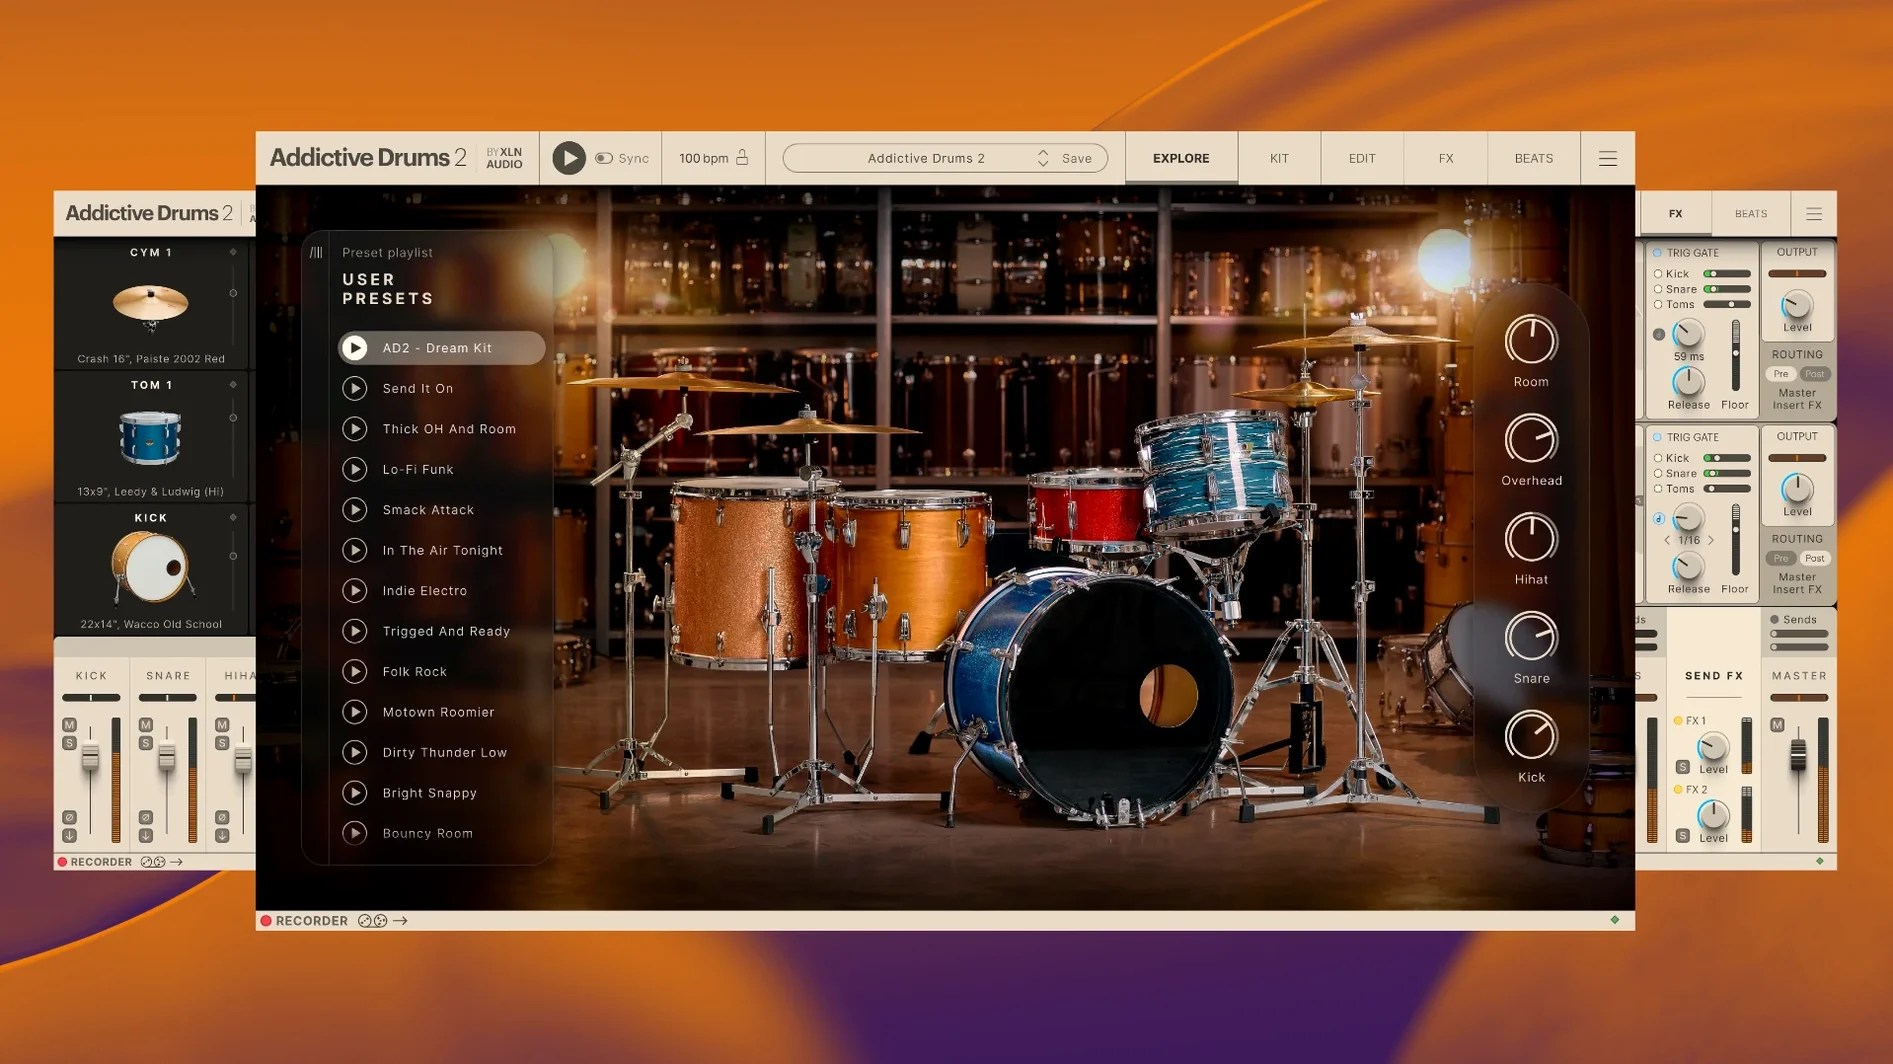
If you have ever shaped a drum bus with a compressor and a channel strip, the thinking inside Addictive Drums 2 will feel familiar. Its mixer isn't an afterthought. Each channel carries its own delay, reverb, saturation, and transient shaping, giving you a pre-mixed kit that still leaves room for your own processing.
How does the kit blending work?
Each drum piece can be built from multiple samples, and you control the mix between close, overhead, and room microphones per channel. This lets you shift a snare from tight and dry to cavernous without touching a send in your DAW.
What does the built-in processing cover?
On every channel you get a transient shaper, a compressor, a basic EQ, and saturation. The master bus adds a full-featured compressor and a limiter, so an entire drum sound can be shaped before it even reaches the mixer in your host.
How are the grooves triggered?
MIDIpaks provide beats that you can drag straight into a track. The browser lets you audition grooves in sync with your project, and the mapping options make it straightforward to edit the patterns with your own controller or in the piano roll.
A session from empty project to first playback
Open your DAW, create a new instrument track and load Addictive Drums 2 as a stereo instance. The interface settles with the default kit loaded — usually the Fairfax Vol. 1 — and a single kick drum hit waiting under your controller. Before you touch the transport, open the Beats browser on the right edge and pick a groove that matches the tempo you have in mind. The preview plays in sync with your project. Drag the groove onto the timeline. You now have a four-bar foundation.
Switch to the Kit page. The kick feels a little soft for the track, so find the channel strip labelled Kick and push the compressor ratio to 4:1 with a fast attack. Scroll the close-mic fader up a few decibels while pulling the room mic down. The sound tightens immediately. Move to the snare channel, open the transient shaper and add about 3 dB of attack. The stick sound comes forward without any EQ. Now return to the Beats tab, grab a fill from the same MIDIpak and drop it at bar eight. Press play. In under three minutes you have a usable drum part with a shaped tone, and you never left the plugin window.
Save the state as a user preset from the top bar. Next time you open a similar project, the kit, the mixer balance and the groove pool load in one click.
Workflow: building a dry vintage kit for a soul demo
Start with the Session Percussion ADpak for a crisp, studio-70s foundation. Select the kit from the left-hand list and let it load. The overheads are bright and the room mic picks up a wooden, tight ambience. Strip the preset first: bypass the master bus compressor and limiter, set all channel delays and reverbs off, and zero every send. You want only the raw close, overhead and room signals.
On the kick channel, roll off 4 dB at 400 Hz with the built-in EQ — a small scoop that pulls the cardboard out of the beater sound. The snare close mic gets a 2 dB boost at 5 kHz for stick definition, and you lower the room fader until the snare wire rattle sits just behind the close signal. Hat and ride channels can stay flat.
Now switch to the Map window. The session player sent you a hi-hat pattern that uses variable openness via MIDI CC4. Confirm the mapping matches your controller; if not, right-click the hat slot, choose Learn and wiggle your pad. Save the mapping as a kit-specific map so it follows the preset.
Drag the client's MIDI file onto the DAW track. Let it loop while you tweak the overheads: add a high-shelf boost of 1.5 dB at 10 kHz on the OH channel for air, then gently reintroduce the room mic until the groove breathes. The result is a punchy, un-hyped drum bed that leaves the compressor on the DAW's drum bus almost nothing to fix.
Chain-linked toms and cymbals to balance faders in pairs
- Kit piece linking. Click the chain icon between two toms or two cymbals in the Kit page, and their mixer channels move together. Set the rack toms once and the floor tom follows.
- Drag-to-order. Rearrange kit pieces on the drum map by dragging them in the list. A left-handed drummer layout takes seconds.
- Alt-click reset. Hold Alt and click any knob or fader to return it to its default value. Useful when you have pushed the snare reverb into a corner and want a clean start.
- MIDI learn for transport. The transport controls inside the Beats browser accept MIDI CC. Map your controller's footswitch to start and stop auditioning while your hands stay on the pads.
- Copy channel settings. Right-click a channel strip and choose Copy Settings, then paste onto another piece. Getting the same compression curve on two snares that share a part is one click.
- Searchable MIDIpak library. The browser filters by time signature, feel and intensity. Type "16th ghost notes" and the list narrows before you finish typing.
- Multi-out routing in one click. The small plus sign beside the master output opens individual outputs for each piece, which appear as separate tracks in your DAW. The routing labels carry over, so your mixer shows "Kick In" and "OH Stereo" without renaming.
Factory reverb and compression that fights a full arrangement
One common early misstep is treating the built-in effects as final and never touching them. The preset kits ship with generous reverb and compression to sound impressive when auditioned alone, but those settings often clash with a full mix. A beginner loads a kit, finds it swimming in ambience, and reaches for the DAW's EQ to fix mud that lives entirely in the room channel. Bypass the sends first, audition each mic separately, and add ambience back only when the dry balance works.
Another is dragging grooves into a DAW at the wrong tempo. The groove browser can sync to the host, but if the host transport is stopped, the preview tempo is internal and may not match. The same MIDI clip dropped at 90 BPM when the session is 120 BPM plays back double-time or half-time. Tap the DAW tempo into the project before dragging.
New users also overlook the velocity curve in the Map page. A pad controller that triggers every hit at velocity 100 strips all the nuance from the MIDIpak grooves. Open the curve editor, set a gentle S-shape, and play a few ghost notes on the snare — the difference is immediate.
Finally, there is the temptation to stack three ADpaks into one kit without checking phase. The close mics from two different snares layered in one slot can cancel each other's low end. Use the phase invert switch on each channel strip, available as a small Ø button near the fader, and flip one layer at a time while listening to the combined low-frequency weight.
Under four seconds to load a full kit on Apple Silicon
On an Apple Silicon machine the plugin loads a full ADpak in under four seconds. Switching between kits carries a brief silence — roughly a second and a half — while the samples purge and the new set streams in. The installer places all content on disk, so after the first scan the browser knows where every sound lives. No background indexing runs during sessions.
Memory use scales with how many kit pieces you activate and how many mic channels you keep live. A typical four-piece kit with close mics, overheads and room runs between 300 and 500 MB of RAM. Engaging the full fifteen-piece Fairfax kit with all microphone paths pushes closer to 1.2 GB. The disk-streaming engine keeps the pressure off RAM, and you can reduce the pre-load buffer in the settings if your drive is fast enough.
CPU draw stays moderate. On a session with sixteen channels and all internal effects active on every piece, the meter in Logic Pro hovers around 12 to 15 percent on a recent M-series processor. Bypassing the internal reverb and delay and routing to DAW sends drops that by roughly a third. Clicks and pops are rare, and when they appear the buffer size adjustment inside the plugin's audio settings usually resolves them without touching the host engine. Over two hours of continuous playback with four kit changes, the instance never dropped audio or drifted out of memory alignment.