Aspecten
 Download (95 MB)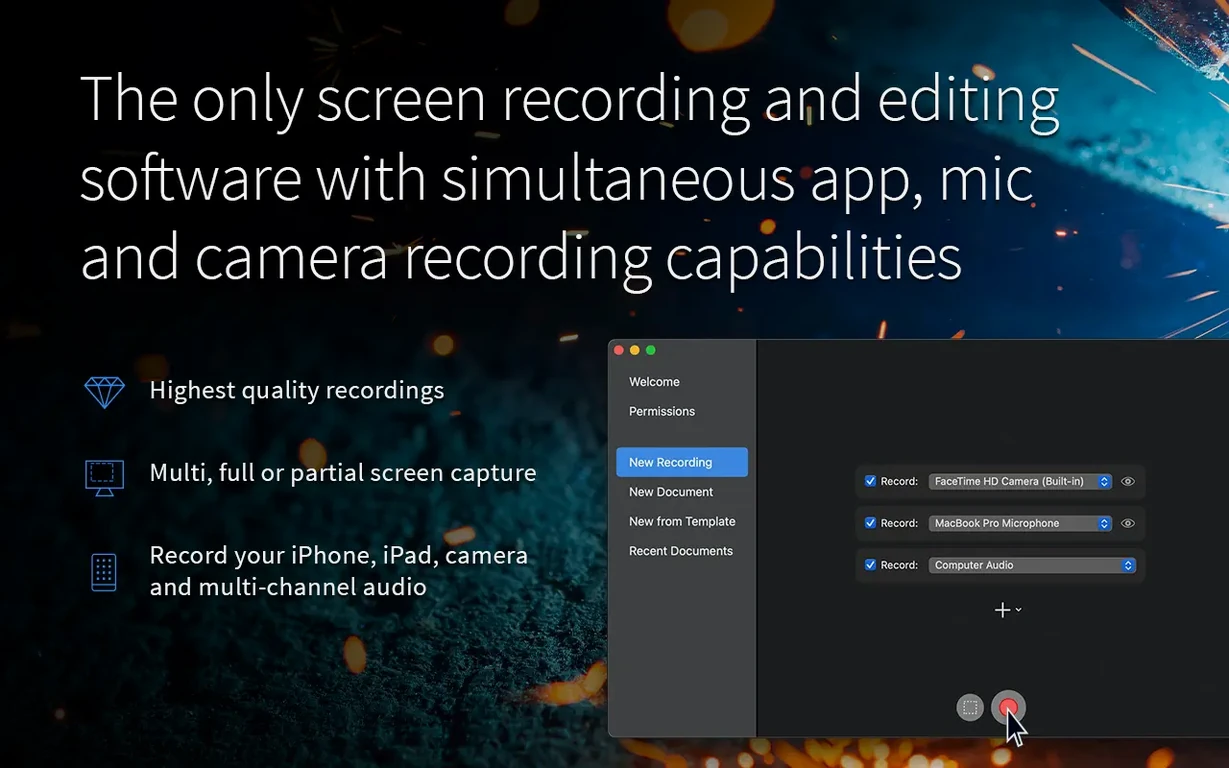
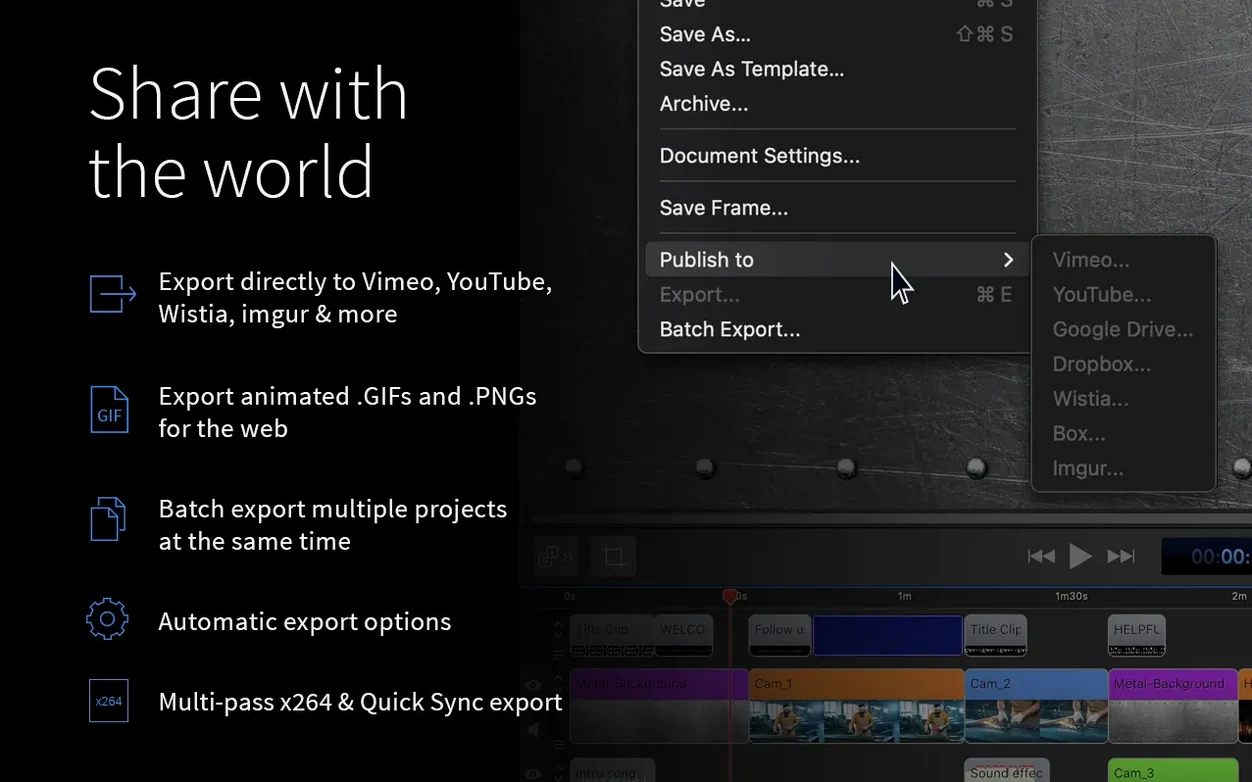
Version 10.5.2 supports export to ProRes, MP4, animated GIF and APNG. That range of formats hints at what ScreenFlow does — it records your screen and lets you shape the result into a tutorial, a product demo or a quick reaction clip. Here is a sensible sequence for a first session.
1. Record a short snippet
Open the recording controls and choose a region of the screen. Enable the microphone if you want narration. Record thirty seconds of an app in use — nothing elaborate, just something to work with. When you stop, the clip lands on the timeline.
2. Trim the clip
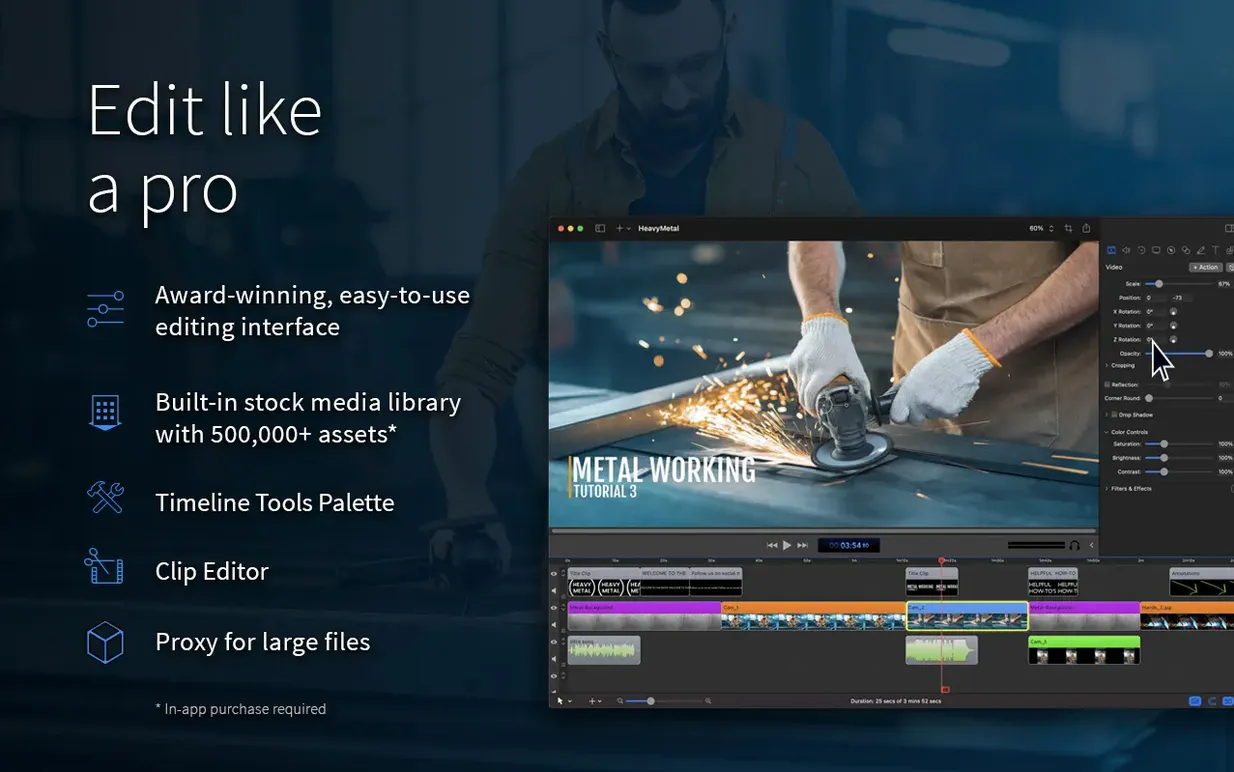
Drag the edges of the recording on the timeline to cut the start and end. This is the single edit you will use most often. A clean trim keeps the viewer’s attention.
3. Add a callout
Open the annotations panel and drop a highlight or an arrow onto the canvas. Position it over a button or a menu item in your recording. Adjust the duration so it appears only for the relevant seconds.
4. Apply a zoom effect
Use the video action tools to add a zoom and pan at the point where you placed the callout. A gentle scale-up helps a viewer read small interface text without a full-screen pause.
5. Export as an animated GIF
Choose the GIF preset in the export window. Set the dimensions to something modest and the frame rate to 15 fps. The result is a short, looping file suitable for documentation or a quick message.
After these five steps you will have touched recording, basic editing, annotations, motion effects and export — the core loop for most ScreenFlow projects. The app also handles iOS capture, chroma key, subtitles and multi-track audio, but the fundamentals above are enough to produce a useful clip on day one.
A real-world scenario: a support engineer’s daily clip
Consider someone who writes troubleshooting guides for a SaaS product. A customer reports a button that seems to vanish on a particular screen size. The engineer opens ScreenFlow, selects an area covering just the browser window, and enables system audio along with the microphone. She records herself resizing the window until the layout breaks, then stops the capture. On the timeline she trims the dead air, drops a text annotation that reads “Button disappears below 960 px wide,” and applies a subtle zoom that tracks the breakpoint as it happens. Fifteen minutes after she started, she exports a 40-second MP4 and attaches it to the ticket. The clip replaces three paragraphs of written explanation. That kind of turnaround — recording to finished attachment in under half an hour — is where ScreenFlow settles into a daily rhythm.
Silent computer audio? Run the Telestream driver installer
Some problems recur often enough to have a standard fix.
- Computer audio is silent in the recording. ScreenFlow needs the Telestream audio driver to capture system sound. If you installed the app without it, run the driver installer from the disk image and restart your Mac. After restart, check that the audio source in the recording setup shows “Record Computer Audio” as an active option.
- iOS capture shows a black screen. Connect the iPad or iPhone with a cable, not over Wi-Fi. The device must be unlocked and the ScreenFlow recording window must already be open before you plug in. If the screen stays black, toggle the device’s orientation once — that often forces the video feed to refresh.
- Exported GIF looks fuzzy. The default GIF preset uses a limited colour palette. In the export settings, switch the palette from “Automatic” to “Custom” and increase the colour count to 256. Keep the dimensions under 800 px wide or the file will balloon.
- Timeline drag feels sluggish. A recording with a high frame rate and a long duration creates a large source file. Right-click the clip and choose “Optimise Media” to generate proxy files. Scrubbing becomes smoother immediately.
- Chroma key leaves a green fringe. Adjust the “Smoothing” slider in the video properties panel by small increments — a value between 2 and 4 usually cleans the edge without eating into the subject. If the fringe persists, check that the green screen is evenly lit in the source recording; ScreenFlow’s keyer works best with consistent colour behind the speaker.
Press Command-Shift-2 for instant region capture
Several useful habits sit just outside the main editing view. Press Command-Shift-2 to start a screen recording without opening the full interface — the region selector appears immediately. While editing, hold the Option key and drag a clip on the timeline to create a copy instead of moving the original. The media library panel has a hidden trick: you can drag a file from Finder directly onto a track, bypassing the import dialogue entirely. When you add a callout, double-click its thumbnail in the media tab to rename it; a named callout is easier to find later in a project with twenty annotations. If you record iOS video and your own camera at the same time, ScreenFlow places both on separate tracks automatically — no manual syncing step needed.
The export queue is another quiet asset. You can line up several exports with different settings and let them process while you start the next recording. For anyone who publishes the same clip as an MP4 for a learning platform and as a GIF for a chat channel, queuing both at once saves a repetitive wait.
Version 10.5.2 fixes the macOS 26.2 crash
Does ScreenFlow work on the latest macOS? Version 10.5.2 specifically fixes a crash that appeared on macOS 26.2 and later, so it runs on current systems. It also supports macOS 10.15 through to the newest release, on both Intel and Apple Silicon Macs.
Can I record a video call with everyone’s audio? Yes, but you need to select “Record Computer Audio” as a source. The driver captures all system output, including voices from a meeting app. Pair it with your microphone for your own side of the conversation and you get a complete recording of the call.
Is the editor taxing on an older Mac? The timeline handles 1080p recordings comfortably on most machines from the last several years. 4K projects benefit from the “Optimise Media” option mentioned above, and from keeping the project on an SSD. The app uses hardware acceleration where available, so a Mac with a discrete GPU will scrub and export faster than one relying on integrated graphics, but neither setup feels slow with shorter clips.
What if I just want the recording without the editor? You can use the quick-record shortcut and then export the raw clip with a single preset. The editing tools are optional — the recording engine works fine as a standalone capture utility for those who prefer to edit elsewhere.
How do people usually handle a ScreenFlow 10 download? Most grab the disk image, mount it and run the Gatekeeper-friendly opener from the folder before dragging the app into Applications. The Terminal step that bypasses Gatekeeper is straightforward: press Enter once and the app launches normally from then on.