Aspecten
 Download (36 MB)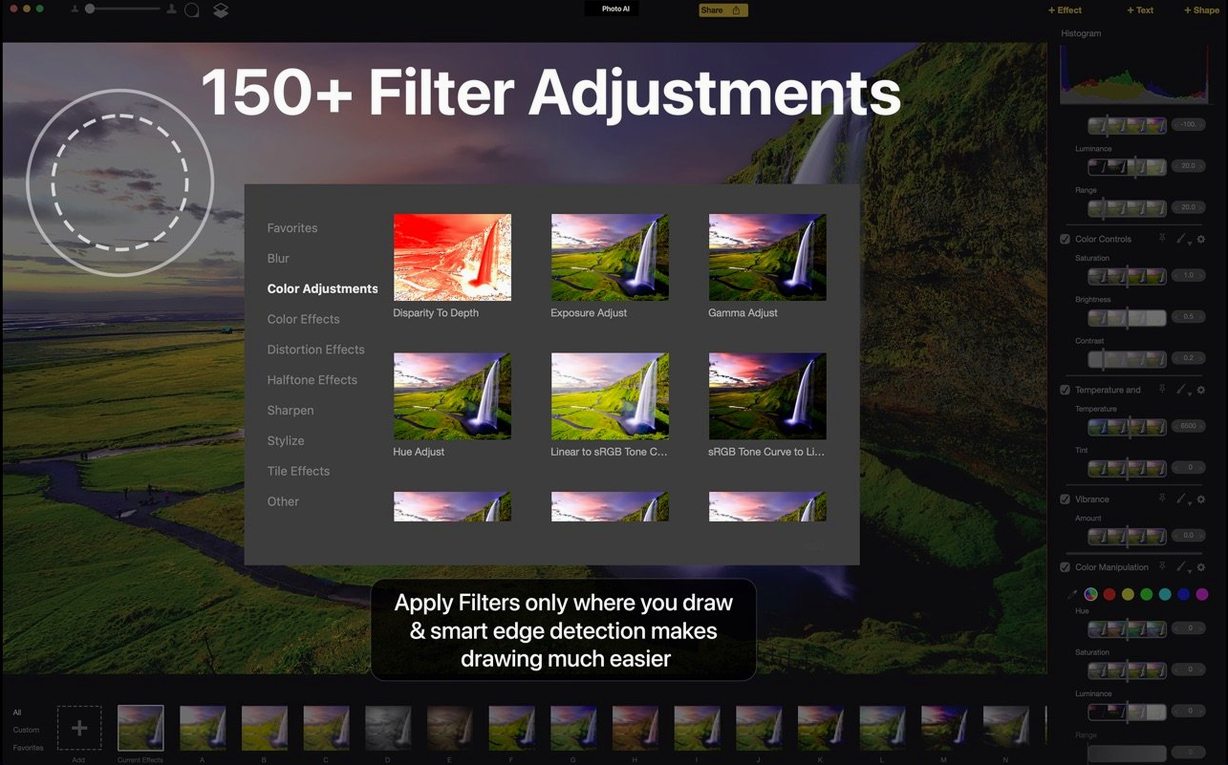
Photographers who need to sharpen old scans, reduce noise in high-ISO shots, or enlarge images without visible artefacts once turned to a particular class of desktop tool. Topaz Photo AI sat in that category, a macOS editor built around machine-learning models that handled several correction tasks inside a single window.
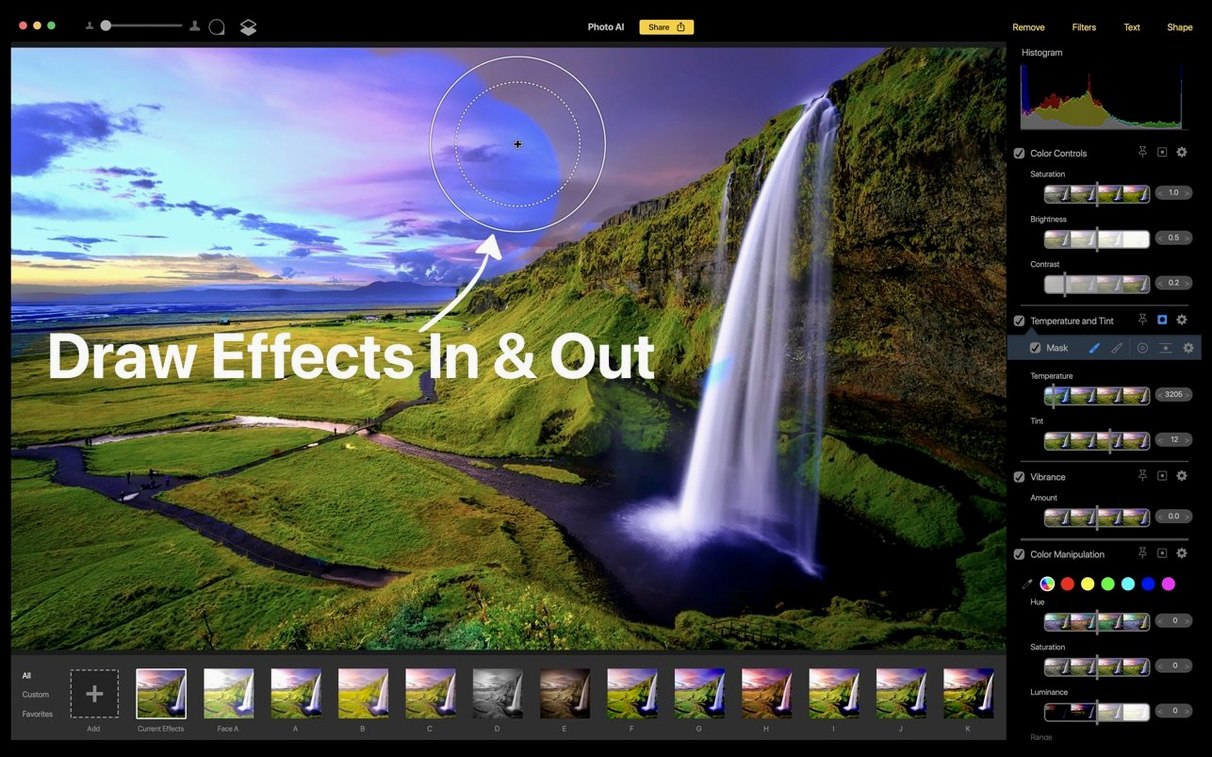
This version, 2.1, is the legacy application — distinct from the newer Topaz Photo app that has since absorbed its models and added further ones. It runs on Intel 64-bit Macs and requires macOS 11. The interface presents over 150 filter and effect controls, applied non-destructively so the original file stays untouched while adjustments are previewed in real time.
Functionally, the app covers the core trio of AI-driven enhancements: denoising, sharpening, and upscaling. Each module analyses the image content and applies corrections that would be tedious to replicate with manual sliders alone. Batch processing is available for working through a folder of images with consistent settings.
Because this is a discontinued product, its model set is frozen. The current Topaz Photo application includes everything found here plus additional models, so anyone still using version 2.1 is working with a subset of what the developer now offers. The app supports English and Simplified Chinese.
Will it run on your Intel Mac or Apple Silicon via Rosetta 2
One of the first things people ask is whether the app still works on current hardware. Version 2.1 runs on Intel 64-bit Macs with macOS 11 or later. Apple Silicon machines can run it through Rosetta 2, though performance depends on the specific model and image size. The app processes everything locally, so no internet connection is needed after the models are installed.
A second common question concerns the difference between this app and the newer Topaz Photo. The short answer: Topaz Photo AI is the discontinued predecessor. Its models are frozen at the state of version 2.1, while Topaz Photo includes all of those models plus additional ones. For someone who only needs denoising, sharpening, and upscaling on older hardware, this version remains usable. The interface language covers English and Simplified Chinese only.
People also ask whether the app destroys the original file. It does not. Edits are non-destructive, meaning the source image stays untouched until you export a new file. This applies to single-image work as well as batch processing. The 150-plus filter and effect controls operate in real time, so you see the result before committing to an export.
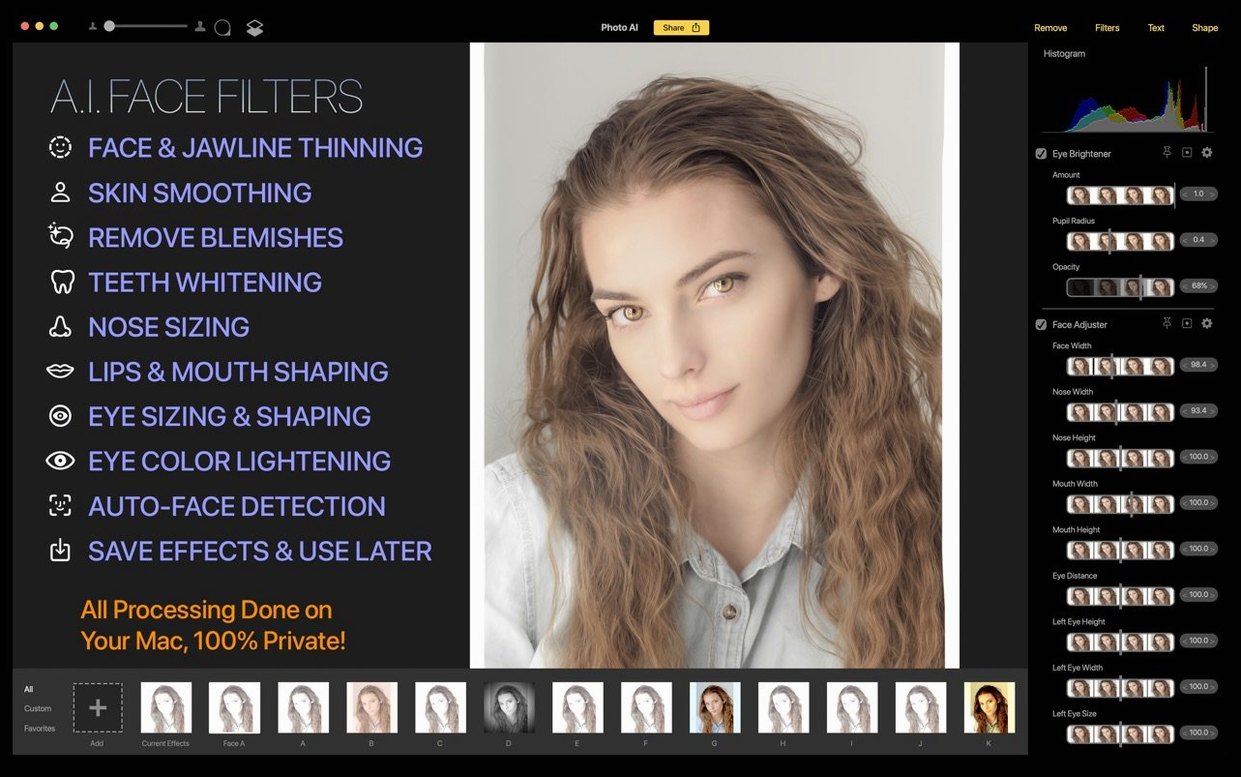
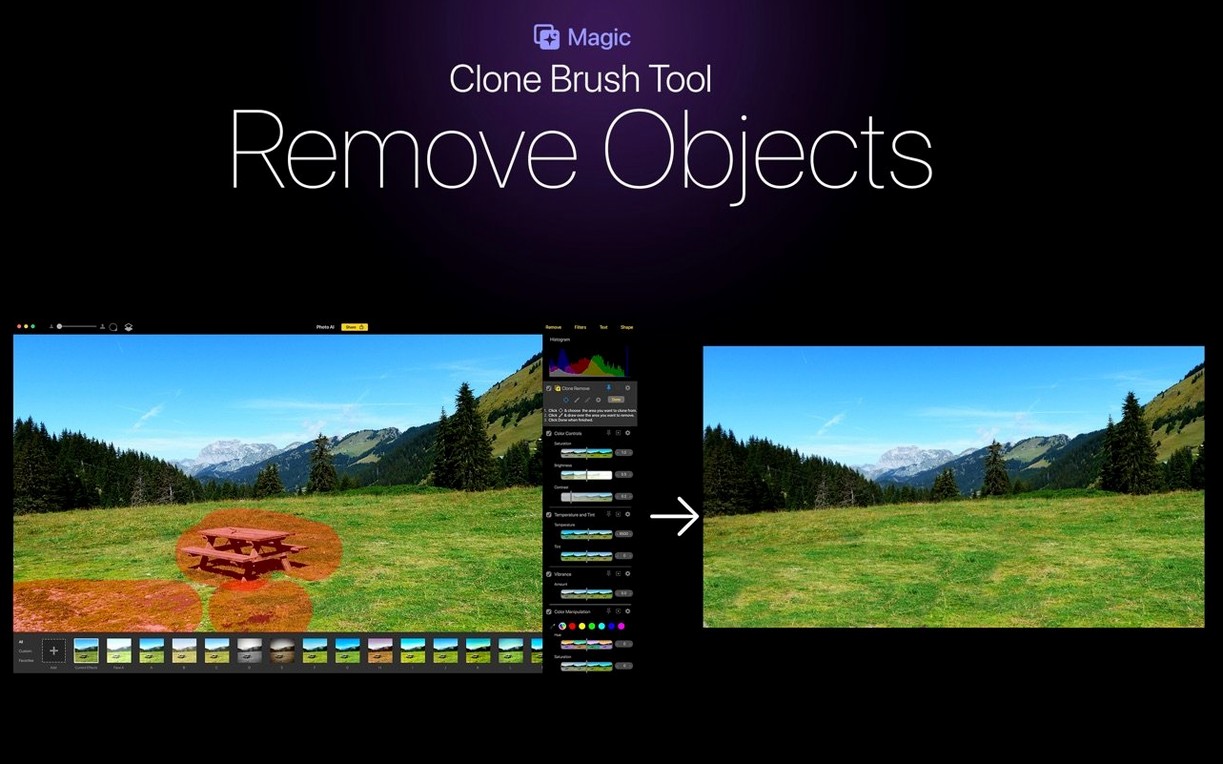
Another recurring question is about face filters and object removal. Both are present. The face filters target portraits — refining skin, eyes, and facial structure without affecting the rest of the frame. Content-aware object removal works best on small to medium-sized distractions against relatively simple backgrounds.
Drop preview quality to speed up rendering on older Intel machines
The default configuration is usable, but a few adjustments make the first sessions smoother. Start with the preview quality setting. The app can render previews at full resolution, which is precise but slow on older Intel machines. Dropping preview quality one step keeps the interface responsive while still showing enough detail for most corrections.
Next, check the export format. The app defaults to a sensible choice, but if you work in a pipeline that expects TIFF or PNG rather than JPEG, set that before batch processing a folder. The same applies to colour space — photographers who print regularly may want to switch from sRGB to Adobe RGB or ProPhoto RGB at this stage.
The face filter sensitivity deserves attention if you photograph people often. The default setting works for average portraits, but group shots with smaller faces sometimes need the detection threshold lowered. Test this on a few of your own images before relying on it for a large batch.
Finally, look at the GPU usage option if available on your Mac. On Intel machines with discrete graphics, letting the app use the GPU accelerates upscaling noticeably. On models with integrated graphics only, keeping processing on the CPU is often more stable.
Send images directly from your photo library as an external editor
Topaz Photo AI works as a standalone editor, but it also sits comfortably inside a broader workflow. The most direct integration is as an external editor for photo management applications. You can send an image from your library to the app, apply corrections, and return the result without manually exporting and re-importing files.
For users who prefer a round-trip with a dedicated raw processor, the typical order is: develop the raw file for exposure, white balance, and lens corrections first, then pass a high-quality TIFF to Photo AI for denoising, sharpening, or upscaling. This avoids double work and keeps the AI models focused on what they handle best.
The app also reads and writes standard formats, so it coexists with macOS features like Quick Look and Spotlight. Exported JPEGs and TIFFs preview normally in Finder, and edited files can be dragged into Messages, Mail, or any other app that accepts images. There is no plug-in for Apple Photos, so the workflow there is manual: export from Photos, process in Photo AI, then import the result back.
Some users searching for a Topaz Photo alternative on older Macs find that this legacy version fills a narrow gap: it runs on Intel hardware with macOS 11, whereas newer releases may have higher requirements. For those machines, the app works alongside the built-in Preview and Photos tools without conflict. If you are trying to locate the app itself, searches like Topaz Photo torrent or Topaz Photo AI Mac torrent occasionally surface this version, and the download source determines what you actually get.
A working scenario
Consider a wedding photographer who keeps an archive of shots from 2014, taken on an early full-frame camera with mediocre high-ISO performance. A client returns and asks for large prints of two reception photos that were never delivered at high resolution. The files are noisy, slightly soft, and need to be printed at 60 by 40 centimetres.
The photographer opens the first raw file in Photo AI. The denoise module runs first, cleaning the shadow areas where the noise is most visible. The sharpening module follows, restoring edge definition in the subject's clothing and facial features. Because the print size exceeds the native resolution, the upscale module is applied at 2x with the appropriate model selected. The preview updates in real time, so the photographer can toggle each correction on and off to confirm the contribution.
The second photo undergoes the same sequence, with one addition: there is a stray wine glass near the edge of the frame. The content-aware removal tool deletes it, and the surrounding tablecloth is filled in convincingly. Both images are exported as TIFF files and sent to the print lab. The original raw files remain untouched in the archive.
This is the kind of job where a single-purpose tool earns its place. The corrections are specific, the source files are old, and the output requirements are demanding enough that manual editing would take hours per image.
Process one noisy, one soft, and one small image through each module alone
The first thing to do is run a few test images through each module separately. Pick one noisy image, one soft image, and one small image that needs upscaling. Process them without touching any other settings. This gives you a baseline for how long each task takes on your machine and what the default output looks like.
Keep the original files in a separate folder from the exports for the first week. The non-destructive editing model means the app does not overwrite sources, but a clear folder structure prevents confusion when you are still learning which export settings suit your work.
Build a small collection of before-and-after comparisons from your own photographs. The app helps here because you can toggle corrections, but exporting a few side-by-side pairs is useful when you need to decide later whether a particular image is worth processing at all. Not every photo benefits from AI sharpening, and having your own reference set makes that judgement faster.
Learn the batch processing flow early, even if you only have a handful of images. The first batch should be small — five to ten files — with conservative settings. Check the results carefully before committing a full folder. Batch mode uses the same models as single-image mode, but small differences in image content can produce uneven results when settings are aggressive.
For Intel Macs with limited RAM, close other memory-hungry applications before processing large batches or high-resolution upscales. The app processes locally, and the machine's available memory has a direct effect on stability during long sessions.
Finally, if you find yourself searching for tutorials, note that most current material covers the newer Topaz Photo rather than this legacy version. The core concepts translate — denoise, sharpen, upscale — but specific interface details differ. Material written for version 2.x of Photo AI remains the most accurate reference for what you see on screen here.