Aspecten
 Download (8 MB)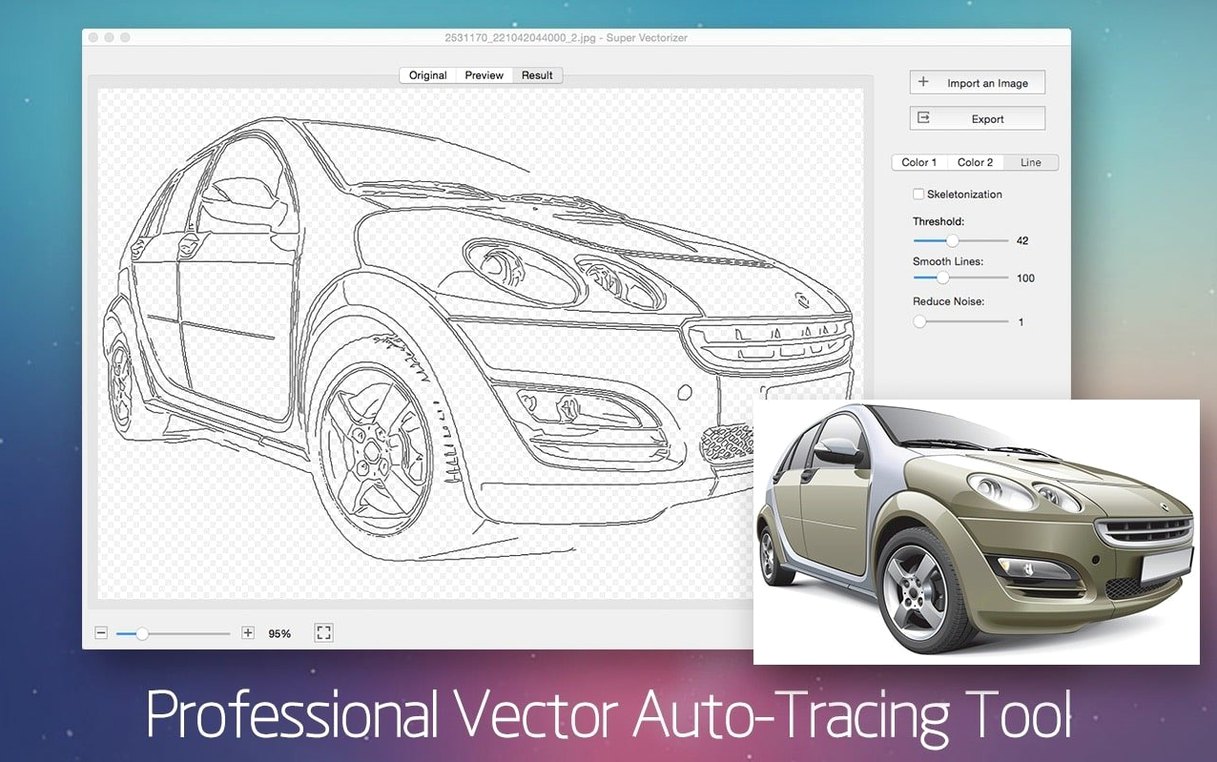
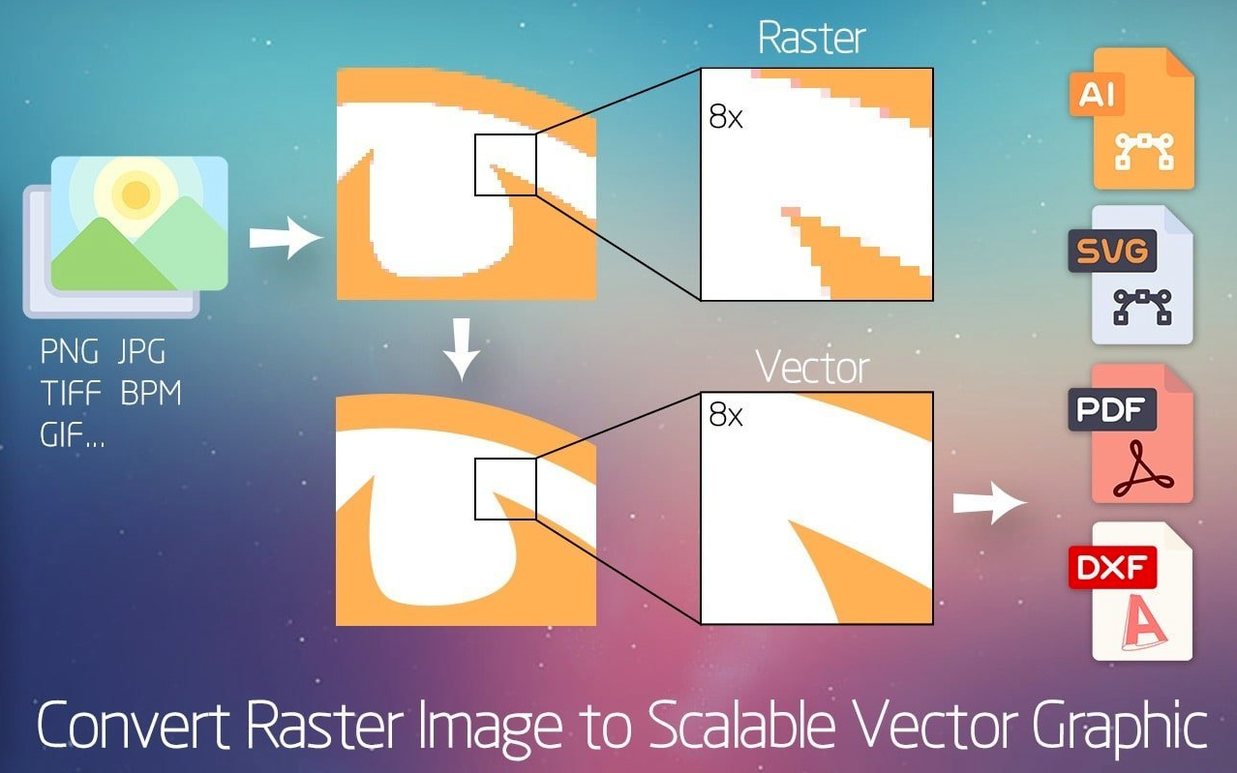
Super Vectorizer Pro runs on most Macs still in circulation. The current version asks for macOS 10.10 or newer and ships as a universal binary — native on both Apple Silicon and 64‑bit Intel hardware — so it opens without translation on the latest M‑series machines and older Intel models alike.
A maintenance release with a 64-color ceiling
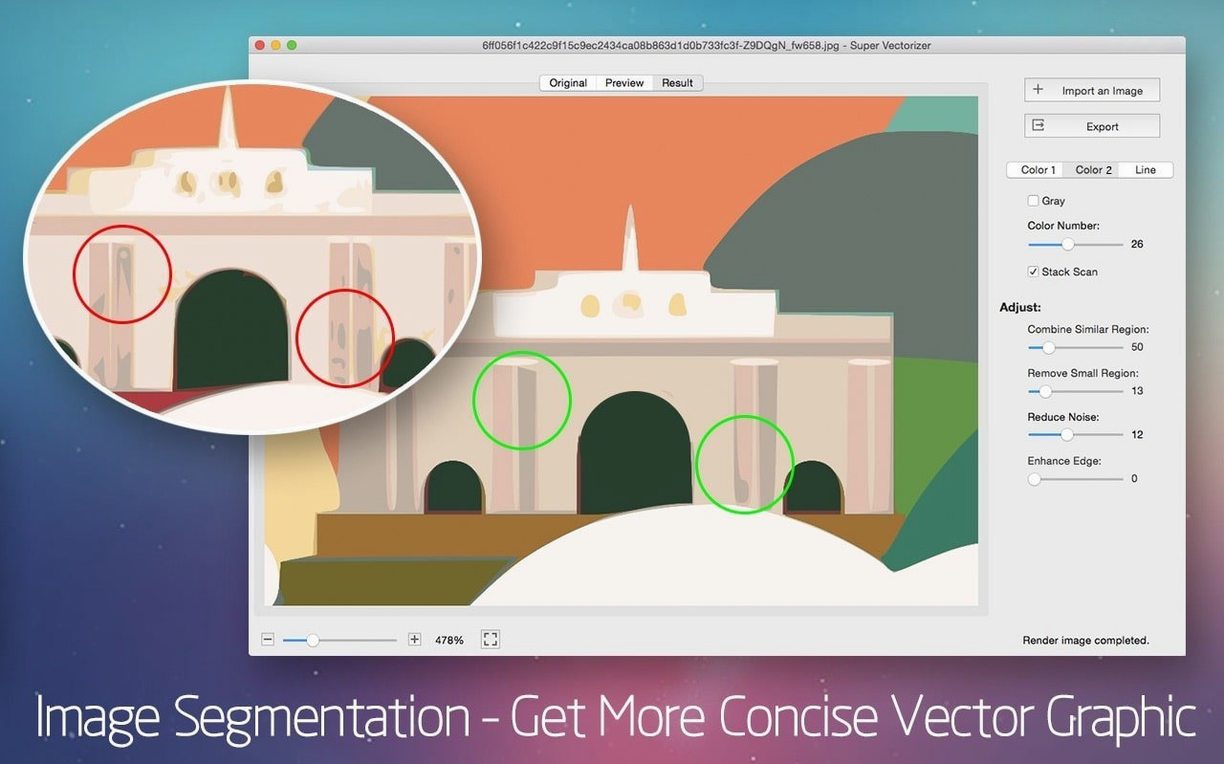
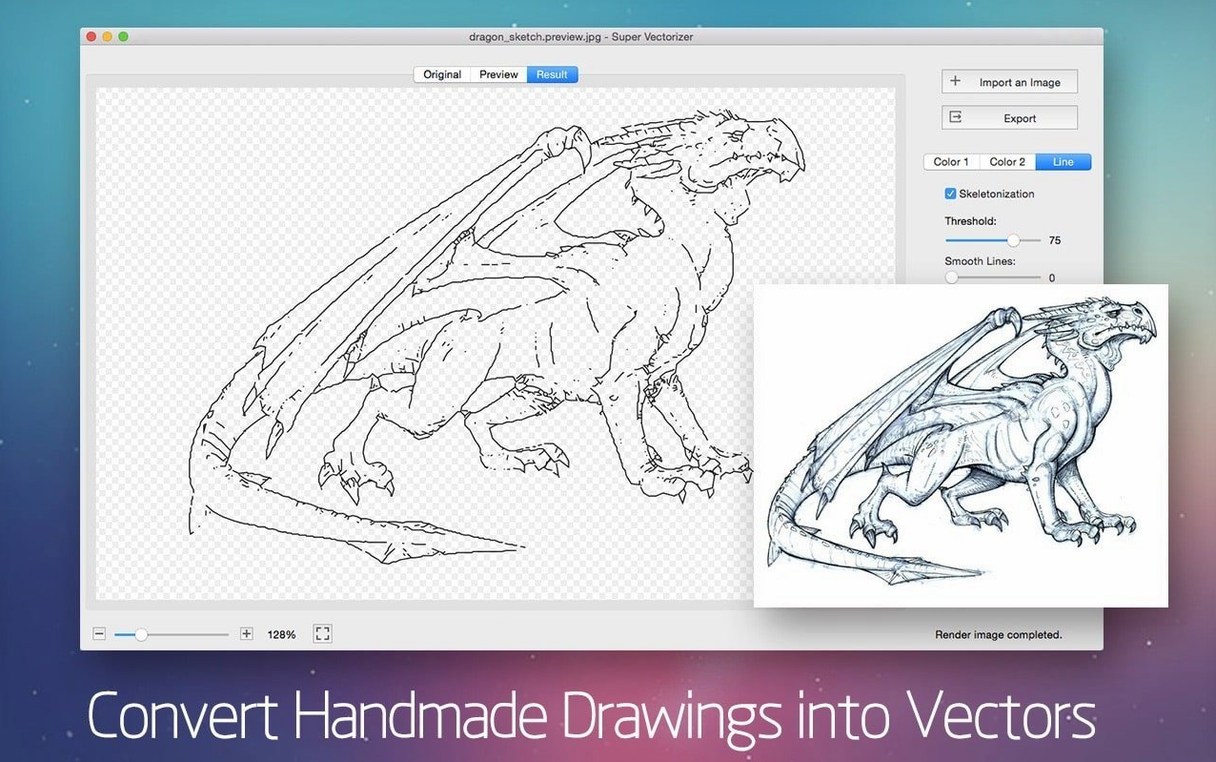
Version 2.3.3 is a maintenance release; no feature list accompanies it. What sits on disk is the same toolset the app has carried for a while: support for up to 64 colours during vectorisation, a real‑time preview that shows the traced result before you commit, and pencil‑drawing conversion for illustrators who start on paper. The interface still speaks nine languages — Russian, English, German, Spanish, Italian, Traditional Chinese, Simplified Chinese, French, and Japanese — which covers a broad set of users without extra localisation downloads.
One-shot tracing, no built-in editor
The workflow remains straightforward. You drop in a bitmap, the app traces it, and you export a vector file ready for Illustrator, Corel, or any other Mac vector editor that reads the format. There is no built‑in editing suite; Super Vectorizer Pro stays focused on the conversion step and leaves refinement to the dedicated graphics applications most designers already own. That division of labour has not shifted, and the rendering engine underneath looks unchanged from the previous version. Users who rely on the app as a bridge between raster source material and vector finishing will find the same behaviour they are used to.
A few details in the tracing panel are easy to overlook. When you click the Preview button, the app renders only a small slice of the image by default — that is deliberate, to keep the preview fast. Drag the slider beside it, and you can expand the preview window to cover more of the canvas before you commit to a full trace. Another quiet helper sits in the colour reduction step: hold Option while clicking a colour swatch in the palette, and the app selects every shape that shares that colour. Once selected, you can delete them together or merge them into a single compound path before export.
The Skeletonization mode has its own small logic. It works best when you first convert an image to greyscale inside the app — even if your source file is already black and white, running it through the internal greyscale pass often produces cleaner centre‑line traces. That extra step is not mentioned in the interface, but it consistently yields smoother curves on pencil scans and ink drawings.
A hidden convenience for users who trace logos: after vectorisation, switch the preview background to transparent (the checkerboard toggle sits in the bottom bar) and the app will preserve that transparency in the exported SVG or PDF. No second pass, no post‑processing in an external editor.
Tracing a phone-photo monogram for a wedding suite
Imagine a one‑person print shop that handles wedding invitations and small‑batch merchandise. A client emails over a hand‑drawn monogram — a photo taken with a phone under uneven kitchen light. The shop owner drags the JPEG into Super Vectorizer Pro, crops away the shadowed corner of the paper, and bumps the colour count to 6. The preview shows the monogram cleanly separated from the background. A quick tap of the Simplify slider knocks down the node count enough to keep the plotter moving smoothly. The file is exported as PDF and sent straight to the cutting machine. The whole detour from inbox to production takes under four minutes.
Three rivals, one shared trace-and-export promise
Three apps tend to come up in the same conversation as Super Vectorizer Pro.
Image Vectorizer (by Norbert Grieger) shares the same basic promise and a similarly uncluttered interface. It traces quickly and outputs SVG, PDF, and DXF, but it caps colour tracing lower — typically 32 colours — and its preview updates are slower on high‑resolution source files. Where Super Vectorizer Pro pulls ahead is in the real‑time feedback during adjustments, and in the skeletonization function, which Image Vectorizer lacks entirely. For black‑and‑white technical drawings or centre‑line work, the capability gap is real.
Vector Magic is often mentioned as a quality benchmark. Its tracing engine is exceptionally good at anti‑aliased edges and subtle gradients, and it runs as a desktop app. The trade‑off is that Vector Magic is not a native Mac application — it requires a compatibility layer — and its interface feels detached from macOS conventions. Super Vectorizer Pro integrates more naturally with the Mac environment: drag‑and‑drop onto the dock icon, standard file dialogues, and a UI that follows the local system language without extra configuration.
Inkscape (via its built‑in Trace Bitmap feature) is the free alternative that many users try first. It handles single‑scan and multi‑scan traces competently, but its controls are spread across modal dialogues, and the preview cycle — trace, inspect, undo, tweak, repeat — grows tedious when you are processing a batch of images. Super Vectorizer Pro keeps the controls and the preview on the same screen, which cuts the back‑and‑forth considerably. For someone tracing a dozen icons in an afternoon, the difference in friction is noticeable.
Trace the same image three times before you judge
New users often open the app, drop in a photo, and accept the default colour‑16 trace. That works, but it seldom produces the leanest result. A better first exercise is to trace the same image three times: once at 8 colours, once at 16, and once at 32, with the Simplify slider moved slightly right each time. Export all three as SVG and compare the node counts and the visual fidelity in a vector editor. That half‑hour routine builds a rough mental map of which settings suit which type of source material — a map the manual does not provide.
Another early habit worth forming: before tracing any image that has a white background, visit the Background setting and switch it to transparent. Leaving it on white embeds a white background shape in the export, which often surprises users when they place the vector over a coloured layout later.
For users who trace pencil drawings regularly, assign the skeletonization workflow to muscle memory early. Convert to greyscale first, then switch the tracing mode to Skeletonization, and keep the Line Width value low — around 2 or 3 — for close adherence to the original stroke. The difference between a default trace and this sequence is stark enough that it is worth practising on a few scrap sketches before processing anything that matters.
Finally, if you plan to use the exported vectors in Adobe Illustrator, choose AI as the output format rather than SVG. The AI export preserves layer grouping from the colour palette, which makes it easier to select and restyle elements once the file is open in Illustrator. SVG exports from the same trace can flatten the colour groups into a single layer, costing a few minutes of manual regrouping. A small format choice early in the day saves that time later.