Aspecten
 Download (372 MB)
Version 1.3.5 brings the desktop application to macOS 12 and newer, running natively on both Intel and Apple Silicon Macs. The interface language is English.
Key jobs the software does
- Restoring old photographs. The AI can reconstruct missing detail in aged or damaged images, making it practical for archival work.
- Improving low-resolution portraits. Faces that turn soft or pixelated at larger sizes gain definition without the plastic look of older upscaling methods.
- Batch processing on the desktop. Whole folders can be queued and enlarged in one go, which saves time when preparing a series of images for print or display.
How it handles upscaling
Topaz Gigapixel AI uses a trained model to enlarge images while preserving edge detail and overall clarity. Rather than simply interpolating pixels, the software analyses the content and generates new data that fits the scene. The result is a larger file that holds together better when viewed at full size. Gigapixel AI is the legacy product line that Topaz later replaced with Topaz Gigapixel, but this version remains a capable tool for anyone who needs to upscale photographs on a Mac without sending files to a cloud service.
Set file output location so enlargements don't scatter
After the first launch, a few preferences make the application easier to live with. Open the settings panel and check where processed files are written. By default the app may save enlarged versions next to the originals or in a subfolder, depending on how the queue is set up. Decide this before the first batch, not after. A tidy output folder keeps a long session from turning into a search.
Memory behaviour is the second thing to look at. Gigapixel AI can be heavy on system resources, especially with large source files. If you work on an Intel Mac with limited RAM, close other applications before processing or reduce the preview resolution. On Apple Silicon machines the same rule applies, though the app generally responds faster. The preview setting affects only what you see on screen, not the final export, so a lower preview value costs little.
File format defaults matter for specific jobs. If you scan old photographs, set the output to TIFF for archival work or PNG for clean line art. JPEG is fine for quick proofs, but the extra compression works against the detail the software has just reconstructed. The batch queue respects these defaults, which is convenient when many files share the same destination.
Native Apple Silicon support ends preview lag
Version 1.3.5 runs natively on both Apple Silicon and Intel 64-bit Macs, which removes the translation layer that earlier builds sometimes required. In practice that means shorter waits when opening large files and a preview that updates without long pauses. The package includes activation, so the application is ready after installation without further steps.
The interface remains English-only, which is worth knowing if you share the machine with someone who prefers another language. More important for daily use is the batch behaviour. Several refinements in this line made queued jobs easier to inspect before processing, and the desktop application keeps everything local. Nothing is uploaded during an upscale, which matters when working with private or archival material.
The older Gigapixel AI line was superseded by Topaz Gigapixel, but 1.3.5 still handles the core tasks well. The change in product naming does not affect how this version behaves; it remains a standalone desktop tool for enlarging images.
Test one portrait, one landscape, one scan and one PNG first
Start with three or four test images before committing a large batch. Pick one portrait, one landscape, one scan with visible compression artifacts and one small PNG with text or line work. Run each through the queue at the intended output size and compare the results side by side. This gives you a realistic sense of what the software can recover and where it struggles, without wasting time on a folder of fifty files.
Watch the output dimensions. The software can upscale to a fixed multiple or to a target size in pixels. For print work, set the target based on the paper dimensions and the required dots per inch. For screen use, a 2x or 4x multiple is usually enough. Overshooting the size creates a larger file than necessary and takes longer to process, with no visible gain.
Keep the original files untouched. Work on copies, or point the output to a separate folder. If a batch produces results you do not like, having the source images intact lets you try again with different settings. This is especially relevant for old photo restoration, where the starting file often has damage that the AI interprets differently from one pass to the next.
If you are looking for a Mac version of this tool, a search for topaz gigapixel for mac will point you to the right package. Some users also search for topaz gigapixel torrent or gigapixel ai torrent, but the straightforward desktop build is what matters here. The application processes everything on your machine, so there is no account or cloud tier to think about.
A workflow: restoring a low-resolution portrait
- Open the original file in Gigapixel AI. A portrait scanned at a small size, or an old digital photo with visible pixelation, is a good test case.
- Set the output scale. For a portrait that will be printed at 10 x 15 cm, a target of 300 dpi and the corresponding pixel dimensions is a sensible starting point. For screen display, 2x is often sufficient.
- Choose the AI model that suits the content. If the face shows compression artifacts, the option that reduces those artifacts works better than the standard model. If the image is soft overall, let the software analyse the whole frame first.
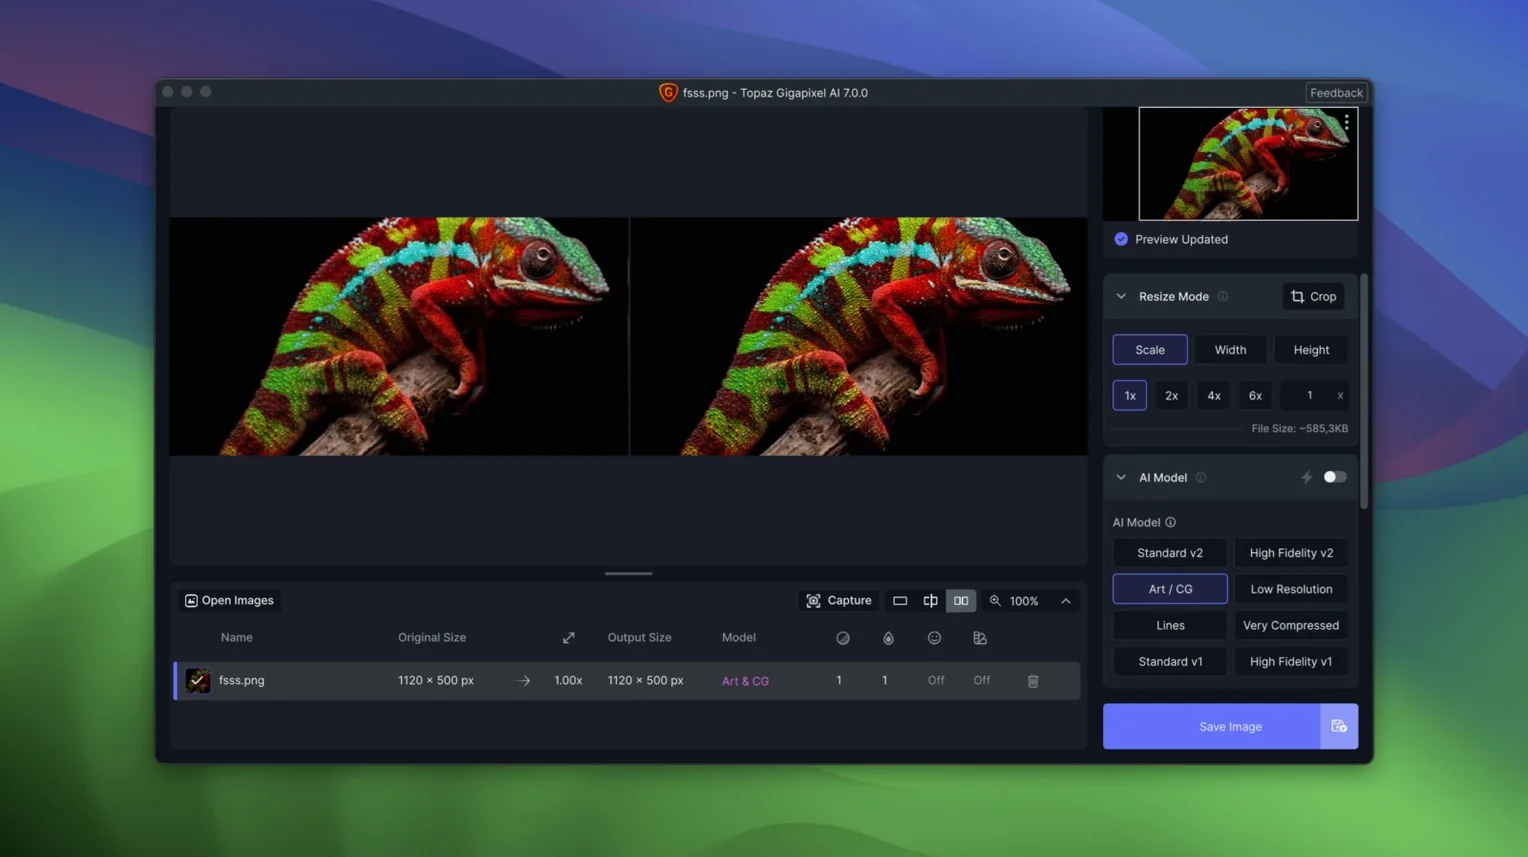
- Check the preview at 100 percent. Move the preview window across the eyes, the mouth and the hairline. These areas show problems first. If the preview looks artificial, lower the output scale slightly or try a different model.
- Add the file to the batch queue and check the output folder. Start the processing and wait for the result.
- Open the enlarged file in an image editor for a final pass. Crop, adjust contrast and sharpen only if needed. The AI does the heavy work, but a light manual touch keeps the result natural.
Runs fully offline after install
One common question is whether the application works without an internet connection. It does. The processing runs locally on the Mac, so after installation there is no need to be online. This also means the speed depends on your hardware, not on a remote server.
Another question concerns the difference between this version and the newer Topaz Gigapixel. Version 1.3.5 is part of the legacy Gigapixel AI line. It still upscales photographs, restores low-resolution portraits and removes pixelation and compression artifacts. For many jobs, the older line is entirely adequate, and it installs on macOS 12 or later without extra requirements.
People also ask about file types. The application handles common image formats well, including PNG and JPEG. The mention of cleaning low-quality line art and PNG files suggests good results with graphics that have sharp edges or flat areas, where older upscaling methods often introduce halos.
Finally, some users wonder about the installation steps. The package includes two builds, one for ARM and one for Intel. Choose the architecture that matches your Mac, run the package installer, and then use the included patch command with your Mac password when prompted. The whole process takes a few minutes.