Aspecten
 Download (7 MB)
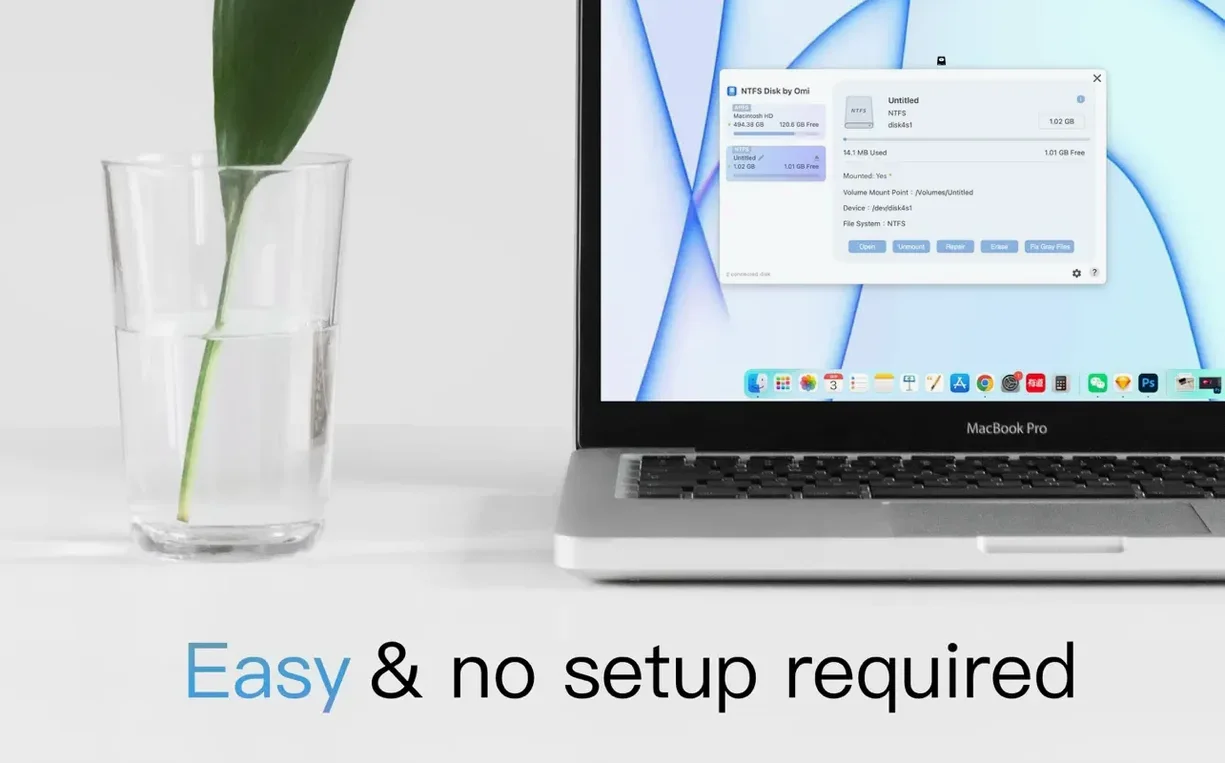
Where some NTFS tools wrap themselves in system extensions and background services, NTFS Disk by Omi stays closer to a direct utility. It shares the same basic aim as other Mac NTFS mounters—read and write access to Windows-formatted drives—but presents it through a simpler lens.
Access — Read and write to NTFS-formatted external disks without switching to a virtual machine or booting into Windows.
Format — Prepare a disk as NTFS directly from the app, useful when a drive arrives blank or in a file system macOS cannot write to natively.
Repair — A fix function addresses common NTFS volume issues. It is a first-aid measure, not a deep recovery tool.
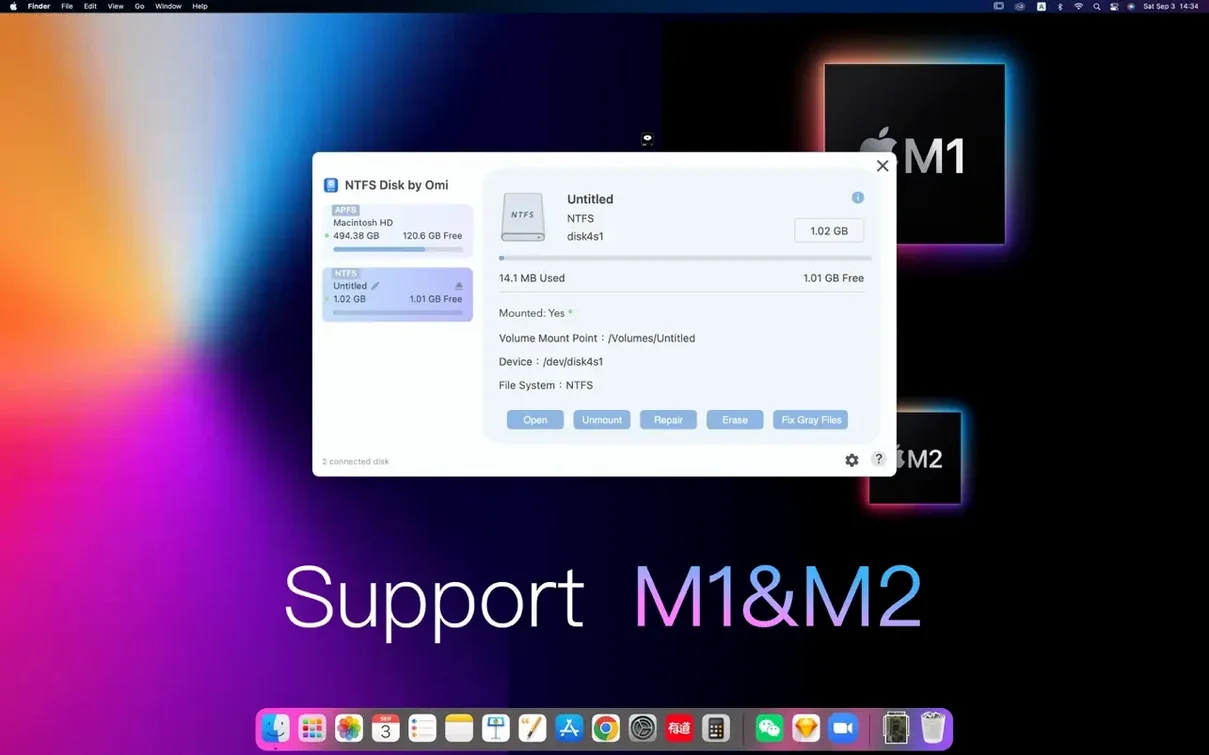
Compatibility — Runs on Intel and Apple Silicon Macs under macOS 11 and later. The interface is available in English and Simplified Chinese.
Yanking the cable mid-copy corrupts the write cache
Grabbing a freshly mounted NTFS drive and ejecting it by unplugging the cable is the most common slip. macOS expects an eject command, and NTFS Disk relies on a clean dismount to flush write caches. Yank the cable mid-copy and you may see a disk that refuses to remount without a repair pass. Train yourself to right-click the desktop icon and choose Eject, or drag it to the Trash, every time.
Another early mistake is assuming the app works on internal drives. It does not. The tool addresses external NTFS disks only—USB sticks, portable hard drives, desktop RAID boxes connected over Thunderbolt or USB. Trying to make a Boot Camp partition writable through the app will lead nowhere. Keep that distinction clear from day one.
Beginners also overlook that a disk formatted elsewhere can arrive with a dirty volume flag. If Windows was not shut down fully or the drive was pulled from a PC without Safe Removal, the NTFS volume stays marked as in-use. NTFS Disk will mount it read-only until the flag is cleared. The fix function inside the app usually handles this, but some people skip straight to formatting instead, wiping data that was never lost.
When the dirty volume flag locks you out of writing
Disk mounts but stays read-only. This almost always traces to that dirty volume flag. Open the app, select the disk, and run the repair routine. After a short check, the volume should remount with full write access. If it does not, a single mount under Windows—even briefly inside a virtual machine—clears the flag cleanly.
The app does not see a connected drive. Check the physical chain first. Some USB hubs, particularly unpowered ones, do not deliver enough current for spinning hard drives. Plug the disk directly into the Mac. If the drive still stays invisible, open Disk Utility. A disk that appears there but not in NTFS Disk may have a partition table the utility cannot parse. Reformatting through Disk Utility to a blank GUID partition map, then formatting as NTFS inside the app, gives you a clean start.
Write speeds feel slower than expected. The 64-bit x86 build runs through Rosetta on Apple Silicon Macs, so a layer of translation sits between the app and the hardware. On large sequential copies—video files, disk images—you may notice speeds closer to 60–70% of what the hardware can push natively. For everyday document transfers, the difference is imperceptible. If you regularly move multi-gigabyte media files, batch the work and let the queue run without multitasking heavy disk operations elsewhere.
Formatting fails with a generic error. A disk that has been used as a macOS boot drive or carries APFS containers sometimes confuses the formatting routine. Wipe it once in Disk Utility as ExFAT, then let NTFS Disk reformat it to NTFS. This two-step dance clears lingering partition metadata that the app's own format function cannot always overwrite.
Test with a USB stick before trusting your work drive
Plug in a small USB stick formatted as NTFS before you trust the app with a work drive. Create a folder, copy a few files onto the stick from the Mac, eject it properly, then plug it into a Windows machine. Open each file. This confirms the whole chain—mount, write, dismount, read on the other side—works before any real data moves across.
Get the mount behaviour straight early. NTFS Disk mounts external disks automatically when it is running, but you control whether it launches at login. If you prefer manual control, disable automatic mounting in the app preferences and open it only when an NTFS disk is actually connected. This keeps the menu bar uncluttered and avoids mounting drives you are not ready to work with.
Keep the app itself on the main Applications folder rather than burying it in a subfolder. The Gatekeeper-friendly installer routine—mount the disk image, run the bypass command in Terminal, drag the app into place—only works cleanly when the final path matches what macOS expects. Moving the app afterwards can trigger a re-check that blocks launch. If you need the ntfs disk by omi ntfs mac download routine again later, follow the same sequence from the start.
Finally, treat the repair function as a quick fix for mounting hiccups, not a substitute for proper backups. If a disk makes clicking sounds, shows repeated I/O errors in Console, or drops offline mid-transfer, the problem is hardware. NTFS Disk cannot mend failing sectors. Pull the data while the drive still spins, then retire it.