Aspecten
 Download (6 MB)
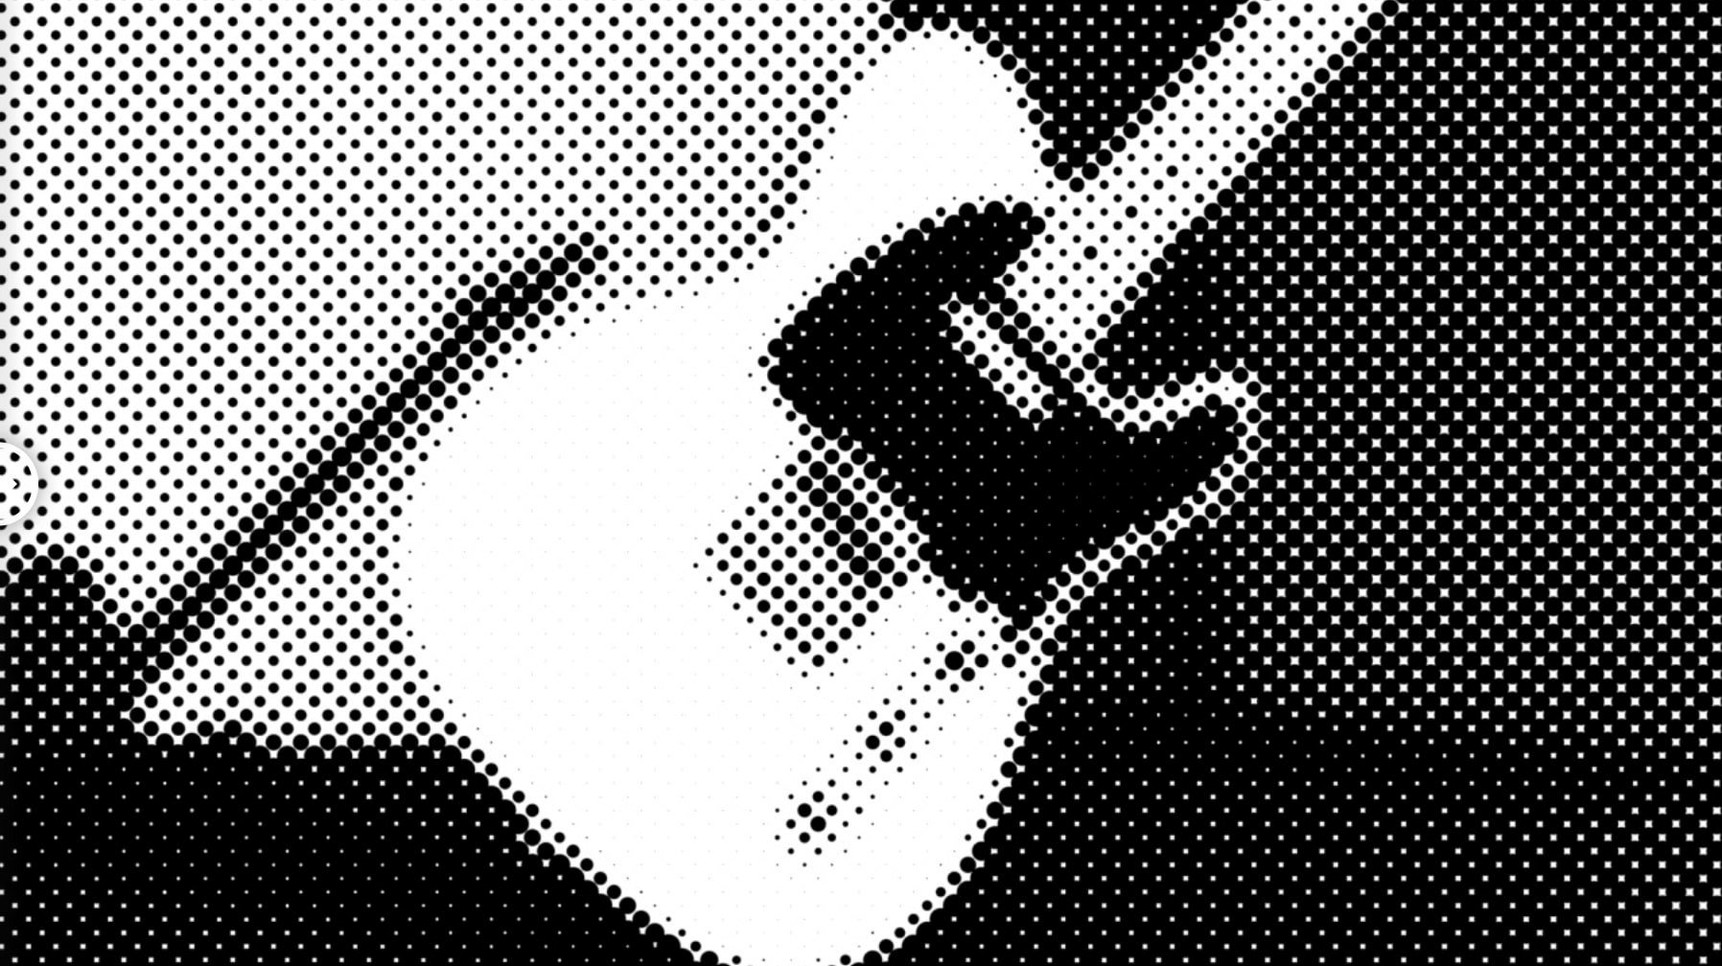
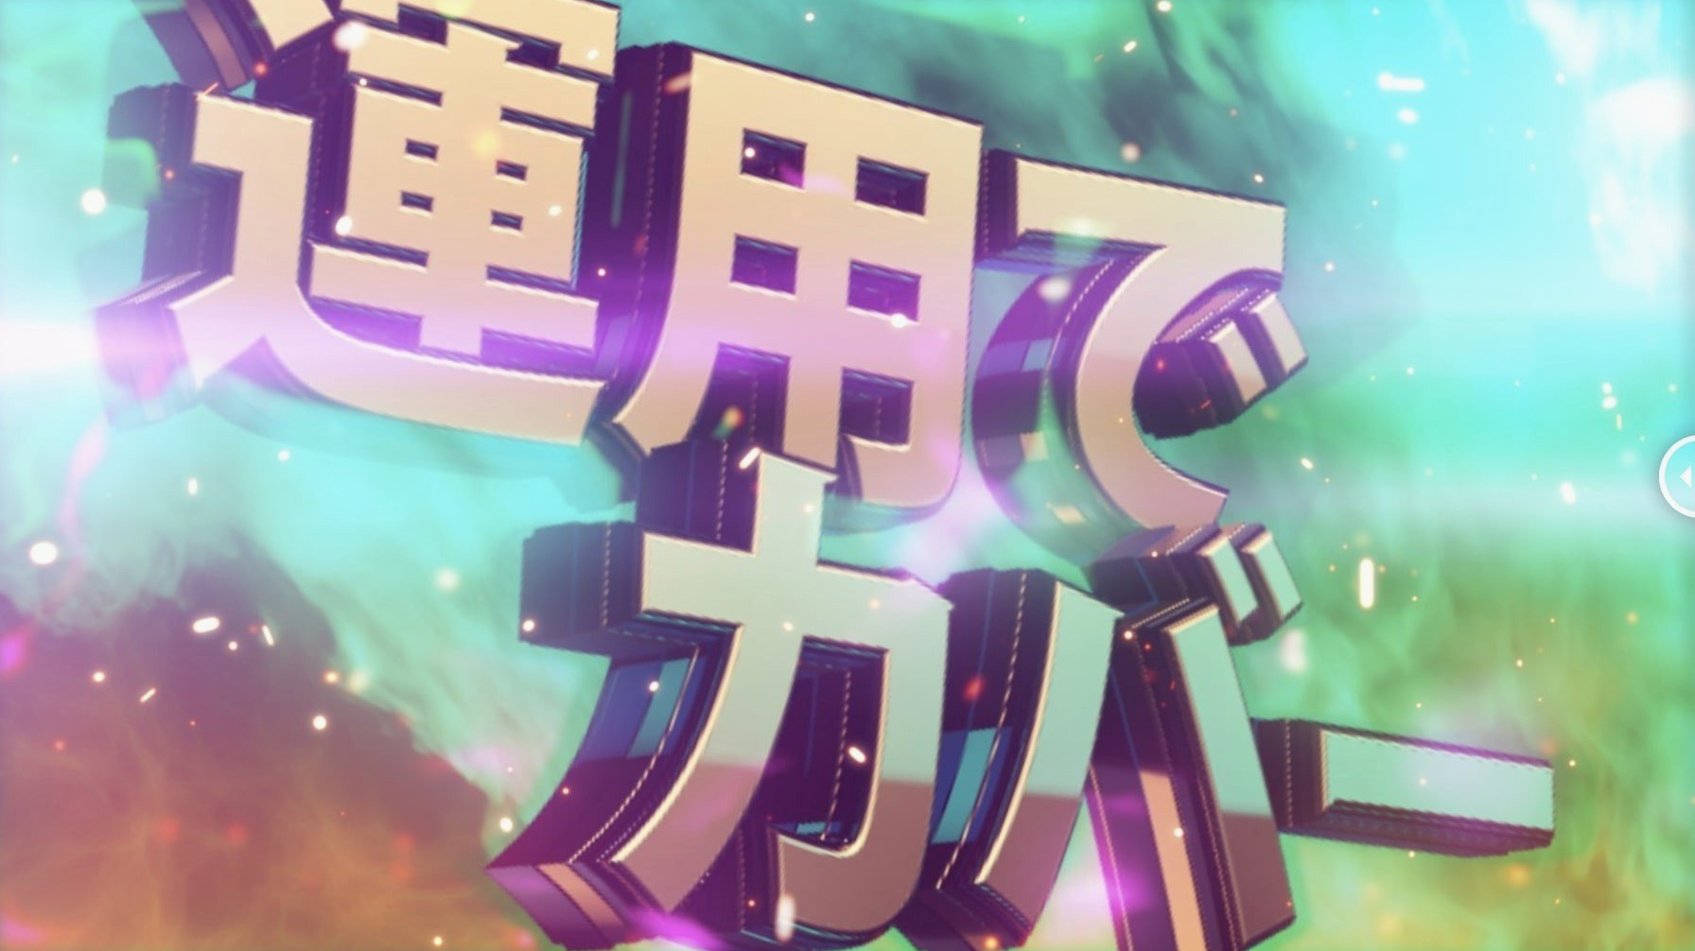
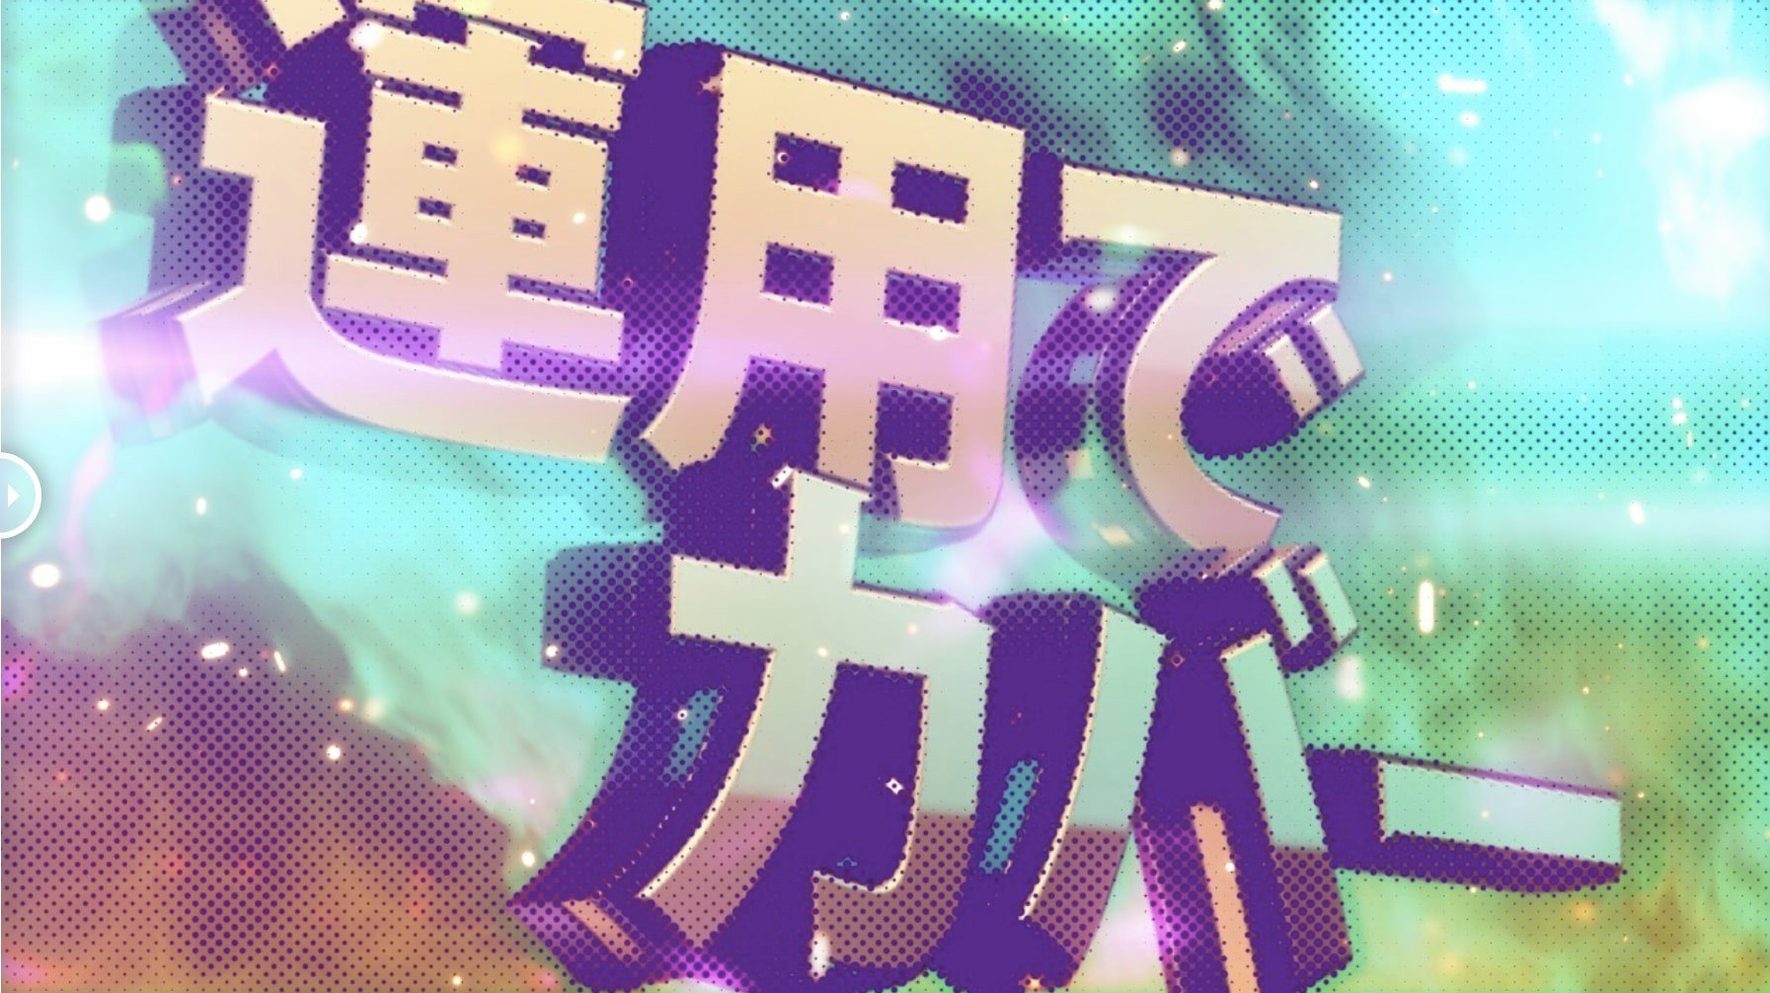
m’s HalfTone from AE_OFF is a single-layer After Effects plugin that turns footage into a graphic halftone without needing a separate map layer.
Dot shape, scale and rotation in one panel
The effect sits on one adjustment or footage layer. Three shape modes — circle, square and line — set the dot structure, while a Scale slider pushes the pattern from tight grain up to large, readable spots. Rotation spins the dot grid, and a simple angle offset shifts the line direction when that mode is active. A spread control softens the transition between highlights and shadows, so the result can read as a printed newsprint simulation or a harder, posterised look. Because the plugin generates the pattern from the source luminance directly, there is no need to manage a second comp or a pre-comp map.
Drop it after a levels or tint adjustment
On fast editorial or motion-graphics timelines, the absence of layer maps keeps the project panel clean. A typical chain places m’s HalfTone after a levels or tint adjustment, letting the dot pattern respond to the pushed contrast. The shape choice changes the feel immediately: circles give a classic comic-book vibe, squares lean more mechanical, and lines suit engraved or etching-style treatments. The scaling of the pattern is absolute rather than resolution-dependent, so a dot size that works at HD may need re-adjusting for a 4K comp.
Export a comp as ProRes for Final Cut or Resolve
m’s HalfTone lives entirely inside After Effects, but the results travel easily to other tools. A comp with the plugin applied can be exported as a ProRes or image sequence and dropped into Final Cut Pro or DaVinci Resolve without any special handling — the halftone is baked into the pixels at render time. For projects moving between After Effects and Photoshop, rendering a single frame as TIFF or PNG preserves the dot structure for stills work, and the halftone layer can serve as a texture map in a 3D package like Blender or Cinema 4D without extra conversion.
On the macOS side, the plugin respects standard system shortcuts for copying and pasting effect settings between layers. If you use Spotlight comments or Finder tags to organise project assets, the plugin’s single-layer approach means fewer auxiliary files to track. Under Apple Silicon, the ARM-native build keeps render times down on long comps, which matters when halftone processing sits in a stack of other effects. The plugin also plays sensibly with After Effects’ render-and-replace workflow: you can bake a halftoned pre-comp to a new footage item and carry it into Premiere Pro via Dynamic Link, though re-adjusting the dot pattern later means returning to the original comp.
Shift-drag Rotation to snap at 15-degree steps
A few details in m’s HalfTone speed up daily use once you spot them. Holding Shift while dragging the Rotation control snaps the dot grid to 15-degree increments, which helps when aligning the pattern to on-screen geometry like buildings or type. The Scale slider responds to the arrow keys in fine steps — tapping Up or Down nudges the dot size by a fraction, avoiding the jump that comes from dragging the handle directly. If you need to match dot sizes across two layers, copying the effect with Command-C and pasting it with Command-V transfers all parameter values in one go, including the shape mode and spread setting.
The spread control has a secondary behaviour worth knowing: pulling it below zero inverts the softness curve, tightening the edges of each dot instead of blurring them. This produces a harder, almost stencil-like result that suits poster-style compositions. The angle offset for line mode accepts values beyond 360 degrees and wraps them correctly, so you can keyframe continuous rotation of the line direction without a sudden snap at the zero mark. Another subtlety is that the plugin reads alpha channel information already present on the layer — a masked or rotoscoped element inside a comp will halftone only the visible area, leaving transparency untouched.
Pull Scale from 50 toward 20 for tighter grain
After dropping m’s HalfTone onto a layer, the defaults give a medium-scale circular dot with no rotation and a neutral spread. For most footage, the first adjustment should be the Scale value. Starting at 50 and pushing toward 20 or below tightens the pattern enough to read as texture rather than obvious dots, while pulling above 100 turns the effect into a deliberate graphic statement. Next, check the spread setting against the contrast of your source: flatter footage benefits from a lower spread to define dot edges, while high-contrast material may need the spread eased up to avoid harsh clipping.
Rotation is worth setting early if the composition has strong horizontal or vertical lines. Even a five-degree turn prevents the dot grid from creating unintended moiré with architectural details or repeating patterns in the footage. For line mode specifically, the angle offset should be dialled in while watching the comp at full resolution — a line angle that looks smooth at half resolution can show stair-stepping at 100 percent. Square mode works best with the spread kept fairly tight; loosening it too much rounds the corners of the squares and loses the mechanical character that makes the mode useful. If you find yourself returning to the same halftone look across multiple projects, save an animation preset from the Effect Controls panel and apply it with a single click on future comps.
Fast graphic texture for title sequences and music videos
Motion designers working on title sequences, music videos, or stylised commercial spots will find m’s HalfTone a fast way to add graphic texture without building a multi-layer halftone rig. The single-effect approach keeps the timeline navigable, which matters when a project already has dozens of animated layers. Editors who occasionally need a halftone treatment inside After Effects rather than a dedicated compositing tool benefit from the short learning curve — there are no expression fields to fill or matte layers to set up.
Illustrators and comic-style animators who bring static art into After Effects for camera moves or light effects can use the plugin to unify disparate assets under a shared halftone pattern, making cut-out-style animation read more cohesively. Users on Apple Silicon Macs will appreciate the native ARM support during long renders, and those still working on Intel machines — especially on older After Effects versions back to CS5 — can keep the plugin in a familiar environment without upgrading their entire pipeline. The m halftone free download also suits students and independent creators building a motion reel, where visual impact per effect matters more than the number of plugins in the folder.