Aspecten
 Download (5 MB)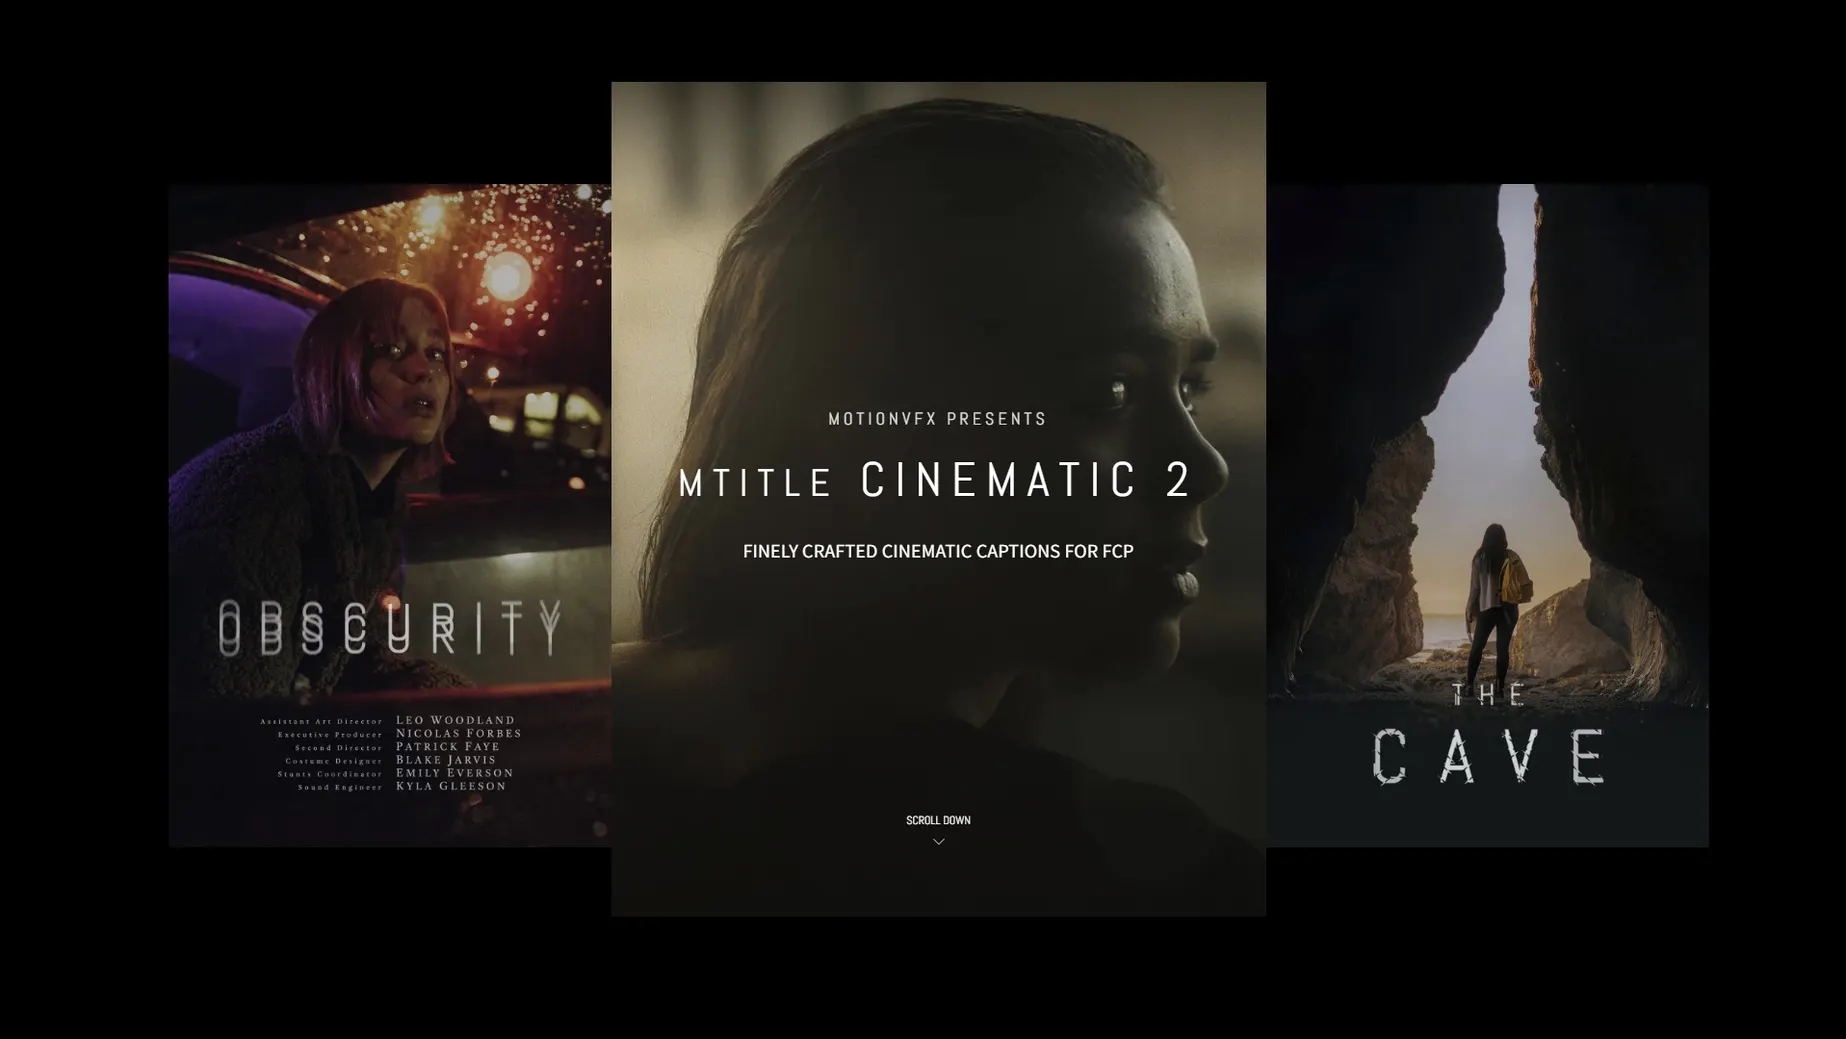
Fifty animated titles ship in the package, organised as Final Cut Pro templates. The count matters less than the spread: you get openers with broad dramatic pacing, lower-thirds built for interview contexts, and end-credit layouts that handle multi-name blocks without falling apart. Each title carries its own motion behaviour, so you are not keyframing a static text block into life.
In a timeline these sit on a standard title track above picture. Because they behave as native FCP title layers, you can stack them, blade them, or slip their in- and out-points the way you would any generator clip. Text attributes — font, size, tracking — are exposed in the inspector, though the underlying animation curve stays locked unless you open the template in Motion.
On a typical job a single bus of three or four titles covers most deliverable formats. A project might pull the same opener template across a series, then swap between two lower-third styles for speaker IDs and location straps. The credit roll template handles dense cast lists without needing manual spacing adjustments. Rendering stays light because the effects rely on transforms and fades rather than particle simulations.
The preset tempo leans toward the slower, wider end of the spectrum — dissolves are gradual, moves are smooth. That suits documentary and corporate work well, though a fast-cut promo may feel held back unless you trim the title durations aggressively. For a session that needs to move from assembly to client review without a detour into Motion, having the whole set in one folder under Titles keeps the browser tidy.
Purge duplicate motionVFX packs before your first title drag
Drop the folder into /Users/username/Movies/Motion Templates/Titles and restart Final Cut Pro. The titles appear in the browser under a single category. The first thing worth checking is whether you already have older motionVFX packs in the same location — duplicate folder names can split the list or cause missing thumbnails. Merge them into one parent folder and let FCP rebuild the cache on the next launch.
Drag three or four titles onto a scratch timeline and scrub through them at full resolution. Some of the heavier openers include multi-layer reveals that stutter briefly while the timeline buffers. Let FCP finish background rendering for those clips before you judge performance. On machines with shared memory — Intel MacBooks with integrated graphics, for instance — keep the preview quality set to Better Performance during the rough-cut phase and switch to Better Quality only before export.
If a title shows a red missing-plugin warning, the usual cause is a stray Motion template dependency. Copying the pack from an external drive without preserving folder structure can drop a linked generator. Re-copy the whole folder directly into the Titles directory, keeping every sub-folder intact, and the warning should clear.
Documentary editors skip repetitive lower-third builds
Editors cutting long-form documentary interviews see an immediate return. The lower-third collection covers the standard rhythm — name, role, location strap — without forcing you to build a new text block for each speaker. Because the templates expose font and tracking in the inspector, a single style pass across a timeline takes minutes rather than an afternoon. Colourists attached to those projects benefit indirectly: the titles use flat luminance levels that do not fight a grade, so a balanced timeline stays balanced after titles land on top.
Corporate video teams working in volume — event recaps, training modules, internal comms — get the most from the opener and credit templates. Reusing the same opener across a series keeps branding consistent without locking you into a single After Effects comp that an outside agency controls. The credit roll template handles dense contributor lists with clean leading, which saves the manual tab-and-space dance that eats time on a Friday delivery.
Solo wedding and event editors who deliver highlight reels on tight turnarounds appreciate the preset pacing. The dissolves and gentle moves slot over slow-motion footage without needing custom easing. For someone who cuts in FCP and rarely opens Motion, having fifty pre-built animation curves means one less trip to a keyframe editor.
Pulling the eight-second opener for an investor update
An editor assembling a five-minute investor update pulls the opener template from the mTitle Cinematic set, drops it across the first eight seconds, and types the company name. The animation runs a slow scale-up over a dark gradient background. She copies the same title to the closing segment and replaces the text with a thank-you line. No keyframes touched.
For the speaker sections she drags a two-line lower-third onto each interview clip. The first line holds the name, the second the title and department. The text stays sharp against both the light window background and the darker boardroom shots — the built-in contrast holds without an additional drop-shadow layer. She sets the font to the brand typeface once and pastes attributes across the remaining lower-thirds. The whole title pass — opener, six speaker IDs, closing card — runs under fifteen minutes. The timeline exports to a review link before lunch.
Dial background opacity down from 80% black before export
Open any title in the inspector and look at the publishing parameters. Most templates expose text, font, size, colour and sometimes a background opacity slider. The default background on several openers sits at 80% black — fine for bright footage, but it crushes on already-dark shots. Pull the opacity to 30-40% and check the scopes before you commit to a value across the whole timeline.
The motion blur toggle is worth finding early. A few of the faster kinetic titles ship with motion blur enabled by default, which adds render time. If the timeline is already heavy — multicam, colour corrections, noise reduction — switch motion blur off during the edit phase and re-enable it only on the titles that genuinely need the smearing effect. The difference in render load is noticeable on older Intel machines.
Font fallback behaviour matters when you share projects across machines. If a title uses a typeface installed locally but missing on a collaborator's system, FCP substitutes silently and the line breaks shift. Pin the text fields to a system font during rough cuts, then swap to the brand typeface only after the edit is locked and the export machine is confirmed. This avoids last-minute text reflow surprises.