Aspecten
 Download (2.6 GB)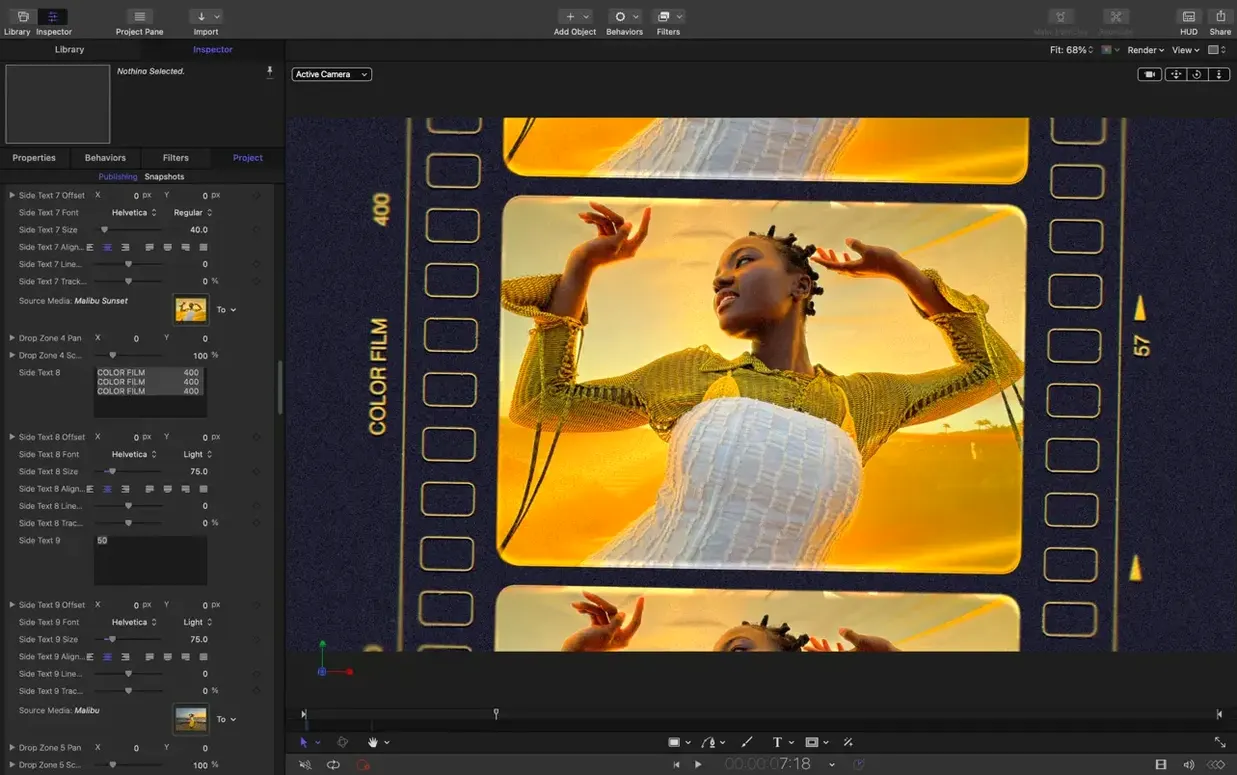
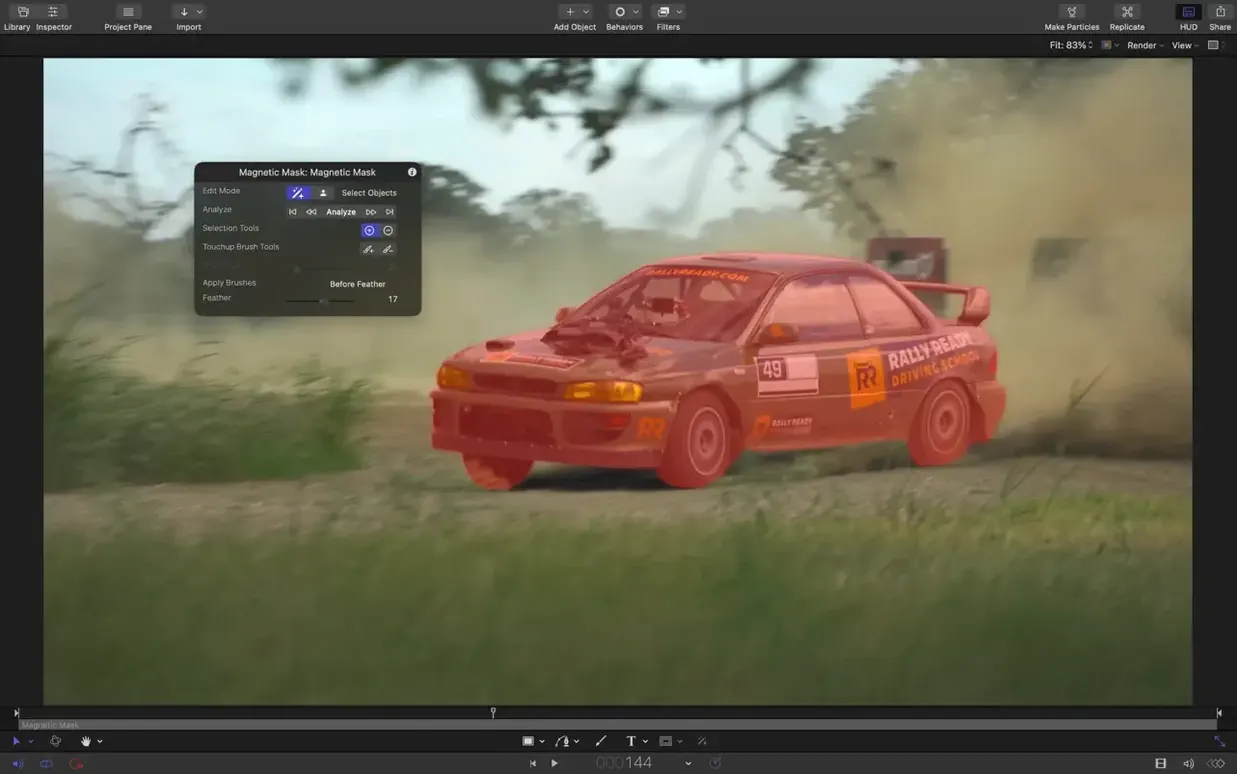
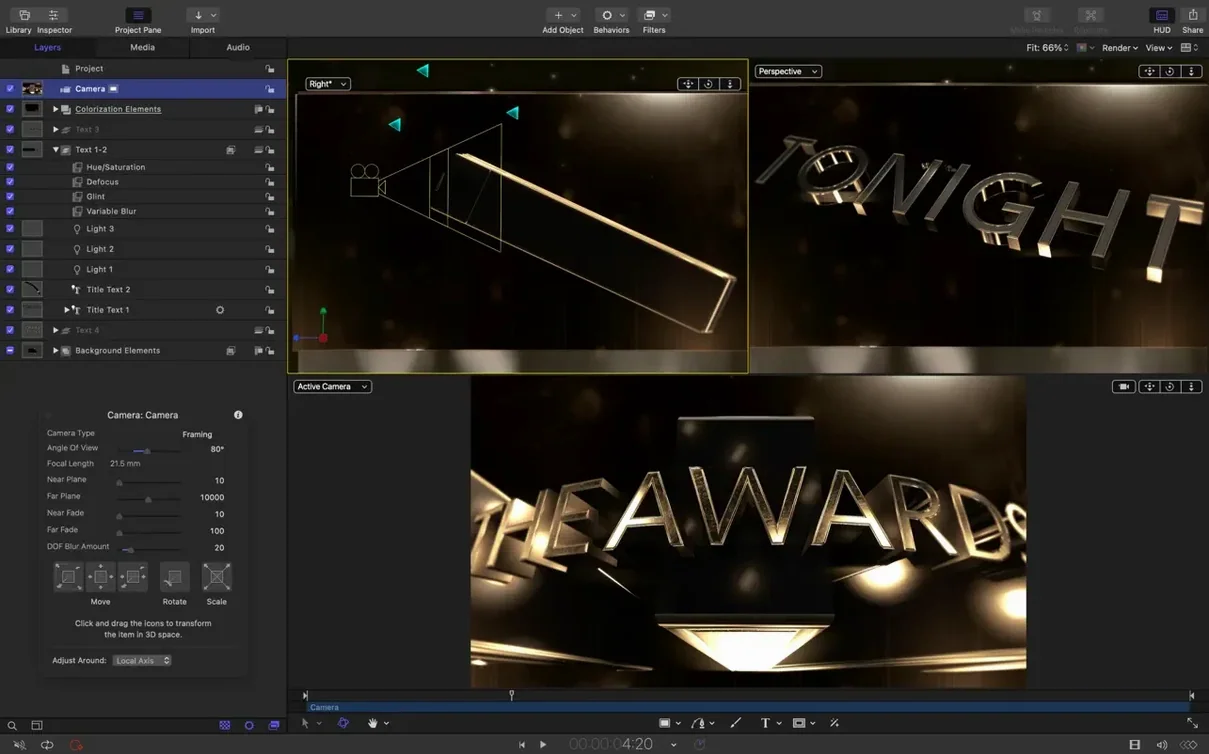
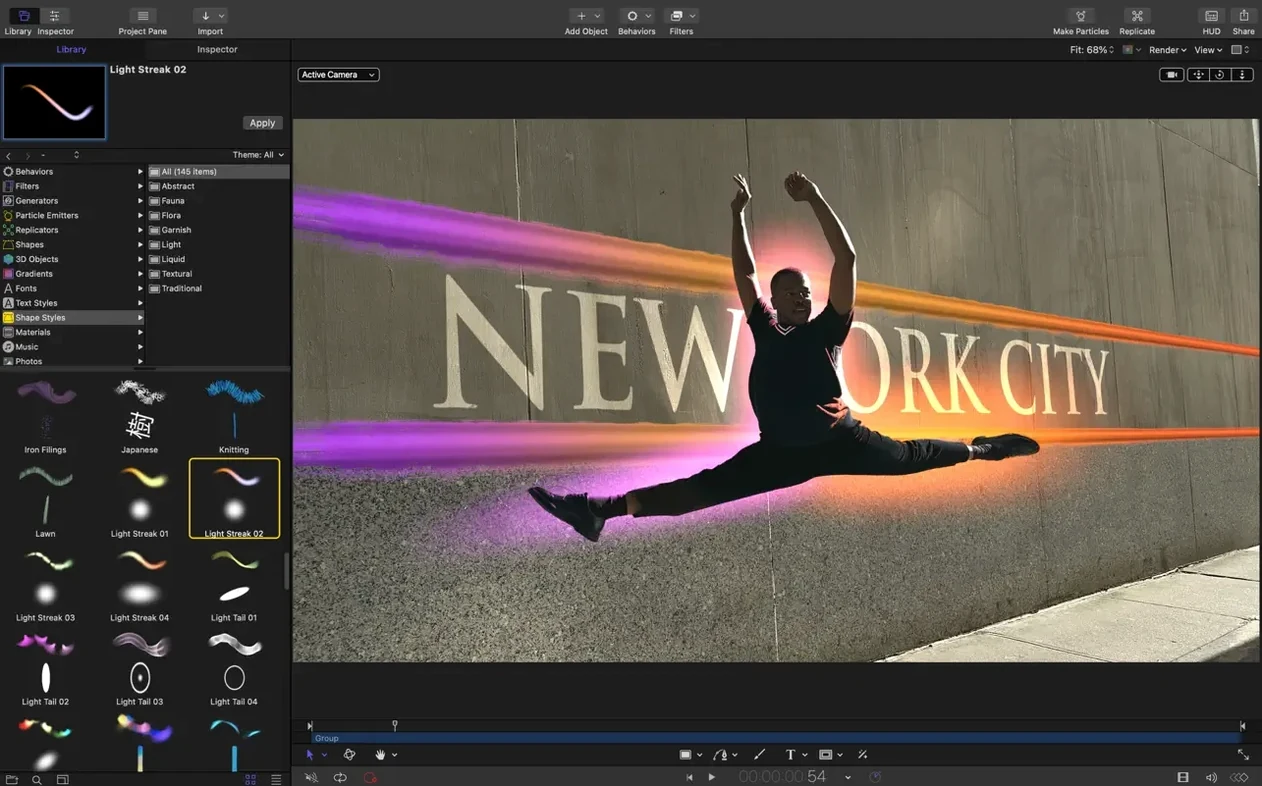
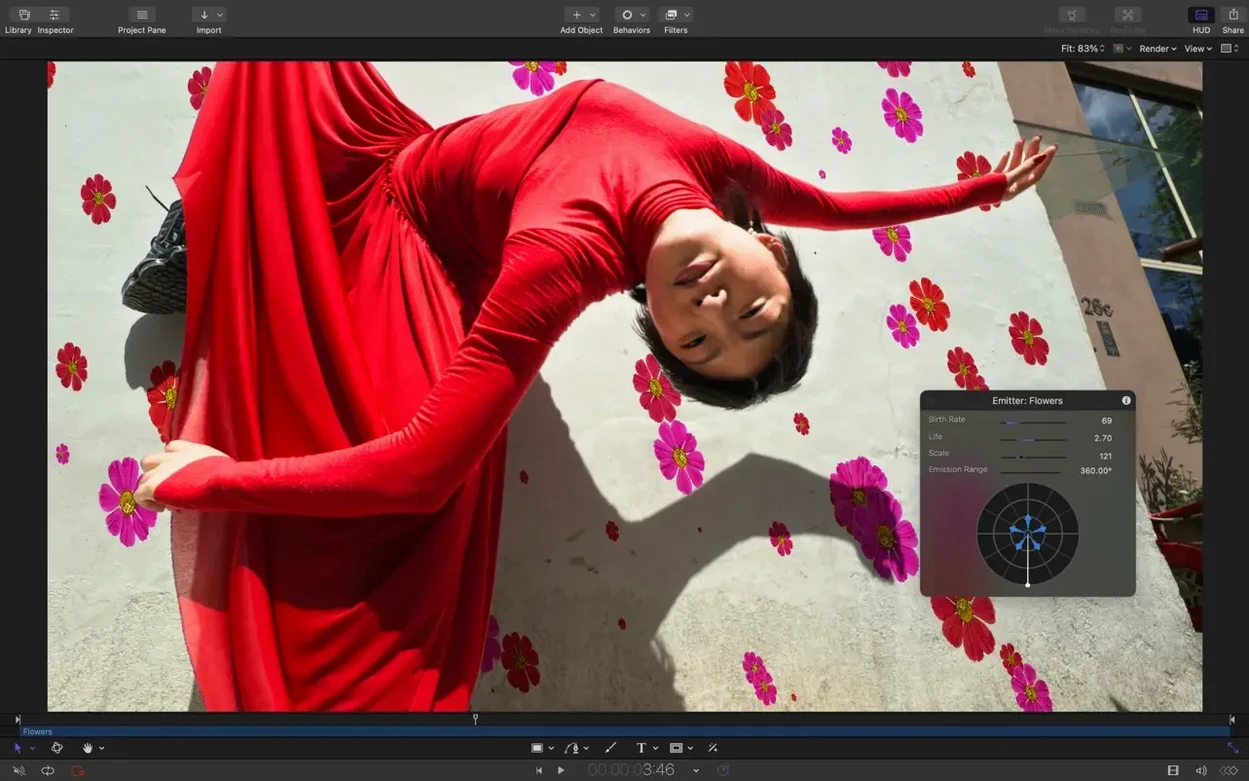
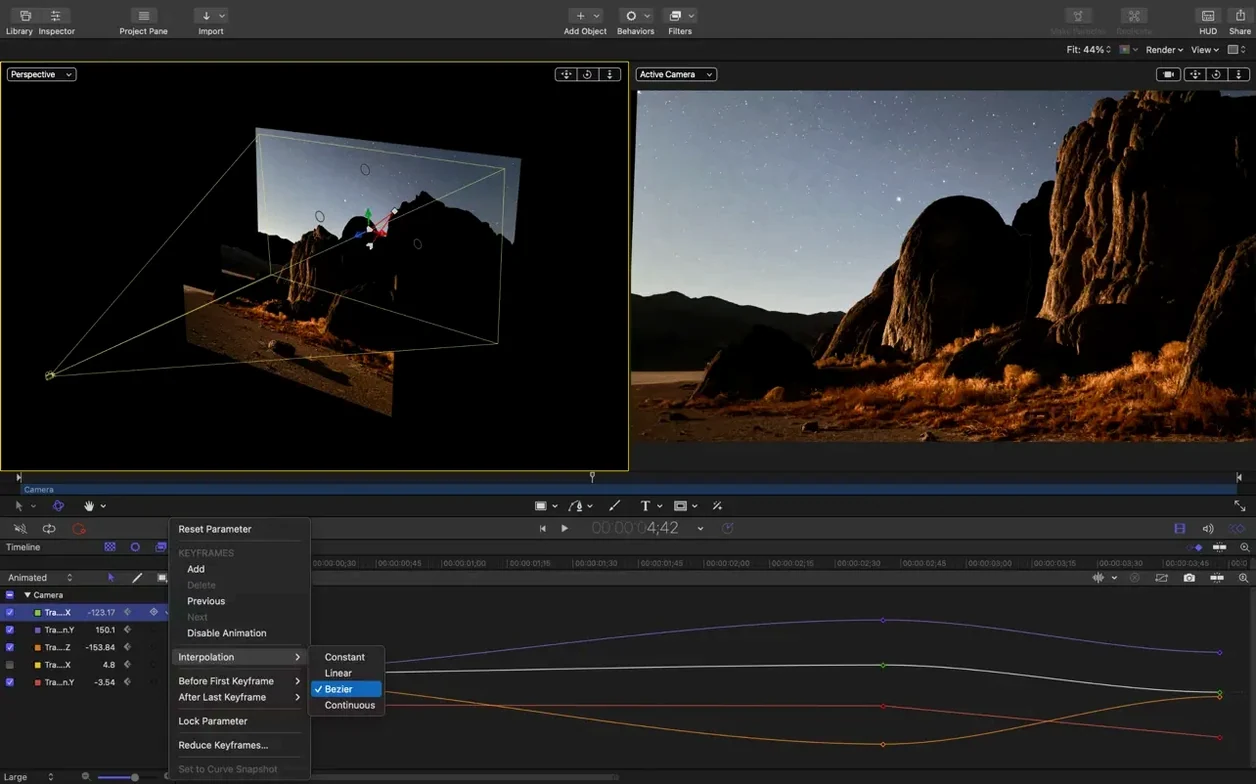
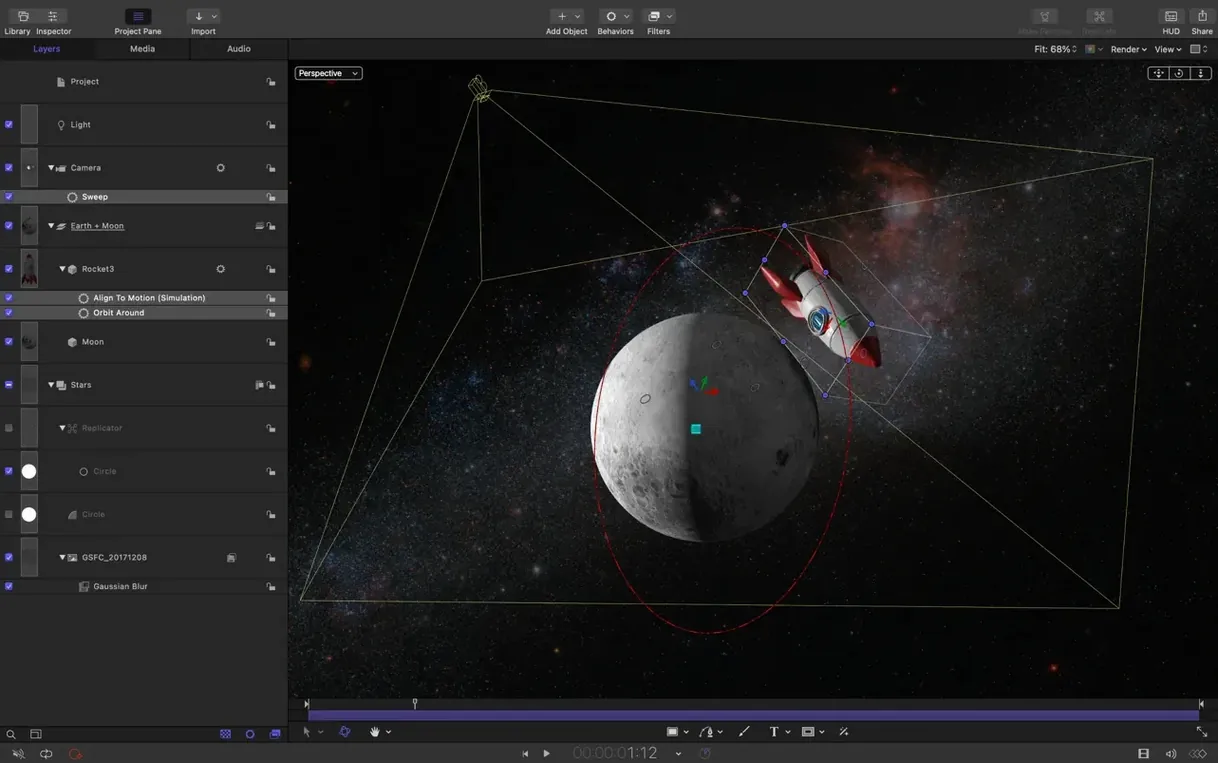
Motion 6.3 arrives with a handful of targeted fixes and one properly handy addition: SVG file import. Scalable vector graphics can now be brought straight onto the canvas and resized without softening, which eliminates a few extra steps for anyone weaving logos or illustrated elements into title sequences. The release also resolves two rendering bugs — some color correction filters that clipped brighter than intended on macOS 26, and a texture mix-up affecting 3D text and particle emitters during playback — along with a bezier mask vertex selection error that made fine roto work more awkward than it needed to be.
- Import SVG files that scale cleanly to any size and keep linework sharp at all resolutions.
- Three timeline controls let you stagger, cascade or reverse clip order without manual dragging.
- Performance updates keep the interface responsive when scrubbing through complex 3D scenes and particle-heavy compositions.
- Bezier Mask vertex selection now behaves predictably, making it simpler to adjust control points precisely.
- Rendering parity between macOS versions is restored for the affected color correction filters.
- 3D text and particle emitters no longer pull the wrong texture media during timeline playback.
Much of Motion’s role has stayed the same. It remains tightly coupled with Final Cut Pro X — sending templates, titles, generators and transitions back and forth with minimal friction — and still works alongside Compressor for final output encoding. The app runs natively on Apple Silicon and Intel Macs, requires macOS 15.6 or later, and continues to serve the same narrow but practical purpose: building motion graphics that slot directly into an editor’s timeline without a roundtrip through a full compositing suite.
Stacking filters until playback stutters
Expecting Motion to behave like After Effects is the most common mis-step. Motion thinks in real time, not in pre-composed frames. Newcomers often stack filters, emitters and 3D cameras until playback stutters, then assume the software is underpowered. The fix is usually simpler than expected: lower the canvas resolution to half or quarter while building, or toggle selected layers to wireframe view. The render engine still delivers full quality on export.
Another early stumble involves forgetting to set a project duration. Motion defaults to a generous length, and people drop in a handful of elements expecting them to appear only briefly. Without trimming the out-point of each layer or setting a project end marker, effects and titles linger far past their welcome. Setting the project duration to match the intended clip length — before adding any content — saves a lot of timeline pruning later.
Ignoring groups is a quieter error. Dragging every element straight into the root of the layer list works for tiny compositions, but once six or seven layers accumulate, repositioning or retiming anything becomes fiddly. Grouping related elements — a title block with its background matte, a lower third with its accent shapes — keeps the layer list readable and means one keyframe can shift an entire arrangement.
Applying behaviors without checking their duration catches people out too. A Fade In behavior dropped onto a two-second clip with the project set to eight seconds will finish fading long before the clip ends, leaving an unexpected stretch of full opacity. Clicking the behavior in the timeline and dragging its blue bar to the desired length is a three-second habit worth building early.
It runs standalone, no Final Cut Pro required
Does Motion run independently or does it require Final Cut Pro? Motion is a standalone application. It opens, edits and exports projects on its own. The integration with Final Cut Pro is an optional convenience: you can build titles, transitions and generators in Motion and publish them as templates that appear inside Final Cut, but nothing forces that pipeline. Plenty of people use Motion purely for standalone motion graphics and never touch Final Cut at all.
How steep is the learning curve if I have not used a motion graphics tool before? The curve is gentler than most compositing applications. Behaviors — the building blocks for animation in Motion — replace manual keyframing for common movements such as drifting, spinning or tracking. Dragging a Gravity behavior onto an object produces a realistic fall; dragging Throw gives it inertia. This means a beginner can produce something moving and polished within an afternoon, though mastering the 3D camera system and replicators takes longer as the concepts stack.
Will old projects from earlier versions open safely? Projects authored in Motion 5.x open in version 6.3. The file format has remained stable across several releases. Library content — fonts, media files, linked audio — follows the same relative-path logic it always has, so keeping project folders intact matters more than the version number.
Does it support third-party plug-ins? Motion accepts FxPlug plug-ins, the same architecture used by Final Cut Pro. Many plug-in developers ship both Motion and FCP versions in a single installer. Effects built with FxPlug appear in Motion's library panel alongside the built-in filters, so the workflow stays consistent.
Give the timeline its own display first
Spend twenty minutes setting up a sensible workspace. Motion ships with a default layout that crams the library, inspector, canvas and timeline into a single window. Dragging the timeline to a second display — or at least giving it more vertical room on the main screen — makes trimming and keyframe work far less cramped. Saving the arrangement as a custom workspace from the Window menu means you never have to redo it.
Build a small library of favourite blend modes early. Motion's compositing stack leans heavily on blend mode interaction, and knowing which four or five you reach for most often — Overlay for texture work, Multiply for shadows, Add for light flares, Stencil Luma for matte cuts — speeds up the trial-and-error phase considerably. Apply a blend mode via the inspector, then press Shift–Command–B to toggle back to Normal and compare.
Get comfortable with the HUD. The floating heads-up display gives immediate access to opacity, scale, rotation and a few context-sensitive parameters without opening the inspector. It is easy to dismiss the first time it appears, but keeping it visible while positioning elements removes dozens of round trips to the inspector panel.
Test the template publishing workflow once, even if you do not plan to use Final Cut Pro immediately. Open a simple title card, add a text parameter rig, choose File > Publish Template for Final Cut Pro and note where the file lands. Knowing the folder location — ~/Movies/Motion Templates/ — means custom generators appear in Final Cut's browser the moment you need them, rather than during a deadline scramble.
Compressor recognises its batch-encoding templates directly
Motion sits in the middle of a small but well-defined ecosystem. On one side sits Final Cut Pro X, consuming templates and sending timeline markers. On the other sits Compressor, handling batch encoding with format presets that Motion recognises directly in its Share menu. The triangle is tight enough that most projects never leave it.
Beyond Apple's own tools, Motion plays well with Photoshop and Illustrator files. Layered PSDs import with blend modes and opacity intact; each layer arrives as a separate element in Motion's layer list, ready for independent animation. SVG import, new in 6.3, means Illustrator artwork can bypass rasterisation entirely. The vector data stays live and scale-independent, which is particularly useful for logo animations destined for 4K or 8K timelines.
Audio workflow is less self-contained. Motion accepts common audio formats — WAV, AIFF, MP3 — and displays waveforms in the timeline, but serious audio editing still belongs in a dedicated tool. A common pattern: rough-cut audio in GarageBand or Logic Pro, export a stereo mix, bring it into Motion as a timing guide, then replace the scratch track with a finished mix inside Final Cut. Motion's audio markers snap to transients, so timing animation hits to drum beats or dialogue cues is straightforward even with a rough mix.
macOS Continuity features chip in too. Copy an image from Photos on an iPhone, paste it directly onto Motion's canvas on the Mac via Universal Clipboard. AirDrop a short video clip from an iPad to the desktop, then drag it onto the Motion timeline. Neither feature is specific to Motion, but both reduce the friction of gathering assets across devices.
A white text bar with a sliding coloured accent line
Imagine a short documentary interview needs a clean lower-third name strap — white text on a dark translucent bar, with a small coloured accent line that slides in. Here is the full Motion sequence, step by step.
Open Motion and choose Final Cut Title from the project chooser. Set the duration to 6 seconds and the frame rate to match the documentary timeline — 25p in this case. The blank canvas appears with a single text layer placeholder.
Delete the placeholder text layer. From the toolbar, select the rectangle tool and draw a bar across the lower third of the canvas. In the inspector, set its fill to black, opacity to 70%, and round the corners to 4 points. In the properties tab, set the width to 600 pixels and height to 80 pixels. Position it snugly against the left edge of the title-safe zone.
Add a second, narrower rectangle — 120 pixels wide, same height — and place it flush against the left edge of the dark bar. Give it a solid orange fill. This is the accent line. With the accent rectangle selected, press F4 to jump to the last frame of the project, set its width to 0 pixels in the properties inspector, and click the keyframe diamond. Go back to frame 0, set the width to 120 pixels, and click the keyframe diamond again. The accent line now shrinks from full width to nothing over the title's duration.
Select the text tool, click inside the dark bar area, and type the interviewee's name. Set the font, weight and size — something legible at broadcast sizes, such as 36-point Helvetica Neue Medium. Align the text to the right side of the bar. In the text inspector, add a subtle Fade In behavior from the Behaviors pop-up menu and trim its duration to 12 frames in the timeline.
Add a second text layer for the person's role or affiliation, smaller and lighter — 22-point, regular weight — positioned directly below the name. Apply the same Fade In behavior but offset its start by 6 frames so the role fades in slightly after the name.
Group all four elements — bar, accent, name, role — into a single group. Select the group and apply a Move In behavior from the Behaviors library. Set the direction to left-to-right and a gentle ease. The entire lower third now slides in as one unit. Trim the group's out-point to 5 seconds so the title holds for a moment, then slides off before the clip ends.
With the group still selected, open the Rig menu and choose Publish Text Parameters for both text layers. Name the published parameters "Name" and "Role" — these labels appear inside Final Cut Pro when an editor double-clicks the title on their timeline. Save the project to the Motion Templates folder, and the lower third is ready to drop into any documentary edit with editable text fields and no further keyframe work.