Aspecten
 Download (622 MB)
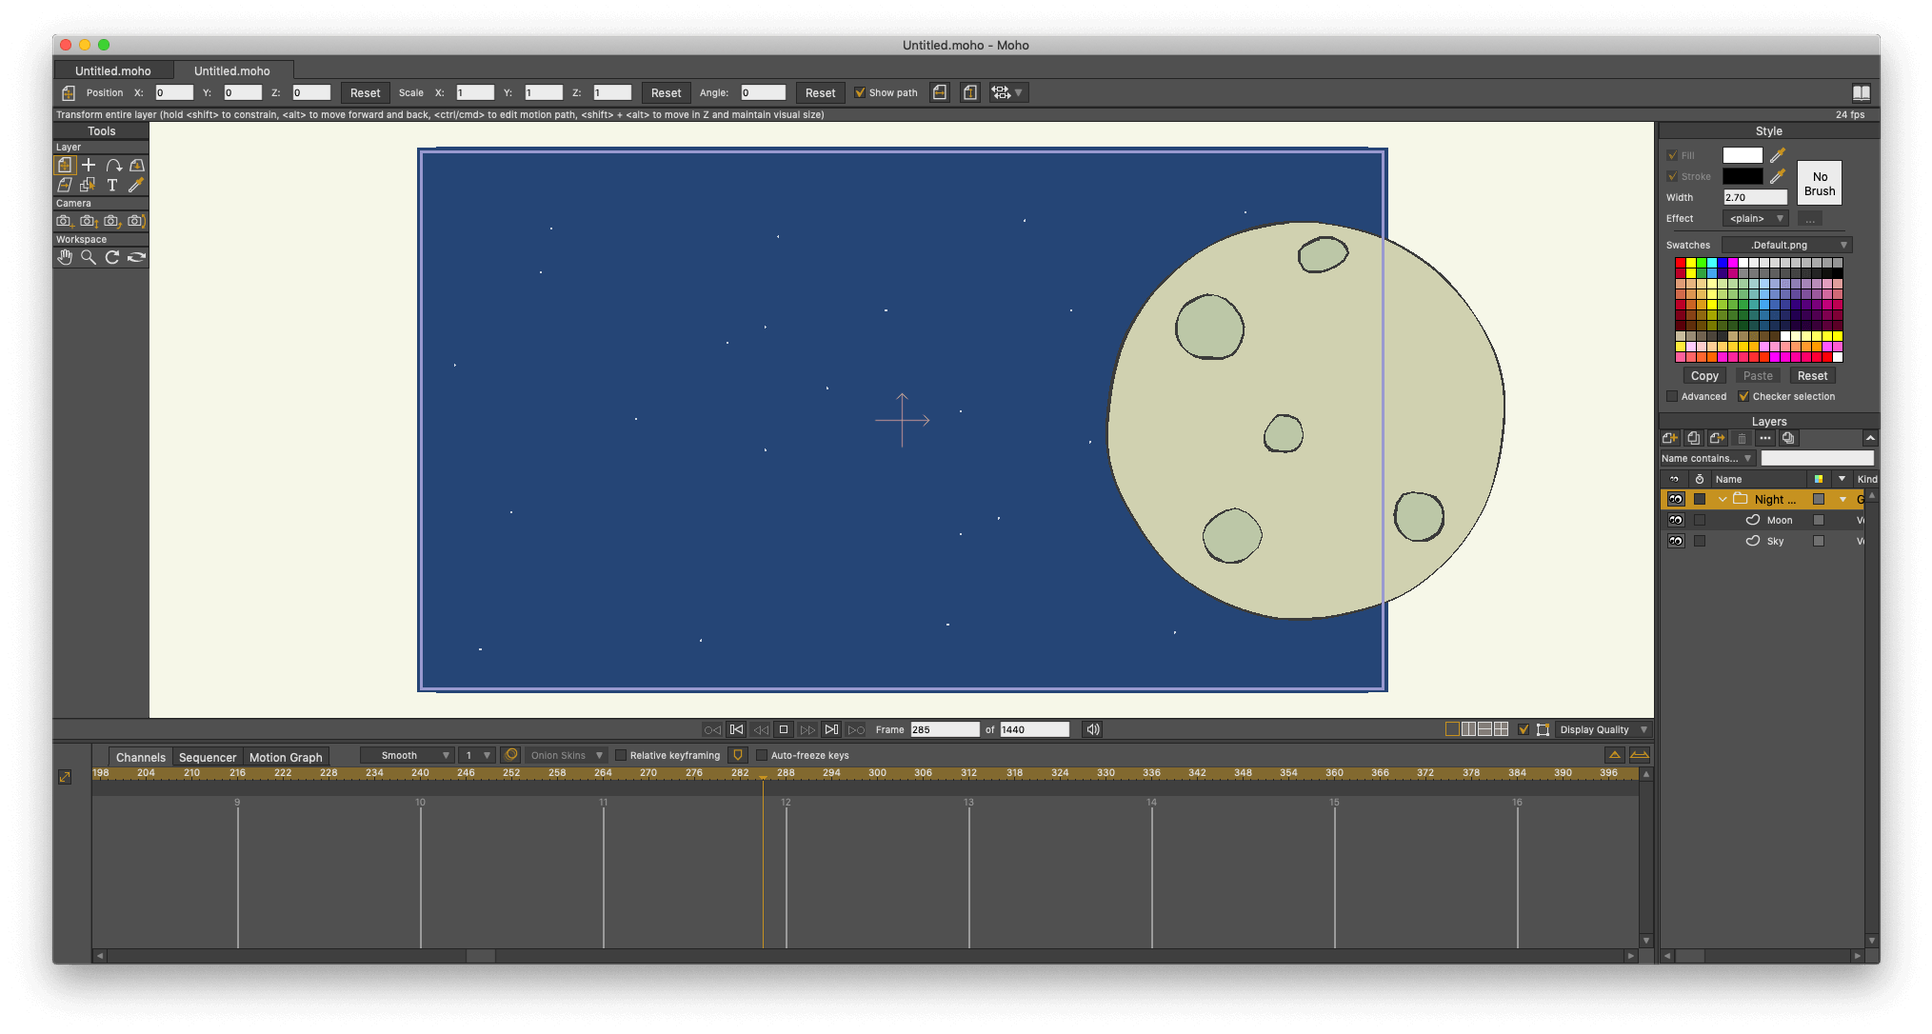
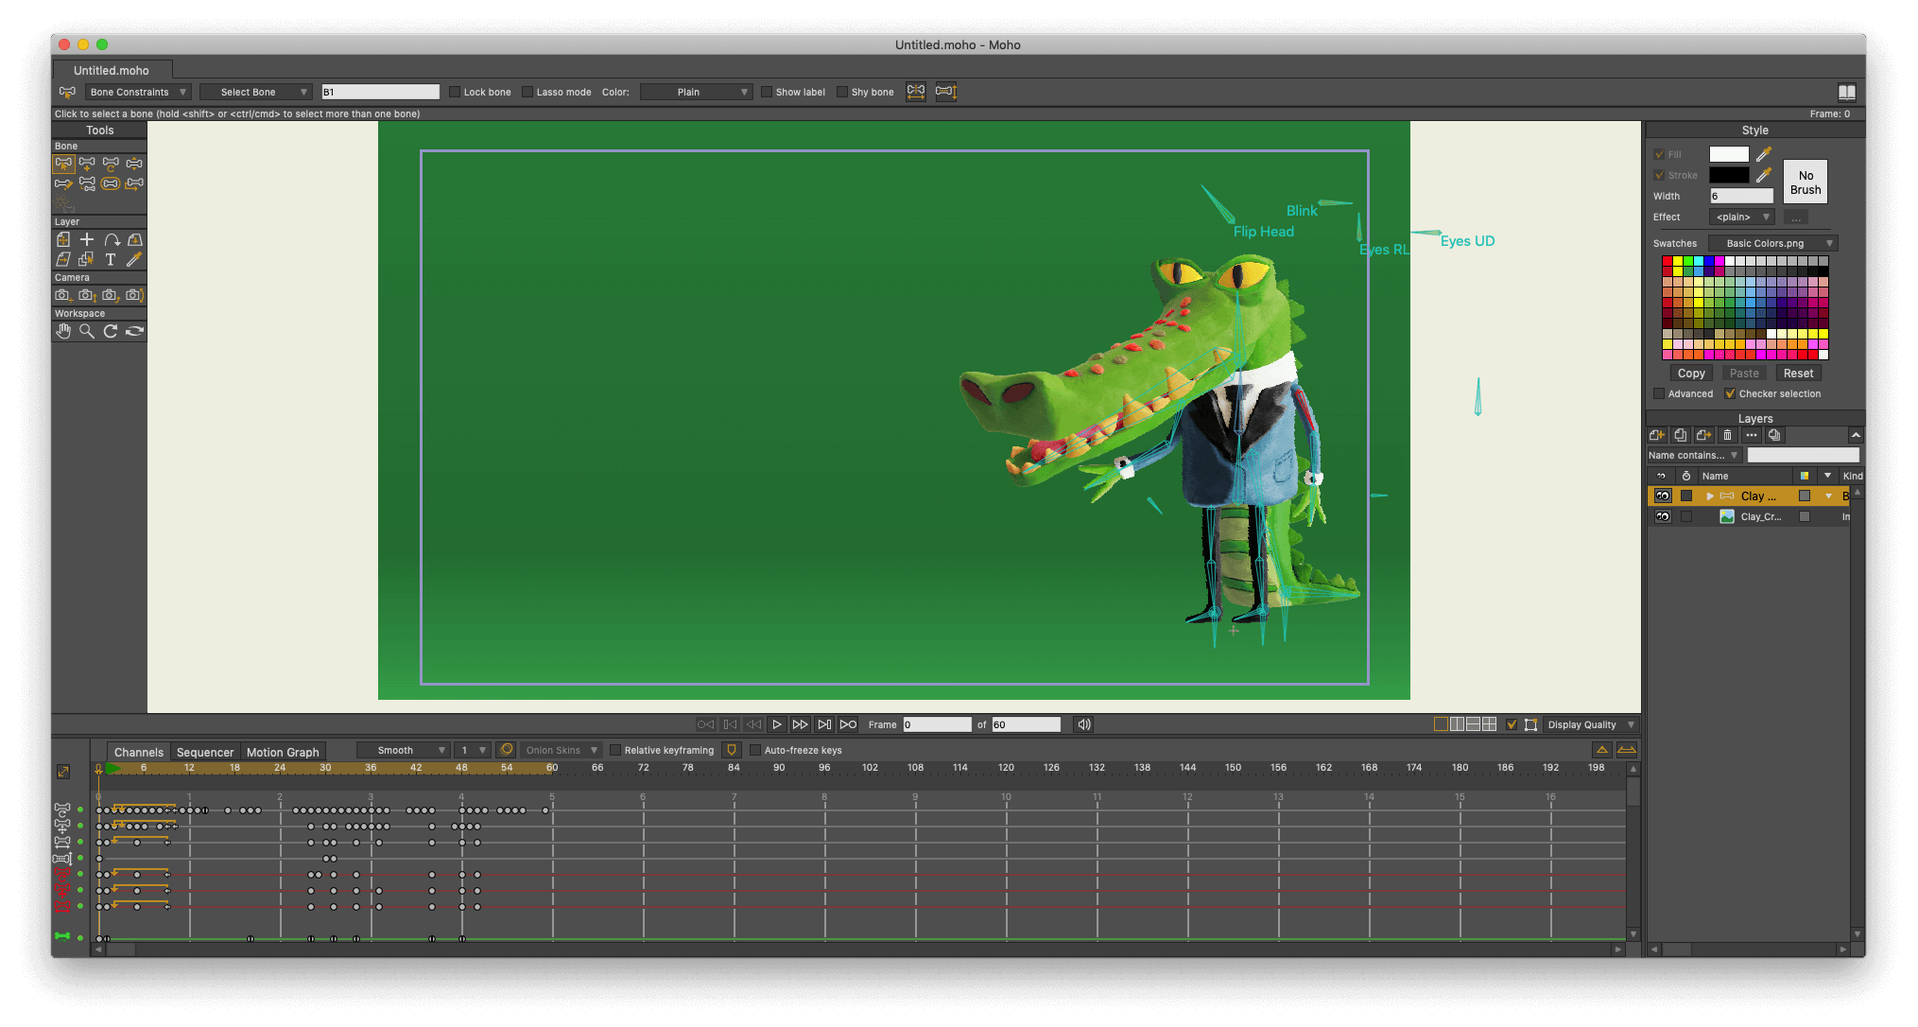
Smart Bone Dial controls are where Moho Pro 14 makes its case to a Mac user who already has a drawing tool. Vector rigging here is not an afterthought bolted onto a painting app; it is the central mechanism. You build a skeleton for a character, assign bones to grouped artwork and set rotation limits on a dial. Turning the dial animates the head from profile to three-quarter view without a single new drawing. That kind of control sits next to something like Illustrator, which supplies the shapes, rather than competing with it.
Alongside a game engine
Moho Pro 14 exports glTF and GLB files for Unity, Unreal and Godot. A cut-out character rigged in Moho can move straight into a game scene retaining its bone hierarchy and animation clips. The updated Lua 5.4.4 scripting layer also lets a studio write tools that bridge their existing pipeline. The physics simulation controls — density, gravity, friction and elasticity — can pre-calculate secondary motion for cloth or hair, which saves keyframe work on the engine side.
Alongside a 3D tool
The program imports Poser scenes, combining 3D staging with 2D character animation. A scene can place a flat vector figure onto a rendered 3D background plane and match the camera angle. Moho also extrudes 2D objects into simple 3D volumes, which works for props that need to rotate in perspective. The built-in sequencer, layer system and object library make it a self-contained animation studio, but its real place on a Mac is as a specialist rigging and motion tool that feeds other software.
Rig once, animate minutes per day
Independent animators working on a series benefit the most. Once a character is rigged, a single artist can produce minutes of animation per day rather than per week. The Smart Bone setup takes time to build, but that investment pays back every time the character appears in a new scene. Small studios targeting YouTube, streaming or game cutscenes sit squarely in this category.
Game animation teams also gain a lot. Moho Pro 14’s glTF export means a character rigged for a cutscene can become an engine-ready asset with its hierarchy intact. Someone who already works in Unity or Godot can animate in Moho, export the file and drop it into a project without rebuilding the skeleton. The physics simulation helps here too — cloth and hair motion pre-calculated in Moho reduces the number of bones the engine has to simulate at runtime.
Motion graphics creators who lean on vector assets find Moho useful as a sidearm. After Effects handles compositing and effects, but character rigging in After Effects is clunky by comparison. Moho rigs a figure with bendable limbs and a turning head; the rendered sequence goes into After Effects for colour grading, type overlays and final polish. Users coming from Adobe Animate will recognise the cut-out workflow but get a deeper toolset for deformation and joint control.
A thirty-layer first rig collapses
The most common misstep is overcomplicating the first rig. A new user draws a character with thirty separate vector layers, adds bones to every finger joint and then wonders why the mesh deforms unpredictably. Start with a simple silhouette — head, torso, two arms, two legs — and four or five bones. Learn how the bone strength field influences surrounding points before adding detail.
Another mistake is ignoring the Z-depth ordering of layers during rigging. Moho’s layer system stacks visually, but when bones rotate a limb, a hand can slip behind or in front of the torso in ways the artist did not expect. Sorting layer order early and testing extreme poses catches this before real animation begins.
Beginners also tend to animate every frame manually, treating Moho like a frame-by-frame tool, while ignoring the interpolation engine. Moho can tween between two Smart Bone positions smoothly; setting the keyframe interpolation to linear instead of smooth is a small checkbox that makes motion look robotic when it should not. Checking interpolation types per keyframe, especially on head turns and limb swings, makes a noticeable difference.
Study the built-in character bones first
Spend the first session loading the built-in library characters and studying their bone structures. The library is not a gallery — it is a set of working examples. Open a character, inspect the bone hierarchy in the Bones panel and turn the Smart Bone dials one by one to see which artwork layers they control. Reverse-engineering a working rig teaches more in an hour than watching tutorials in the abstract.
On day two, build a simple rig from scratch: a circle for a head, a rectangle for a body, stick limbs. Bind bones, add two Smart Bones for a head turn and a blink, then try a short walk cycle using the sequencer. The goal is not quality output but muscle memory for the tool layout. In particular, the difference between the Manipulate Bones tool and the Transform Bone tool is something the manual explains, but hands-on use makes it stick — one moves the bone and deforms the artwork, the other repositions the bone without deforming, useful for setup adjustments after binding.
Set the auto-save interval on day one. Moho Pro 14 is stable, but rigging sessions run long and undoing a bad bind is not always straightforward. The default auto-save may be set conservatively; dropping it to five minutes prevents losing an afternoon’s rig work to an accidental layer merge.
Smooth 24 fps playback on Apple Silicon
On Apple Silicon Macs, Moho Pro 14 launches quickly — typically four to five seconds on an M1 or newer — and vector-heavy scenes with dozens of layers stay responsive during playback. The OpenGL viewport redraws smoothly at 24 fps even with physics simulation running on secondary elements. Scrubbing the timeline with multiple character rigs active does not introduce the kind of stutter that plagues some raster-based animation tools.
RAM use is moderate. A scene with three fully rigged characters, backgrounds and particle layers sits around 1.2 to 1.8 GB of memory. The 4 GB minimum requirement is realistic for light scenes, but anyone working with multiple long sequences in the sequencer will want 8 GB or more for comfortable switching between project tabs. Disk footprint for the application is compact at 1.6 GB, and project files themselves stay small because the vector data is efficient — a ten-minute short with multiple characters seldom exceeds 50 MB before rendering.
Export rendering is where the processor works. Rendering a 1080p sequence with physics and particles will push CPU utilisation high across all cores; on an Intel Mac with a weaker GPU, the OpenGL fallback can slow viewport operations. Keeping the viewport quality set to half-resolution during animation blocking — and switching to full only for final checks — keeps the timeline responsive on older hardware. Batch exporting overnight is common practice for longer projects, and Moho handles queued renders without memory creep.