Aspecten
 Download (382 MB)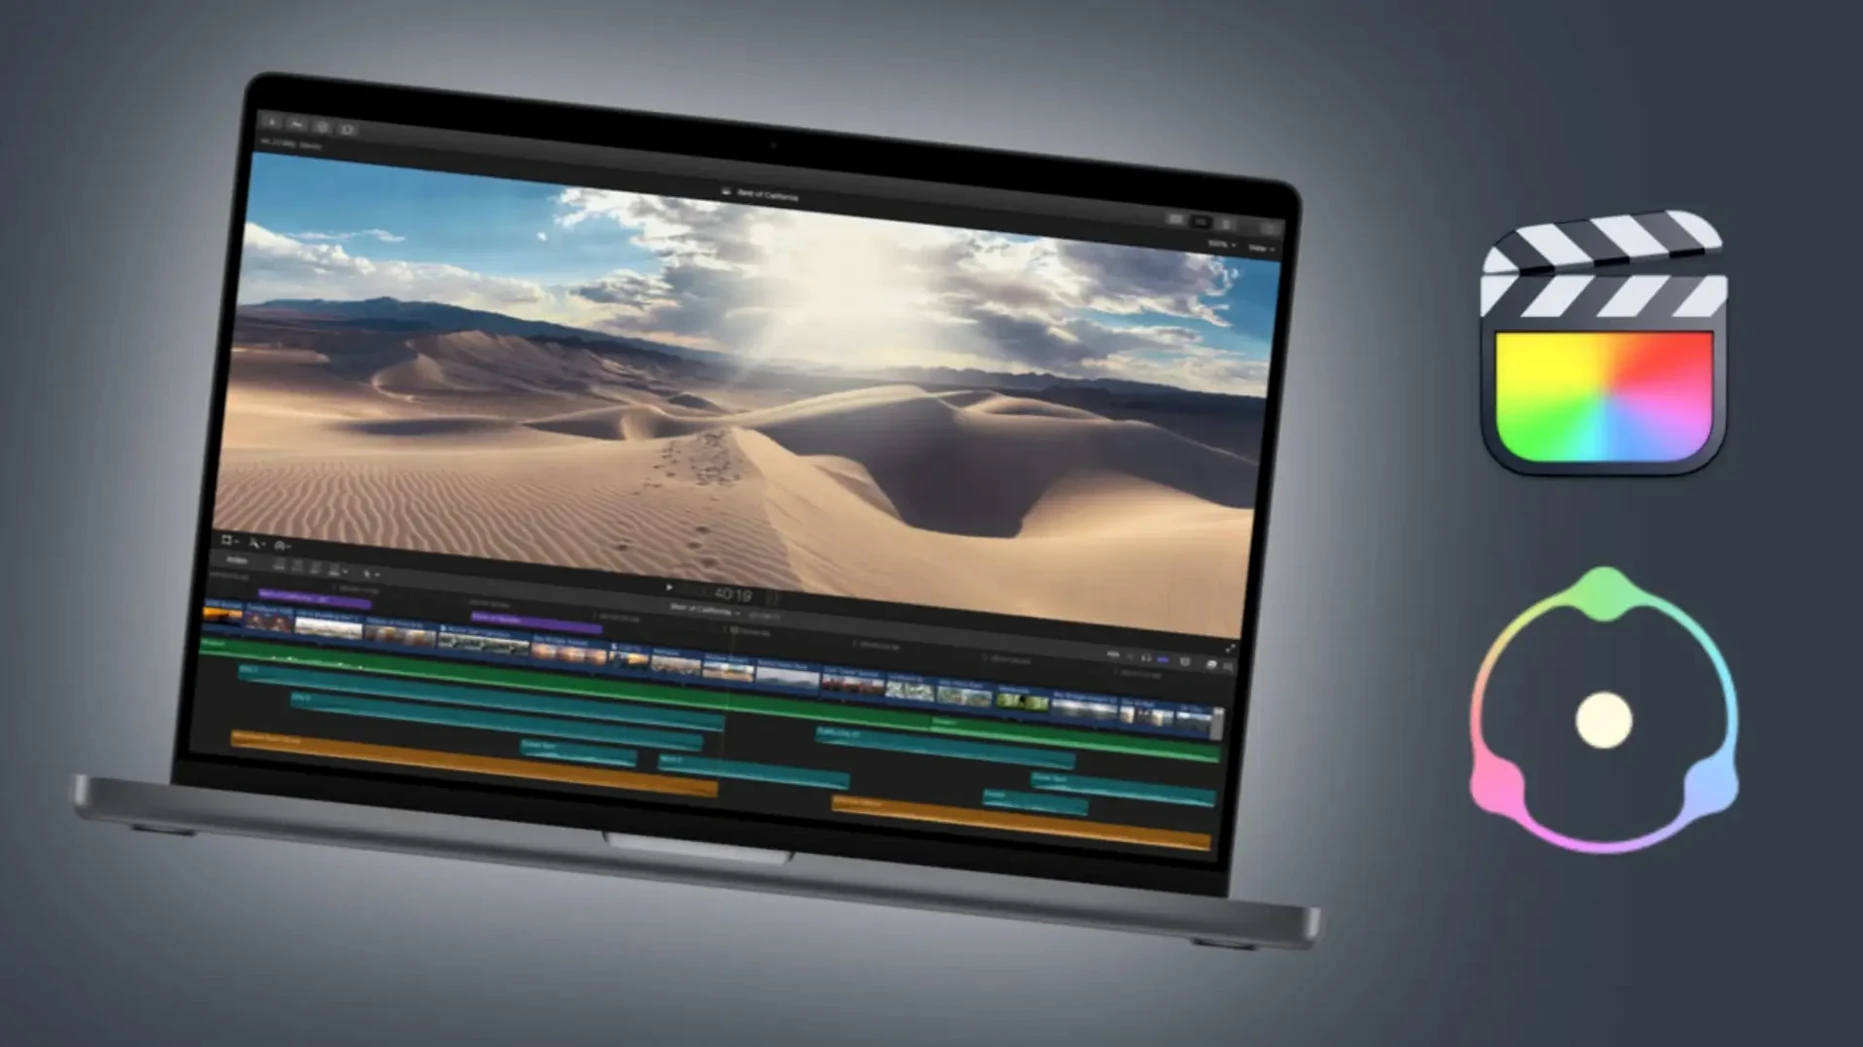
Dehancer Pro 7.3.4 runs on Apple Silicon and Intel 64-bit Macs under macOS 11 or later, working as a plugin inside Final Cut Pro.
Grain structure and film stock response
The core of the plugin is its library of more than 60 film profiles and print films. Applying one reshapes the tonal curve and colour response to match a specific stock, while the grain module overlays a physically modelled grain pattern that shifts with exposure level — shadows get coarser, highlights finer. You can adjust grain size and intensity independently, so a 35 mm stock can be pushed toward a grittier 16 mm feel without swapping profiles.
Bloom, halation and the edges of the frame
Halation adds the red-orange fringe around bright light sources that comes from light bouncing off the film base. The control is subtle: a small amount gives specular highlights a softer shoulder. Bloom acts more broadly, diffusing highlights into neighbouring areas and reducing digital sharpness. The film damage section introduces dust, scratches and gate weave, while overscan reveals the frame borders, including optical soundtrack area and perforations, which is useful for archival looks or transitions. A LUT generator exports the colour pipeline for use in other software.
Dehancer Pro compared with FilmConvert Nitrate, Look Designer 2 and Color.io
Three other Mac tools sit in roughly the same space, though each pulls in a different direction.
FilmConvert Nitrate shares the film stock approach and also works as a plugin inside DaVinci Resolve, Final Cut Pro and Premiere Pro. Its grain model is tied to scanned film stock data rather than a procedural simulation, which gives a slightly cleaner, less customisable grain response. Nitrate lacks built‑in halation and bloom, so you handle those outside the plugin. The trade‑off: Nitrate’s colour science is quicker to dial in, but Dehancer gives you more layers to degrade an image believably.
Look Designer 2 sits inside Final Cut Pro and Motion. It does not aim to replicate specific film stocks; instead it builds a look from a matrix of colour washes, diffusion and texture presets. Bloom, halation and grain are all present, yet the absence of a film negative–print pipeline means the colour shifts feel more like grading than photochemical response. Someone chasing a KODAK 250D or Fuji Eterna reference will find Dehancer the more literal tool; someone who wants a stylised look in two clicks may prefer Look Designer.
Color.io is a web‑based colour‑science playground that exports 3D LUTs. It can model subtractive colour, halation and grain, but it runs in a browser rather than on the timeline. That makes it useful for building a show LUT that Dehancer in turn could reference, or for pre‑visualising a look away from the edit suite. As a real‑time, interactive layer in Resolve or Final Cut Pro, though, Dehancer is the more immediate choice.
Where Dehancer stands apart is in the sum of its degradation stack. FilmConvert does grain and colour; Look Designer does texture and glow; Color.io does colour science. Dehancer does all four in one plugin, with the film damage and overscan modules adding a further layer that the others do not touch.
Clearing the render cache when the viewer stays black
The most common trouble is a black or frozen viewer when the plugin first loads. This is almost always a GPU caching issue in Resolve or Premiere Pro. Clearing the render cache and restarting the host application brings the image back. On Apple Silicon Macs, setting the project renderer to Metal rather than OpenCL prevents a repeat.
Another frequent hitch is excessive render times when grain and film damage run together at high quality. The grain module is the heaviest component. A practical fix is to disable grain during the rough cut and re‑enable it only for the final render, or to set the grain quality to “fast” while grading and “precise” at export. In DaVinci Resolve, caching the node that holds Dehancer solves sluggish playback without touching the settings.
Users who apply the plugin to an adjustment layer above several clips sometimes notice halation leaking into unintended areas, especially across hard cuts. The cleaner method is to apply Dehancer at the clip level or inside a compound clip, so the halation samples only the image it belongs to. If an adjustment layer is unavoidable, a small garbage matte around bright sources can confine the fringe.
Activation hiccups occasionally surface after a macOS point update. Re‑running the installer and restarting before launching the host app usually re‑establishes the licence. When a studio moves to the Production License Server added in 7.3.4, the first install on each machine needs a few minutes to discover the server; patience during the first launch avoids a rash of unnecessary re‑install attempts.
Some editors searching for a dehancer for mac free download or a dehancer torrent end up with an older build that lacks the Production License Server support. Version 7.3.4 fixes several stability bugs that caused intermittent crashes in those earlier releases, particularly when switching between timeline resolutions. Anyone pulling a dehancer pro torrent or a dehancer pro mac torrent should at least verify the build is 7.3.4 to get those fixes. Even a dehancer mac torrent obtained from a known source can fail silently on macOS Sequoia if the bundle is from a 7.2.x version, because the older code did not handle the updated Metal shader compiler.
One node adds roughly 200 ms per 4K frame on M1 Max
On an M1 Max MacBook Pro, a single Dehancer node with a film profile, grain set to “precise”, halation and a light dust layer adds roughly 180–220 ms of render time per frame at 4K resolution. That drops to around 90 ms with grain set to “fast” and bloom disabled. Playback at half resolution stays real‑time in Resolve; full‑resolution playback requires a render cache. Intel Macs see a sharper penalty — an i9 iMac from 2020 can hit 400 ms per frame with the full stack engaged, so a cached workflow is essential there.
Memory pressure stays moderate. The plugin rarely pushes GPU memory beyond 1.5 GB during a 4K grade, even with 16‑bit float processing enabled. The LUT generator runs its analysis on the CPU, so exporting a LUT set momentarily spikes CPU usage but does not interrupt timeline playback.
Stability in 7.3.4 is a step forward. The bug fixes address a long‑standing crash that occurred when duplicating a clip that already held a Dehancer instance, and another that caused flickering on adjustment layers in Final Cut Pro during background rendering. Day‑to‑day use across a five‑hour grading session tends to be uneventful, provided the host application is up to date.
Matching a “Carol on 16 mm” brief from the film stock library
Colourists finishing narrative or documentary work gain the most from the detailed film stock library and the ability to shape grain response per exposure zone. When a director asks for “the look of Carol on 16 mm”, the combination of a specific negative stock, a print film and a controlled halation layer gives a repeatable path to that reference.
Music video editors and motion designers lean heavily on the bloom, halation and film damage modules. A clean digital key can be roughened with gate weave and dust in seconds, and the overscan view is often used as a creative framing device in short‑form work. The plugin becomes a texture toolkit as much as a colour tool.
Photographers who colour‑grade stills in Resolve’s Fusion page or the Adobe plugin use Dehancer’s camera profiles to normalise raw footage before applying a film profile. The LUT generator then exports a cube file for batch processing in Capture One or Lightroom, so the film look can be previewed on set and applied consistently in the stills pipeline.
Indie film teams working with mixed camera sources — say an Alexa Mini, a Blackmagic Pocket and a drone — find the camera profiles useful for bringing disparate sensors into a common starting space. From there, a single film profile ties the edit together without shot‑by‑shot guesswork.
Stacking it on every clip instead of using a shared node
The most frequent beginner error is stacking Dehancer on every clip individually and tweaking each instance from scratch. A better approach is to set up a shared node or adjustment layer with the base film profile and global grain parameters, then use per‑clip trims only for exposure compensation and halation intensity. This keeps the grade consistent and avoids drifting into different contrast curves across what should be a single scene.
Another common misstep is cranking grain size and intensity while viewing the image zoomed out. Grain that looks pleasantly textured at 50 percent scale can become a noisy distraction at full resolution. Checking grain at 100 percent zoom on a calibrated display before committing avoids surprises on a cinema screen.
New users often leave bloom enabled at its default strength for every shot. In a dark interior scene, a small amount of bloom can soften speculars nicely; in a bright exterior, the same setting can wash out skin tones. Dialling bloom back on a per‑scene basis or automating it with a keyframed adjustment makes a noticeable difference.
Last, beginners sometimes treat the film damage module as a blanket overlay. Dust and scratches sit more naturally when they are tied to the reel‑change cadence — applying them in bursts rather than continuously, and varying the pattern, yields a more convincing print‑wear effect than a static loop.