Aspecten
 Download (3 MB)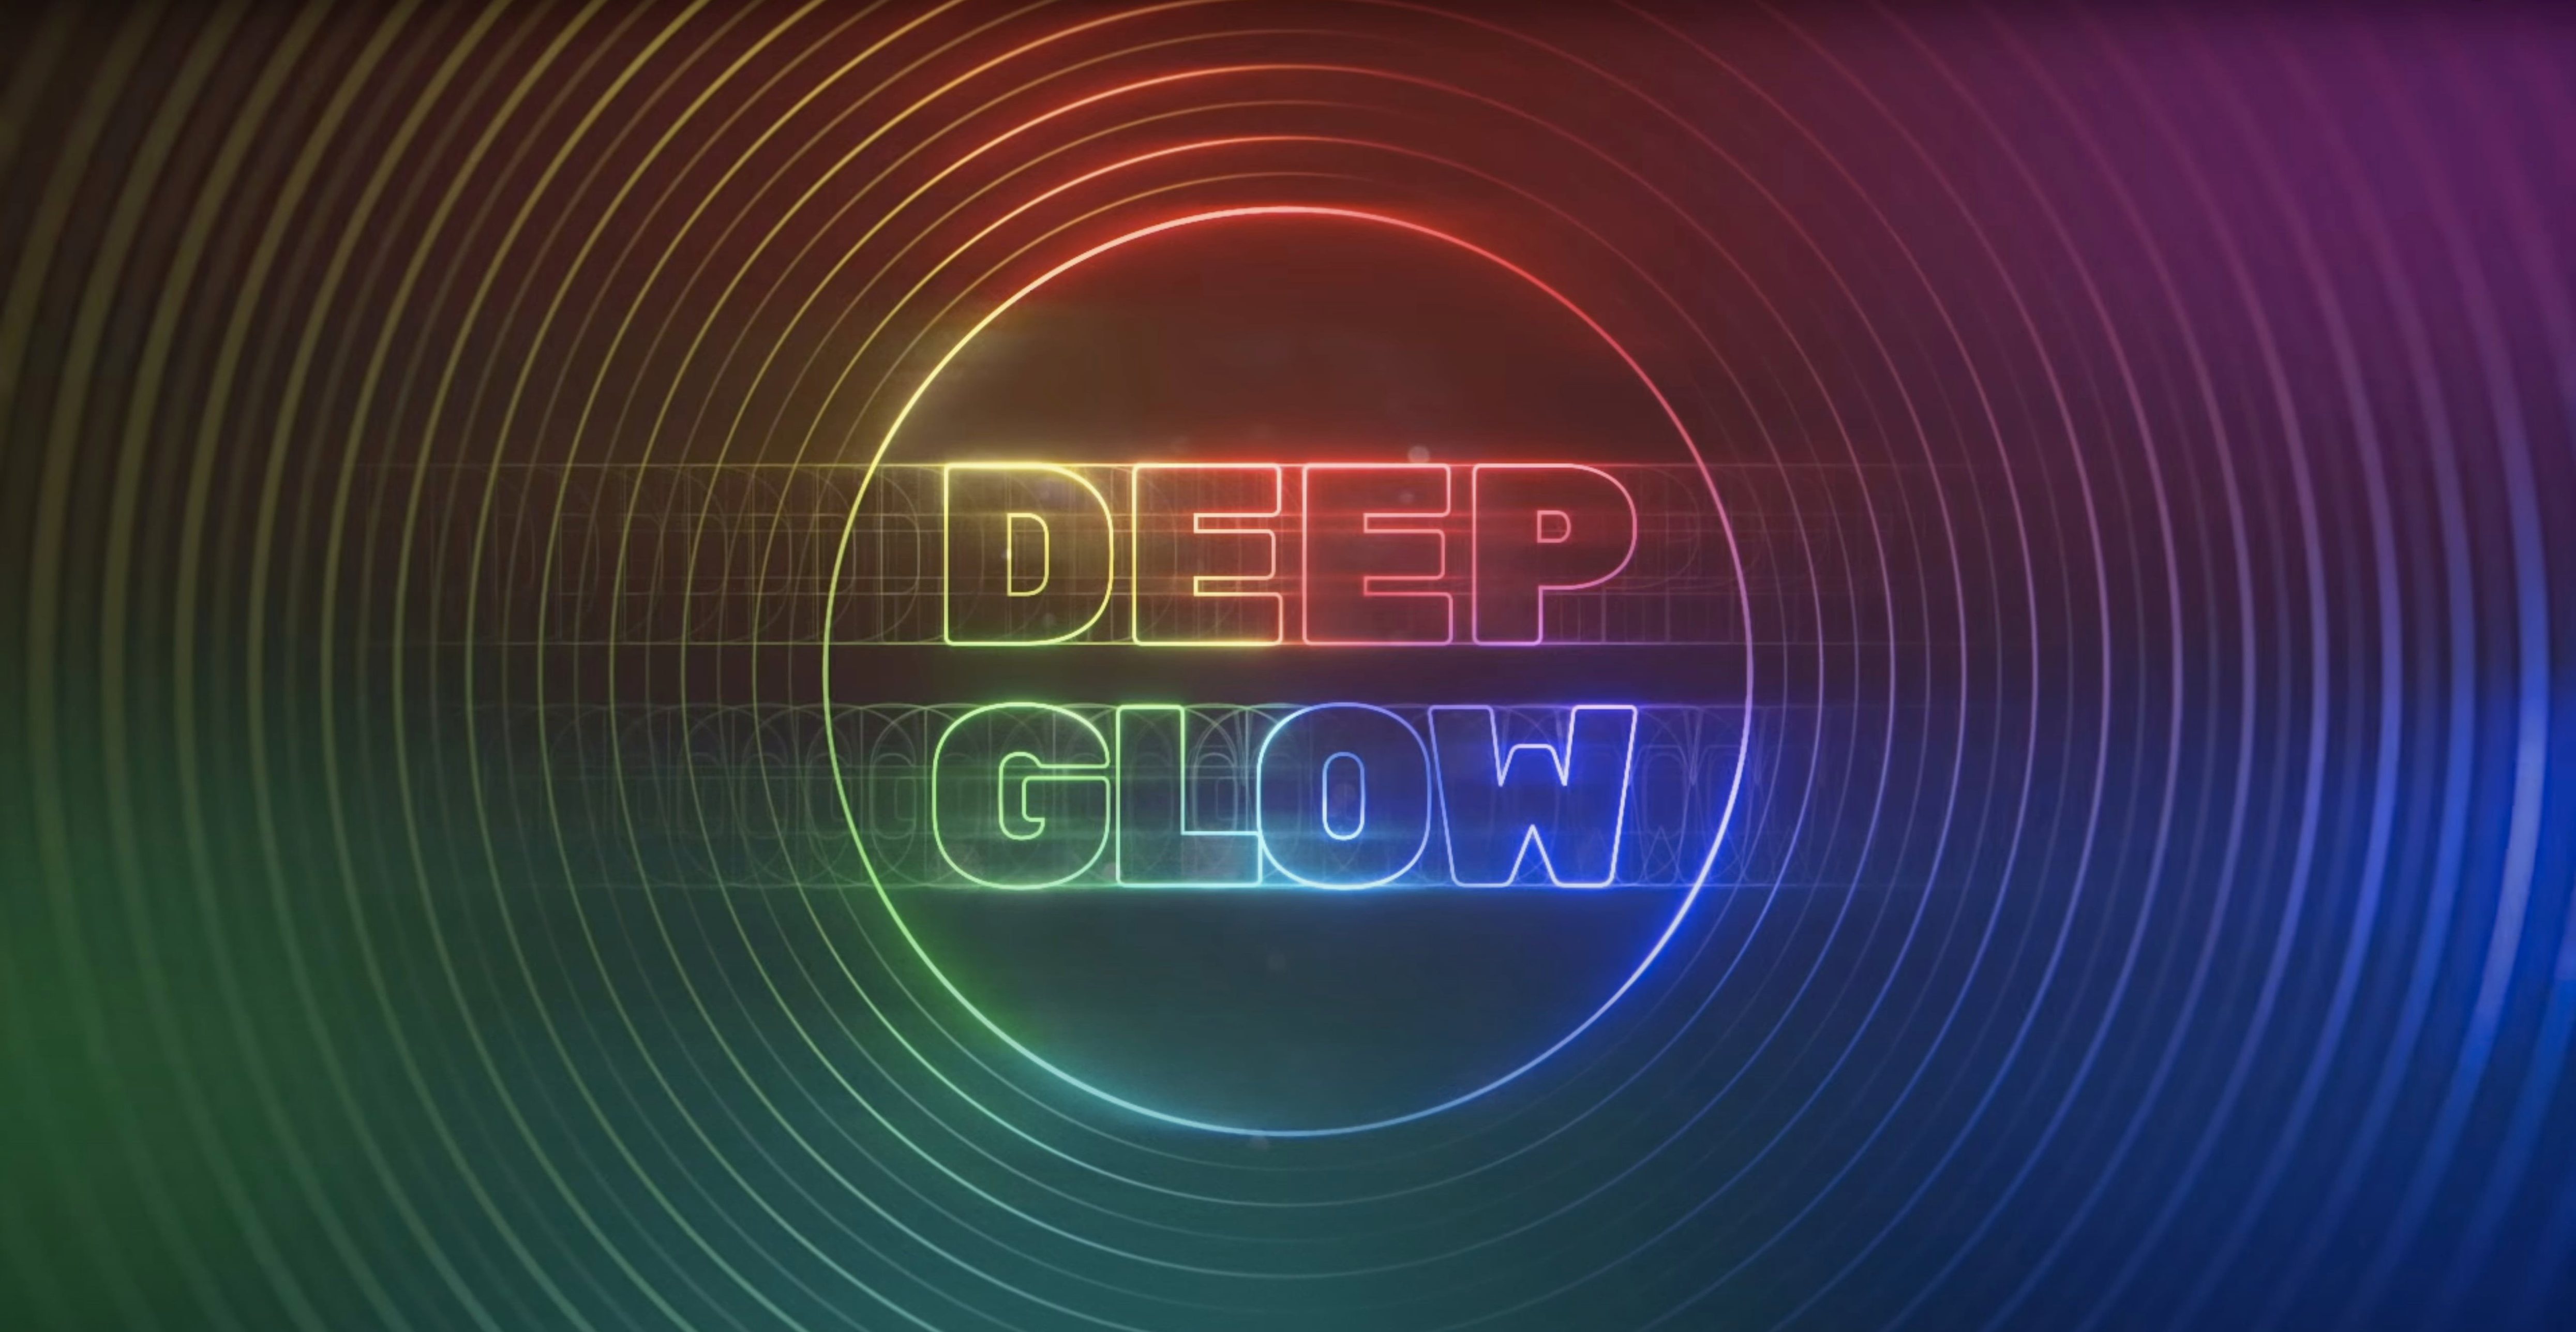

Compatibility and host
Deep Glow runs on Intel and Apple Silicon Macs as a plugin inside Adobe After Effects. Version 1.6 is a previous release; the archive also lists builds 1.6.9, 1.6.8, 1.6.6, 1.6.5, 1.6.4, 1.6.3 and earlier 1.x revisions. The plugin processes frames directly in the host application and uses GPU acceleration to keep previews responsive.
Standout features explained by the job they do
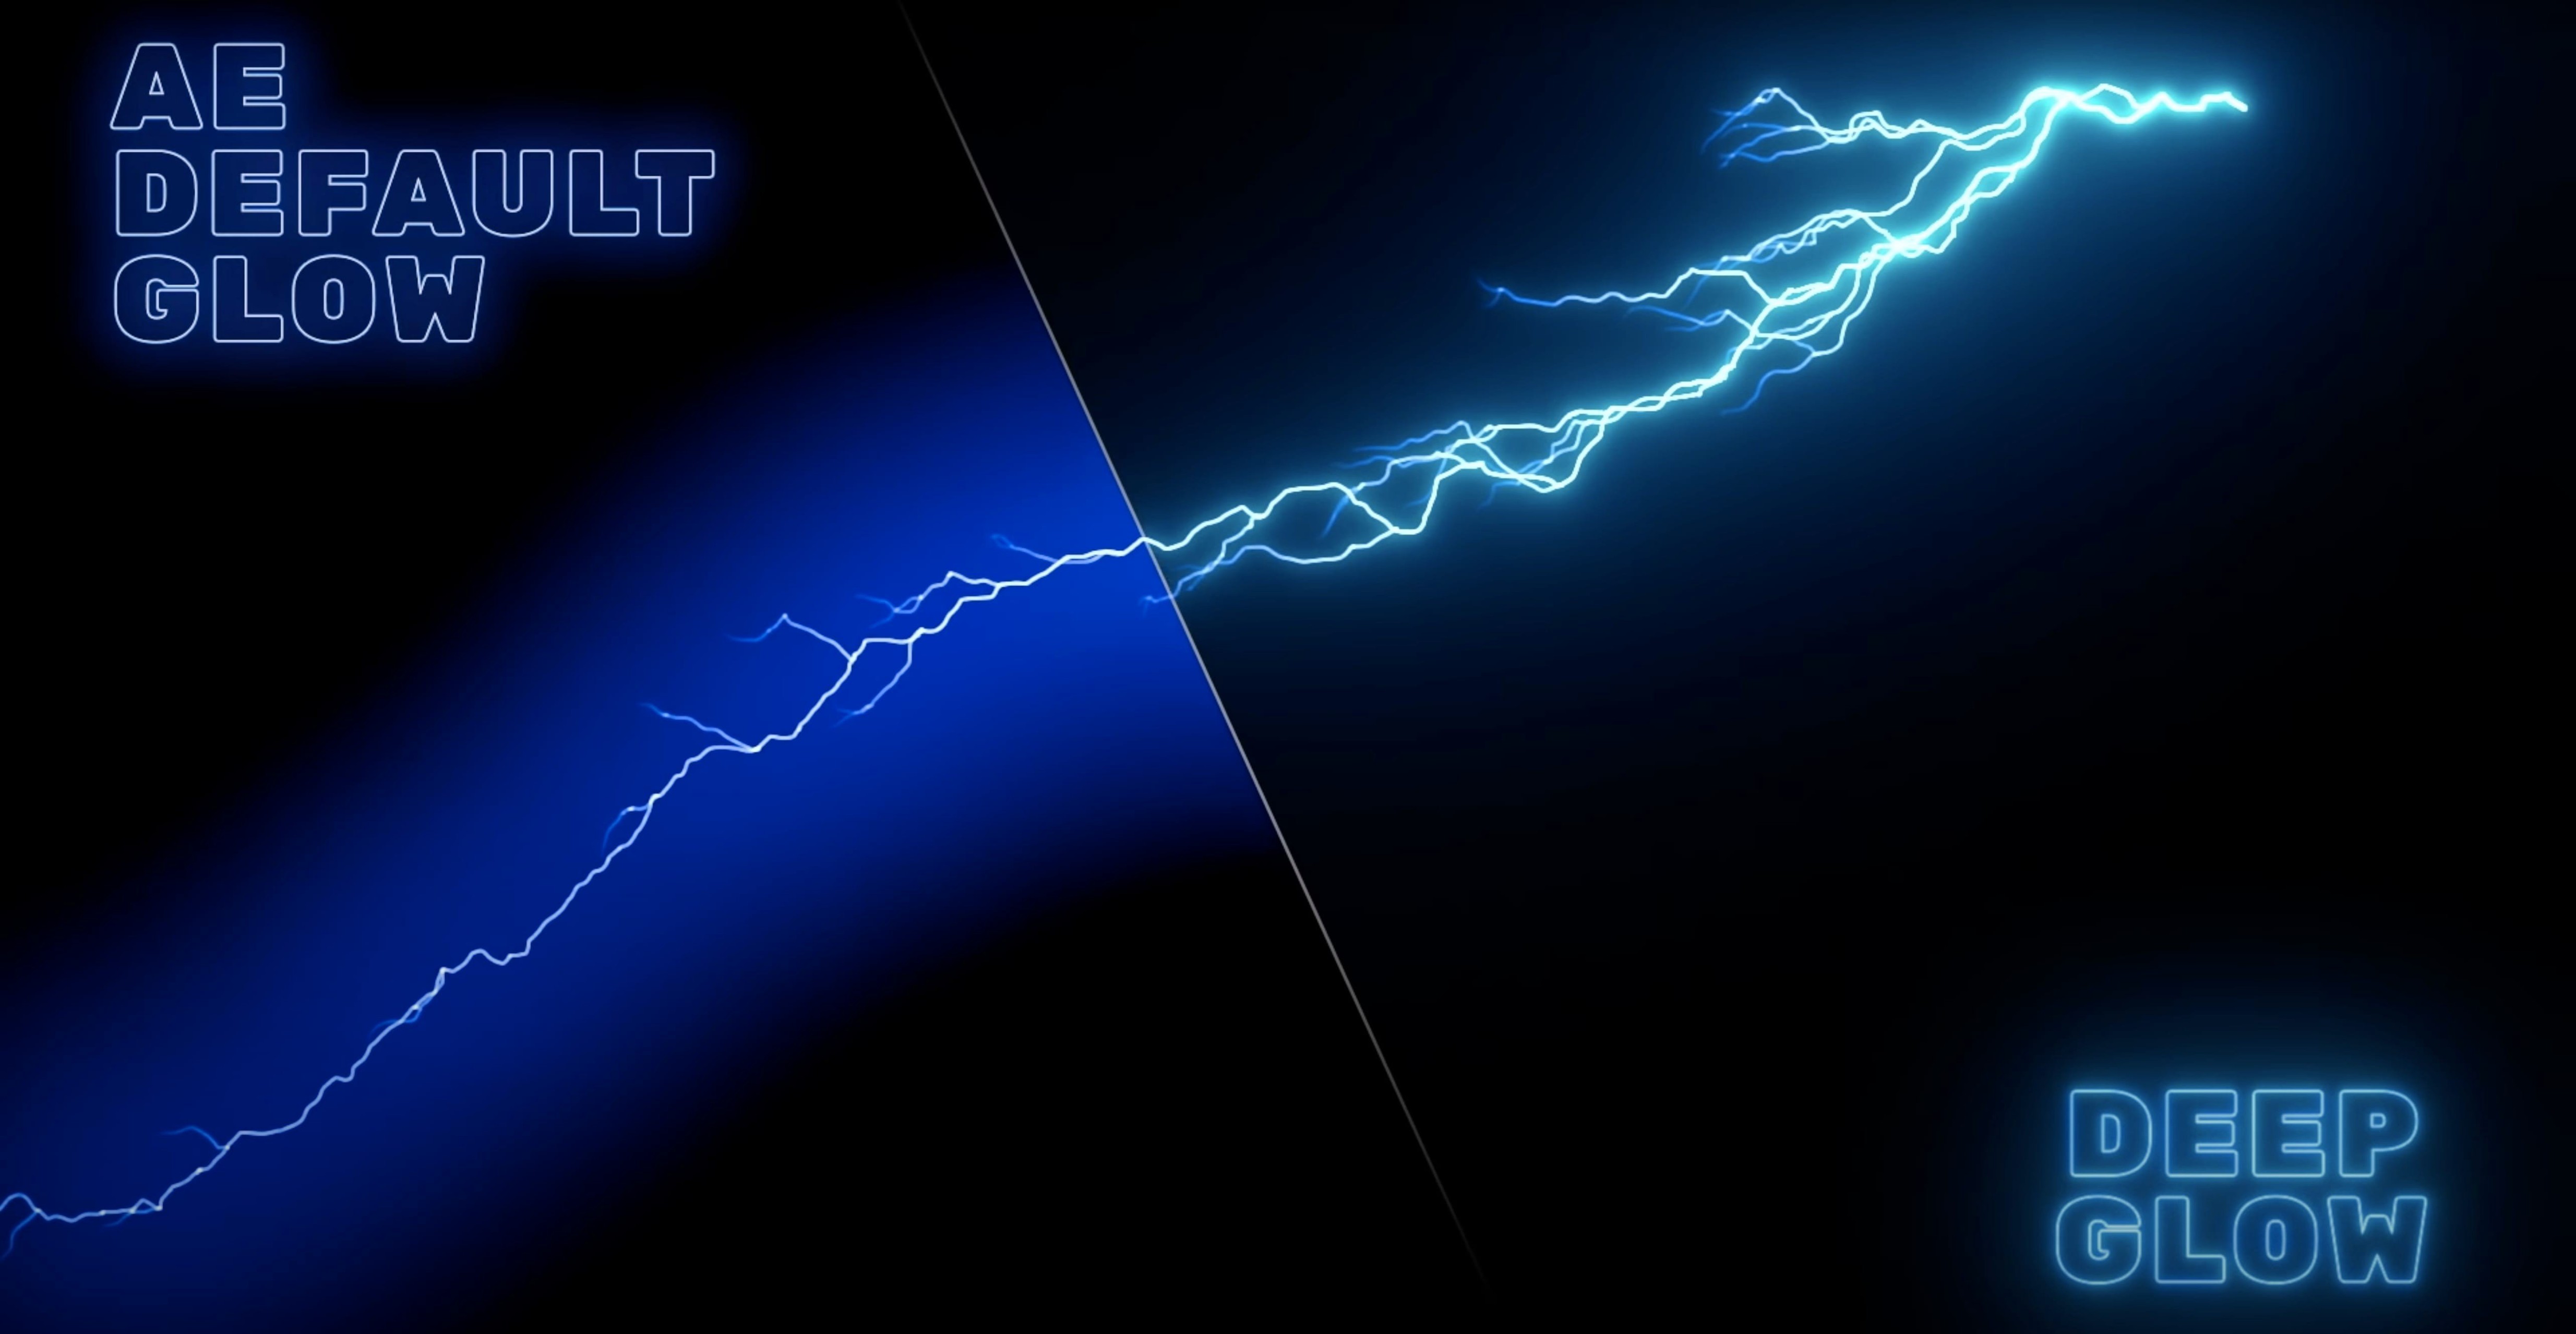
- Non-linear colour space handling. Glow is a light effect, and light behaves differently across gamma curves. Deep Glow works inside non-linear colour spaces so the falloff and blending stay physically plausible rather than clipping or washing out when you switch a comp to a log or scene-referred working space.
- Grain and stylised results. A clean Gaussian glow is easy to find. Deep Glow lets you push the output toward grainy, textured or deliberately rough looks without adding a separate noise pass. The grain sits inside the glow radius, so it follows the light rather than sitting on top of the whole frame.
- Direct GPU acceleration. The render path leans on the GPU to reduce the wait between parameter tweaks. On complex comps with multiple glow layers, that difference adds up.
Stacking glow inside native AE masks and adjustment layers
You apply the effect to a layer in After Effects and adjust the radius, threshold and colour parameters in the Effects Control panel. Because the output stays inside the host application, you can stack Deep Glow with native AE masks, track mattes and adjustment layers without an intermediate render pass. The plugin is designed to produce the glow directly, so there is no need to pre-compose or export to an external tool.
Turning flat type into a warm pulsing edge
Open a project that needs a bit of atmosphere — a logo sting with flat type on a dark background. The type layer is already animated, and the client wants the letters to pulse with a warm edge. You select the text layer, go to the Effect menu, find Deep Glow under Plugin Everything and drop it on. The Effects Control panel shows a stack of parameters: Radius, Intensity, Threshold, Colour, Colour Space, and a set of compositing and quality controls below.
First move: push the Radius up to around 40 pixels so you can see what you are working with. The glow blooms out, a smooth orange disc behind the type. Too smooth — it looks like a default blur with a colour overlay. You pull Intensity down to 0.7 and raise the Threshold to 20. That tightens the glow to the brighter parts of the text, leaving the thinner strokes darker. Already the effect reads more like light than like a filter.
You open the Colour section, click the swatch and pick a pale amber from the comp's palette. The glow shifts. You tick the Use Non-Linear Colour Space checkbox. The falloff changes subtly: the brightest core stays warm, but the outer edge rolls off into a softer tint instead of a flat wash. You drop the Opacity to 85% so the glow sits behind the type without overpowering the letterforms.
Now the texture. You expand the Grain section, set the Amount to 0.3 and the Size to 2. The glow takes on a fine grit, like light passing through slightly smoky air. Too uniform — you nudge the Seed value to shift the pattern. The grain moves with the glow radius, not the layer, so when the type pulses outward the texture follows the light. You keyframe Radius from 40 to 55 over two seconds and scrub the timeline. The glow breathes, and the grain breathes with it.
You duplicate the layer, strip the animation from the copy, set its Deep Glow Radius to 120 and Intensity to 0.2, and switch the blending mode of the duplicate to Add. A faint ambient spill now sits around the whole composition, grounding the type in the frame. You save, RAM preview at half resolution, and the GPU keeps the feedback loop tight — no beach ball between tweaks.
Why a fresh glow looks dim and the Threshold fix
One of the first things a new user notices is that Deep Glow can look surprisingly dim after applying it. The cause is almost always the Threshold slider. It defaults high enough to suppress glow on midtones, so a layer with no bright areas shows nothing at all. Drop Threshold to zero first, dial in your Radius and Intensity, then bring Threshold back up until the glow clings only to the highlights you want. That order saves a lot of head-scratching.
Another frequent hitch involves colour space mismatches. If your composition is set to a scene-referred space like ACEScct and the glow looks blown out or oddly tinted, check the Colour Space dropdown inside the effect. Setting it to match your comp's working space restores the expected falloff. The toggle for non-linear colour space handling is not cosmetic — leaving it off in a linear workflow produces a glow that looks correct in the viewer but falls apart on export. Turn it on whenever your project uses linear or log colour.
Performance drops sharply when multiple Deep Glow instances stack on high-resolution layers. The plugin does use GPU acceleration, but it still samples a large radius per instance. A practical fix: apply the glow to an adjustment layer above your content rather than to each layer individually. One Deep Glow instance on an adjustment layer processes the composite below it, so a scene with six glowing elements needs only one glow render rather than six. You can still mask the adjustment layer to isolate specific areas.
Grain that looks lovely in the Composition panel sometimes turns to a flickering mess on export. The culprit is usually the grain Seed animating per frame. Deep Glow generates procedural grain that changes with every frame unless you keyframe the Seed value to a constant, or animate it deliberately with a slow linear ramp. For a static look, set one Seed keyframe at the start of the comp and leave it. For subtle motion, ease from one Seed value to another over the duration — fast jumps read as noise flicker.
Users occasionally report that the plugin does not appear in the Effect menu after installation. This tends to happen when After Effects launches under Rosetta on an Apple Silicon Mac while the plugin is installed as a native ARM build, or vice versa. The installer places both architectures automatically, but checking After Effects' Get Info panel to confirm it is running natively usually resolves the mismatch.
GPU sampling keeps a 1080p radius-80 glow responsive
Deep Glow leans on GPU compute for its core sampling, and the difference is tangible. On a machine with a discrete GPU, a single glow at 1080p with a Radius of 80 pixels and high-quality downsampling updates in under a second. Stack three glows on a 4K composition and the frame time climbs, but it stays within a range where iterative tweaking feels practical rather than punitive. The quality controls give you the lever: set Downsample to 4x while you block out timing and composition, then switch to 1x for the final render pass.
RAM usage is modest. The plugin allocates frame buffers for the glow pass but releases them between renders, so a long timeline with many Deep Glow layers does not gradually inflate memory pressure. After Effects' own caching still applies — a complex comp with heavy glow layers fills the disk cache faster than a clean comp, but that is true of any effect that touches a large radius.
Stability in version 1.6 is uneventful in the best sense. Across hours-long sessions with iterative renders, the plugin does not cause unexpected quits or render glitches. The one caution worth repeating is to avoid changing the Colour Space dropdown during a render queue process; After Effects sometimes stumbles on effect parameter changes mid-export, and Deep Glow is not exempt from that host limitation. Make your colour space choice before sending to the queue.
On integrated GPUs found in entry-level Macs, performance is usable but softer. A 4K comp with Deep Glow at full quality and 1x downsampling requires patience. The practical workflow on such machines involves working at half or quarter resolution in the Composition panel and reserving full-resolution previews for spot checks. The downsampling control inside the effect is separate from the Composition panel resolution, so you can reduce the internal render load without changing how the rest of the comp displays.
Removing the plugin file is the whole uninstall
Deep Glow lives entirely within After Effects, so its interactions with macOS are indirect but worth knowing. The plugin writes no standalone files and does not install a menu bar agent or background process. Uninstalling means removing the plugin file from the After Effects plug-ins folder — nothing lingers in Library or Application Support. For users who manage multiple plugin sets per project, keeping a folder of symlinks to different Deep Glow versions works without issue.
With other Adobe apps, the connection is straightforward: bring a Photoshop still or an Illustrator vector into After Effects, apply Deep Glow, and the glow composites natively. There is no bridge to Premiere Pro or Audition; the effect stays in the motion-graphics domain. For editors who round-trip between Premiere and After Effects via Dynamic Link, Deep Glow renders inside the After Effects composition and passes through to the Premiere timeline like any other effect — no extra steps, no flattening required.
The plugin plays well with third-party renderers. Whether you use After Effects' native render queue, Media Encoder, or a render manager like RenderGarden, Deep Glow processes its frames as part of the standard effect stack. It does not require a specific renderer or break when a network render node picks up the job. The GPU acceleration is local to each machine, so a render farm benefits only if each node has its own capable GPU.
macOS colour management does not interfere with the plugin at the system level. The non-linear colour space handling inside Deep Glow operates on the After Effects comp's working space, not on the display profile. What you see in the Composition panel with Display Colour Management enabled matches the render output, assuming your project colour settings are consistent. A common oversight is having the viewer colour management off while Deep Glow's internal colour space is set to a linear profile — the mismatch makes the glow look correct in the panel but wrong in the exported file. Keeping both aligned avoids the discrepancy.
Building volumetric mist-scattering behind white sci-fi text
The task is a sci-fi title card: white text on a deep indigo background, with the glow meant to feel volumetric — as though light is scattering through mist rather than sitting flat behind the letters. The text is already laid out in After Effects, centred, with a gentle scale animation over three seconds.
Start by creating a new adjustment layer above the text and name it Glow Core. Apply Deep Glow. Set Radius to 25, Intensity to 1.2, Threshold to 10, and pick a cool cyan from the colour picker. Enable non-linear colour space handling. The result is a tight, bright aura right at the edges of the text — the hot core of the light. Set the adjustment layer's blending mode to Screen.
Duplicate the adjustment layer and rename the copy Glow Volume. Open its Deep Glow settings. Push Radius to 180, drop Intensity to 0.25, and raise Threshold to 40. Switch the colour to a deeper blue, pulled from the background's shadow tones. Add grain: Amount 0.4, Size 3. The large radius with low intensity creates a soft haze that extends well beyond the letters, and the grain gives it the texture of particulates in the air. Set this layer's blending mode to Add and its Opacity to 60%.
The glow now has two physical qualities — a hot core and a diffuse volume — but it affects the whole frame uniformly. To shape it, add a mask to the Glow Volume layer. Draw a rough ellipse around the centre of the text, set Mask Feather to 300 pixels, and set Mask Expansion to -40. The volume now falls off toward the edges of the frame, concentrating the haze behind the title. Keyframe Mask Expansion to drift from -40 to -20 over the three seconds so the haze spreads as the text scales up.
For the final detail, create a solid layer in deep orange, place it below the text but above the background, and apply Deep Glow with Radius 300, Intensity 0.15, Threshold 0, and a warm amber colour. Set the solid's blending mode to Overlay and Opacity to 30%. This adds a subtle warm backlight behind the entire title area, giving the volumetric haze a colour contrast that separates the cyan core from the indigo backdrop. The comp renders cleanly, with all three glow instances sampling on the GPU and the grain adding organic texture without a separate noise layer.
The result reads as atmosphere rather than effect: light that has a temperature, a density and a falloff that makes sense in the frame. The whole setup — three instances, two masks, one keyframed parameter — took under ten minutes from blank comp to final preview.